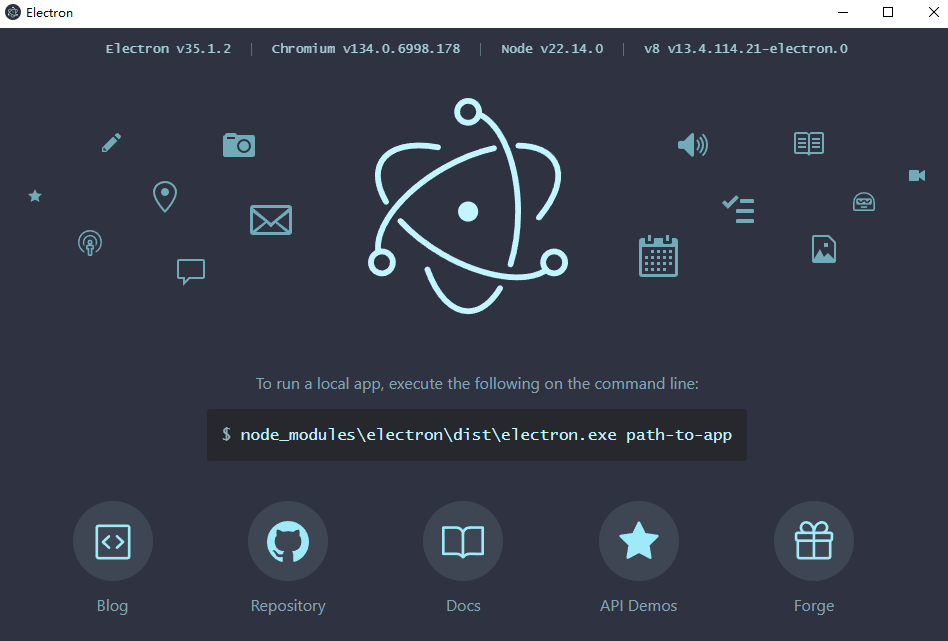
新建一个文件夹 electron-demo
npm init
安装electron npm install electron --save-dev
创建一个index.html文件
创建main.js
const {app, BrowserWindow, nativeImage, Tray} = require('electron/main')
const {join} =require('path');

//只有在应用程序模块的就绪事件触发后才能创建浏览器窗口。
//你可以使用app.wenReady() API等待此事件
app.whenReady().then(()=>{
  createWindow()

  app.on('active', ()=>{
    if(BrowserWindow.getAllWindows().length===0){
      createWindow()
    }
  })
})

app.on('window-all-closed', ()=>{
  if (process.platform !== 'darwin') app.quit()
})
package.json 配置运行指令
"scripts": {
"test": "echo \"Error: no test specified\" && exit 1",
"dev": "electron ."
},

接下来把一个应用地址放进去
安装nodemon
"dev": "nodemon --exec electron ." 动态运行
function createWindow() {
  const win = new BrowserWindow({
    width: 600,
    height: 400
  });
  win.loadURL('http://www.baidu.com/');
//打开调试
win.webContents.openDevTools()
}

加载本地文件
win.loadFile('index.html');


警告提示关闭有两种方式
第一种配置CSP
<meta http-equiv="Content-Security-Policy" content="default-src 'self'; script-src 'self'">
第二种在打开调试下面添加
//关闭警告
process.env['ELECTRON_DISABLE_SECURITY_WARNINGS'] = 'true';
在index.html加入以下代码
<script src="./renderer/app.js"></script>
想要使用fs需要配置一下 webPreferences
const win = new BrowserWindow({
width: 600,
height: 400,
webPreferences: {
nodeIntegration: true, // nodeIntegration
contextIsolation: false, // 关闭上下文隔离
}
});
renderer -> app.js
const fs = require('fs');
const path = require('path');
const filePath = path.join('E:', '2025面试汇总','electron-demo','111.txt')
fs.writeFile(filePath, 'abc',()=>{
  console.log('done.')
})
在我们文件路径下就会写入一个.txt
使用preload.js 注册一下东西,后续文件就可以使用了
//preload.js
const {contextBridge} = require('electron')
console.log("contextBridge",contextBridge)
contextBridge.exposeInMainWorld('myApi', {
  platform: process.platform
})

//app.js
console.log(window.myApi)
日常所遇,随手而记。


 浙公网安备 33010602011771号