
opencv正确的实现图像旋转
OpenCV中的图像旋转
OpenCV主要使用getRotationMatrix2D()来得到变换矩阵(getRotationMatrix2D的计算方式与上一节的推导一致,大家可以参看函数解释推导一下),再使用warpAffine()来实现图像旋转。代码如下
def rotate(image, angle, center=None, scale=1.0):
    # grab the dimensions of the image
    (h, w) = image.shape[:2]

    # if the center is None, initialize it as the center of
    # the image
    if center is None:
        center = (w // 2, h // 2)

    # perform the rotation
    M = cv2.getRotationMatrix2D(center, angle, scale)
    rotated = cv2.warpAffine(image, M, (w, h))

    # return the rotated image
    return rotated
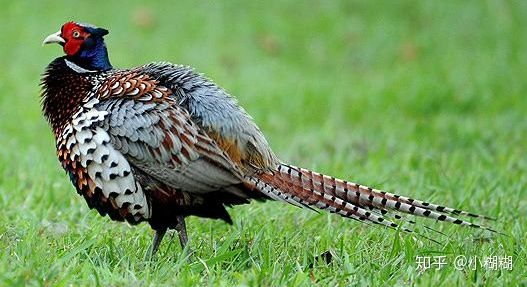
现在我们来旋转一只小鸟。
使用OpenCV的方法旋转结果如下所示:
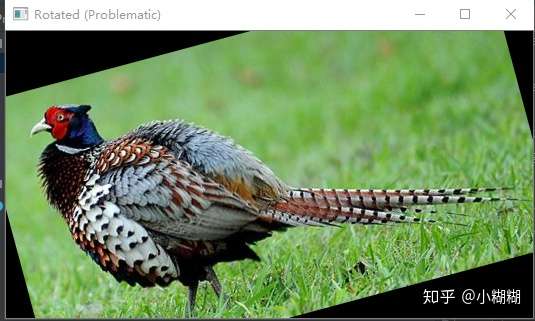
可以看到当旋转矩形涂向师,旋转后原图大量信息丢失了。在有些时候我们并不想要这种信息的丢失(比如在深度学习数据增强的时候)。
现在我改写一下上面的代码,来使矩形图片可以正确的旋转,不丢失信息。代码如下:
def rotate_bound(image, angle):
    # grab the dimensions of the image and then determine the
    # center
    (h, w) = image.shape[:2]
    (cX, cY) = (w / 2, h / 2)

    # grab the rotation matrix (applying the negative of the
    # angle to rotate clockwise), then grab the sine and cosine
    # (i.e., the rotation components of the matrix)
    M = cv2.getRotationMatrix2D((cX, cY), angle, 1.0)
    cos = np.abs(M[0, 0])
    sin = np.abs(M[0, 1])

    # compute the new bounding dimensions of the image
    nW = int((h * sin) + (w * cos))
    nH = int((h * cos) + (w * sin))

    # adjust the rotation matrix to take into account translation
    M[0, 2] += (nW / 2) - cX
    M[1, 2] += (nH / 2) - cY

    # perform the actual rotation and return the image
    return cv2.warpAffine(image, M, (nW, nH))
在计算出旋转变换矩阵M后,计算一下可以正常包含旋转后图像的外接矩形框的长和宽,然后计算外接矩形框的中心和原矩形框中心的距离,最后将旋转后的图像中心移到新的外接矩形框的中心。
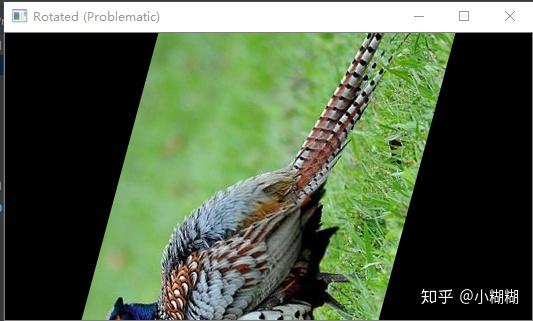
结果如下:


 浙公网安备 33010602011771号