
linux vmware
VM for Linux 版本的安装步骤:
下面链接下载VM程序包 :
https://www.vmware.com/products/workstation-pro/workstation-pro-evaluation.html
安装VMware Workstation for Linux,文件是Bundle格式,安裝步骤如下:
第一步:先获取权限(权限更改為:可執行)
sudo chmod +x VMware-Workstation-Full-7.1.3-324285.x86_64.bundle
第二步:执行安装
./VMware-Workstation-Full-7.1.3-324285.x86_64.bundle
第三步:图形安装界面出來了
sudo apt install -y build-essential git
troubleshooting
16.2.4
- VMWARE 的 kernel module 签名。
"Cannot open /dev/vmmon: No such file or directory" error when powering on a VM (2146460)
vm-tools
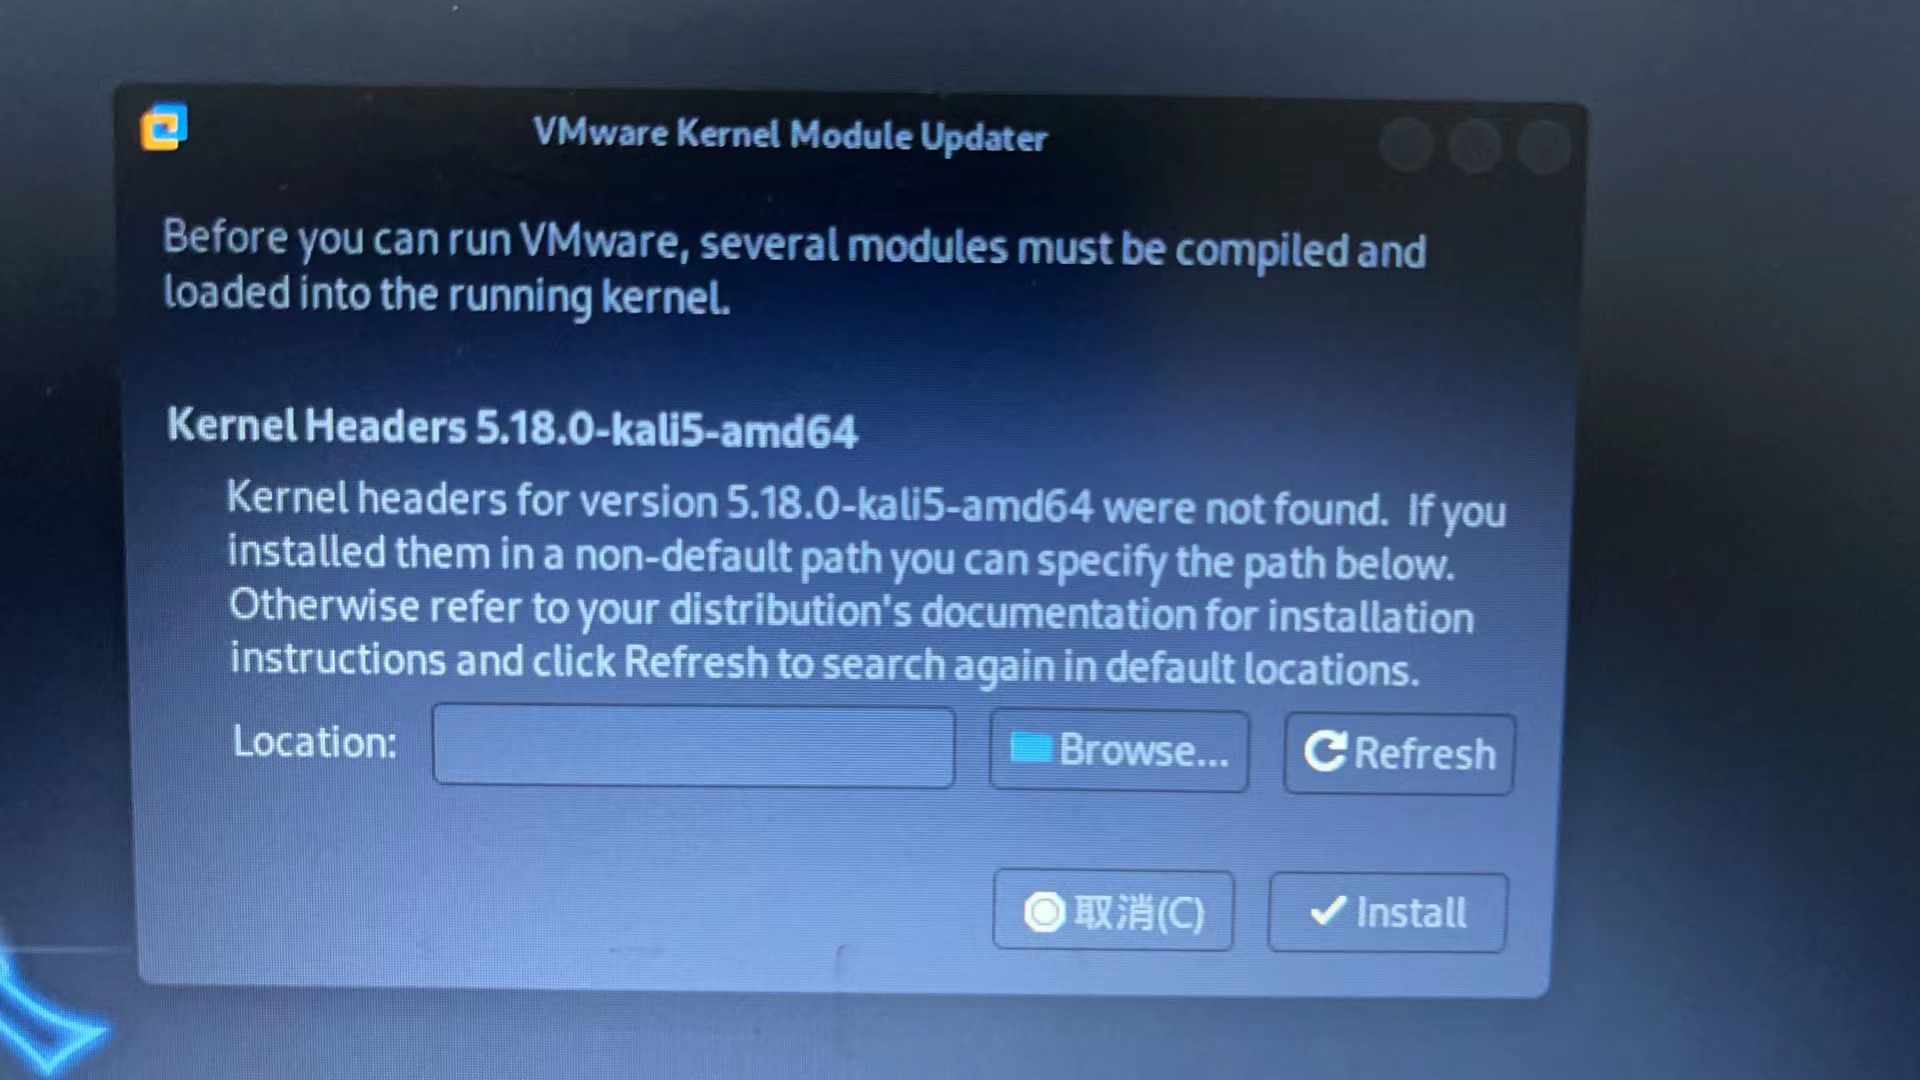
[root@dad5600 signed-modules]# dnf -y install open-vm-tools-desktop Last metadata expiration check: 0:44:44 ago on Mon 03 Jan 2022 03:35:32 AM PST. Package open-vm-tools-desktop-11.3.0-2.fc35.x86_64 is already installed. Dependencies resolved. Nothing to do. Complete! [root@dad5600 signed-modules]# [root@dad5600 signed-modules]# dnf -y install open-vm-tools Last metadata expiration check: 0:44:50 ago on Mon 03 Jan 2022 03:35:32 AM PST. Package open-vm-tools-11.3.0-2.fc35.x86_64 is already installed. Dependencies resolved. Nothing to do. Complete! $ vmware-modconfig --appname="VMware Workstation" --icon="vmware-workstation" - VMware Kernel Module Updater
![]()
apt-get install linux-headers-5.18.0-kali-amd64
~$ uname -srm
Linux 5.13.0-35-generic x86_64

~$ uname -r
5.13.0-35-generic

~$ echo linux-headers-$(uname -r)
linux-headers-5.13.0-35-generic
~$ dpkg-query -s linux-headers-$(uname -r) Package: linux-headers-5.13.0-35-generic Status: install ok installed Priority: optional Section: devel Installed-Size: 23974 Maintainer: Ubuntu Kernel Team <kernel-team@lists.ubuntu.com> Architecture: amd64 Source: linux-hwe-5.13 Version: 5.13.0-35.40~20.04.1 Provides: linux-headers, linux-headers-3.0 Depends: linux-hwe-5.13-headers-5.13.0-35, libc6 (>= 2.22), libelf1 (>= 0.142), libssl1.1 (>= 1.1.0), zlib1g (>= 1:1.2.3.3) Description: Linux kernel headers for version 5.13.0 on 64 bit x86 SMP This package provides kernel header files for version 5.13.0 on 64 bit x86 SMP. . This is for sites that want the latest kernel headers. Please read /usr/share/doc/linux-headers-5.13.0-35/debian.README.gz for details.值得说明的是,我发现
sudo apt install linux-headers-generic
和
sudo apt-get install linux-headers-$(uname -r)
会安装不同版本的头文件,如下,
~$ sudo apt install linux-headers-generic
...
将会同时安装下列软件:
linux-headers-5.4.0-104 linux-headers-5.4.0-104-generic
下列【新】软件包将被安装:
linux-headers-5.4.0-104 linux-headers-5.4.0-104-generic linux-headers-generic
...
您希望继续执行吗? [Y/n] n~$ sudo apt install linux-headers-$(uname -r)
...
linux-headers-5.13.0-35-generic 已经是最新版 (5.13.0-35.40~20.04.1)。
linux-headers-5.13.0-35-generic 已设置为手动安装。
升级了 0 个软件包,新安装了 0 个软件包,要卸载 0 个软件包,有 0 个软件包未被升级。这两个指令的不同之处在于,下面的指令
sudo apt install linux-headers-generic
sudo apt install --reinstall linux-headers-generic会自动安装并升级你的内核头文件,而
apt install linux-headers-$(uname -r)
这个指令不会升级你的头文件。
apt install linux-headers-amd64
- 首次启动VMware报错,
VMware Kernel Module Updater,需要安装vmmon vmnet 两个模块,按照向导安装会失败写一个shell脚本:start.sh, 内容如下:
#!/bin/bash

VMWARE_VERSION=workstation-15.5.1

TMP_FOLDER=/tmp/patch-vmware

apt install git -y

rm -fdr $TMP_FOLDER

mkdir -p $TMP_FOLDER

cd $TMP_FOLDER

git clone https://github.com/mkubecek/vmware-host-modules.git

cd $TMP_FOLDER/vmware-host-modules

git checkout $VMWARE_VERSION

git fetch

make

sudo make install

sudo rm /usr/lib/vmware/lib/libz.so.1/libz.so.1

sudo ln -s /lib/x86_64-linux-gnu/libz.so.1

/usr/lib/vmware/lib/libz.so.1/libz.so.1

sudo /etc/init.d/vmware restart
执行该脚本(sh ./start.sh),即可解决上述问题。 -
温馨提示:VMWARE_VERSION是一个版本号,需要根据实际修改哦。
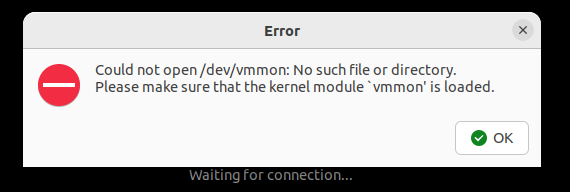
- 正常启动VMware之后,安装系统时会出现
Could not open /dev/vmmon:No such file or directory.一系列错误On EFI secure boot systems, you will need to sign VMware modules (vmmon and vmnet) for VMware Workstation. For signing the modules, you will need to have a machine owner key (MOK) that is trusted by EFI firmware.
![]()
原因:在EFI secure boot systems上,需要对VMware modules (vmmon and vmnet)进行签名
解决办法:
-
生成MOK(Machine Owner Key)
sudo apt install -y openssl
sudo mkdir -p /misc/sign-vmware-modules
sudo chmod 777 /misc/sign-vmware-modules
cd /misc/sign-vmware-modules
openssl req -new -x509 -newkey rsa:2048 -keyout MOK.priv -outform DER -out MOK.der -nodes -days 36500 -subj "/CN=MSI/"
chmod 600 MOK.priv
-
导入MOK到系统中
sudo mokutil --import MOK.der
这一步会要求设置一个密码,该密码在第四步的时候会用到
-
使用
vim signingscript创建脚本,批量给VMware modules签名#!/bin/bash for modfile in $(modinfo -n vmmon vmnet); do echo "Signing $modfile" /usr/src/linux-headers-$(uname -r)/scripts/sign-file sha256 /misc/sign-vmware-modules/MOK.priv /misc/sign-vmware-modules/MOK.der "$modfile" done
执行脚本
chmod 700 ./signingscript
sudo ./signingscript
init 6
重启后按任意键进入MOK 管理实用程序
-
Choose Enroll MOK
-
Choose View Key 0 to check the Machine Owner Key. If the key is OK, press enter and then select Continue
-
Choose Yes to enroll the key(s) and then enter the password you supplied during the import
-
Finally, choose Reboot to reboot the system
-
-
- sd
Linux如何查看内核版本并安装内核头文件linux-headers-generic
https://askubuntu.com/questions/1096052/vmware-15-error-on-ubuntu-18-4-could-not-open-dev-vmmon-no-such-file-or-direhttps://blog.csdn.net/weixin_43431593/article/details/107693036
https://www.cnblogs.com/wthuskyblog/p/16349940.html
https://communities.vmware.com/t5/VMware-Workstation-Pro/Vmware-kernal-Module-updater/td-p/2920375

 浙公网安备 33010602011771号