

iOS如何实时查看App运行日志
Linux下管理挂载IOS设备——libimobiledevice
https://www.jianshu.com/p/6423610d3293
https://blog.csdn.net/fengzei886/article/details/53380009
#####gitlib下载包--编译安装
git clone https://github.com/libimobiledevice/libplist.git
git clone https://github.com/libimobiledevice/usbmuxd.git
git clone https://github.com/libimobiledevice/libusbmuxd.git
git clone https://github.com/libimobiledevice/ideviceinstaller.git
git clone https://github.com/libimobiledevice/ifuse.git
git clone https://github.com/libimobiledevice/libirecovery.git
git clone https://github.com/libimobiledevice/libideviceactivation.git
./configure
make && make install
##创建挂接目录
mkdir -p /media/iphone
ifuse /media/iphone
idevicepair pair
idevice_id --list
##实时查看日志
idevicesyslog|grep com.bxd.help
#####################################################
libimobiledevice 查看应用日志
iOS实时查看App运行日志
前言:
本文讨论如何实时查看输出在console控制台的日志。
一、Xcode
版本号:9.4.1
通过Window->Devices and Simulators,打开Devices and Simulators界面,选择我们的手机,点击view device logs能看到手机中运行的进程输出的日志。如图:


二、libimobiledevice
安装libimobiledevice很简单,在命令行输入:
brew install --HEAD libimobiledevice
注意,需要加上 –HEAD 选项,如果不加,安装是老版本,不支持iOS10的手机,所以安装时,需要加上 –HEAD 选项
1、使用idevicesyslog
在命令行输入:idevicesyslog
就可以在屏幕上看见手机上所有的日志了。

2、查看我们想要的日志
1)将设备日志重定向到文件

idevicesyslog >> iphone.log &
该命令是将日志导入到iphone.log这个文件,并且是在后台执行。

2)用tail -f和grep查看log

tail -f iphone.log
tail -f iphone.log | grep 'QQ' # 查看包含QQ的行
如下图:

三、控制台
在用过各种办法查看App日志后,还是觉得苹果系统自带的工具用起来最方便,不用安装,不用命令行,傻瓜式操作,非常方便。
连上手机,在LaunchPad其他文件中打开控制台应用,或者搜索Console.app打开控制台应用,可以看到左侧一栏中有我们的手机设备,选择就可以,如图:

右侧输出的日志不仅有我们自己的App还有其他进程的日志,怎么过滤?非常简单,选中一条我们的日志,在进程名字上右键,选择显示进程名,然后就只会显示我们App的日志。如果显示的列名中没有进程名,我们可以在其他列名上右键,在弹出的菜单中勾选上进程就可以了。如图显示WeChat打印出的日志:


四、安装第三方工具 itoos for mac /windows/linux
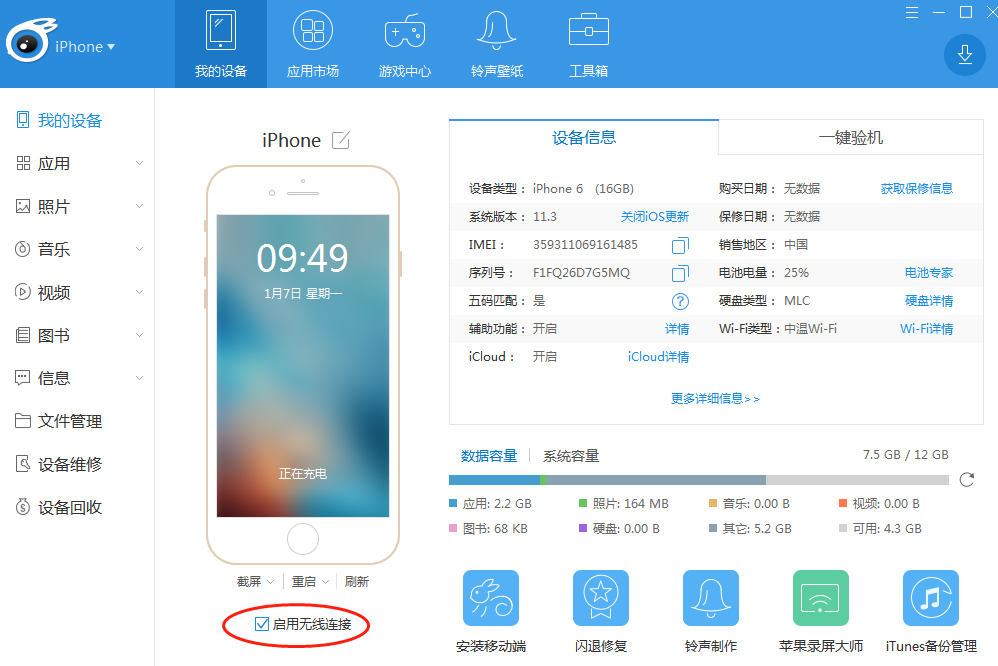
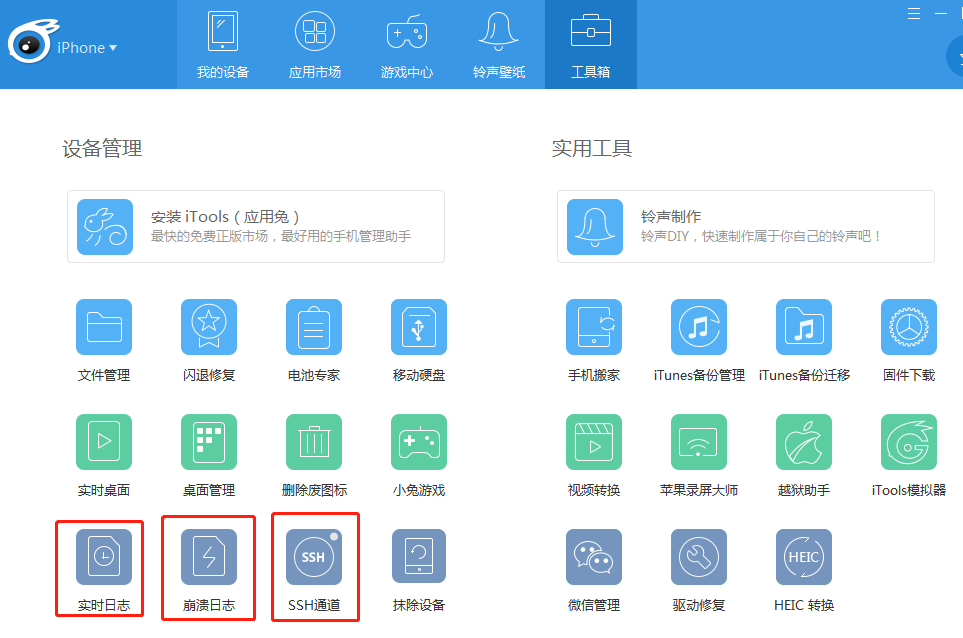
iPhone安装OpenSSH和远程连接教程
Building on Ubuntu 16.04
Install development packages discovered through trial and error.
sudo apt-get install automake libtool pkg-config libplist-dev libplist++-dev python-dev libssl-dev libusb-1.0-0-dev libfuse-dev
Clone and Build
Clone the sources.
cd ~/usr/src
for x in libusbmuxd usbmuxd libimobiledevice ifuse; do git clone https://github.com/libimobiledevice/${x}.git;done
Now build in order (the order matters):
- libplist (not required on Ubuntu 16.04)
- libusbmuxd
- libimobiledevice
- usbmuxd
- ifuse
Note: (Optional) If you have a system package installed which is in the above list, then I recommend uninstalling it. However, if you can't uninstall it, then no big deal. It is mostly a precautionary measure. As long as you set the bash environment variables properly, then your compiled version should not reference your system packages. Uninstalling any system packages is by no means required.
Note 2: Removing usbmuxd was required on Debian Jessie 8.10 mentioned in comments.
Build libusbmuxd
cd ~/usr/src/libusbmuxd
./autogen.sh --prefix="$HOME/usr"
make && make install
Build libimobiledevice
cd ~/usr/src/libimobiledevice
./autogen.sh --prefix="$HOME/usr"
make && make install
Build usbmuxd
Unfortunately, sudo make install is required because it needs to write to /lib/udev/rules.d and /lib/systemd/system.
cd ~/usr/src/usbmuxd
./autogen.sh --prefix="$HOME/usr"
make && sudo make install
Build ifuse
cd ~/usr/src/ifuse
./autogen.sh --prefix="$HOME/usr"
make && make install
Connect iPhone
Create a mount point and verify the paths of the tools before executing.
$ mkdir -p ~/usr/mnt

$ type -P ifuse
/home/sam/usr/bin/ifuse

$ type -P idevicepair
/home/sam/usr/bin/idevicepair
Now attempt to mount using ifuse.
$ idevicepair pair
SUCCESS: Paired with device 37b633350ab83dc815a6a97dcd6d327b12c41968

$ ifuse ~/usr/mnt/

$ ls ~/usr/mnt/
AirFair  Books  CloudAssets  DCIM  Downloads  FactoryLogs  iTunes_Control  MediaAnalysis  PhotoData  Photos  PhotoStreamsData  PublicStaging  Purchases  Radio  Recordings  Safari  Vibrations
When you're finished. Unmount ~/usr/mnt using fusermount. For example,
fusermount -u ~/usr/mnt
Browsing Photos
The mounted iPhone has an empty Photos folder. Strangely, this has no photos. Instead, look in the DCIM folder for photos.
I have only copied photos off of my iPhone as a backup. I have not tried copying photos to my iPhone.
Browsing Music

 浙公网安备 33010602011771号