angular安装记录
1. 安装node.js,下载地址:https://nodejs.org/en/download/,详细的安装教程参考这里:https://blog.csdn.net/u010255310/article/details/52205132
直接一路next就可以。安装好node后,会自动在path中配置了node的安装路径,如果命令行无法识别node命令,重启就好了。
node.js安装验证:
node -v
因为NodeJS已经集成了npm,所以npm也一并安装好了。npm安装验证:
npm -v
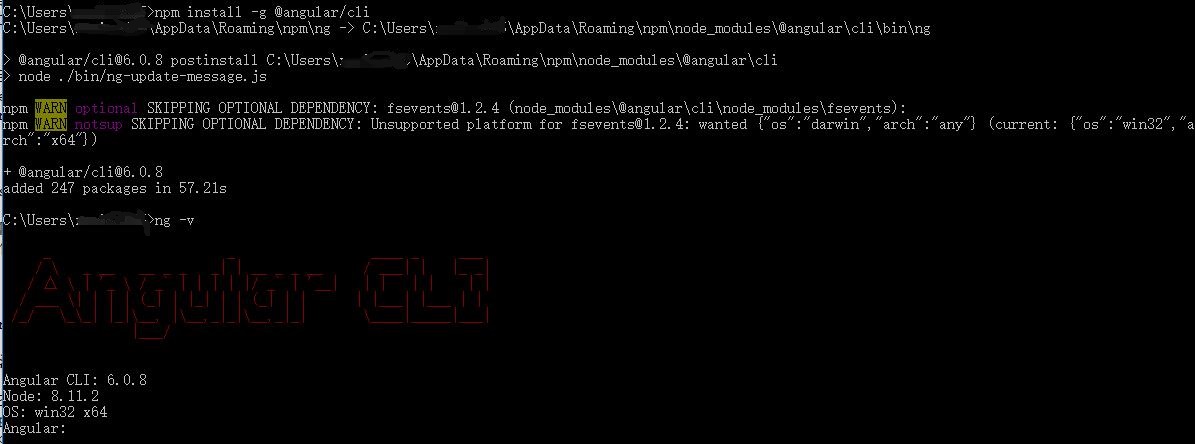
2. 全局安装 Angular CLI
npm install -g @angular/cli
3. 进入E盘,新建项目my-app。这里需要等待一会
ng new my-app
4. 进入项目目录,启动服务器
cd my-app
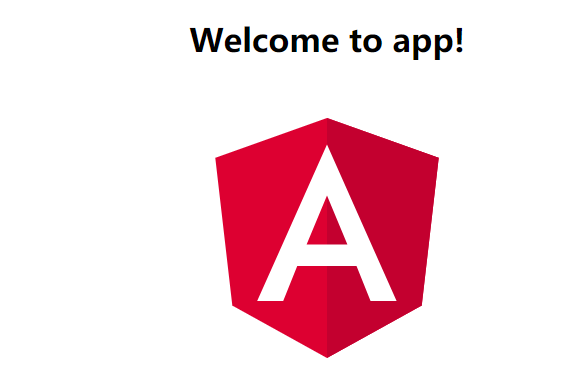
ng serve --open
ng serve 命令会启动开发服务器,监听文件变化,并在修改这些文件时重新构建此应用。
使用 --open(或 -o)参数可以自动打开浏览器并访问 http://localhost:4200/。如图
------------------------分割线--------------------------
安装步骤很简单,但中间走了很多弯路,因此,主要记录一下那些曾经走过的弯路。
1. 新建项目时报错:
npm WARN deprecated istanbul-lib-hook@1.2.1: 1.2.0 should have been a major version bump
npm ERR! Unexpected end of JSON input while parsing near '...registry.npm.taobao.o'

npm ERR! A complete log of this run can be found in:
npm ERR!     C:\Users\Admin\AppData\Roaming\npm-cache\_logs\2018-06-08T14_01_13_067Z-debug.log
Package install failed, see above.
如下所示: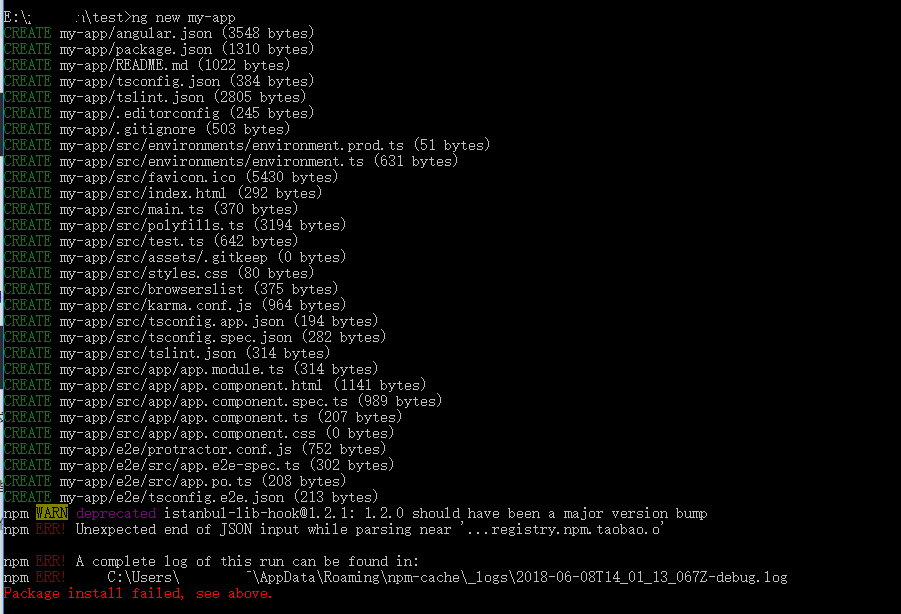
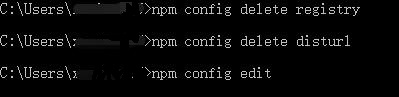
解决方法:网上查找的一般是说运行:npm cache clean --force,但清除缓存之后,再次新建项目,还是报这个错。然后根据提示信息,取消了淘宝镜像,问题解决。
取消淘宝镜像:
npm config delete registry
npm config delete disturl
运行npm config edit,可看到registry中已经变成了默认镜像。
如图:
参考:设置和取消淘宝镜像
2. 新建项目时报的警告:
npm WARN optional SKIPPING OPTIONAL DEPENDENCY: fsevents@1.2.4 (node_modules\fsevents):
npm WARN notsup SKIPPING OPTIONAL DEPENDENCY: Unsupported platform for fsevents@1.2.4: wanted {"os":"darwin","arch":"any"} (current: {"os":"win32","arch":"x64"})

'git' 不是内部或外部命令,也不是可运行的程序
或批处理文件。
如下所示:

这些警告可以忽略
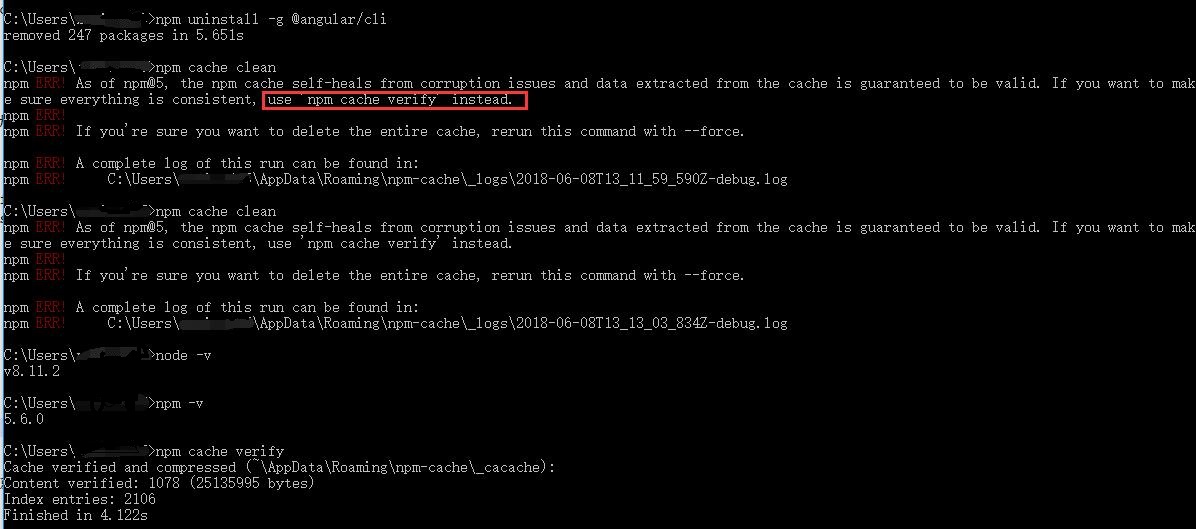
3. 卸载angular,因为反反复复卸载重装了好几次angular,因此也记录一下卸载过程吧
npm uninstall -g angular-cli
npm uninstall -g @angular/cli
npm cache clean
在运行npm cache clean 时报错如下图,根据信息提示改成了npm cache verify
总结:
一定要根据官网教程安装,网上的教程很多很乱,开始就是根据网上教程装的很混乱,导致报了很多莫名其妙的错。

 浙公网安备 33010602011771号