HTML第五步:img和a标签的补充;table标签;列表标签;表单标签;块标签
小技巧:lorem + tab 可以随机生成一段文本,可以用于测试样式。
今天我们来补充一下img标签。

这是无法正常显示的样子:
这是能够正常显示的样子:
(图片来源于网络,并非本人所有,如有侵权,请联系。)

当然了,我们还可以添加title属性:

意思是这样的:
鼠标放上去的时候。会显示“这是一只猫和一只狗”。
可以说相当于提示。

当然我们还可以用width 和 height 控制图片的宽度和高度:
这里我设置的是30像素的宽度,20像素的高度。

我们也可以加border属性,这是给图片加边框的属性:
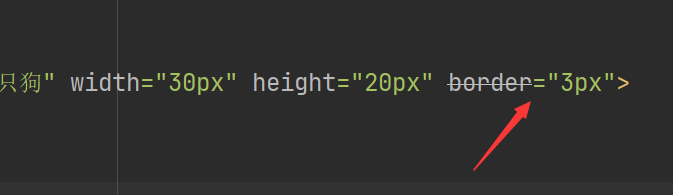
图片显示出来就是这样:
多了黑边框。

每一个属性都是一个键值对。
格式都是这样的 xxx属性=“xxx”。
这里我们来补充一下a标签
a标签的href内容不仅可以是外部的网页链接,也可以是本地的文件,也可以是压缩包,也可以是锚点标签。一、table标签
在网页中绘制一个表格。table标签不仅仅可以用来做表格,也能用来做网页布局。tr标签
表格中的行td标签
表格中的列th标签
表格中的表头单元格thead标签
表格中的表头信息tbody标签
表格的主体 <table border="1px">
<tr>
<th>序列</th>
<th>名称</th>
<th>单价</th>
<th>数量</th>
</tr>
<tr>
<td>01</td>
<td>可乐</td>
<td>3</td>
<td>50</td>
</tr>
</table>
显示的样子:
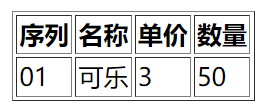
可以看到整个边框,就发现td和table和th都有边框,所以不好看,那么我们怎么设置呢?
cellspacing属性
    <table border="1px" width="300px" cellspacing="0px">
        <tr>
            <th>序列</th>
            <th>名称</th>
            <th>单价</th>
            <th>数量</th>
        </tr>
        <tr>
            <td>01</td>
            <td>可乐</td>
            <td>3</td>
            <td>50</td>
        </tr>
    </table>
样子:
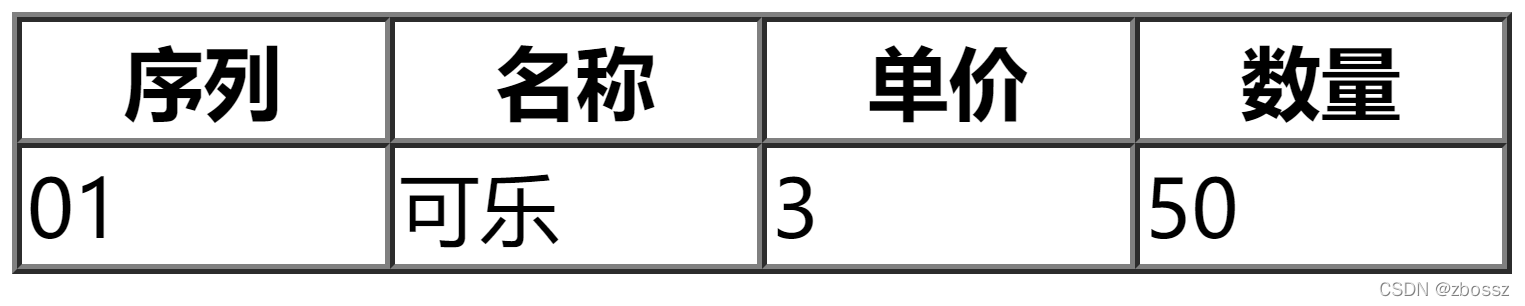
然后就发现文字的对齐方式不一样。
text-align
控制文字的对其方式。 style里面其实是css的代码。 <table border="1px" width="300px" cellspacing="0px" style="text-align: center">
<tr>
<th>序列</th>
<th>名称</th>
<th>单价</th>
<th>数量</th>
</tr>
<tr>
<td>01</td>
<td>可乐</td>
<td>3</td>
<td>50</td>
</tr>
</table>
这是样子:

rowspan属性
对table的行进行跨行合并。colspan属性
对table的列进行跨列合并。列表标签
无序列表标签ul 和li
ul:整个无序列表li:列表项
有序列表标签ol 和li
ol:整个有序列表li:列表项
    <ol>
        <li>e</li>
        <li>e</li>
        <li>e</li>
        <li>e</li>
    </ol>
    <ul>
        <li>e</li>
        <li>e</li>
        <li>e</li>
        <li>e</li>
    </ul>
自定义列表标签dl,dt和dd
dl:整个自定义列表dt:标题 dd:标题下的内容
    <dl>
        <dt>标题</dt>
        <dt>标题</dt>
        <dd>内容</dd>
        <dd>内容</dd>
        <dd>内容</dd>
        <dt>标题</dt>
        <dd>内容</dd>
    </dl>
表单标签
让用户输入,和用户交互。form标签
表示整个表单input标签
用户输入可以通过type来控制类型:
<form action="">
        <h1>time</h1>
        <input type="time">
        <h1>password</h1>
        <input type="password">
        <h1>color</h1>
        <input type="color">
        <h1>email</h1>
        <input type="email">
        <h1>submit</h1>
        <input type="submit">
        <h1>text</h1>
        <input type="text">
        <h1>button</h1>
        <input type="button">
        <h1>checkbox</h1>
        <input type="checkbox">
        <h1>radio</h1>
        <input type="radio">
        <h1>reset</h1>
        <input type="reset">
        <h1>date</h1>
        <input type="date">
        <h1>datetime-local</h1>
        <input type="datetime-local">
        <h1>file</h1>
        <input type="file">
        <h1>hidden</h1>
        <input type="hidden">
        <h1>image</h1>
        <input type="image">
        <h1>month</h1>
        <input type="month">
        <h1>number</h1>
        <input type="number">
        <h1>range</h1>
        <input type="range">
        <h1>search</h1>
        <input type="search">
        <h1>tel</h1>
        <input type="tel">
        <h1>url</h1>
        <input type="url">
        <h1>week</h1>
        <input type="week">
    </form>
对应的样式如下:

这边提一下type为radio的类型,它实际上是单选类型。可以在属性里面加入一个name属性,当他们的name属性相同时,具有相同name属性的选项只能选一个:
        <h1>radio</h1>
        <input type="radio" name="1">1
        <input type="radio" name="2">2
        <input type="radio" name="1">3
        <input type="radio" name="3">4
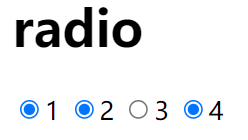
就比如这里的1和3,虽然他们的文本不相同,但是他们的name属性都是1,所以他们之间只能选一个。
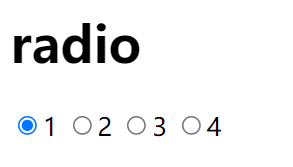
如果想加一个默认的选项,可以加checked属性:
        <h1>radio</h1>
        <input type="radio" name="1" checked="checked">1
        <input type="radio" name="2">2
        <input type="radio" name="1">3
        <input type="radio" name="3">4
这里默认打开的时候,1就被勾选上了
我们再来详细说一下button,它就是一个按钮:
        <h1>button</h1>
        <input type="button" value="有本事你点我!" onclick="alert('有本事你再点我?')">
一开始显示是这样子的。
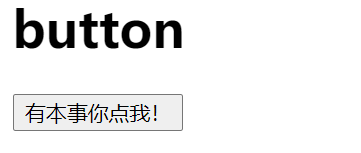
当我们点击之后,会弹出这个:

我们也要强调一下submit属性:
这就是提交的功能,会作为key传给你在form的action属性里面设置的网址。
我们再来强调一个file属性:
这个可以让我们上传本地文件,会弹出本地的文件窗口让我们选择文件。

textarea标签
多行文本框。文本框里面可以随意输入文本 代码:<textarea cols="30" rows="10"></textarea>

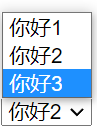
select标签
select其实是多选项的,是一种下拉框的选择器,里面的选项叫做option。 代码: <select name="" id="">
<option value="" >你好1</option>
<option value="" selected="selected">你好2</option>
<option value="">你好3</option>
</select>
selected和之前radio里面的checked意思是一样的,就是默认选加selected的位置。所以这里默认选择的是“你好2”。
label标签
代码: <h1>radio</h1>
<input type="radio" name="1" id="1"><label for="1">1</label>
<input type="radio" name="2" id="2"><label for="2">2</label>
<input type="radio" name="1" id="3"><label for="3">3</label>
<input type="radio" name="3" id="4"><label for="4">4</label>

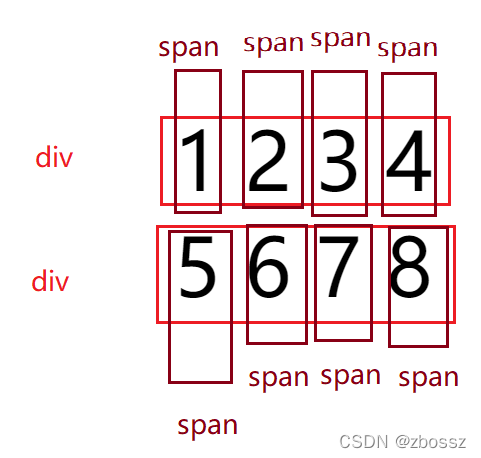
div标签
div独占一行span标签
独占一块 <div>
<span>1</span>
<span>2</span>
<span>3</span>
<span>4</span>
</div>
<div>
<span>5</span>
<span>6</span>
<span>7</span>
<span>8</span>
</div>

 浙公网安备 33010602011771号