zabbix自定义监控
目录
自定义监控进程
配置监控脚本
首先我们可以在被监控端,开启httpd服务,以便监控
//在被监控端
//先修改配置文件
[root@localhost ~]# vim /usr/local/etc/zabbix_agentd.conf
UnsafeUserParameters=1
UserParameter=check_process[*],/bin/bash /scripts/check_process.sh $1
[root@localhost ~]# pkill zabbix
[root@localhost ~]# zabbix_agentd
[root@localhost ~]# ss -anlt
State   Recv-Q  Send-Q   Local Address:Port      Peer Address:Port  Process
LISTEN  0       128            0.0.0.0:22             0.0.0.0:*
LISTEN  0       100          127.0.0.1:25             0.0.0.0:*
LISTEN  0       128            0.0.0.0:10050          0.0.0.0:*
LISTEN  0       128               [::]:22                [::]:*
LISTEN  0       100              [::1]:25                [::]:*
LISTEN  0       128                  *:80                   *:*

//编写脚本
[root@localhost ~]# mkdir /scripts
[root@localhost ~]# vim /scripts/check_process.sh
#!/bin/bash
count=`ps -ef| grep $1 |grep -Ev "grep|$0" |wc -l`
if [ $count == 0 ];then
        echo "1"
else
        echo "0"
fi

[root@localhost ~]# chmod +x /scripts/check_process.sh
[root@localhost ~]# ll /scripts/check_process.sh
-rwxr-xr-x. 1 root root 132 Sep  7 00:51 /scripts/check_process.sh

//去服务端检查key是否可用
[root@localhost ~]# zabbix_get -s 192.168.26.142 -k check_process[httpd]
0
[root@localhost ~]# zabbix_get -s 192.168.26.142 -k check_process[mysql]
1
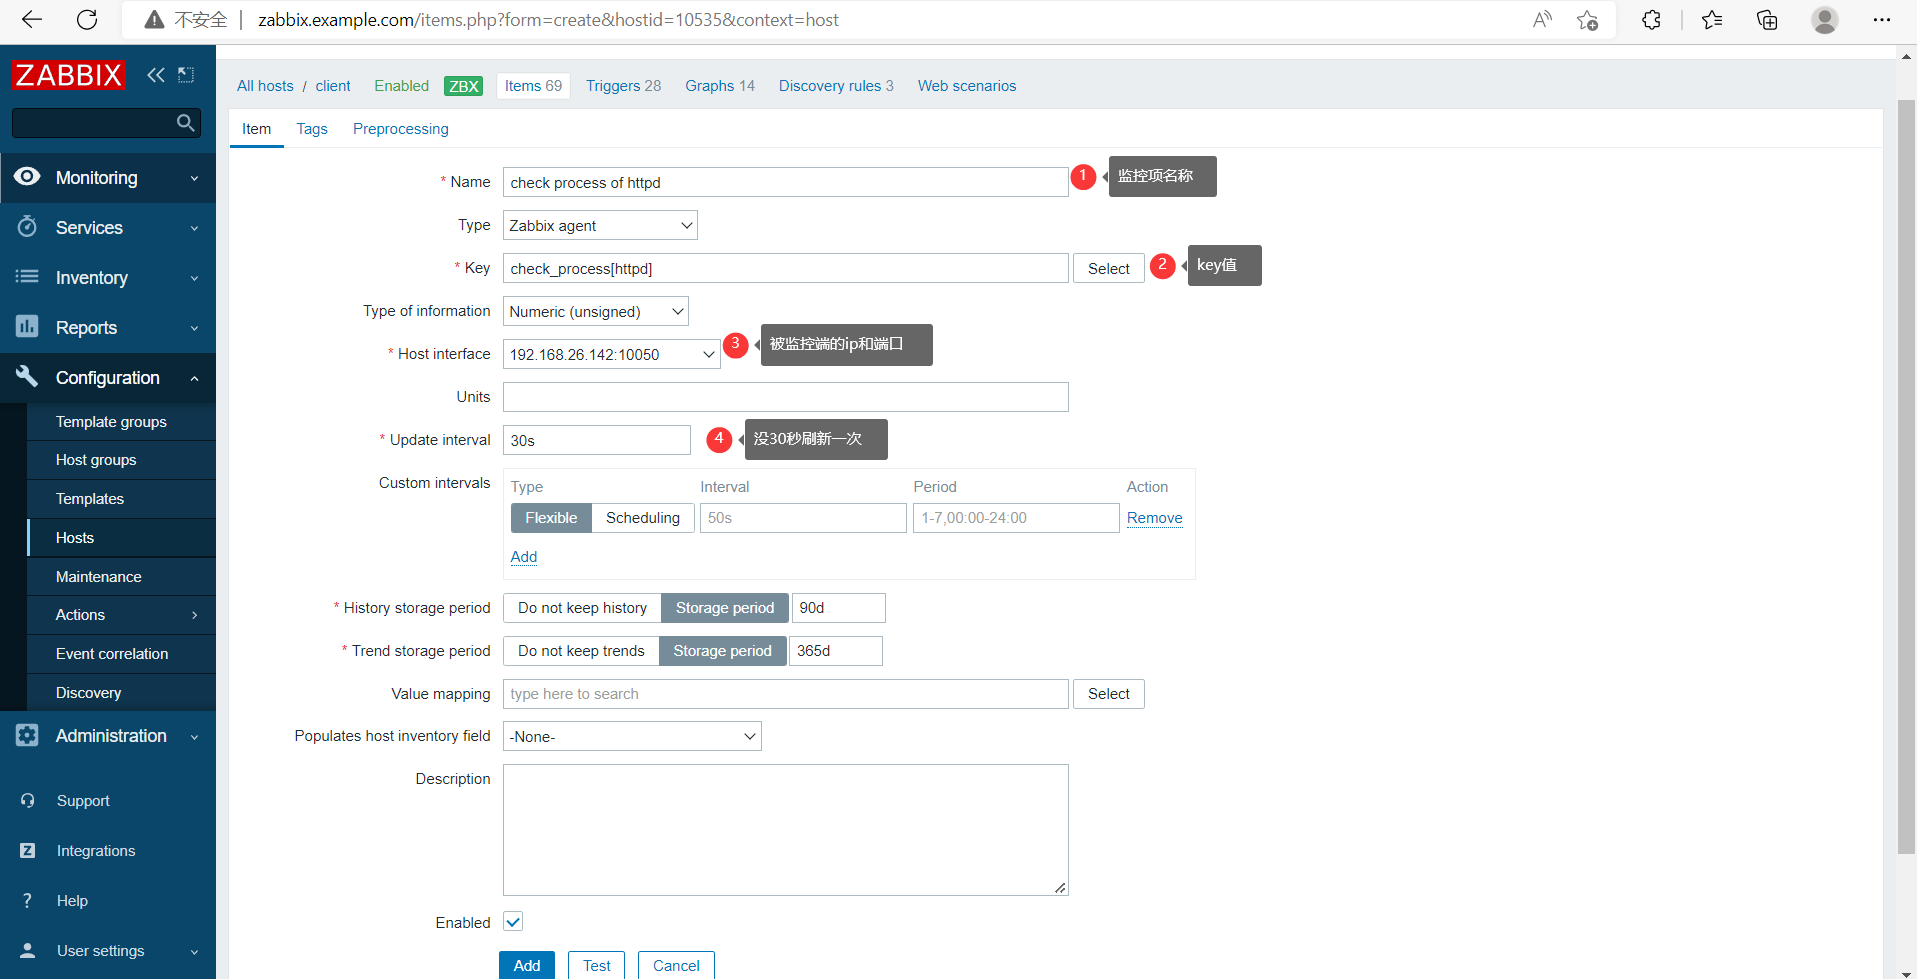
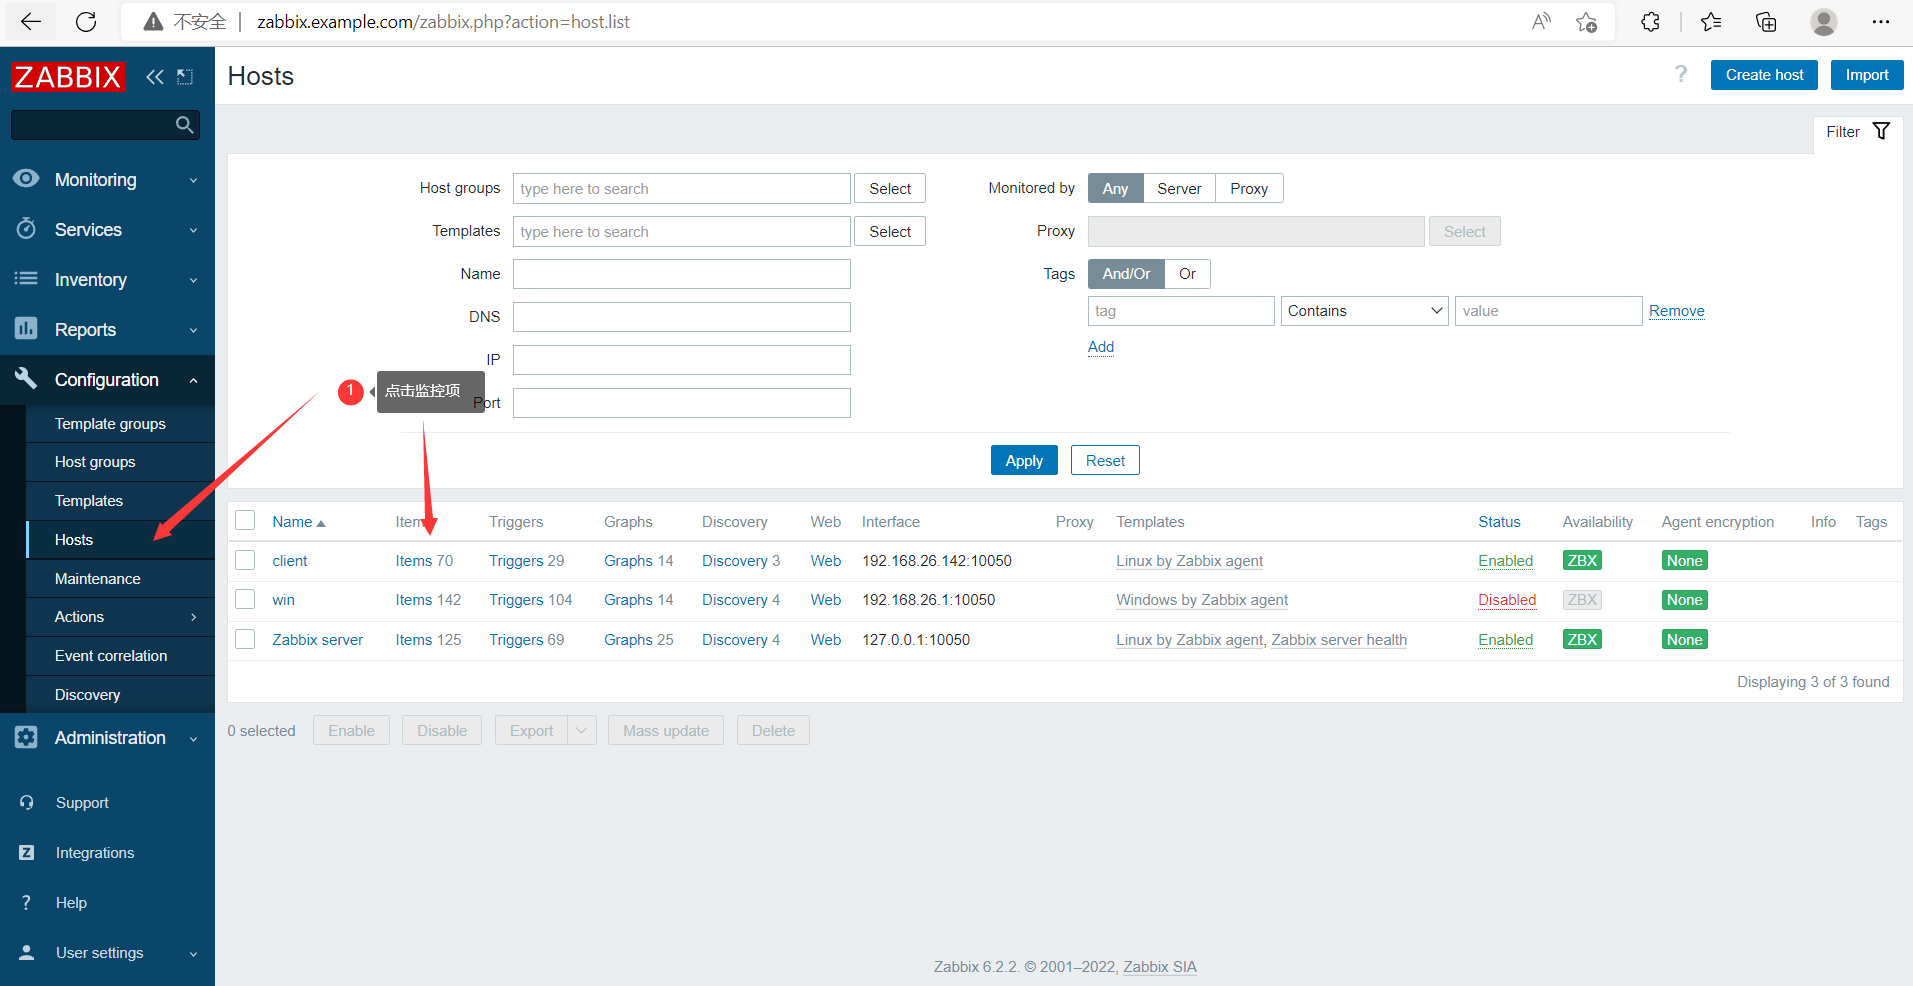
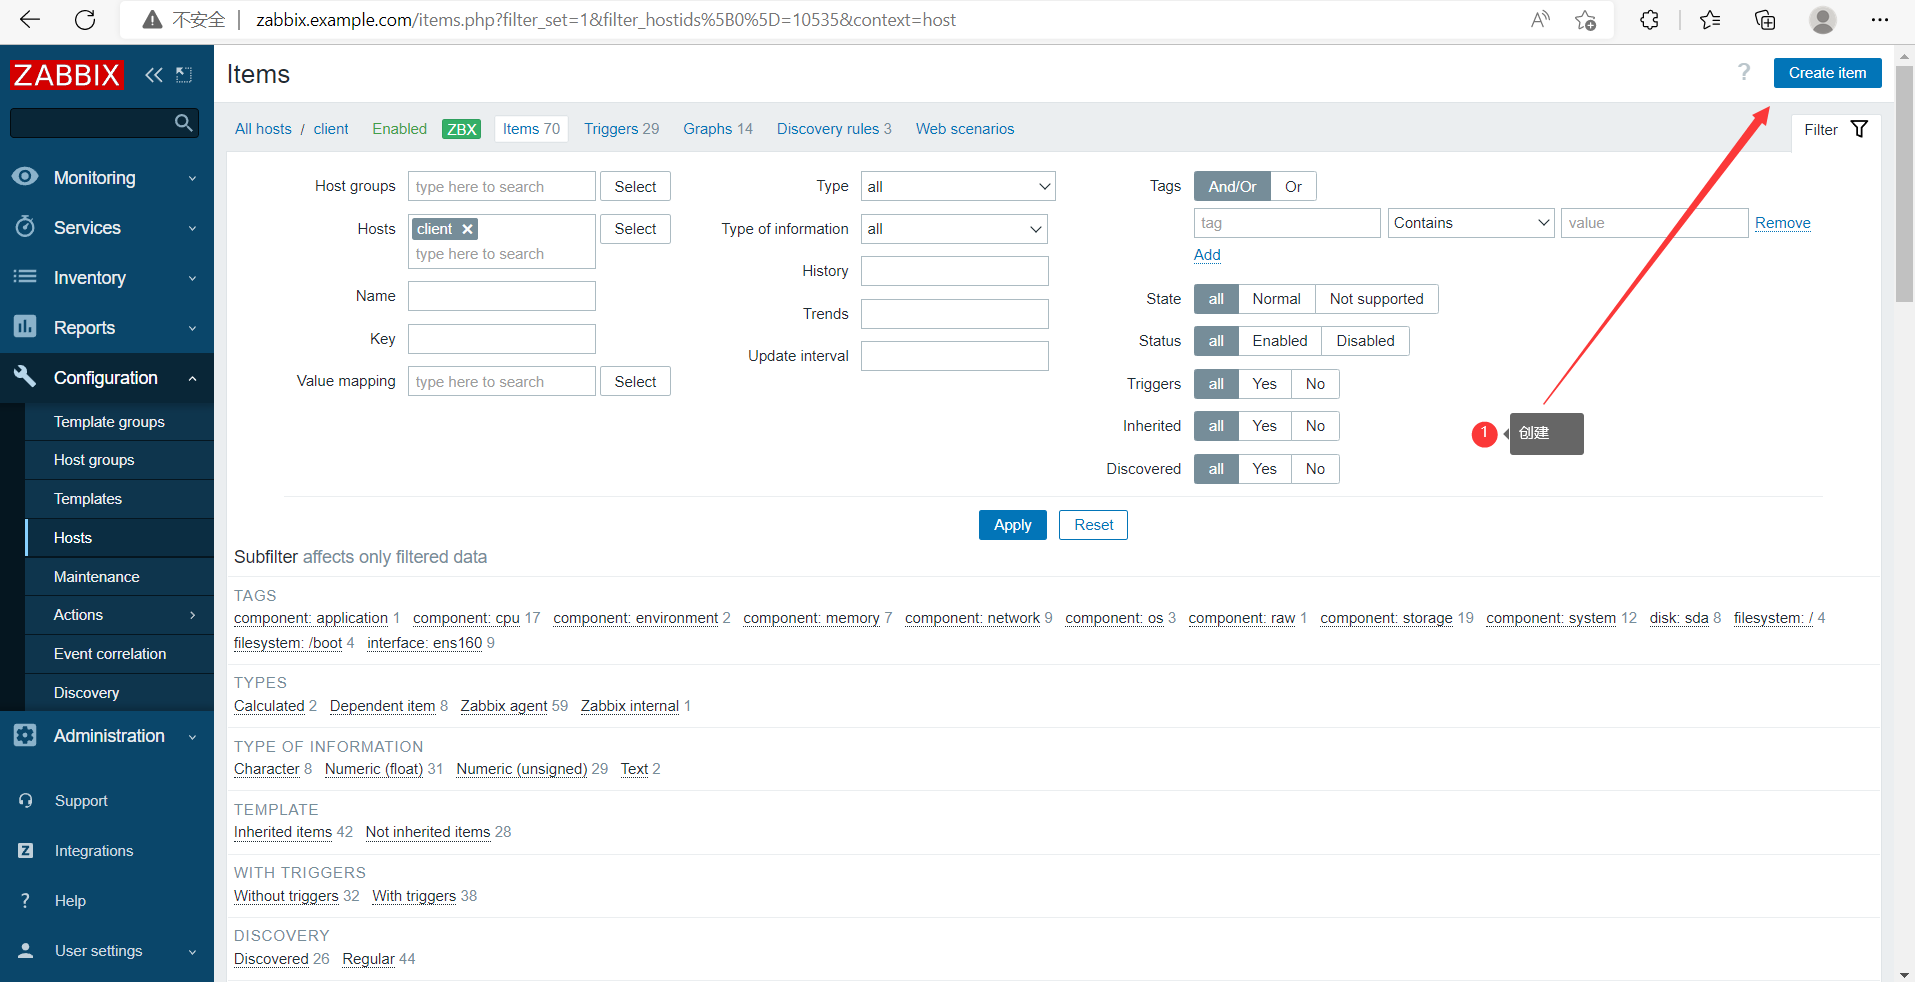
添加监控项


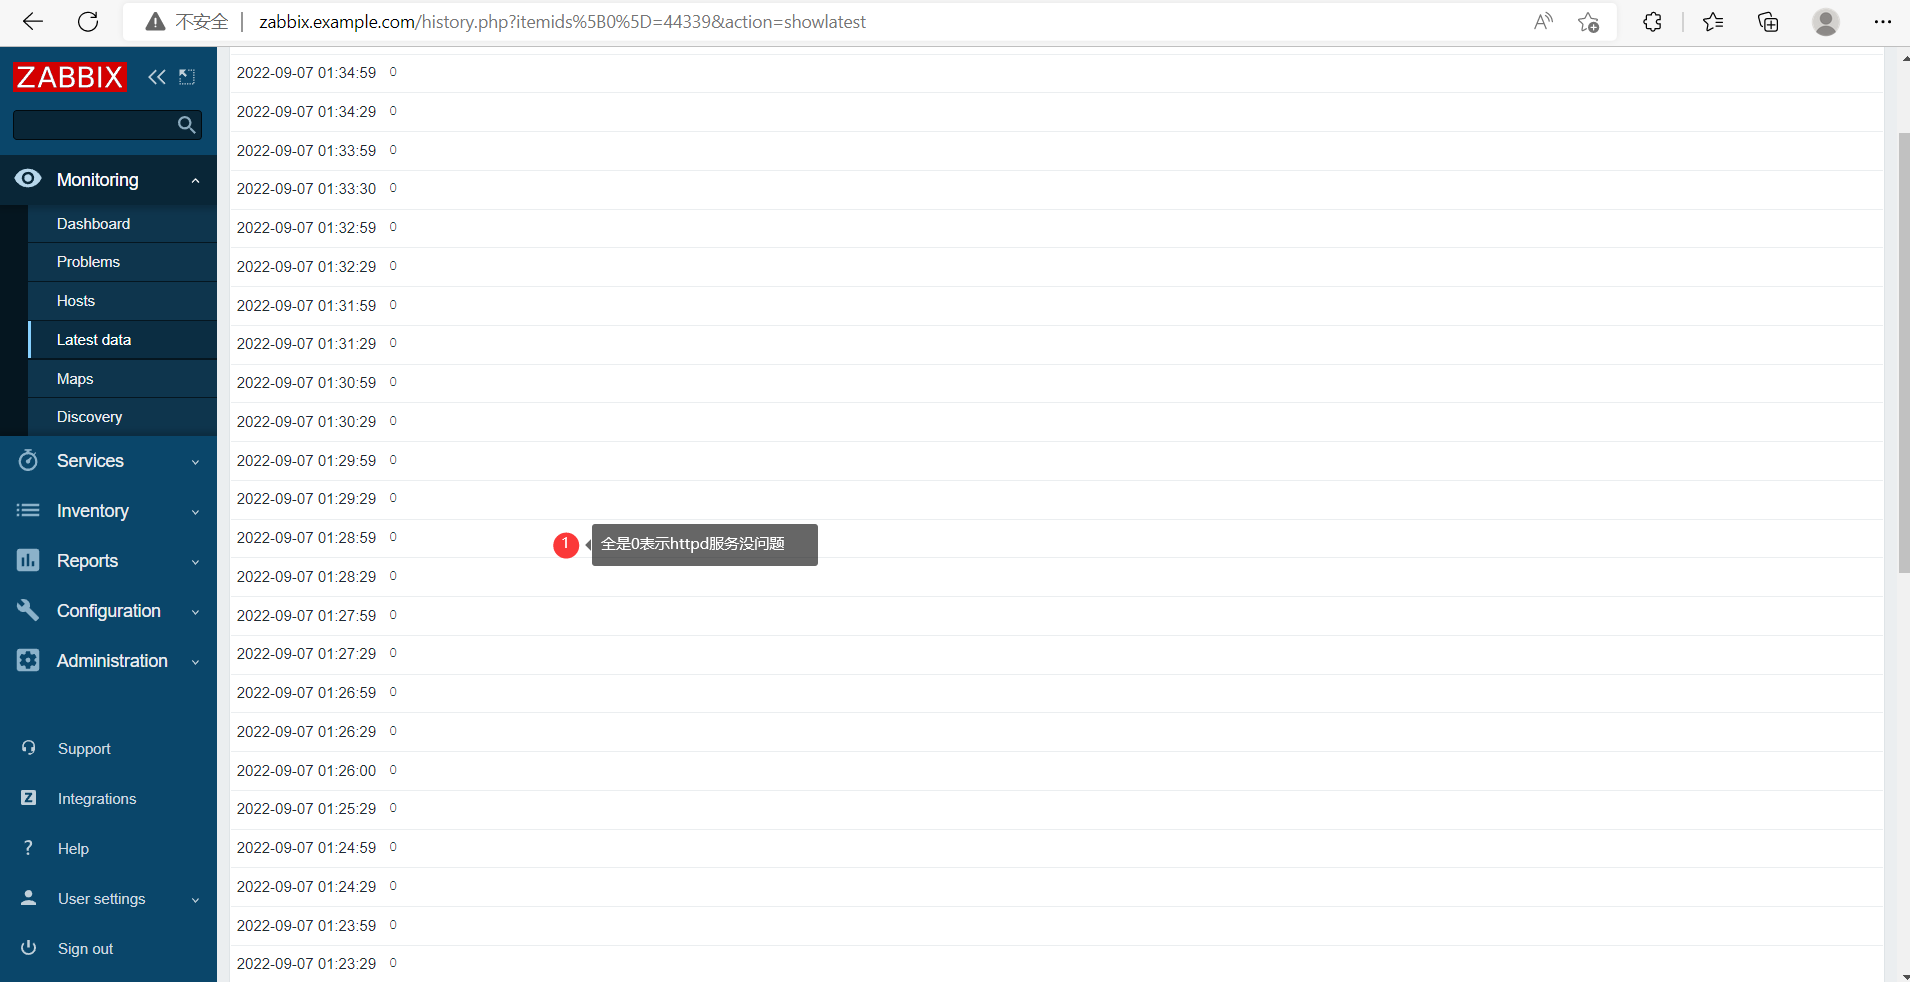
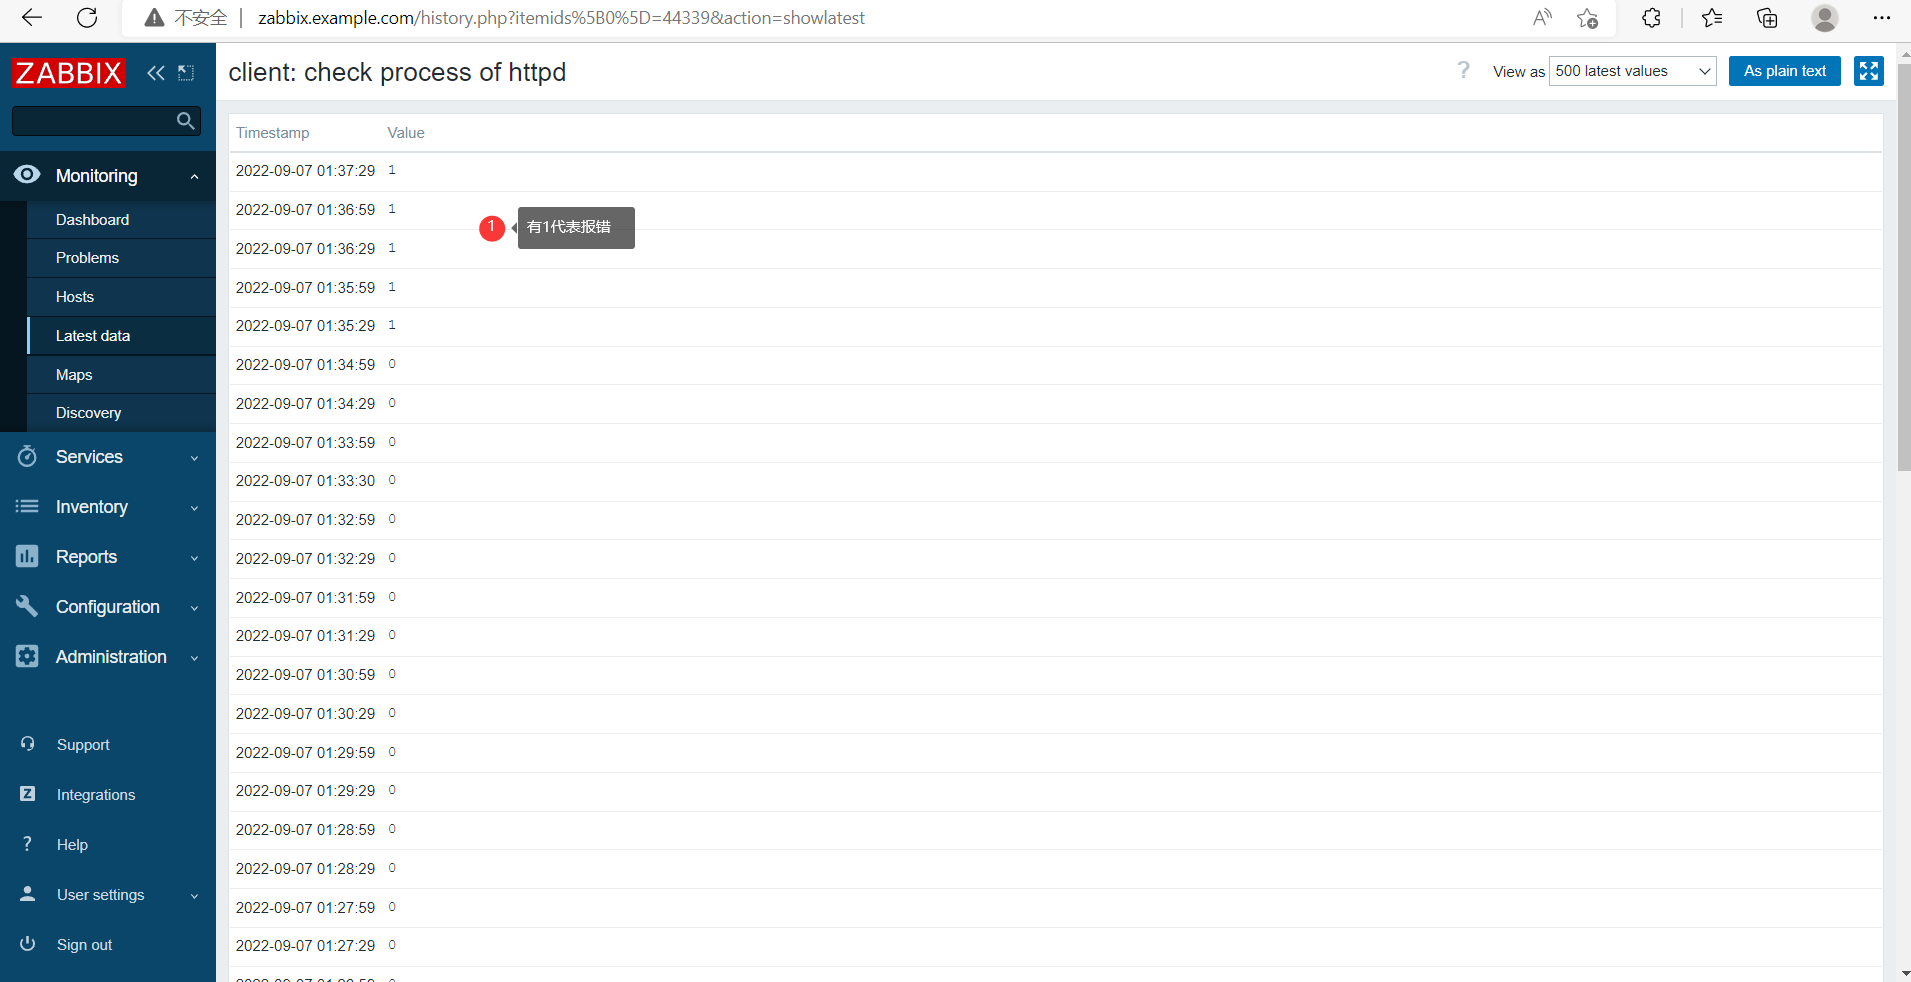
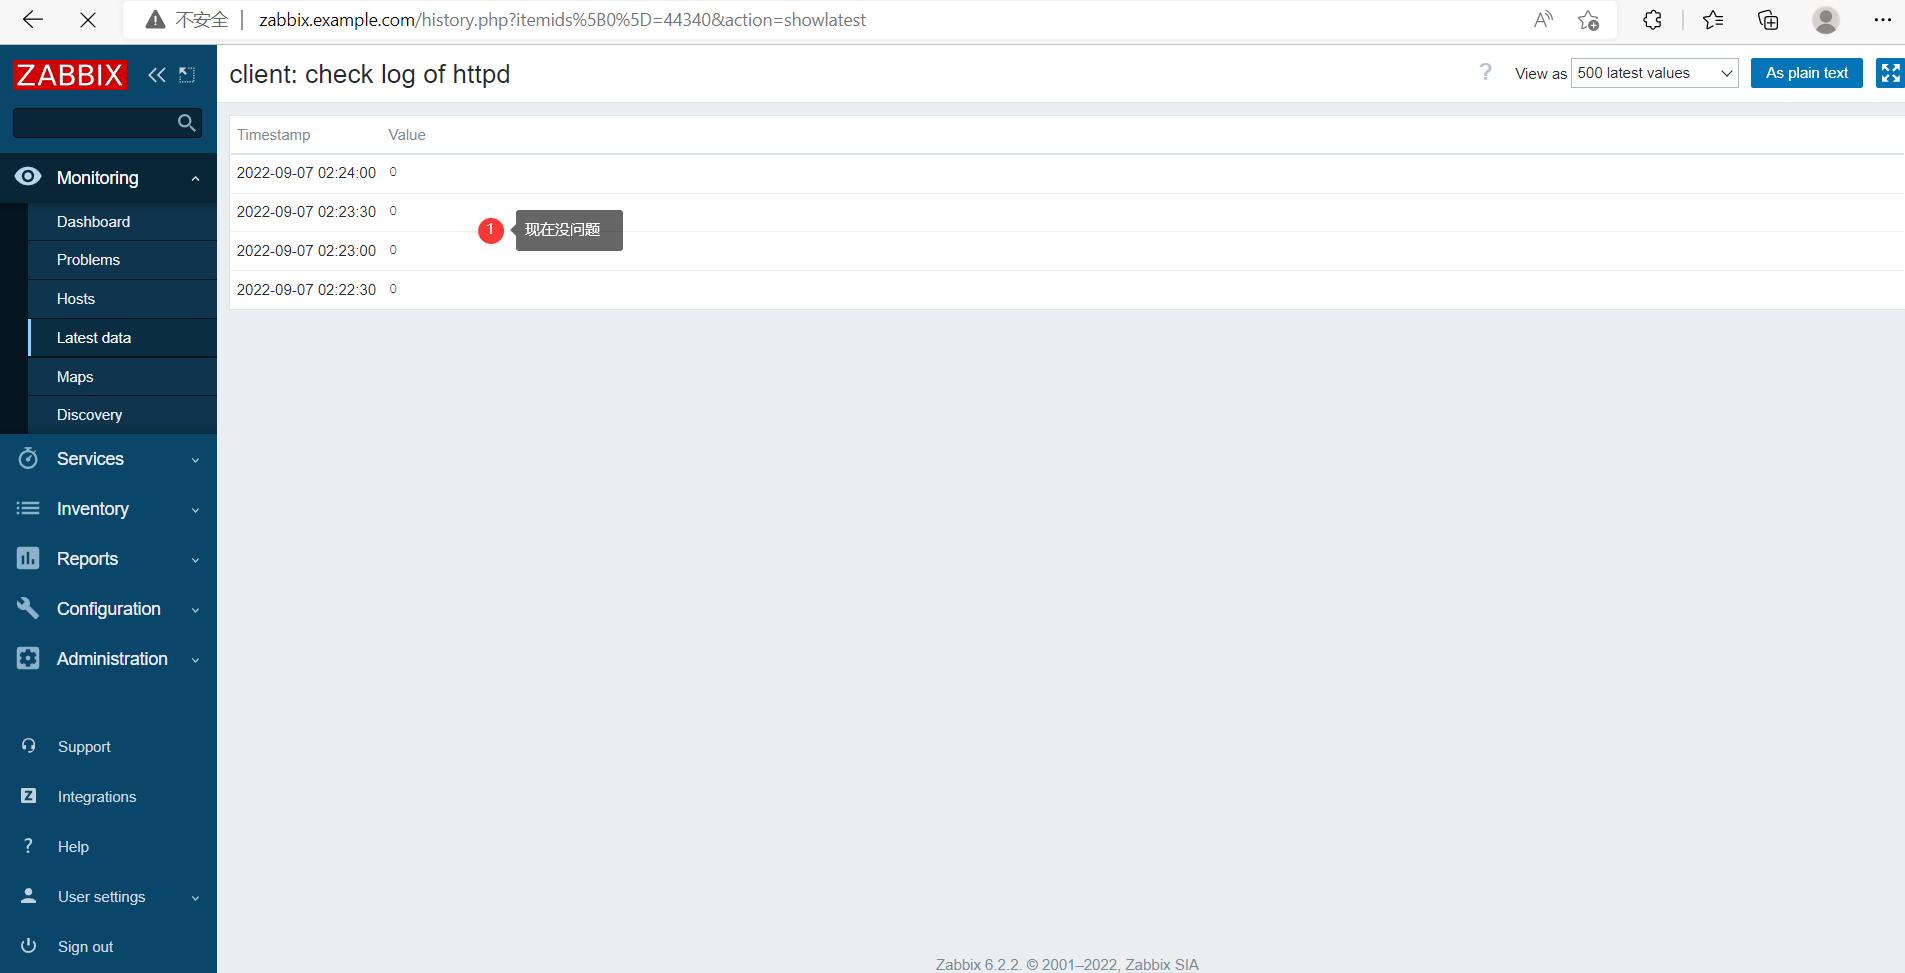
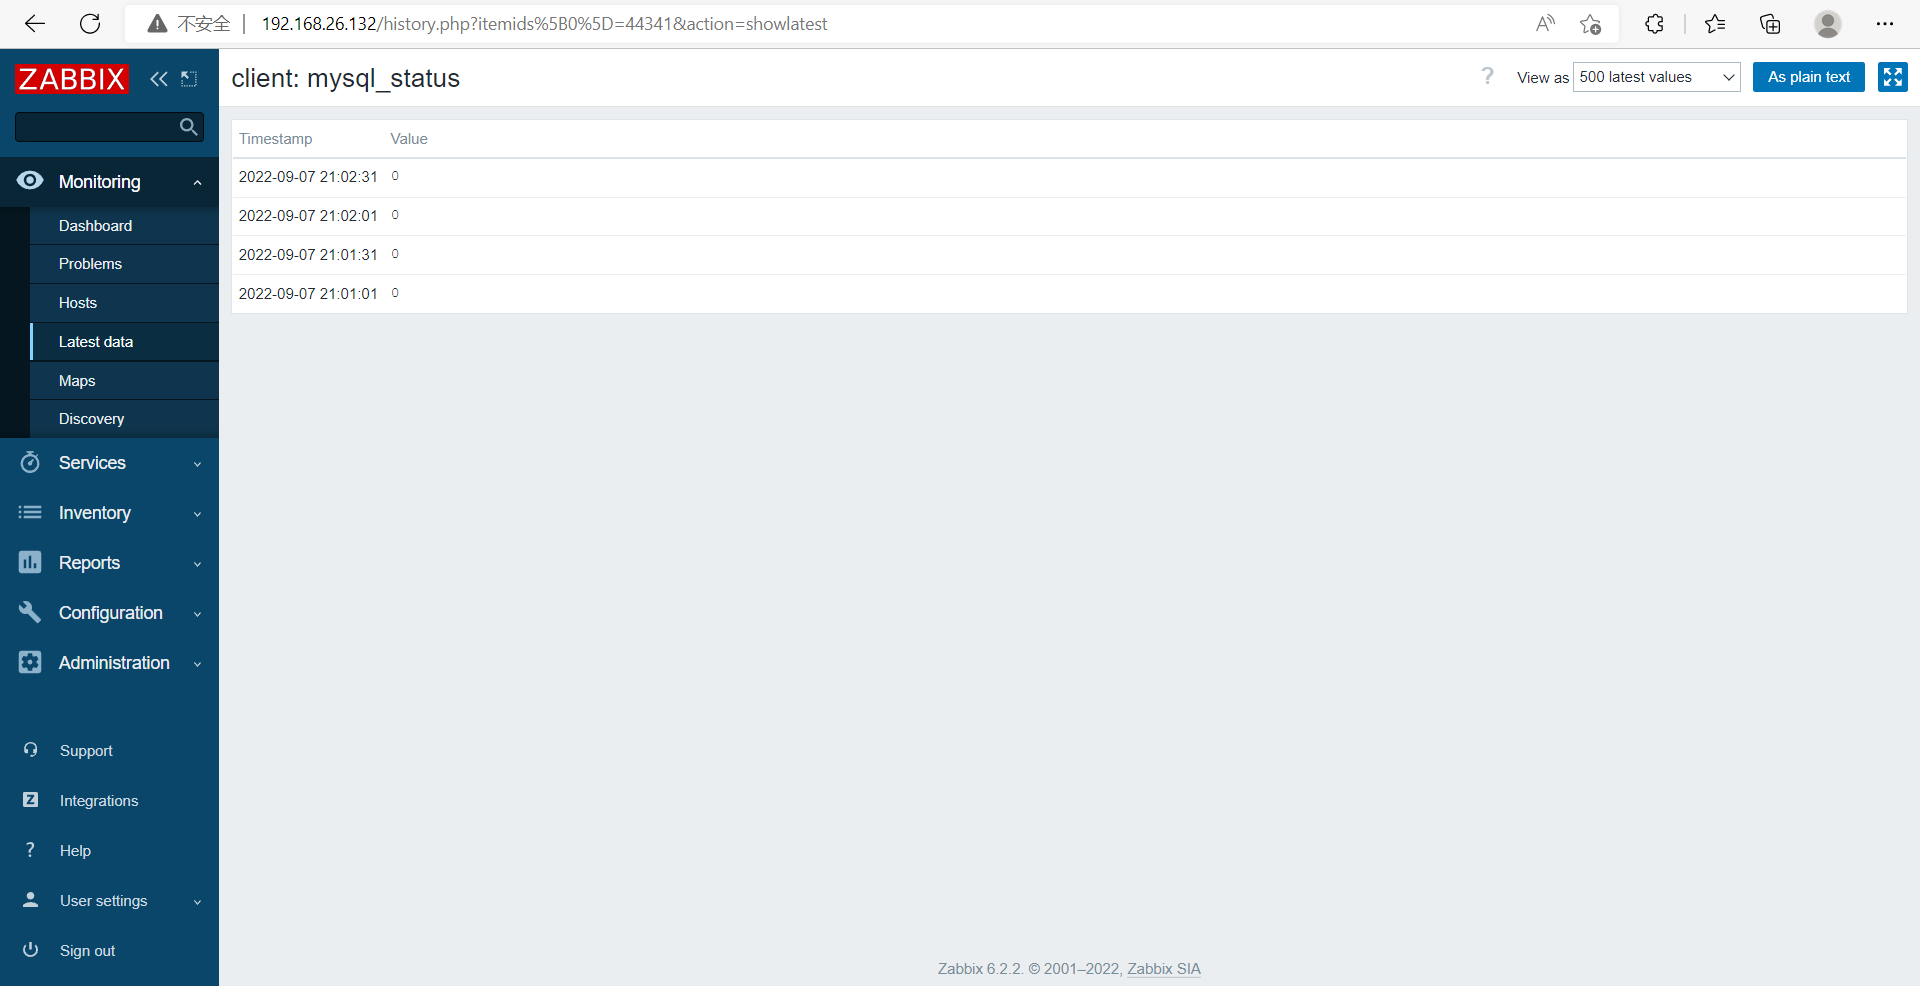
查看监控的数据
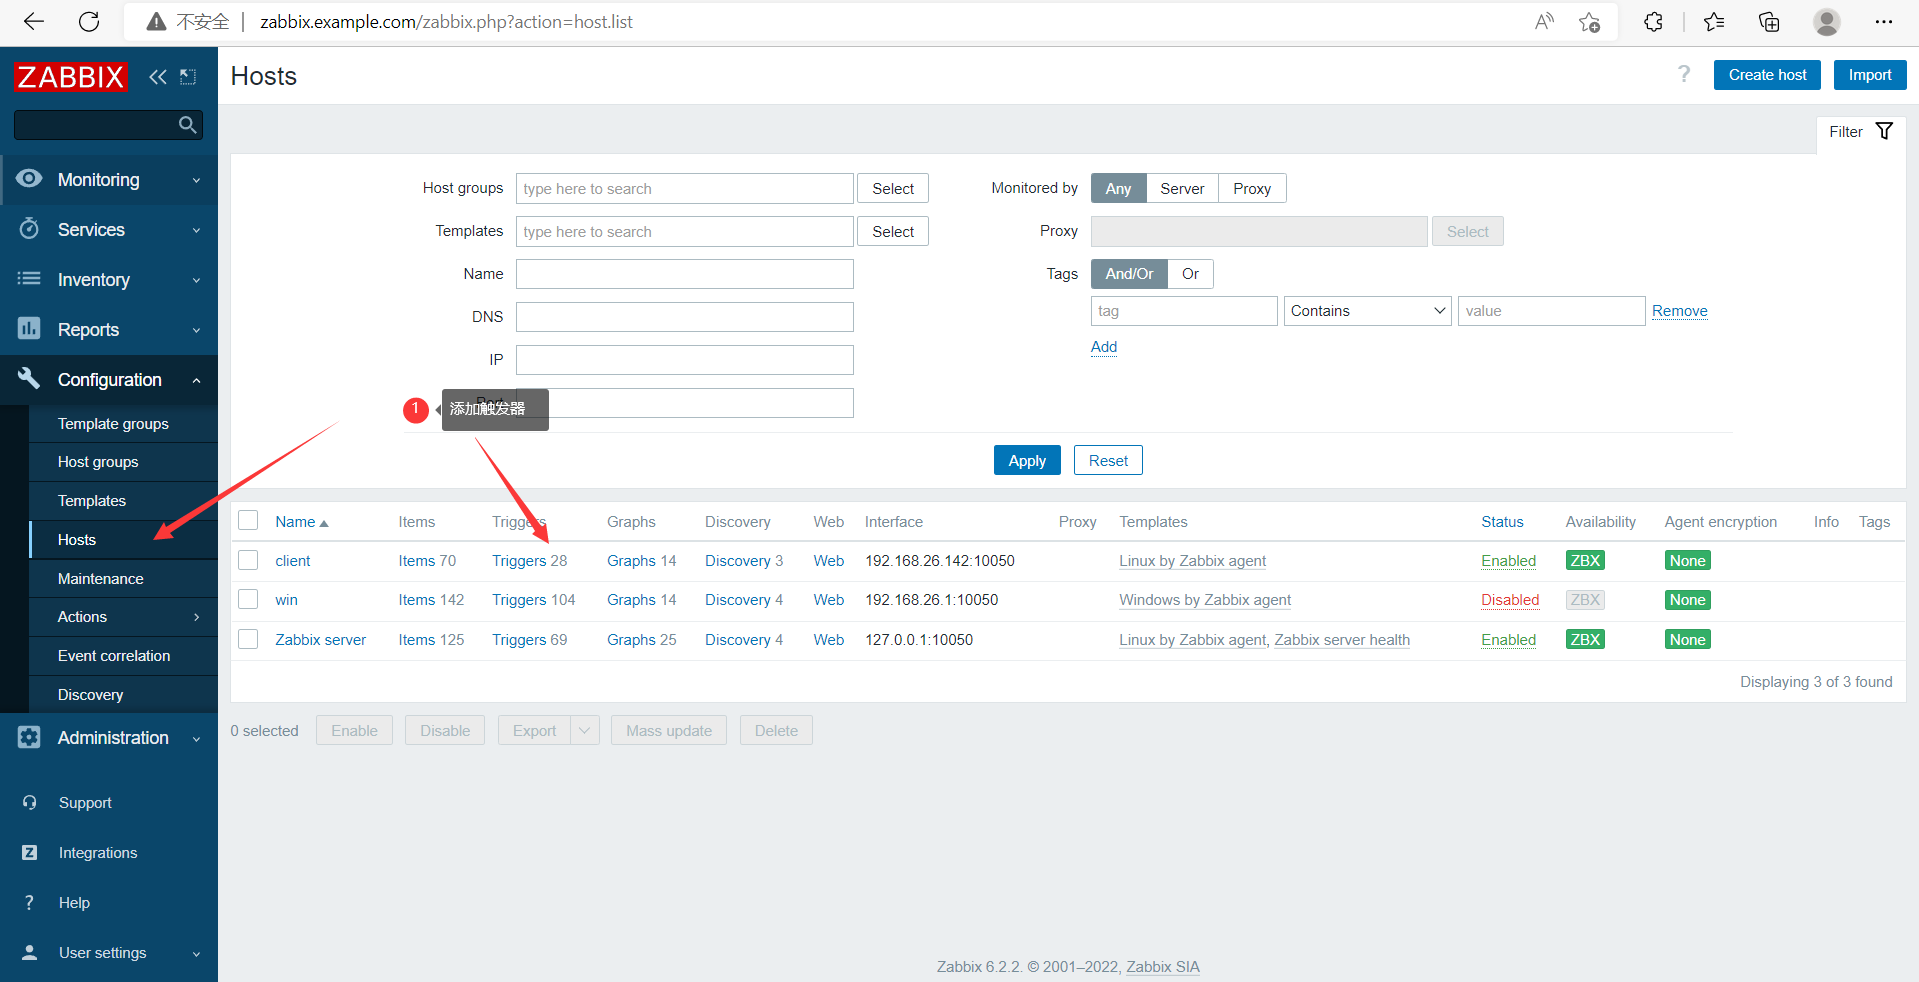
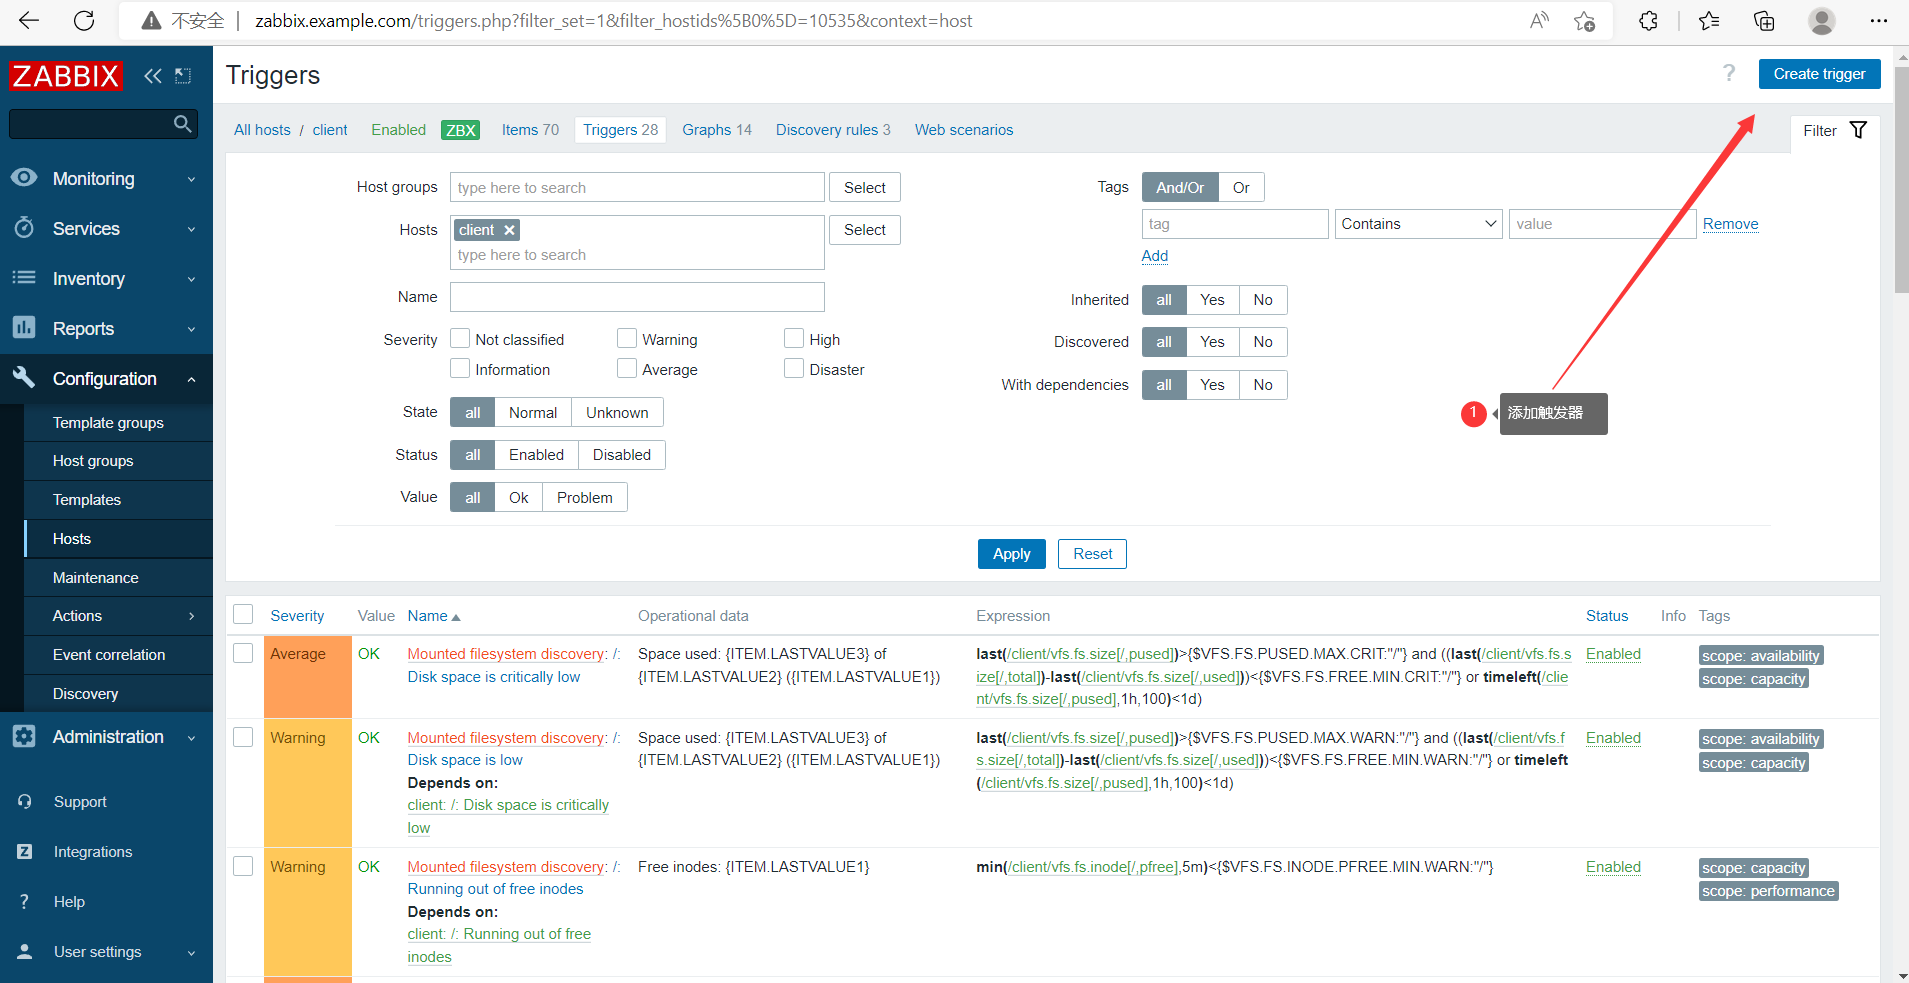
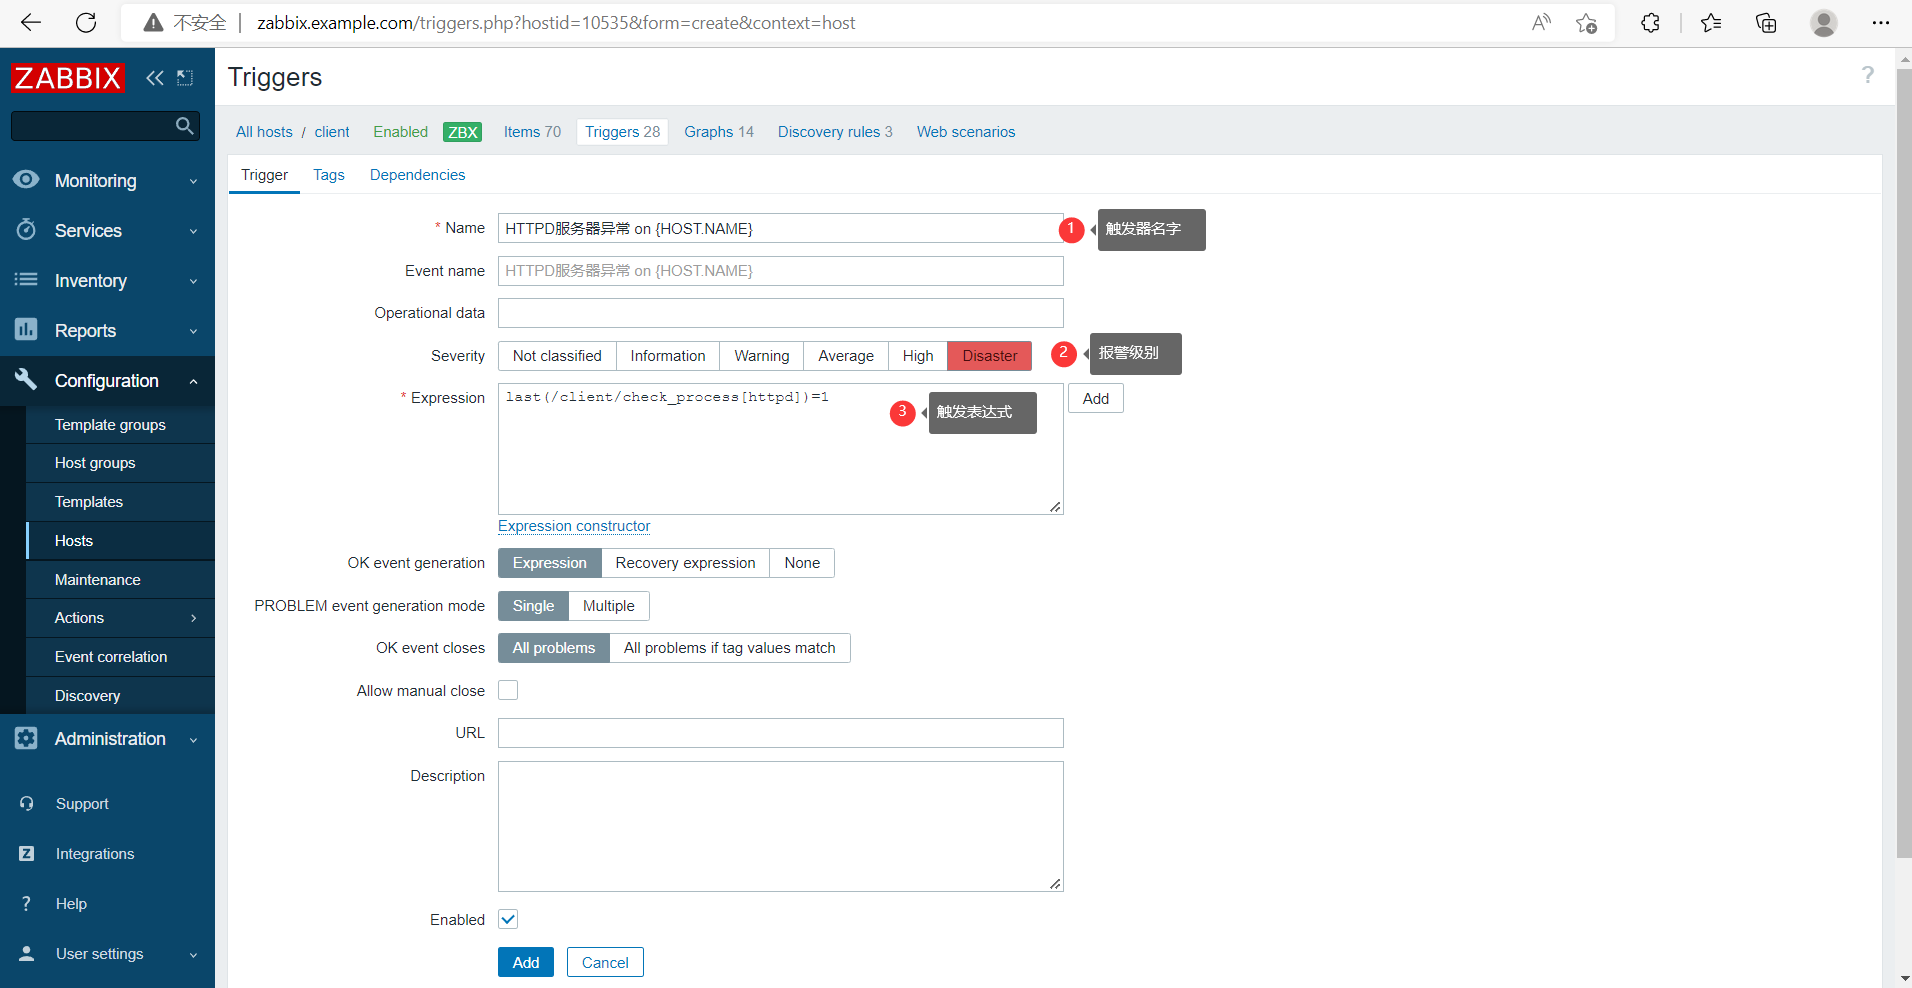
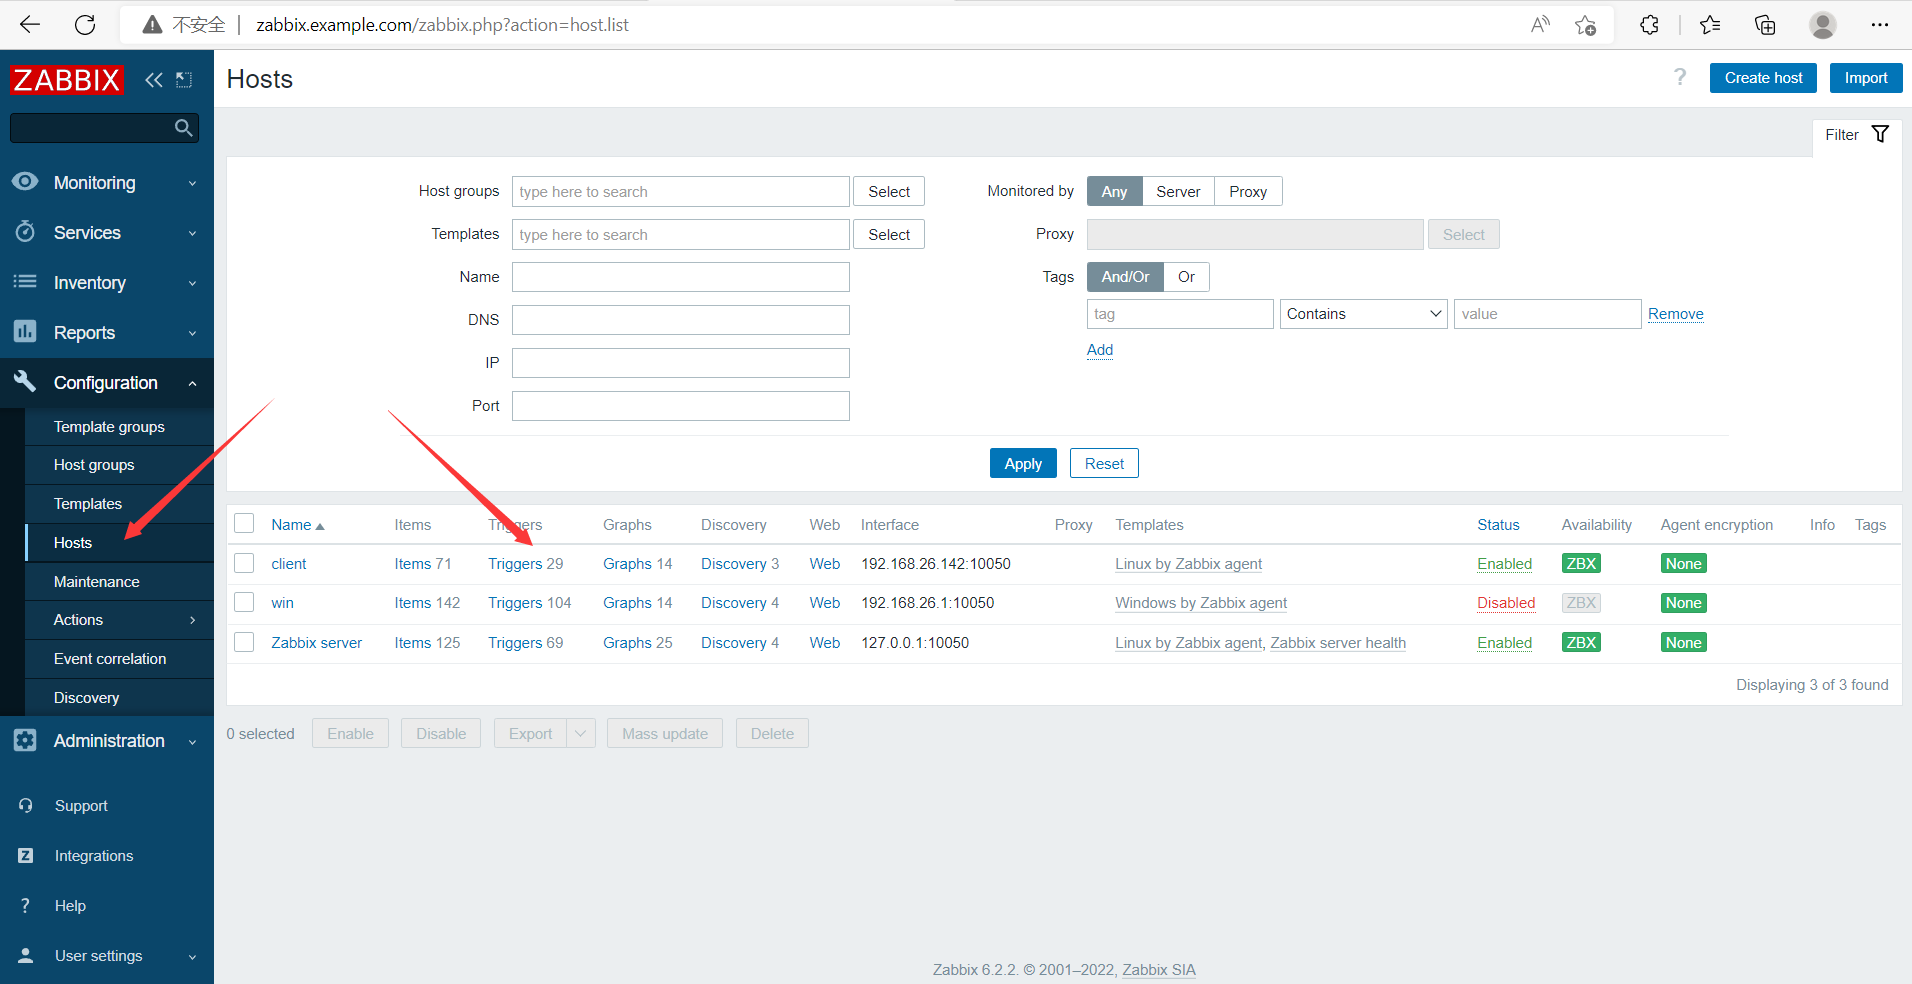
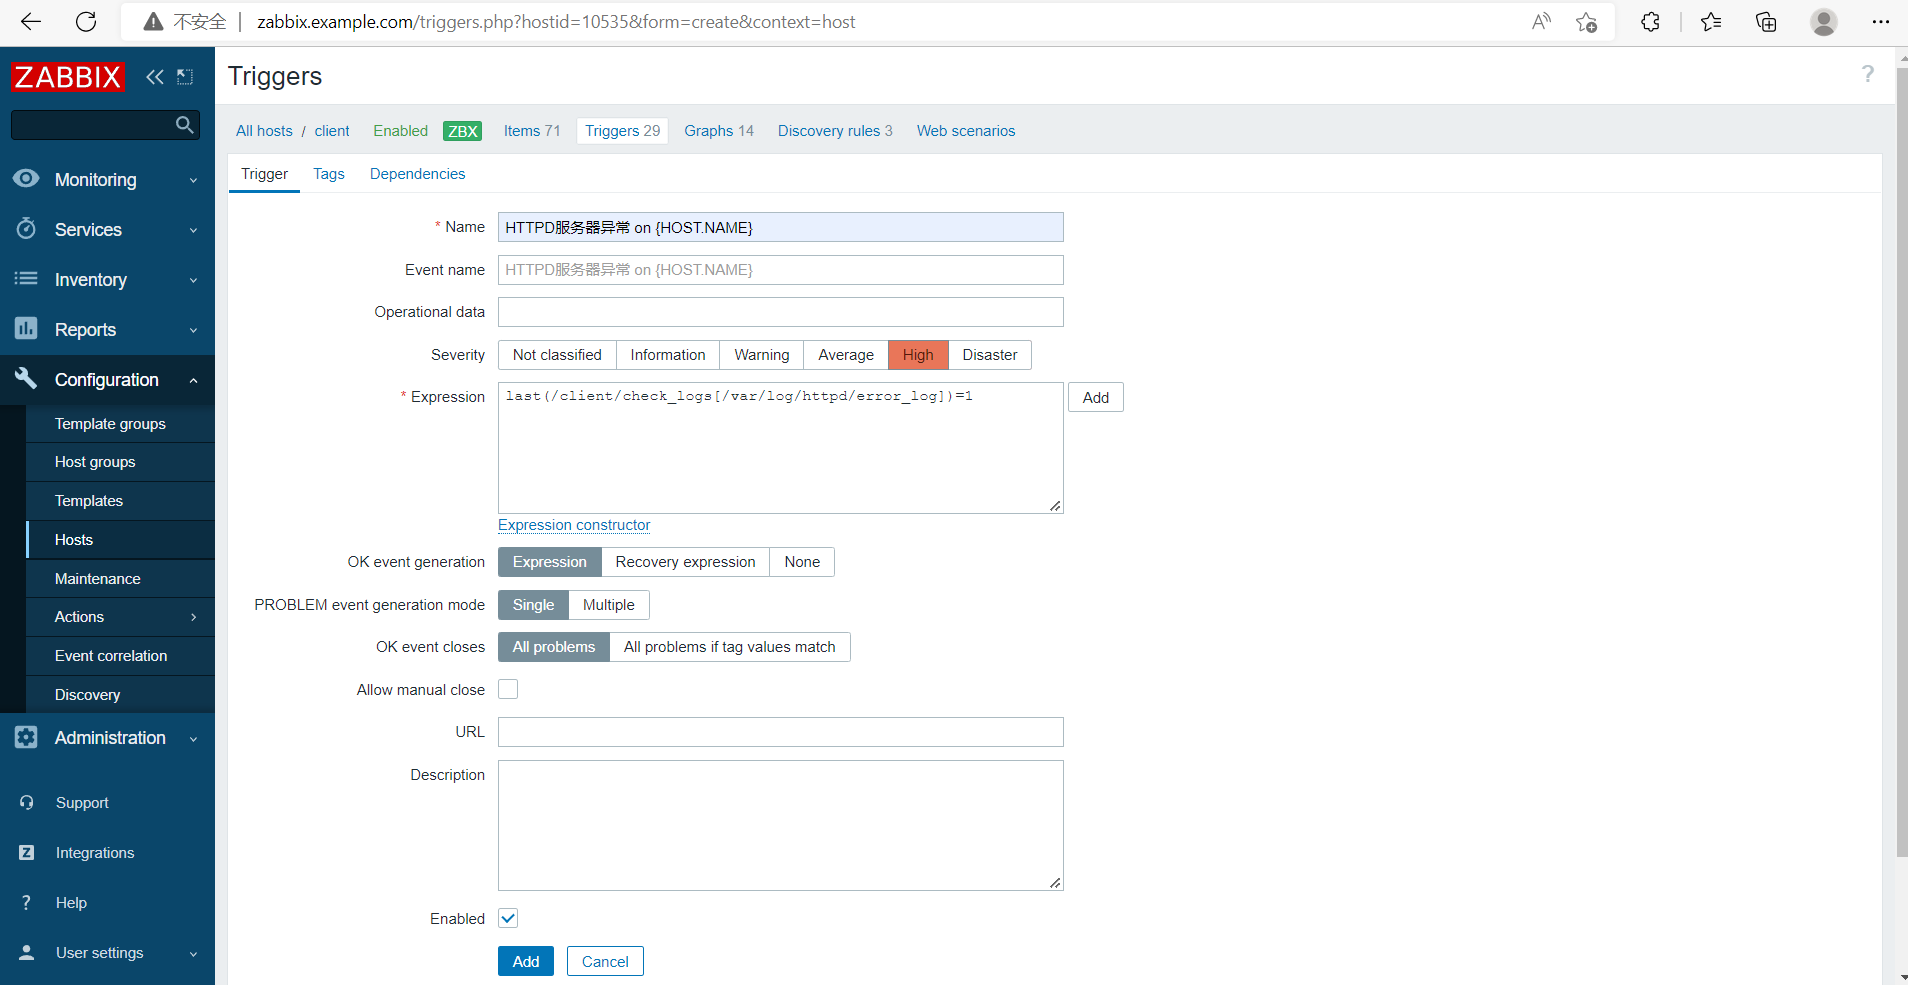
添加触发器
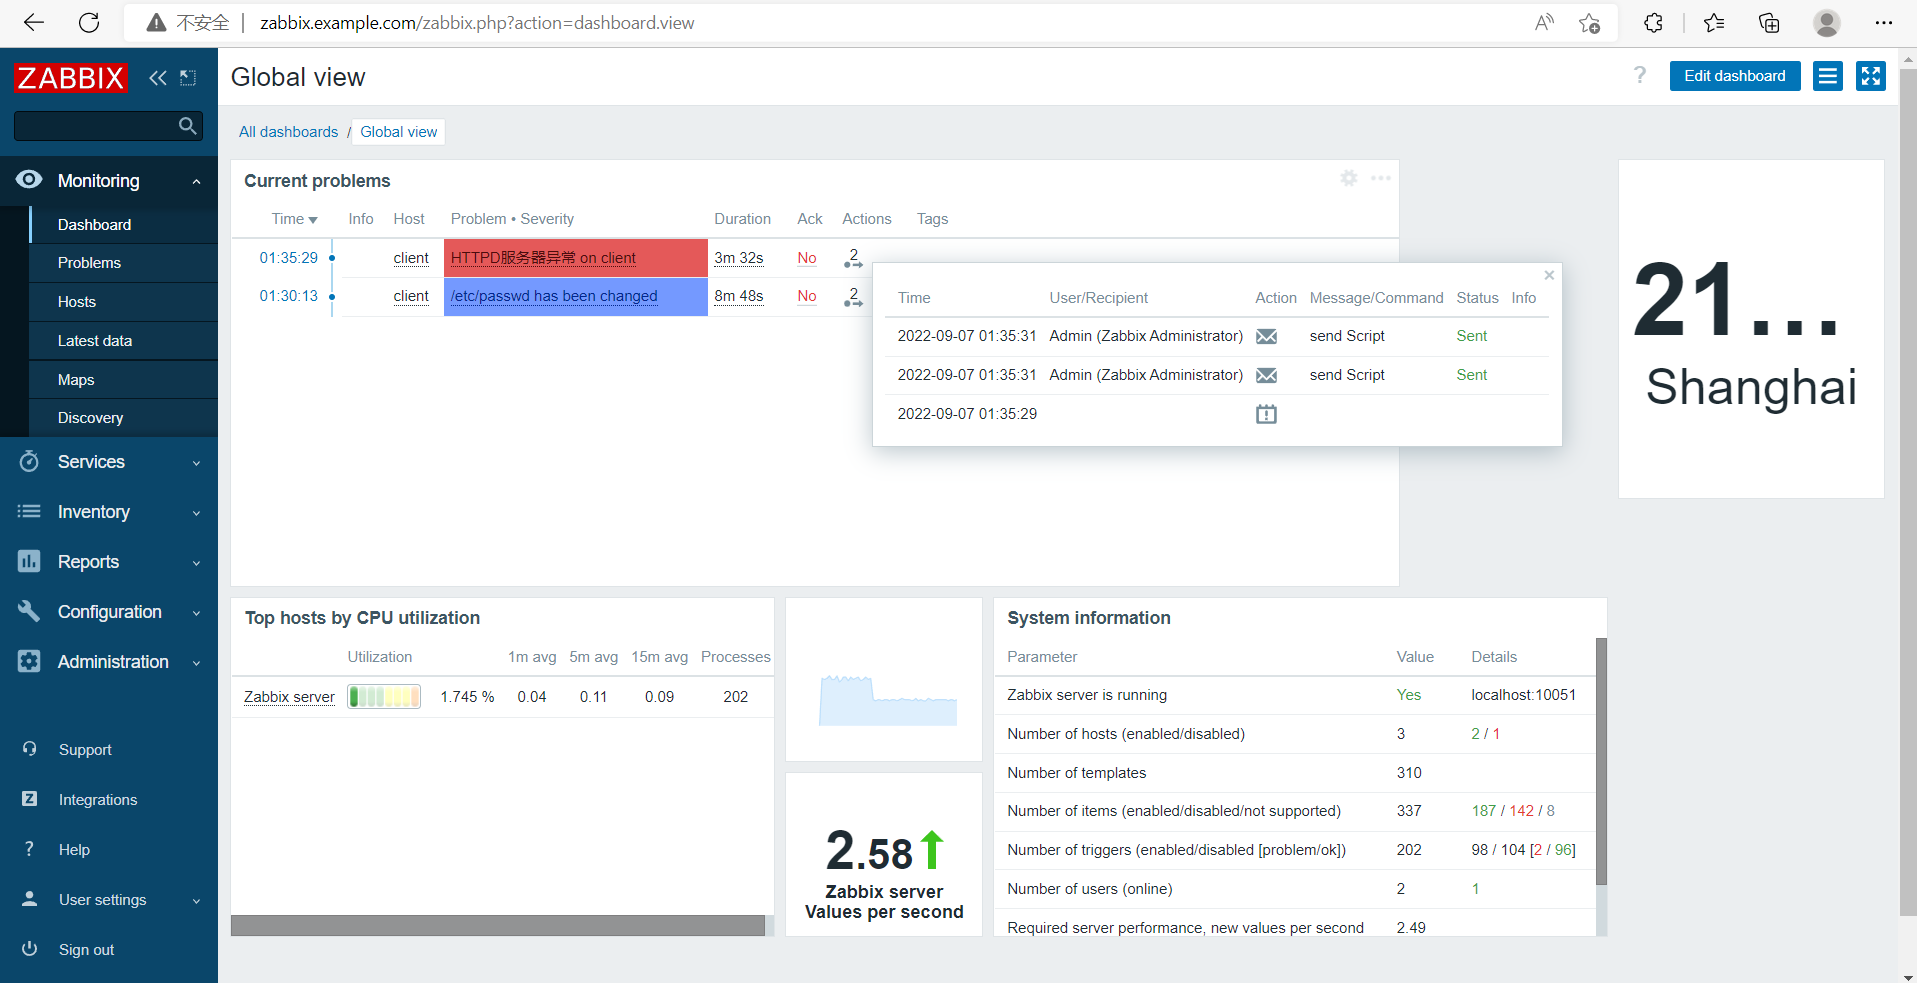
手动关闭httpd服务,触发报警
[root@localhost ~]# systemctl stop httpd

自定义监控日志
//编写脚本
[root@localhost ~]# cd /scripts/
[root@localhost scripts]# vim log.py
#!/usr/bin/env python3
import sys
import re

def prePos(seekfile):
    global curpos
    try:
        cf = open(seekfile)
    except IOError:
        curpos = 0
        return curpos
    except FileNotFoundError:
        curpos = 0
        return curpos
    else:
        try:
            curpos = int(cf.readline().strip())
        except ValueError:
            curpos = 0
            cf.close()
            return curpos
        cf.close()
    return curpos

def lastPos(filename):
    with open(filename) as lfile:
        if lfile.readline():
            lfile.seek(0,2)
        else:
            return 0
        lastPos = lfile.tell()
    return lastPos

def getSeekFile():
    try:
        seekfile = sys.argv[2]
    except IndexError:
        seekfile = '/tmp/logseek'
    return seekfile

def getKey():
    try:
        tagKey = str(sys.argv[3])
    except IndexError:
        tagKey = 'Error'
    return tagKey

def getResult(filename,seekfile,tagkey):
    destPos = prePos(seekfile)
    curPos = lastPos(filename)

    if curPos < destPos:
        curpos = 0

    try:
        f = open(filename)
    except IOError:
        print('Could not open file: %s' % filename)
    except FileNotFoundError:
        print('Could not open file: %s' % filename)
    else:
        f.seek(destPos)

        while curPos != 0 and f.tell() < curPos:
            rresult = f.readline().strip()
            global result
            if re.search(tagkey, rresult):
                result = 1
                break
            else:
                result = 0

        with open(seekfile,'w') as sf:
            sf.write(str(curPos))
    finally:
        f.close()
    return result

if __name__ == "__main__":
    result = 0
    curpos = 0
    tagkey = getKey()
    seekfile = getSeekFile()
    result = getResult(sys.argv[1],seekfile,tagkey)
    print(result)

//由于是python脚本,还需按照python环境
[root@localhost ~]# dnf -y install python36
[root@localhost ~]# chmod +x /scripts/log.py
用httpd的错误日志来监控
//修改配置文件
[root@localhost ~]# vim /usr/local/etc/zabbix_agentd.conf
UserParameter=check_logs[*],/scripts/log.py $1 $2 $3

[root@localhost ~]# pkill zabbix_agentd
[root@localhost ~]# zabbix_agentd

//给/var/log/httpd目录没有执行权限,我们需要给他添加权限
[root@localhost ~]# ll -d /var/log/httpd/
drwx------. 2 root root 41 Sep  7 01:19 /var/log/httpd/
[root@localhost ~]# chmod 755 /var/log/httpd/
[root@localhost ~]# ll -d /var/log/httpd/
drwxr-xr-x. 2 root root 41 Sep  7 01:19 /var/log/httpd/
[root@localhost ~]# ll  /var/log/httpd/
total 8
-rw-r--r--. 1 root root    0 Sep  7 01:19 access_log
-rw-r--r--. 1 root root 4552 Sep  7 01:50 error_log

//给httpd的error日志,添加一个错误信息
[root@localhost ~]# echo "Error123456" >> /var/log/httpd/error_log


//去服务端检测key是否可用
[root@localhost ~]# zabbix_get -s 192.168.26.142 -k check_logs[/var/log/httpd/error_log]
1
添加监控项

添加触发器

手动添加错误日志,触发报警
[root@localhost ~]# echo "Error123" >> /var/log/httpd/error_log


自定义监控MySQL主从状态
首先得配置myslq主从,详情请看mysql主从配置
然后在从库上,安装zabbix_agentd
主从同步完成
[root@localhost ~]# mysql -uroot -p123456 -e " show slave status\G"
mysql: [Warning] Using a password on the command line interface can be insecure.
*************************** 1. row ***************************
               Slave_IO_State: Waiting for master to send event
                  Master_Host: 192.168.26.138
                  Master_User: repl
                  Master_Port: 3306
                Connect_Retry: 60
              Master_Log_File: mysql-bin.000001
          Read_Master_Log_Pos: 154
               Relay_Log_File: mysql-relay-bin.000002
                Relay_Log_Pos: 320
        Relay_Master_Log_File: mysql-bin.000001
             Slave_IO_Running: Yes
            Slave_SQL_Running: Yes
我们需要的就是监控IO和SQL线程
配置监控脚本
//在被监控端,也就是从库,首先修改配置文件
[root@localhost ~]# vim /usr/local/etc/zabbix_agentd.conf
UserParameter=check_mysql_status,/bin/bash /scripts/mysql_status.sh

//重启服务生效配置
[root@localhost ~]# pkill zabbix_agentd
[root@localhost ~]# zabbix_agentd


//编写脚本
[root@localhost ~]# cd /scripts/
[root@localhost scripts]# vim mysql_status.sh
#!/bin/bash
yes=`mysql -uroot -p123456 -e " show slave status\G" 2> /dev/null |grep "Running:"|grep -c "Yes"`
if [ $yes == 2  ]; then
        echo "0"
else
        echo "1"
fi

[root@localhost scripts]# chmod +x /scripts/mysql_status.sh

//去服务端检查key是否可用
[root@localhost ~]# zabbix_get -s 192.168.26.142 -k check_mysql_status
0
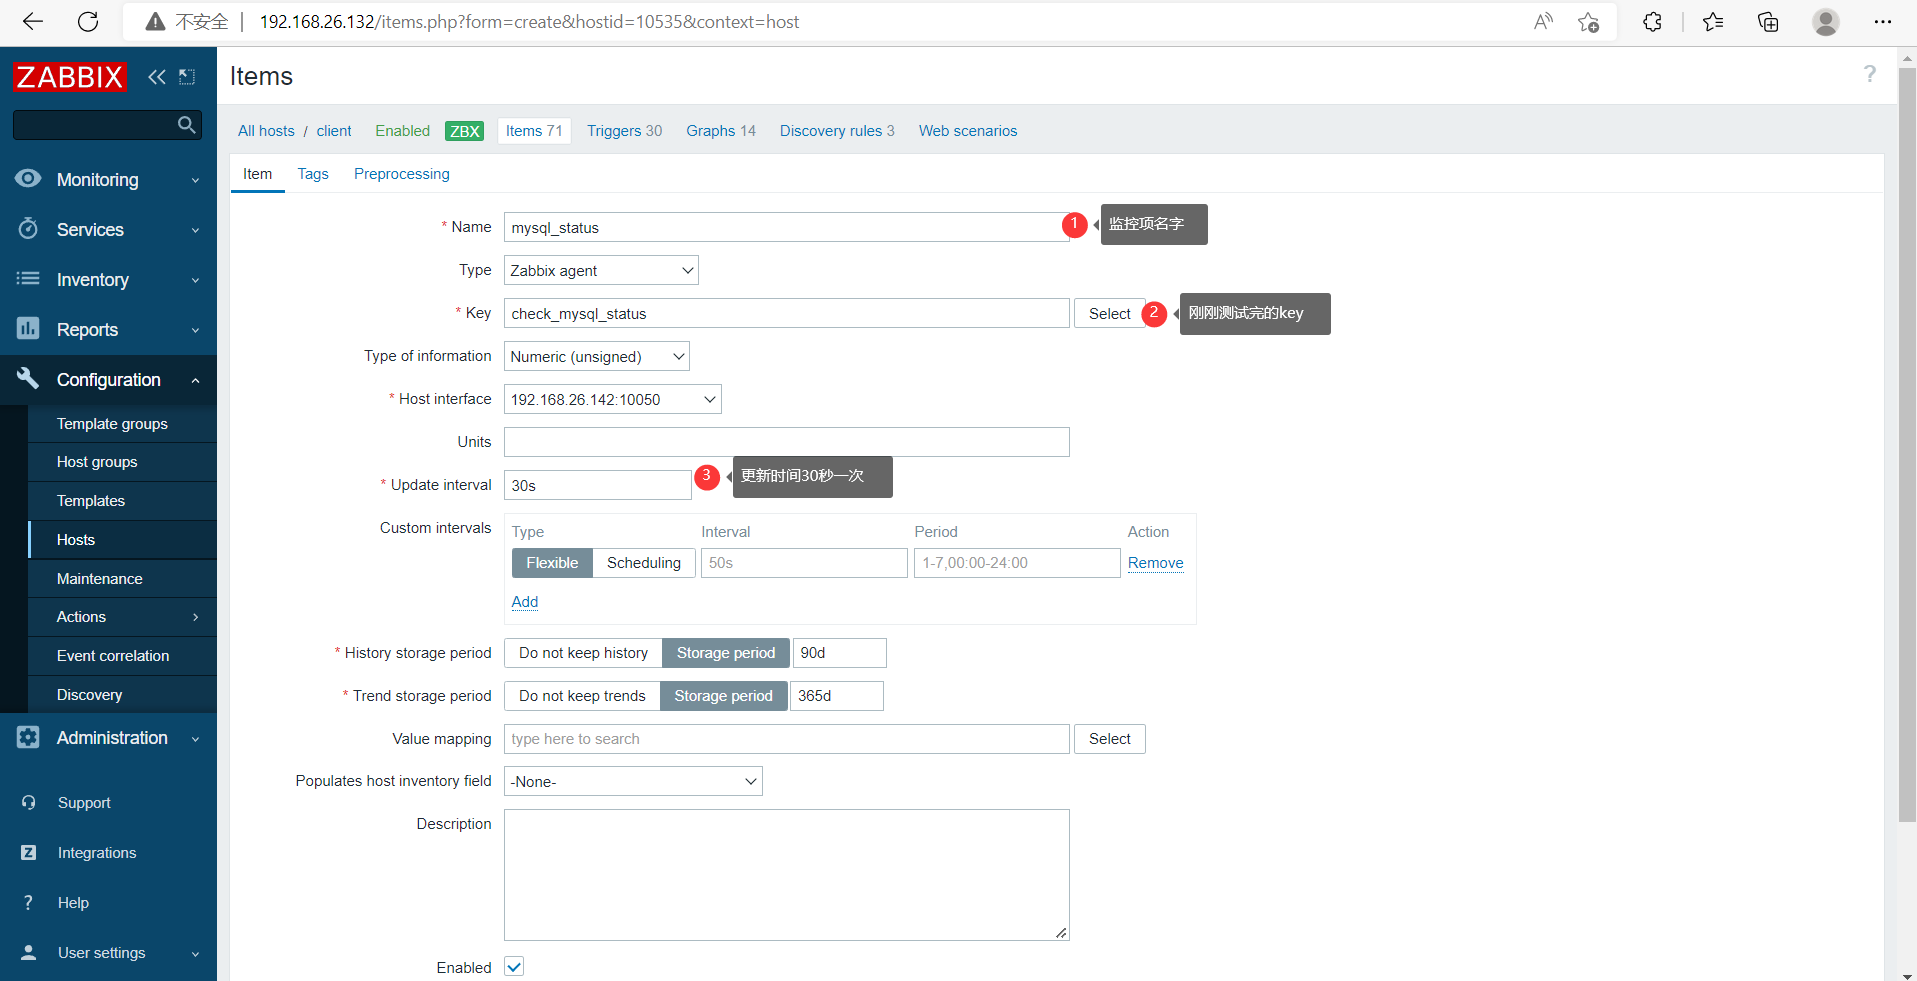
添加监控项


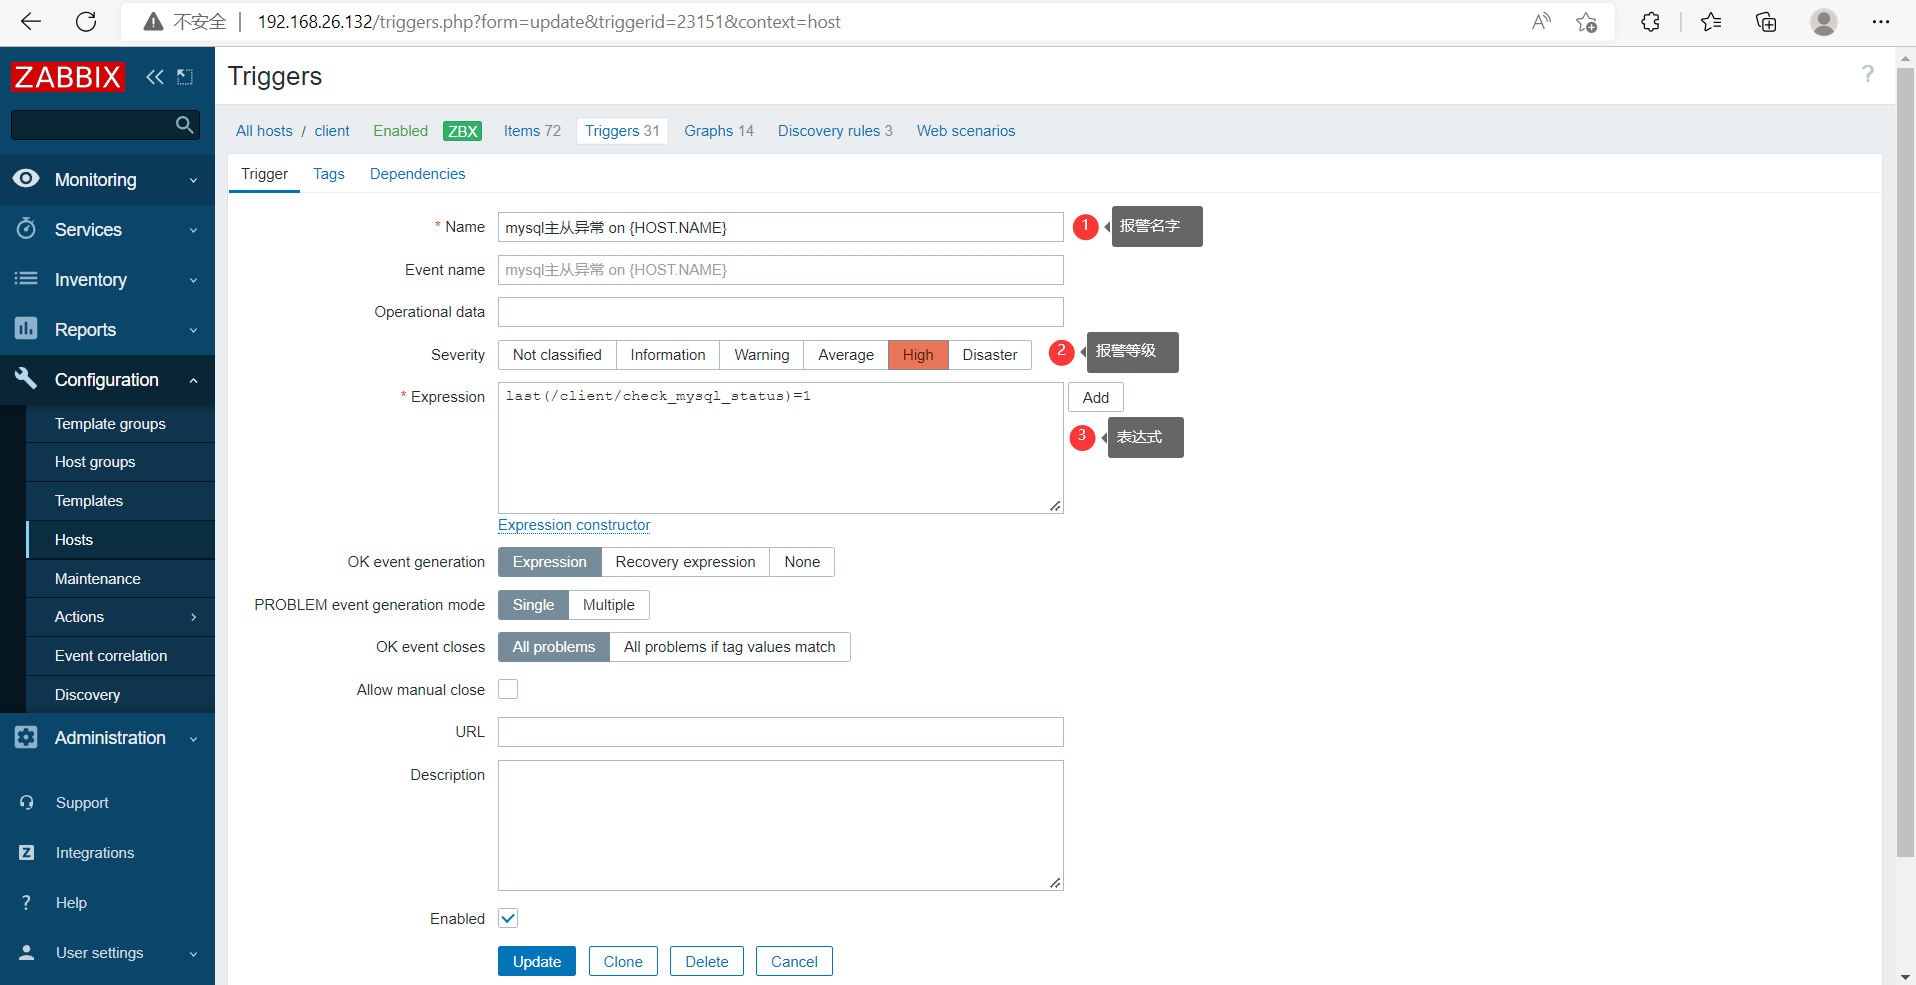
添加触发器


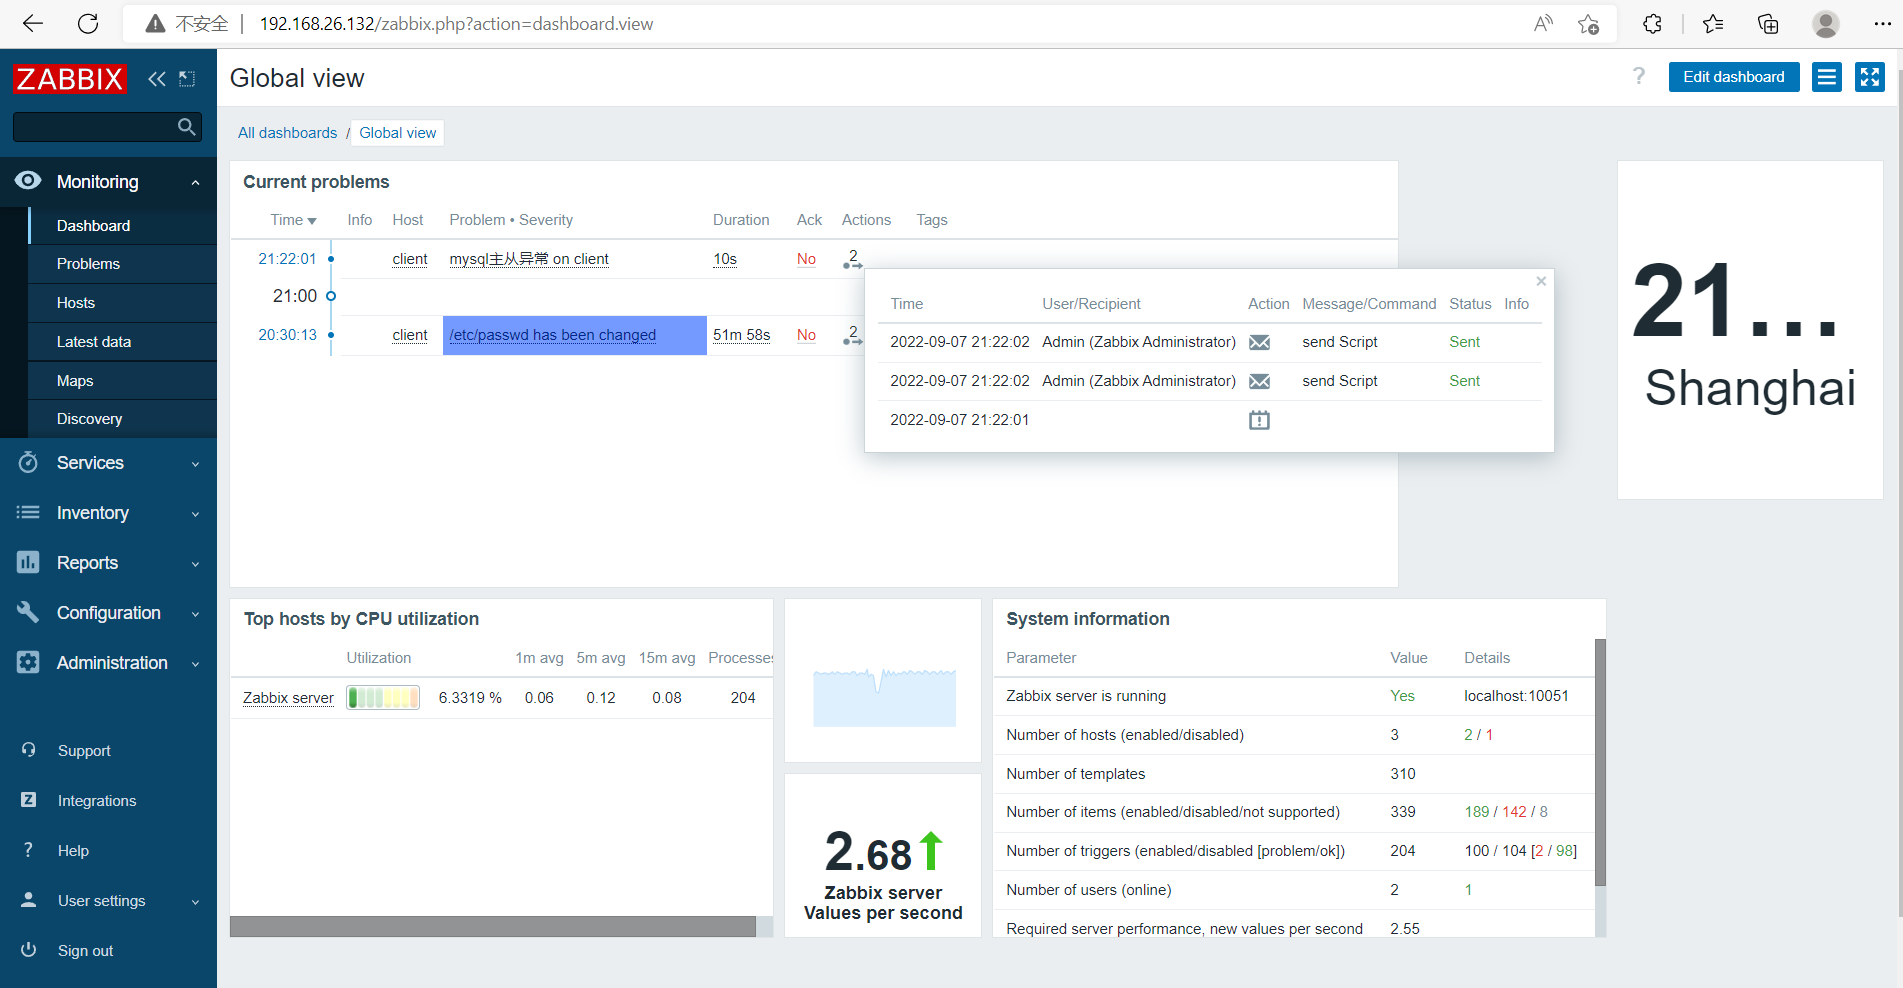
手动触发报警
[root@localhost ~]# mysql -uroot -p123456 -e "stop slave;"
mysql: [Warning] Using a password on the command line interface can be insecure.
自定义监控MySQL延迟
配置监控脚本
监控延迟,我们需要关注 Seconds_Behind_Master这一项
//在被监控端,也就是从库,首先修改配置文件
[root@localhost ~]# vim /usr/local/etc/zabbix_agentd.conf
UserParameter=check_mysqlyc,/bin/bash /scripts/mysqlyc.sh   //添加这一行

//重启服务生效配置
[root@localhost ~]# pkill zabbix_agentd
[root@localhost ~]# zabbix_agentd

//编写脚本
[root@localhost ~]# cd /scripts/
[root@localhost scripts]# vim mysqlyc.sh
#!/bin/bash
yc=`mysql -uroot -p123456 -e "show slave status\G" 2> /dev/null |awk '/Seconds_Behind_Master/ {print $2}' `
echo $yc
[root@localhost scripts]# chmod +x /scripts/mysqlyc.sh

//去服务端检查key是否可用
[root@localhost ~]# zabbix_get -s 192.168.26.142 -k check_mysqlyc
0
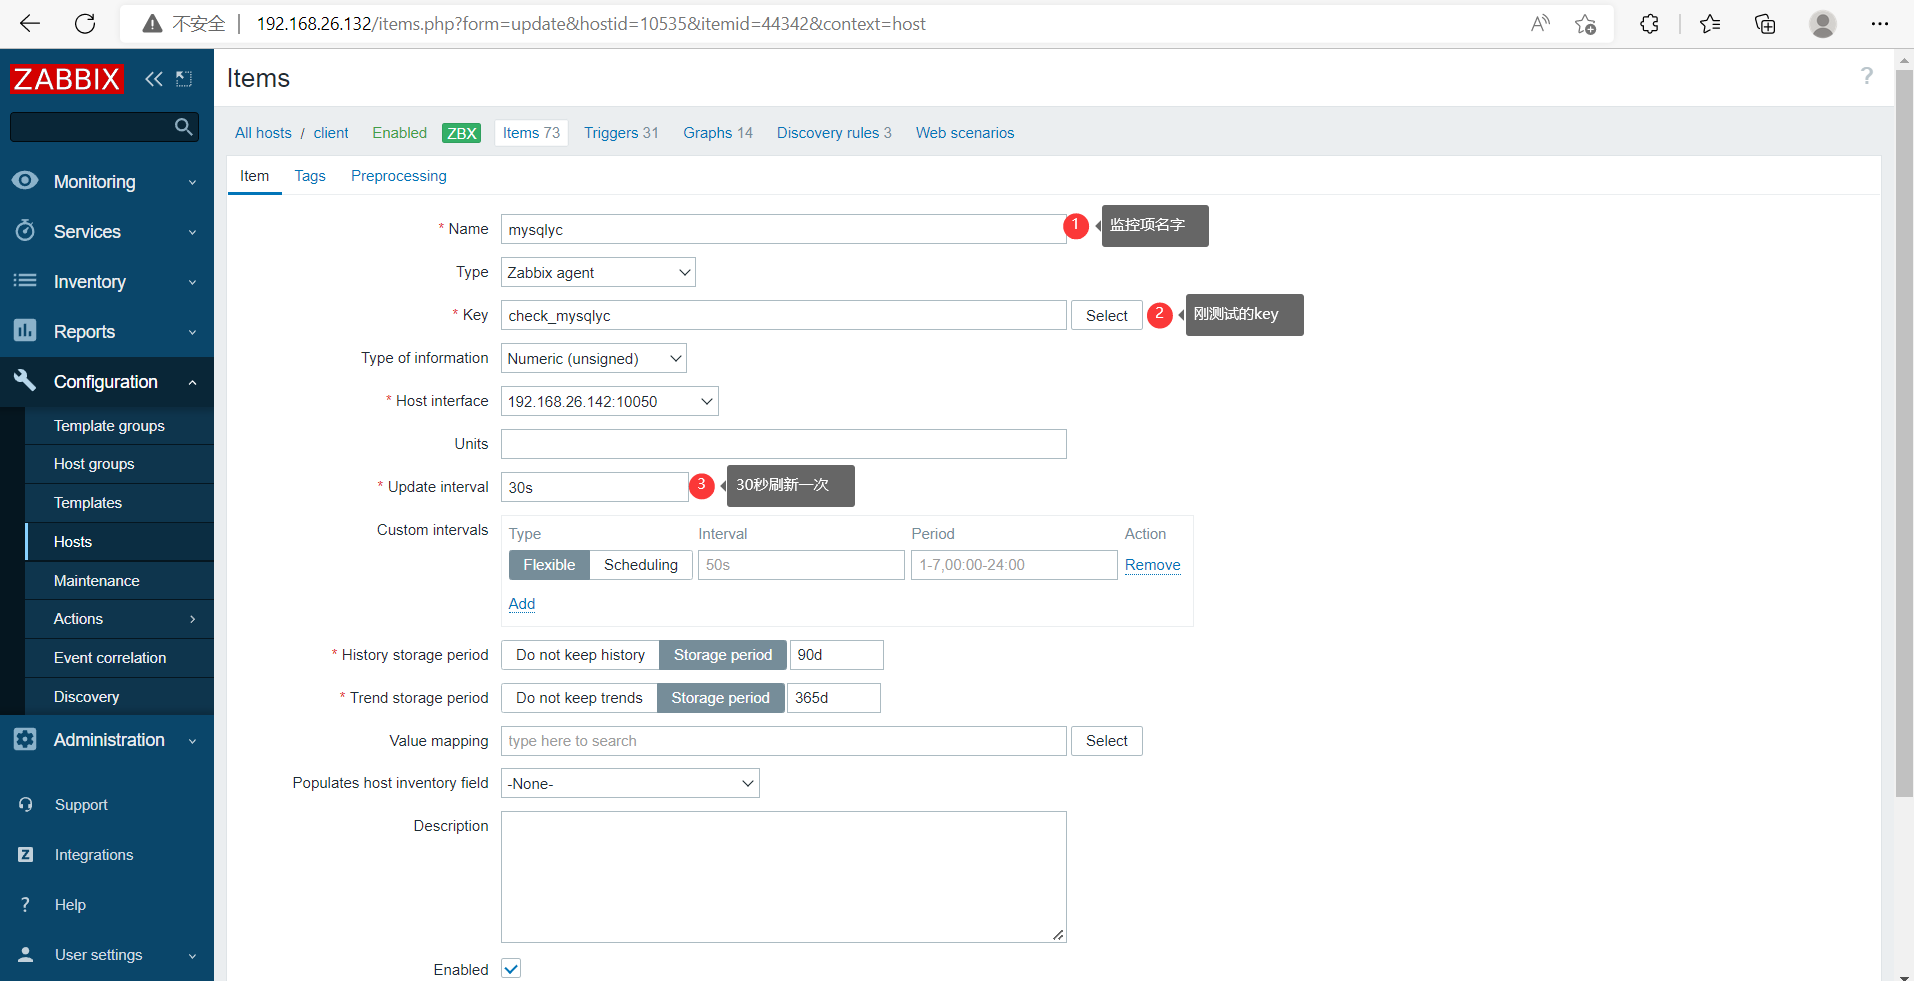
添加监控项


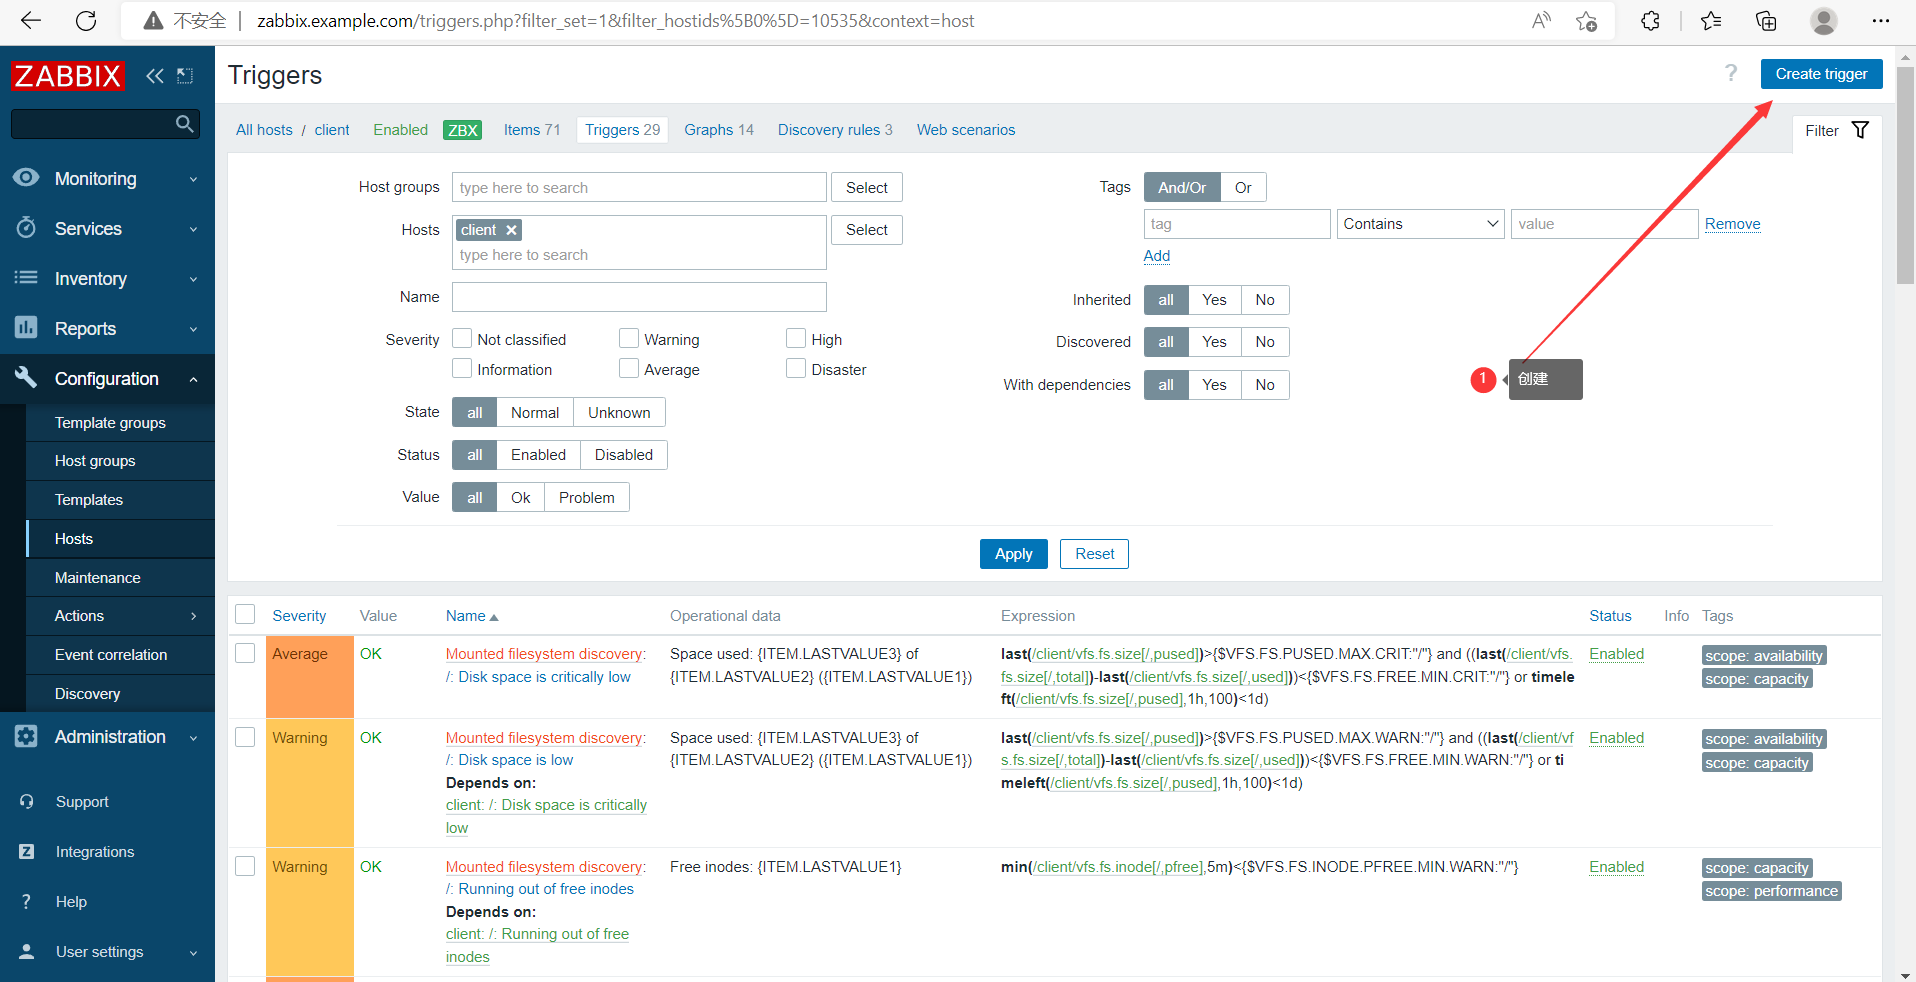
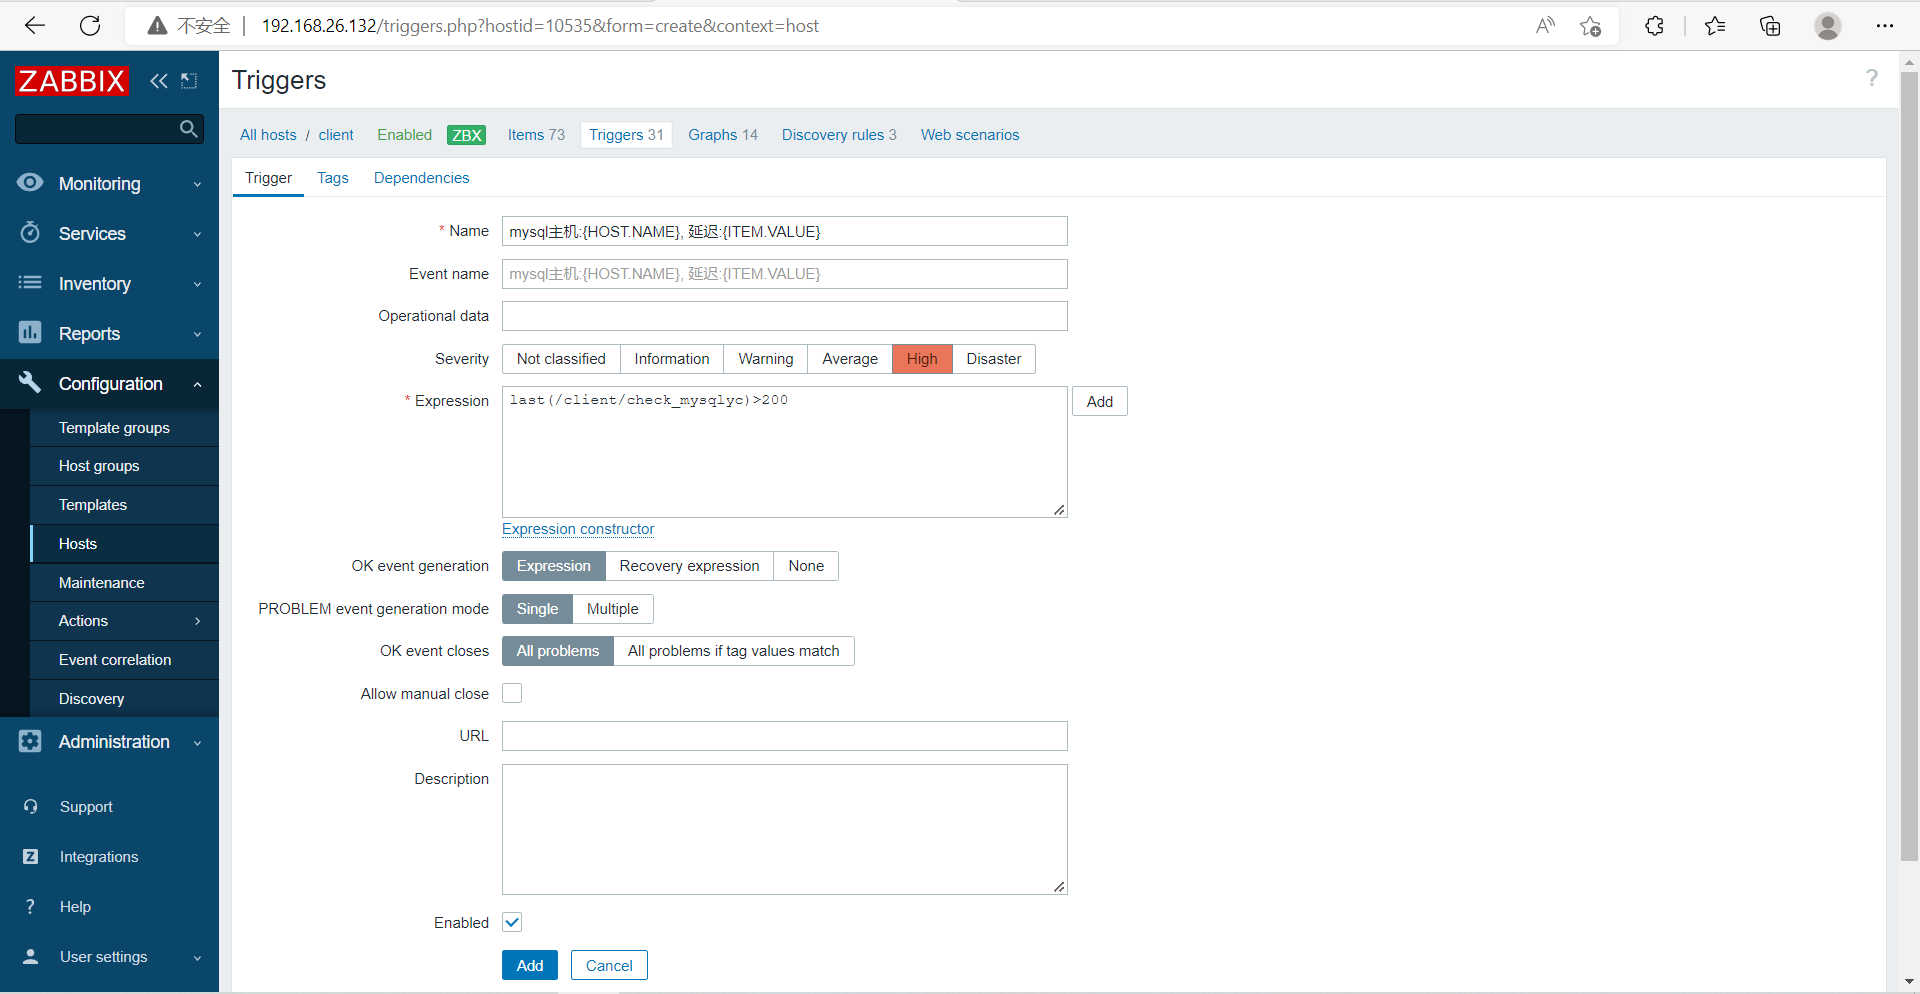
添加触发器

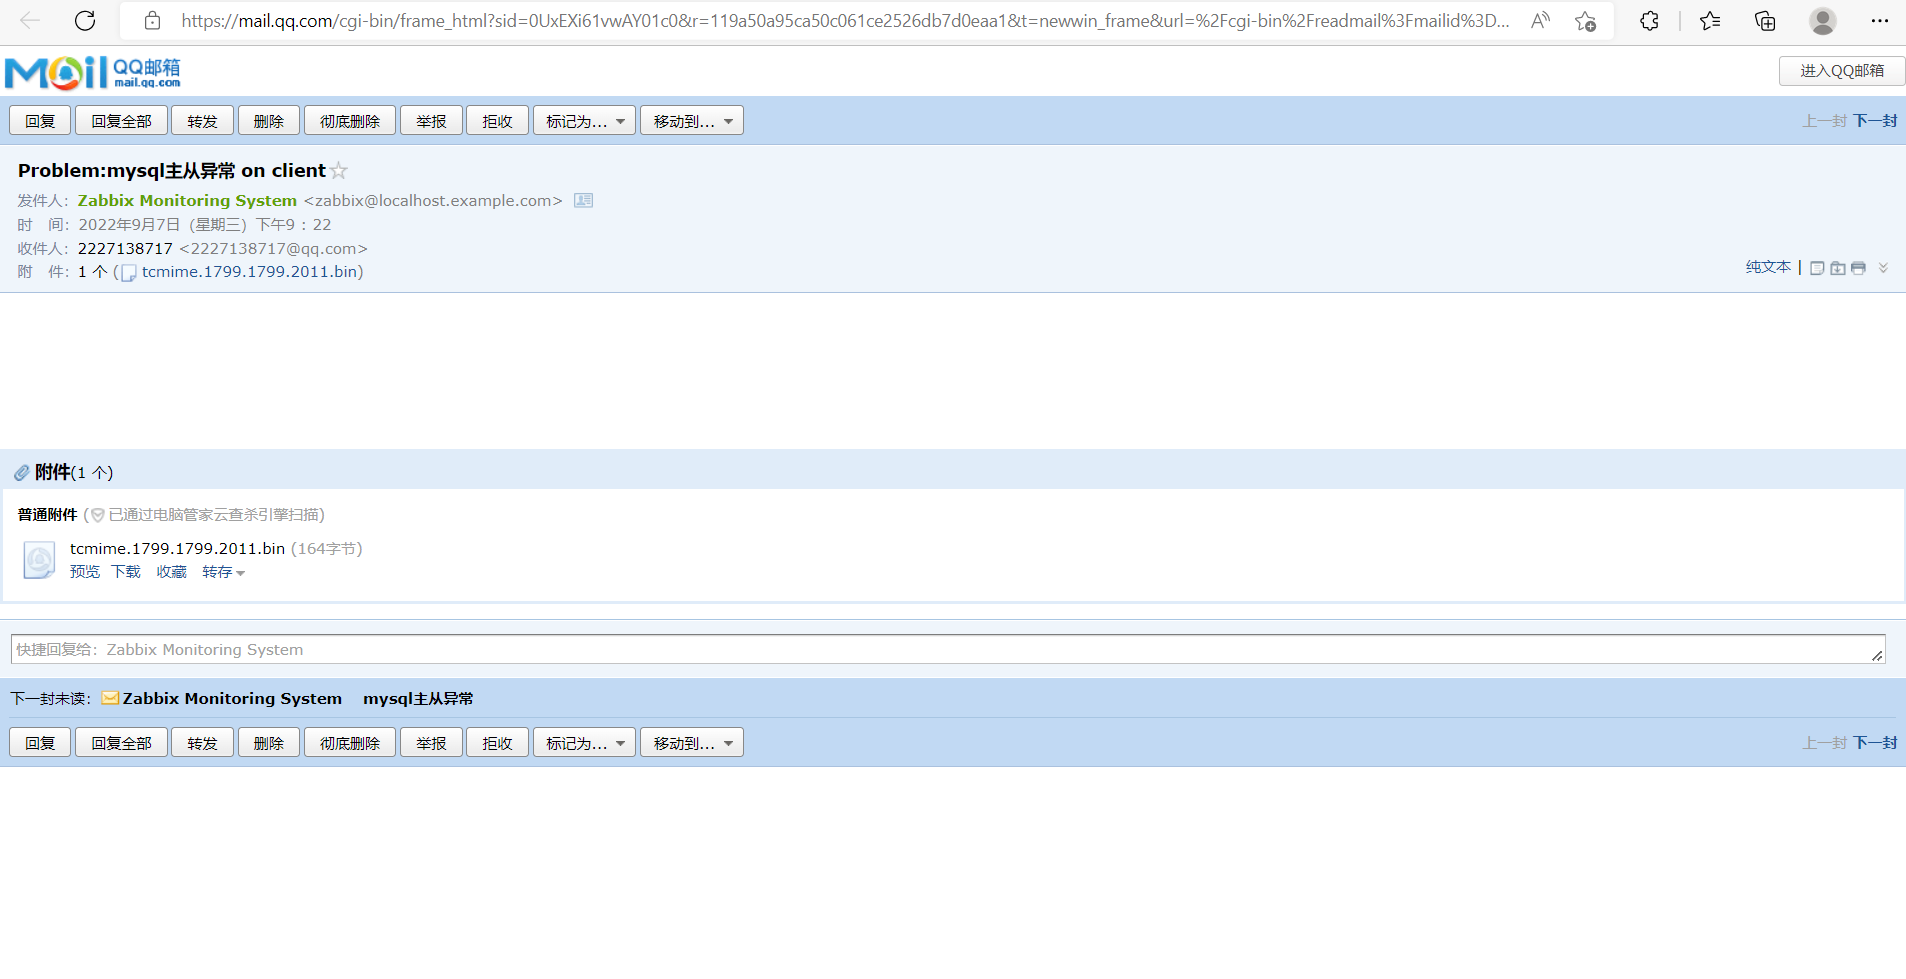
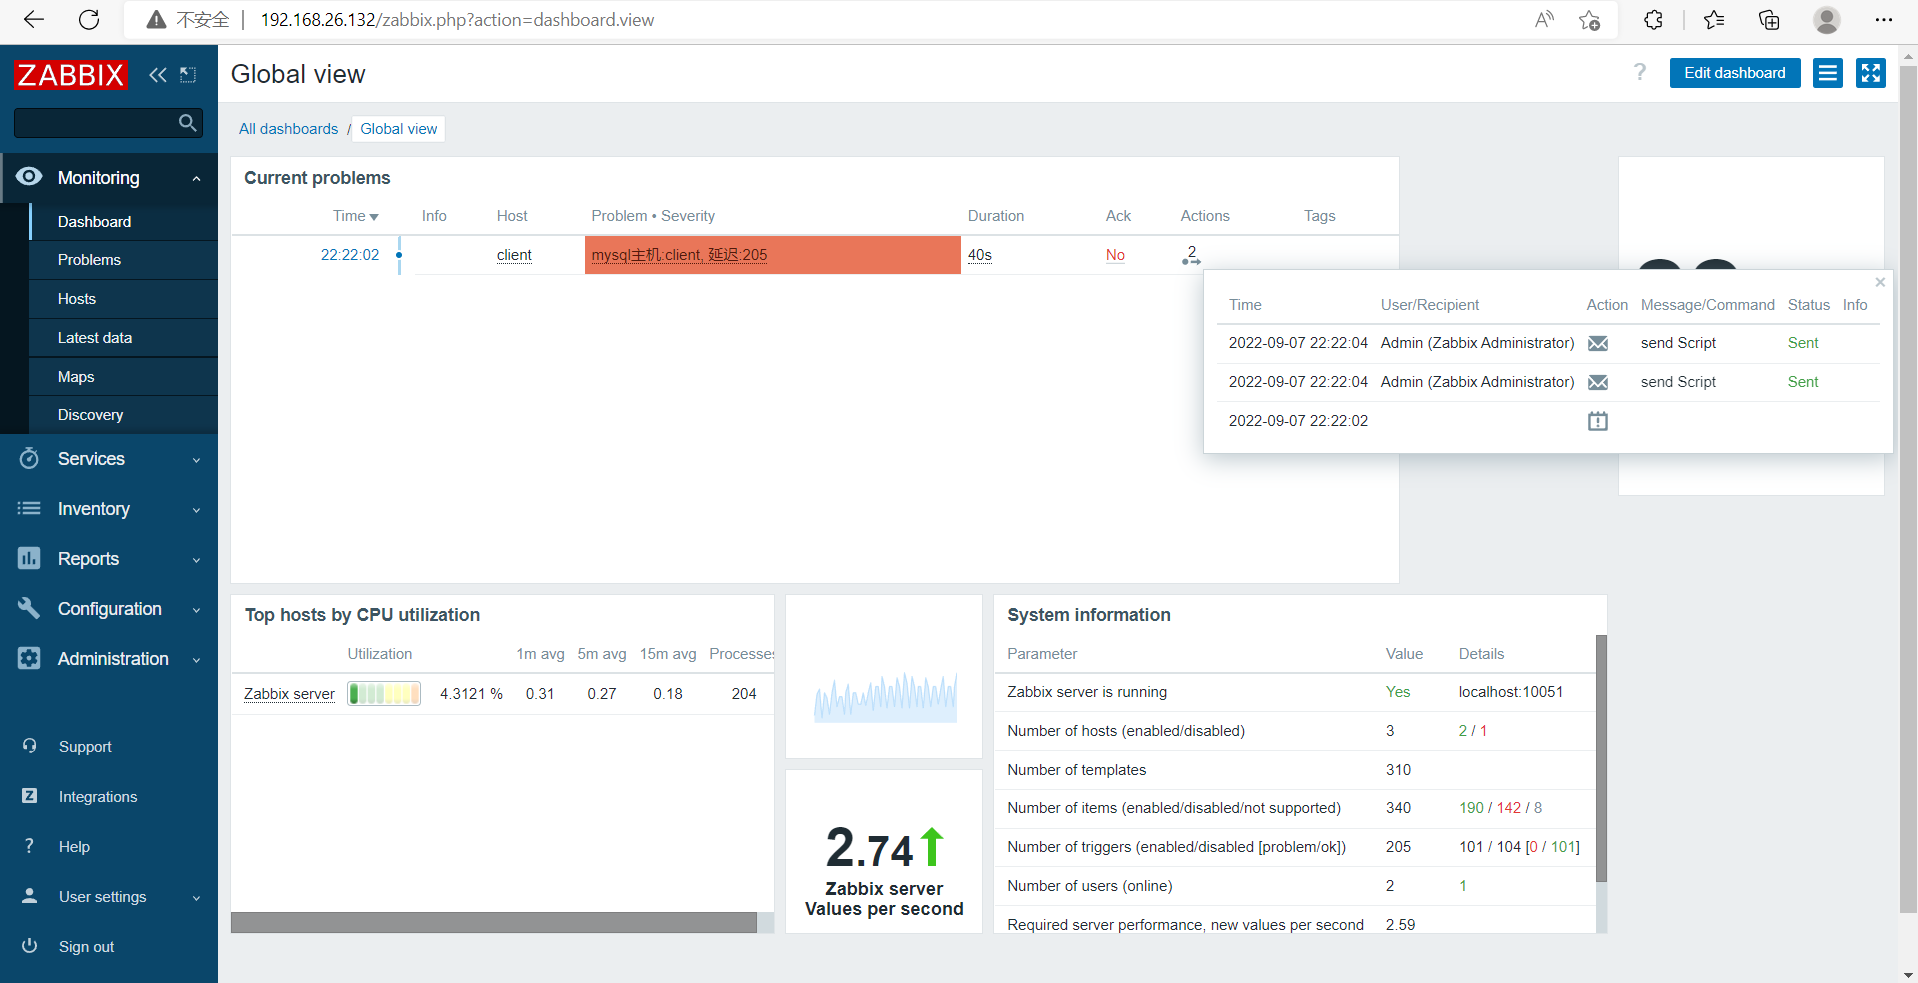
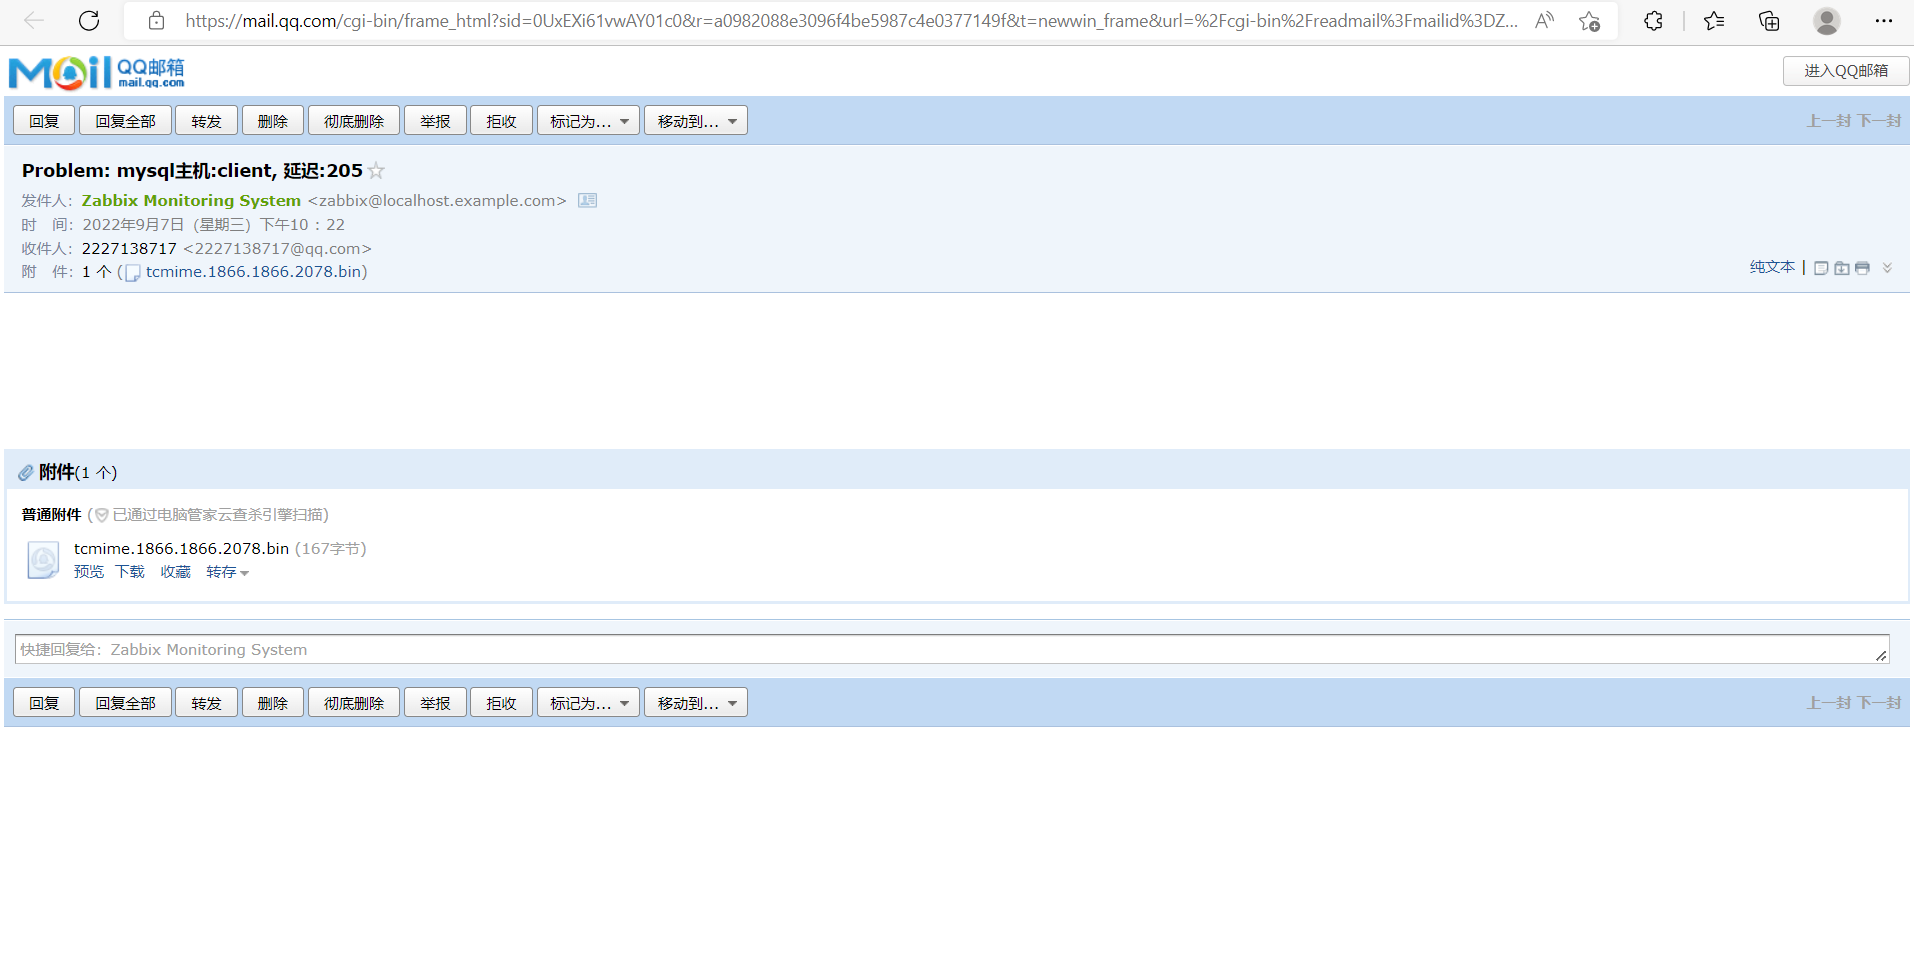
报警触发

 浙公网安备 33010602011771号