

虚拟机ubuntu22.04搭建esp-matter环境
一. 安装esp-idf
Step 1:编译 ESP-IDF 需要以下软件包。请根据使用的 Linux 发行版本,选择合适的安装命令。
Ubuntu 和 Debian:
sudo apt-get install git wget flex bison gperf python3 python3-venv python3-setuptools cmake ninja-build ccache libffi-dev libssl-dev dfu-util libusb-1.0-0
Step 2:
git clone https://gitee.com/EspressifSystems/esp-gitee-tools.git
Step 3:
git clone https://gitee.com/EspressifSystems/esp-idf.git
Step 4:用 submodules方式来更新
进入 esp-gitee-tools 目录,export submodule-update.sh 所在路径,方便后期使用,如:
cd esp-gitee-tools
export EGT_PATH=$(pwd)
进入 esp-idf 目录执行 submodule-update.sh 脚本:
cd esp-idf
$EGT_PATH/submodule-update.sh
Step 5:设置工具
cd ~/esp/esp-idf
./install.sh esp32s3,esp32c6,esp32h2,esp32c3
Step 6:设置环境变量
cd ~/esp/esp-idf
. ./export.sh
二. 安装Matter 环境
Matter 依赖环境安装:Linux
sudo apt-get install git gcc g++ pkg-config libssl-dev libdbus-1-dev libglib2.0-dev libavahi-client-dev ninja-build python3-venv python3-dev python3-pip unzip libgirepository1.0-dev libcairo2-dev libreadline-dev
获取 Matter仓库
#git clone --recursive https://github.com/espressif/esp-matter.git

若过程有报错,请执行
#cd esp-matter
#git submodule update --init -f
#加了一个-f,强制下载,在下载过程中,会因为子模块迭代的太多,报错文件名字过长之类的,保险起见加一个-f
#cd esp-matter/
#./install.sh
因为强制下载导致有些软连接失效需要重新 指定一下ln -s 源地址 目标地址
报错显示"Failed to install zap-cli",
解决方法:#sudo apt install libreadline-dev
#cd esp-matter/
#./install.sh
如果报错显示"g++: fatal error: 已杀死 signal terminated program cc1plus"
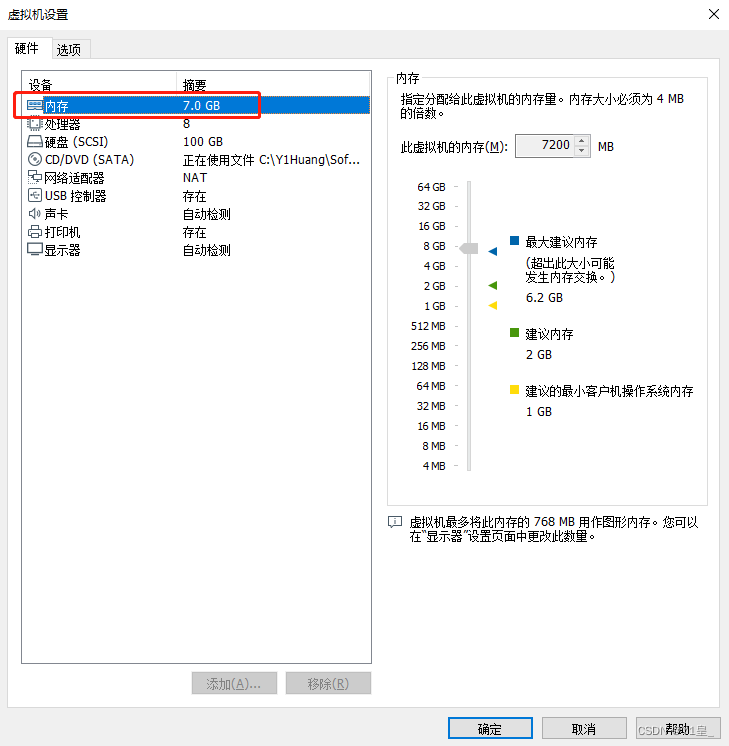
①增加内存
因为我的ubuntu系统是安装在VMware虚拟机当中的,可以从虚拟机中设置增大内存。改到7-8GB
![]()
二. chip-tool调试
https://docs.espressif.com/projects/esp-matter/en/main/esp32/developing.html?highlight=chip%20tool
https://www.cnblogs.com/QiMingZhiXian/p/16374426.html
Python CHIP Controller
https://github.com/project-chip/connectedhomeip/blob/master/docs/guides/python_chip_controller_building.md
https://www.espressif.com.cn/zh-hans/news/Matter_on_ESP32

 浙公网安备 33010602011771号