


如何发布jar包到新版maven中央仓库(2025年1月最新保姆级教程)
如何发布jar包到新版maven中央仓库(2025年1月最新保姆级教程)
前言
作者博客: www.lstar.icu
开源地址
Gitee 地址: https://gitee.com/lxwise
Github 地址: https://github.com/lxwise
在官方文档中提到:
从 2024 年 3 月 12 日起,所有注册都将通过中央门户进行。有关旧版注册的信息,请参阅相关文档。有关在 Portal Early Access 期间切换到通过旧版 OSSRH 发布方法发布的支持,请参阅以下部分。

1.准备账户
1.1 注册账号
1.1.1 进入中央仓库官网
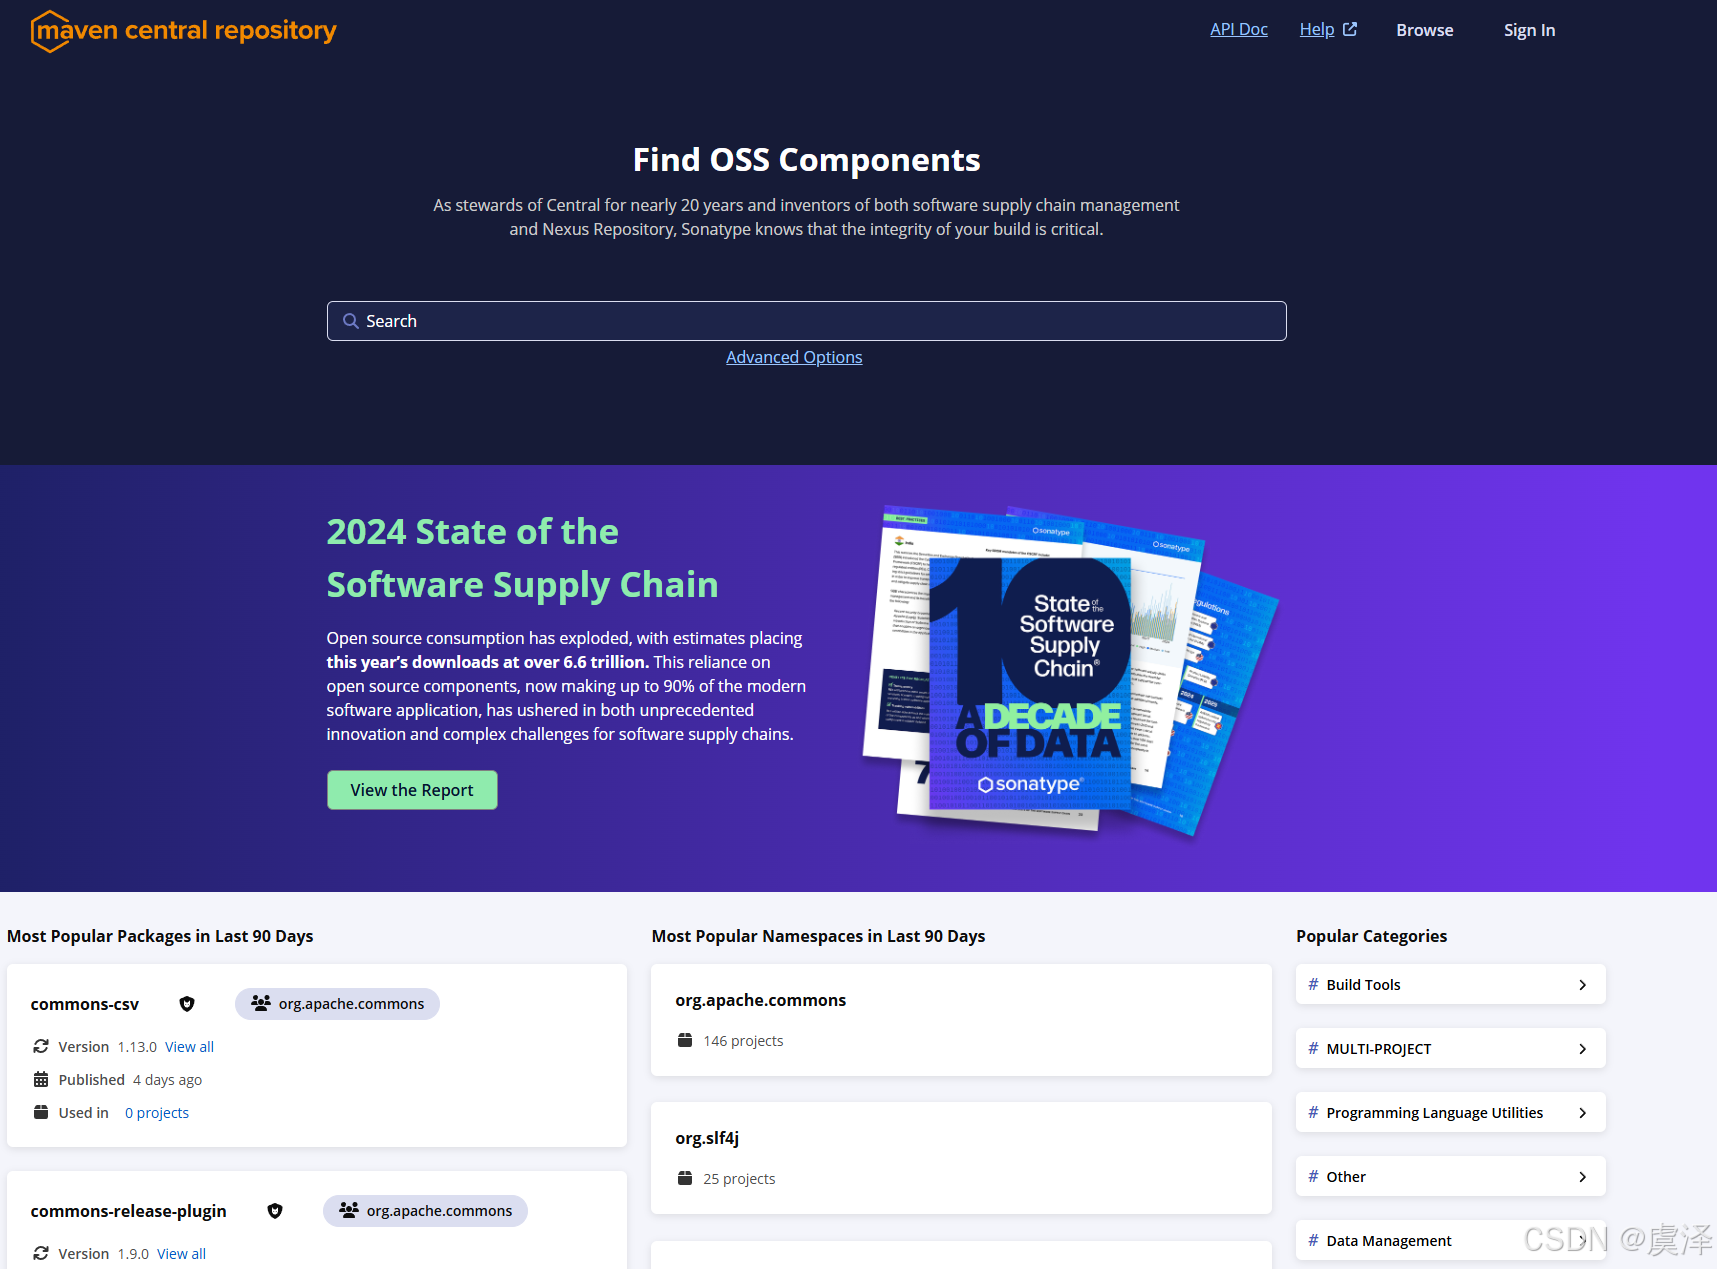
1.1.2 点击Sign In
点击右上角Sign In,选择Continue with GitHub,一定要选择这个选项,这样后面会省很多事情

注册完成样子

1.2 新建名称空间
依次点击Publish ----->进入后选择Namespace


因为这里博主直接用的Github账号登录的,所以直接就给我创建好了一个Namespace名称空间,如果你的没有,请点击Add Namespace自己创建一个。
如果你的代码存在Gitee上,你就需要把命名空间设置为io.gitee.yourname。这里的yourname是你的gitee名称,例如博主的是https://gitee.com/lxwise所以我的命名空间是:io.gitee.lxwise
其他的仓库可以按照下面的要求来创建: GitHub: io.github.yourname、GitLab: io.gitlab.yourname、Gitee: io.gitee.yourname、 Bitbucket: io.bitbucket.yourname
这里 一定要按照这个格式来创建,否则发布时会无法校验通过!
1.3 验证名称空间
如果你是Github账号登录的,请忽略这一步。
你是自己创建的名称空间,接着往下看:
创建名称空间之后需要验证命名空间来依次证明这个命名空间是你独有的,需要在对应的地址创建一个开源的仓库,名称就是你点击verify namespace的名称,例如下面这样:

点击verify namespace

创建好了之后点击confirm按钮即可进行下一步。
1.4 创建发布账密
新版本抛弃了原来固定的username和password,选择token密钥认证,这个username和password用来配置你的本地maven并push你的jar包到中央仓库里面去的凭证只有在创建成功的时候才会显示一次,以后都不会显示了,所以一定要保存好。
1.4.1 点击右上角的view account

1.4.2 点击Generate User Token

1.4.3 点击ok

最终会生成一个这样的数据,大家一定要保存好
<server>
    <id>${server}</id>
    <username>Iasdasoas</username>
    <password>gadsd1xcsd+yA/3AR/jasasfasdqwqsadasdga</password>
</server>
这个${server}可以写成你自定义的id,待会会用到,记住。
1.4.4 设置setting
打开你本地maven的setting配置文件,找到servers模块,把上面这串粘贴到servers模块里面的。
  <servers>
    <!-- server
     | Specifies the authentication information to use when connecting to a particular server, identified by
     | a unique name within the system (referred to by the 'id' attribute below).
     |
     | NOTE: You should either specify username/password OR privateKey/passphrase, since these pairings are
     |       used together.
     |
    <server>
      <id>deploymentRepo</id>
      <username>repouser</username>
      <password>repopwd</password>
    </server>
    -->

    <!-- Another sample, using keys to authenticate.
    <server>
      <id>siteServer</id>
      <privateKey>/path/to/private/key</privateKey>
      <passphrase>optional; leave empty if not used.</passphrase>
    </server>
    -->

	<server>
        <!--写成你自己的 -->
		<id>ossrh</id>
		<username>Iasdasoas</username>
		<password>gadsd1xcsd+yA/3AR/jasasfasdqwqsadasdga</password>
	</server>

  </servers>
到这里账号相关的就完成了。
2.准备密钥工具
2.1 下载GPG工具
GPG 用于创建asc文件用于验证你的文件的正确性和安全性,我们直接去官网下载:
下载地址: https://gnupg.org/download/index.html
下拉找到你电脑对应的版本,作者这里是window系统就选择下载的windows版本的。

下载完成后,无脑下一步安装就行,但要记住自己的安装位置后面会用到。
2.2 生成密钥
去你自己的安装路径的bin路径下,进入cmd命令行

2.2.1 生成密钥
输入:
gpg --gen-key
提示输入名字和邮箱名称输入你命名空间的名称即可。输入后,再输入O,回车。然后会弹出要输入密码,这里会弹出一个让你输入密钥并二次确认的窗口,记住你的密码,后面发布的时候会用。(密码是为了保护私钥用的)
D:\develop\GnuPG\bin> gpg --gen-key
gpg (GnuPG) 2.4.7; Copyright (C) 2024 g10 Code GmbH
This is free software: you are free to change and redistribute it.
There is NO WARRANTY, to the extent permitted by law.

Note: Use "gpg --full-generate-key" for a full featured key generation dialog.

GnuPG needs to construct a user ID to identify your key.

Real name: lxwise
Email address: lxstart@126.com
You selected this USER-ID:
    "lxwise <lxstart@126.com>"

Change (N)ame, (E)mail, or (O)kay/(Q)uit? o
We need to generate a lot of random bytes. It is a good idea to perform
some other action (type on the keyboard, move the mouse, utilize the
disks) during the prime generation; this gives the random number
generator a better chance to gain enough entropy.
We need to generate a lot of random bytes. It is a good idea to perform
some other action (type on the keyboard, move the mouse, utilize the
disks) during the prime generation; this gives the random number
generator a better chance to gain enough entropy.
gpg: revocation certificate stored as 'C:\Users\admin\AppData\Roaming\gnupg\openpgp-revocs.d\ACB3D93GFSCD5F128512A11F4ADBA3851FA12FA.rev'
public and secret key created and signed.

pub   ed25519 2025-01-10 [SC] [expires: 2028-01-10]
      ACB3D93GFSCD5F128512A11F4ADBA3851FA12FA
uid                      lxwise <lxstart@126.com>
sub   cv25519 2025-01-10 [E] [expires: 2028-01-10]
2.2.2 发布秘钥
注意:下面的密钥请替换为你自己的!!!
上面 ACB3D93GFSCD5F128512A11F4ADBA3851FA12FA 就是你的密钥id,
gpg --keyserver keyserver.ubuntu.com --send-keys ACB3D93GFSCD5F128512A11F4ADBA3851FA12FA
这里发布到keyserver.ubuntu.com服务器上,这样中央仓库也有你的密钥,所以它才能验证你的身份
如果发布失败,可以替换为上面的其他两几个开源地址
As SKS Keyserver Network is being deprecated we recommend the use an specific GPG keyserver. Current GPG Keyservers supported by Central Servers are: keyserver.ubuntu.com keys.openpgp.org pgp.mit.edu
keyserver.ubuntu.com
keys.openpgp.org
pgp.mit.edu
2.2.3 验证密钥
等几分钟,验证公钥是否发布成功:
gpg --keyserver keyserver.ubuntu.com --recv-keys ACB3D93GFSCD5F128512A11F4ADBA3851FA12FA
出现下面内容则说明发布成功:
D:\develop\GnuPG\bin>gpg --keyserver keyserver.ubuntu.com --recv-keys ACB3D93GFSCD5F128512A11F4ADBA3851FA12FA
gpg: key 38D7F32BA88EEB01: "io.github.lxwise <lxstart@126.com>" not changed
gpg: Total number processed: 1
gpg:              unchanged: 1

D:\develop\GnuPG\bin>
备注:
忘记了公钥,也可以通过gpg --list-keys查看当前所有的公钥
2.3 密钥导入导出
作为程序员肯定有在不同的电脑上操作时候,这里我们可以直接用现成的密钥。这就需要用导出导入功能。
2.3.1 导出
导出公钥,命令格式:
gpg -a -o public-file.key --export keyId : 导出公钥keyId 到 文件 public-file.key中;
-a 为 --armor 的简写,表示密钥以ASCII的形式输出,默认以二进制的形式输出;
-o 为 --output 的简写,指定写入的文件;
例如:
gpg -a -o public-file.key --export ACB3D93GFSCD5F128512A11F4ADBA3851FA12FA
导出私钥(导出私钥需要输入之前设置的保护私钥密码),命令格式:
gpg -a -o private-file.key --export-secret-keys 6C1D0E2XXXXXXXX7CE3EC423
2.3.2 导入
导入公钥,命令格式:
gpg --import public-file.key
导入私钥(导入私钥需要输入保护私钥的密码),命令格式:
gpg --import private-file.key
2.3.3 使用图形化界面
我们在安装GPG工具时会带有一个kleopatra工具,提供了签名、导入、导出 、证书列表等等一系列的功能,不想敲命令的也可以直接用图形化界面操作,效果是一样的。

3.发布jar包
3.1 修改项目pom.xml文件
在你的项目pom文件中加入以下的内容:
<project xmlns="http://maven.apache.org/POM/4.0.0" xmlns:xsi="http://www.w3.org/2001/XMLSchema-instance"
         xsi:schemaLocation="http://maven.apache.org/POM/4.0.0 http://maven.apache.org/xsd/maven-4.0.0.xsd">
    <modelVersion>4.0.0</modelVersion>

    <groupId>io.github.lxwise</groupId>
    <artifactId>fx-updater</artifactId>
    <version>1.0.1</version>
    <packaging>jar</packaging>
    <description>Automatic update launcher for JavaFX applications.</description>
    <name>fx-updater</name>
    <url>https://github.com/lxwise/fx-updater</url>

    <!--用于发布:开源协议...-->
    <licenses>
        <license>
            <name>The Apache Software License, Version 2.0</name>
            <url>http://www.apache.org/licenses/LICENSE-2.0.txt</url>
        </license>
    </licenses>
    <!--用于发布:开发者信息-->
    <developers>
        <developer>
            <!--对应你maven配置中的server id-->
            <id>ossrh</id>
            <name>lxwise</name>
            <email>lstart980@gmail.com</email>
            <roles>
                <role>Project Manager</role>
                <role>Developer</role>
            </roles>
        </developer>
    </developers>
    <!--用于发布:项目链接-->
    <scm>
        <connection>https://github.com/lxwise/fx-updater.git</connection>
        <developerConnection>scm:git:ssh://git@github.com:lxwise/fx-updater.git</developerConnection>
        <url>https://github.com/lxwise/fx-updater</url>
    </scm>

    <properties>
        <maven.compiler.source>21</maven.compiler.source>
        <maven.compiler.target>21</maven.compiler.target>
        <project.build.sourceEncoding>UTF-8</project.build.sourceEncoding>
        <javafx.version>23.0.1</javafx.version>
    </properties>

    <dependencies>
        <!--JavaFX相关依赖 java11删除了javafx需要独立导入-->
        <dependency>
            <groupId>org.openjfx</groupId>
            <artifactId>javafx-controls</artifactId>
            <version>${javafx.version}</version>
        </dependency>
        <dependency>
            <groupId>org.openjfx</groupId>
            <artifactId>javafx-base</artifactId>
            <version>${javafx.version}</version>
        </dependency>
        <dependency>
            <groupId>org.openjfx</groupId>
            <artifactId>javafx-fxml</artifactId>
            <version>${javafx.version}</version>
        </dependency>
        <dependency>
            <groupId>org.openjfx</groupId>
            <artifactId>javafx-web</artifactId>
            <version>${javafx.version}</version>
        </dependency>
        <dependency>
            <groupId>com.google.code.gson</groupId>
            <artifactId>gson</artifactId>
            <version>2.10</version>
        </dependency>
    </dependencies>

    <build>
        <plugins>
            <plugin>
                <groupId>org.apache.maven.plugins</groupId>
                <artifactId>maven-resources-plugin</artifactId>
                <version>3.2.0</version>
                <configuration>
                    <encoding>UTF-8</encoding>
                    <resources>
                        <resource>
                            <directory>src/main/resources</directory>
                            <filtering>false</filtering>
                        </resource>
                    </resources>
                </configuration>
            </plugin>
            <!--   central发布插件    -->
            <plugin>
                <groupId>org.sonatype.central</groupId>
                <artifactId>central-publishing-maven-plugin</artifactId>
                <version>0.4.0</version>
                <extensions>true</extensions>
                <configuration>
                    <publishingServerId>ossrh</publishingServerId>
                    <tokenAuth>true</tokenAuth>
                </configuration>
            </plugin>
            <!--   source源码插件 -->
            <plugin>
                <groupId>org.apache.maven.plugins</groupId>
                <artifactId>maven-source-plugin</artifactId>
                <version>2.2.1</version>
                <executions>
                    <execution>
                        <id>attach-sources</id>
                        <goals>
                            <goal>jar-no-fork</goal>
                        </goals>
                    </execution>
                </executions>
            </plugin>
            <!--   javadoc插件 -->
            <plugin>
                <groupId>org.apache.maven.plugins</groupId>
                <artifactId>maven-javadoc-plugin</artifactId>
                <version>3.1.1</version>
                <configuration>
                    <charset>UTF-8</charset>
                    <encoding>UTF-8</encoding>
                    <docencoding>UTF-8</docencoding>
                    <additionalJOption>-Xdoclint:none</additionalJOption>
                </configuration>
                <executions>
                    <execution>
                        <id>attach-javadocs</id>
                        <goals>
                            <goal>jar</goal>
                        </goals>
                    </execution>
                </executions>
            </plugin>

            <!--gpg加密-->
            <plugin>
                <groupId>org.apache.maven.plugins</groupId>
                <artifactId>maven-gpg-plugin</artifactId>
                <version>1.6</version>
                <configuration>
                     <!--指定 GPG 执行程序的路径-->
                    <executable>D:\develop\GnuPG\bin\gpg.exe</executable>
                     <!--指定用于签名的 GPG 密钥名称。-->
                    <keyname>lxwise</keyname>
                </configuration>
                <executions>
                    <execution>
                        <id>sign-artifacts</id>
                        <phase>verify</phase>
                        <goals>
                            <goal>sign</goal>
                        </goals>
                    </execution>
                </executions>
            </plugin>
        </plugins>
    </build>

</project>
除了dependencies里面的内容是根据你的项目里面的实际情况写,其他的都必须按照我的写,否则会上传失败。
3.2 打包并上传到中央仓库
执行下面的指令:
mvn clean deploy
如果使用的是Idea等工具可以直接按下面操作

这个时候会让你输入你在开头设置的密码,输入成功开始打包上传。
打包成功

打包失败
如果有失败请查看控制台的详细日志解决,如果是Publish失败,可以在中央仓库的Publish–>Deployments查看是否有相关错误信息。

3.3 发布jar包
打包成功之后Deployments模块里面也有对应的步骤,刚刚我们在idea控制台看到的id是:8f266d74-d332-4517-83a7-d4a36c4dbeb6也就对应这个页面里面的Deployment ID
这个时候我们点击Publish意思就是将我们的jar包发布了

3.4 使用jar包
还是进入官网地址,搜索你自己的jar,即可获取使用了,这里要注意名称空间是不是你自己的。


4.注意事项
-
有过
gpg秘钥的时候请先导出,并把原来的删除,否则会一直验证失败,这里作者踩了半天的坑一直签名失败,血一般的教训啊。 -
publishingServerId里面的值要对应setting文件里面的id
<publishingServerId>ossrh</publishingServerId>

	<server>
        <!--写成你自己的 -->
		<id>ossrh</id>
		<username>Iasdasoas</username>
		<password>gadsd1xcsd+yA/3AR/jasasfasdqwqsadasdga</password>
	</server>
-
使用
gpg生成秘钥的时候名称一定要填命名空间里面的名称,否则打包会一直验证失败。 -
版本号不要用快照
SNAPSHOT,否则最后发布时一直会失败。
总结
第一次发布时,上边所有步骤都要做。以后再发布时,只操作第3步即可!
本文来自博客园,作者:虞泽,转载请注明原文链接:https://www.cnblogs.com/yuze-blog/p/19285736

 浙公网安备 33010602011771号