ASP.NET Core & 双因素验证2FA 实战经验分享
必读
本文源码核心逻辑使用AspNetCore.Totp,为什么不使用AspNetCore.Totp而是使用源码封装后面将会说明。
为了防止不提供原网址的转载,特在这里加上原文链接:
https://www.cnblogs.com/yuefengkai/p/11408339.html
双因素认证
双因素身份认证就是通过你所知道再加上你所能拥有的这二个要素组合到一起才能发挥作用的身份认证系统。双因素认证是一种采用时间同步技术的系统,采用了基于时间、事件和密钥三变量而产生的一次性密码来代替传统的静态密码。每个动态密码卡都有一个唯一的密钥,该密钥同时存放在服务器端,每次认证时动态密码卡与服务器分别根据同样的密钥,同样的随机参数(时间、事件)和同样的算法计算了认证的动态密码,从而确保密码的一致性,从而实现了用户的认证。就像我们去银行办卡送的口令牌.

一. 前言
最近公司内部SSO登录一直在找一种安全的方式,目前已实现方案:账号密码登录以及手机验证码登录,通过Apollo切换不同的登录方式,想起18年看到AspNetCore.Totp并也编写了DemodotNetCore-2FA登录,将之前写的再完善并且在此记录和分析,希望对大家有些帮助。
二. AspNetCore.Totp
说明一下为什么要用AspNetCore.Totp修改并且重新打包Brook.Totp因AspNetCore.Totp在生成二维码链接时会访问404(google.com)网站,国内基本无法使用,这很不清真,还有就是注入需要注入接口和实现类,使用起来很繁琐,所以才萌生了让使用起来更方便,并且不依赖Google生成二维码
- 生成二维码
accountIdentity = accountIdentity.Replace(" ", "");
            var encodedSecretKey = Base32.Encode(accountSecretKey);
            var provisionUrl = UrlEncoder.Encode(string.Format("otpauth://totp/{0}?secret={1}&issuer={2}", accountIdentity, encodedSecretKey, UrlEncoder.Encode(issuer)));
            var protocol = useHttps ? "https" : "http";
            var url = $"{protocol}://chart.googleapis.com/chart?cht=qr&chs={qrCodeWidth}x{qrCodeHeight}&chl={provisionUrl}";
            var totpSetup = new TotpSetup
            {
                QrCodeImage = this.GetQrImage(url),
                ManualSetupKey = encodedSecretKey
            };
- 注入方式
Startup注入
services.AddSingleton<ITotpSetupGenerator, TotpSetupGenerator>();
services.AddSingleton<ITotpValidator, TotpValidator>();
services.AddSingleton<ITotpGenerator, TotpGenerator>();
Controller注入
 private readonly ITotpGenerator _totpGenerator;
        private readonly ITotpSetupGenerator _totpSetupGenerator;
        private readonly ITotpValidator _totpValidator;


        public ValuesController(ITotpSetupGenerator totpSetupGenerator)
        {
            _totpSetupGenerator = totpSetupGenerator;
            _totpGenerator = new TotpGenerator();
            _totpValidator = new TotpValidator(_totpGenerator);
        }
三. Brook.Totp
- 二维码使用
QRCoder来生成,不依赖外部网络
        /// <summary>
        /// 生成二维码
        /// </summary>
        /// <param name="provisionUrl"></param>
        /// <param name="pixelsPerModule"></param>
        /// <returns></returns>
        private string GetQrBase64Imageg(string provisionUrl,int pixelsPerModule)
        {
            QRCodeGenerator qrGenerator = new QRCodeGenerator();
            QRCodeData qrCodeData = qrGenerator.CreateQrCode(provisionUrl, QRCodeGenerator.ECCLevel.Q);
            Base64QRCode qrCode = new Base64QRCode(qrCodeData);
            string qrCodeImageAsBase64 = qrCode.GetGraphic(2);

            return  $"data:image/png;base64,{qrCodeImageAsBase64}";
        }
- 注入方式
Startup注入
services.AddBrookTotp();
Controller注入
private readonly ITotp _totp;
public AccountController(ITotp totp)
{
        _totp = totp;
}
四.双因素APP
推荐使用Microsoft Authenticator支持IOS、安卓可自动备份
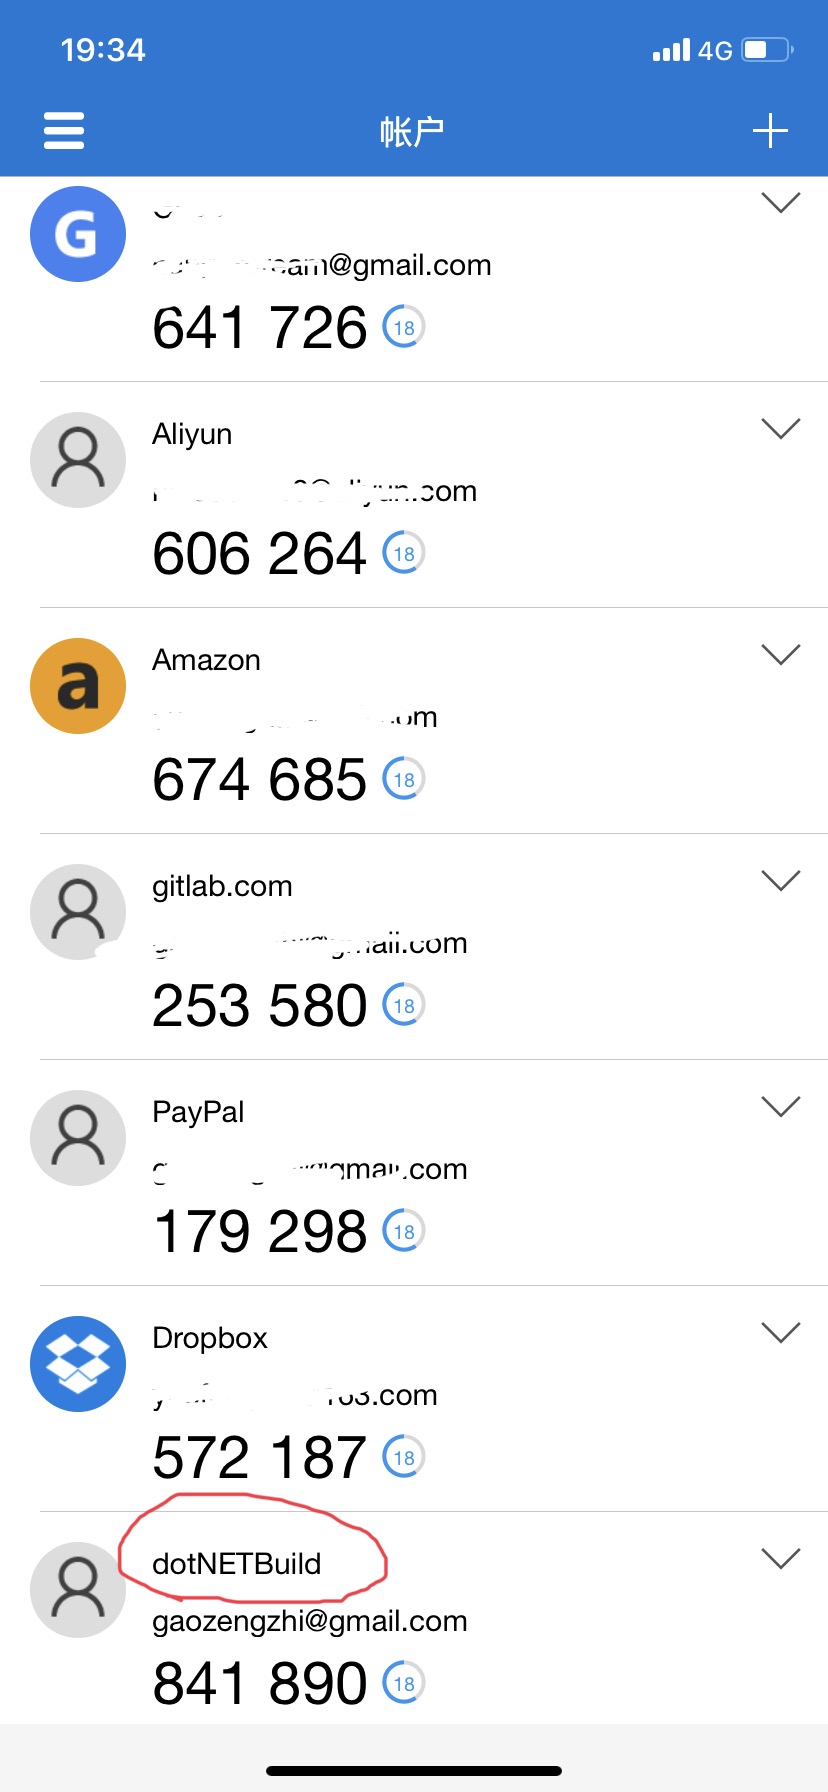
之前使用Google Authenticator手机坏了 Gitlab和DropBox 再也进不去了(心疼自己三秒钟)
五. 完整流程效果图
使用Microsoft Authenticator
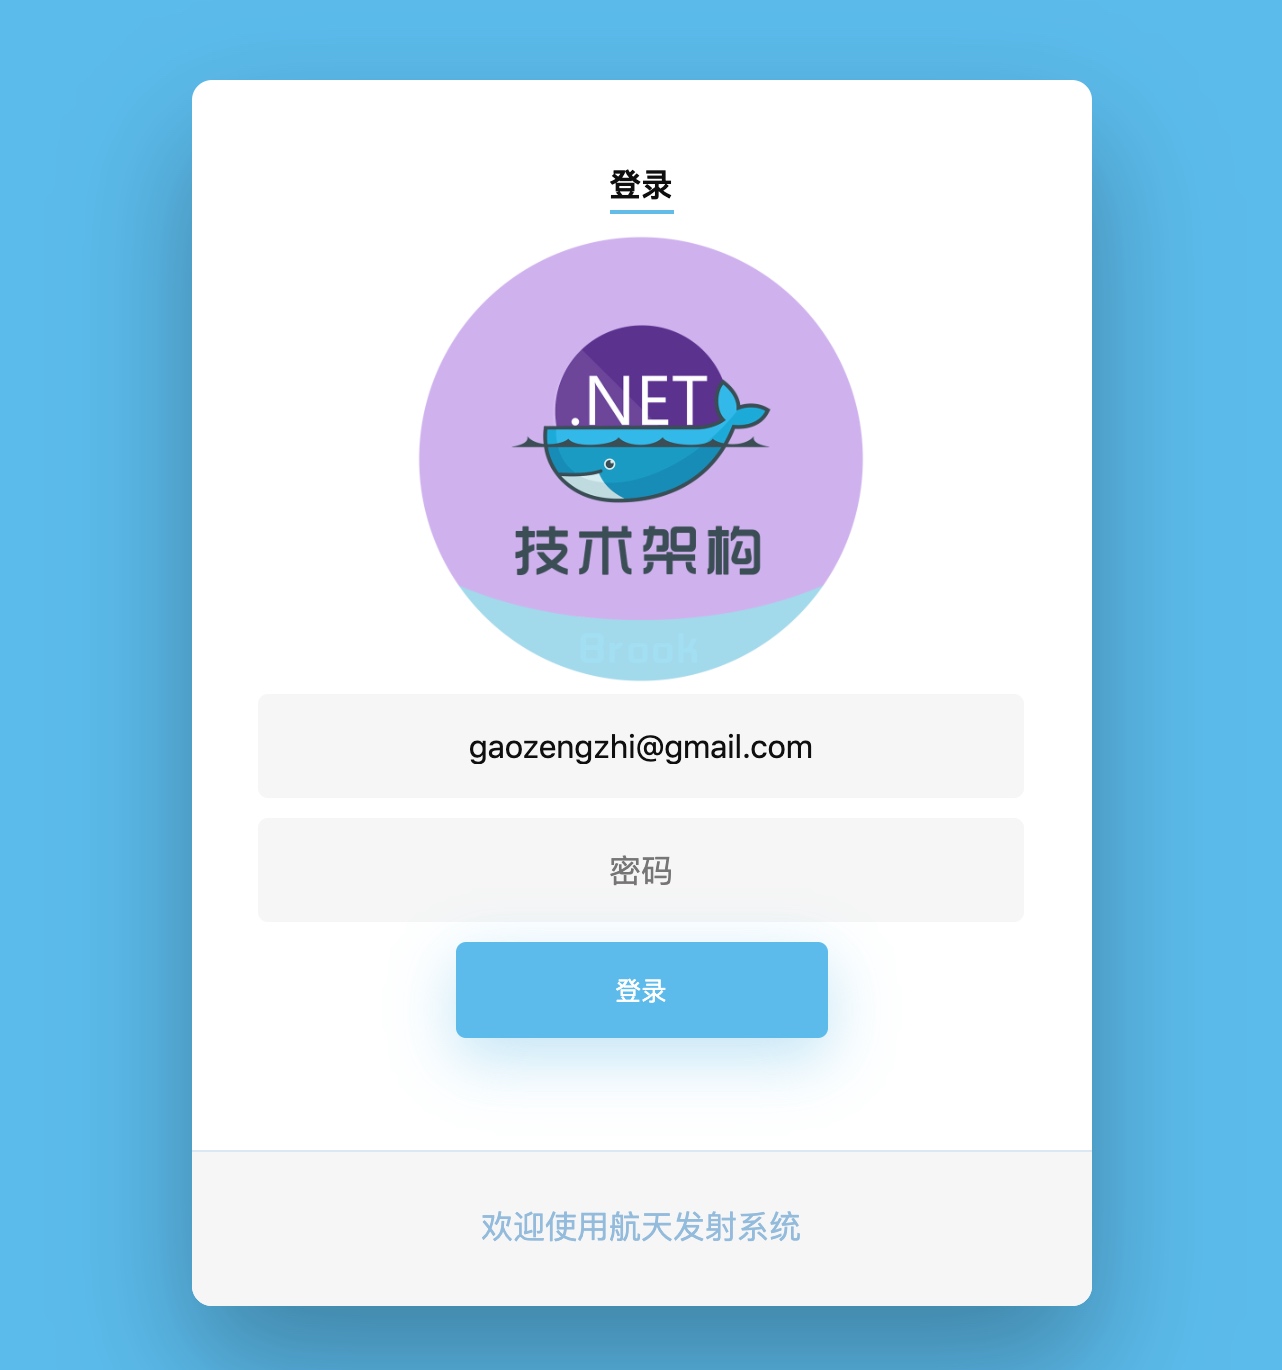
- 正常登录
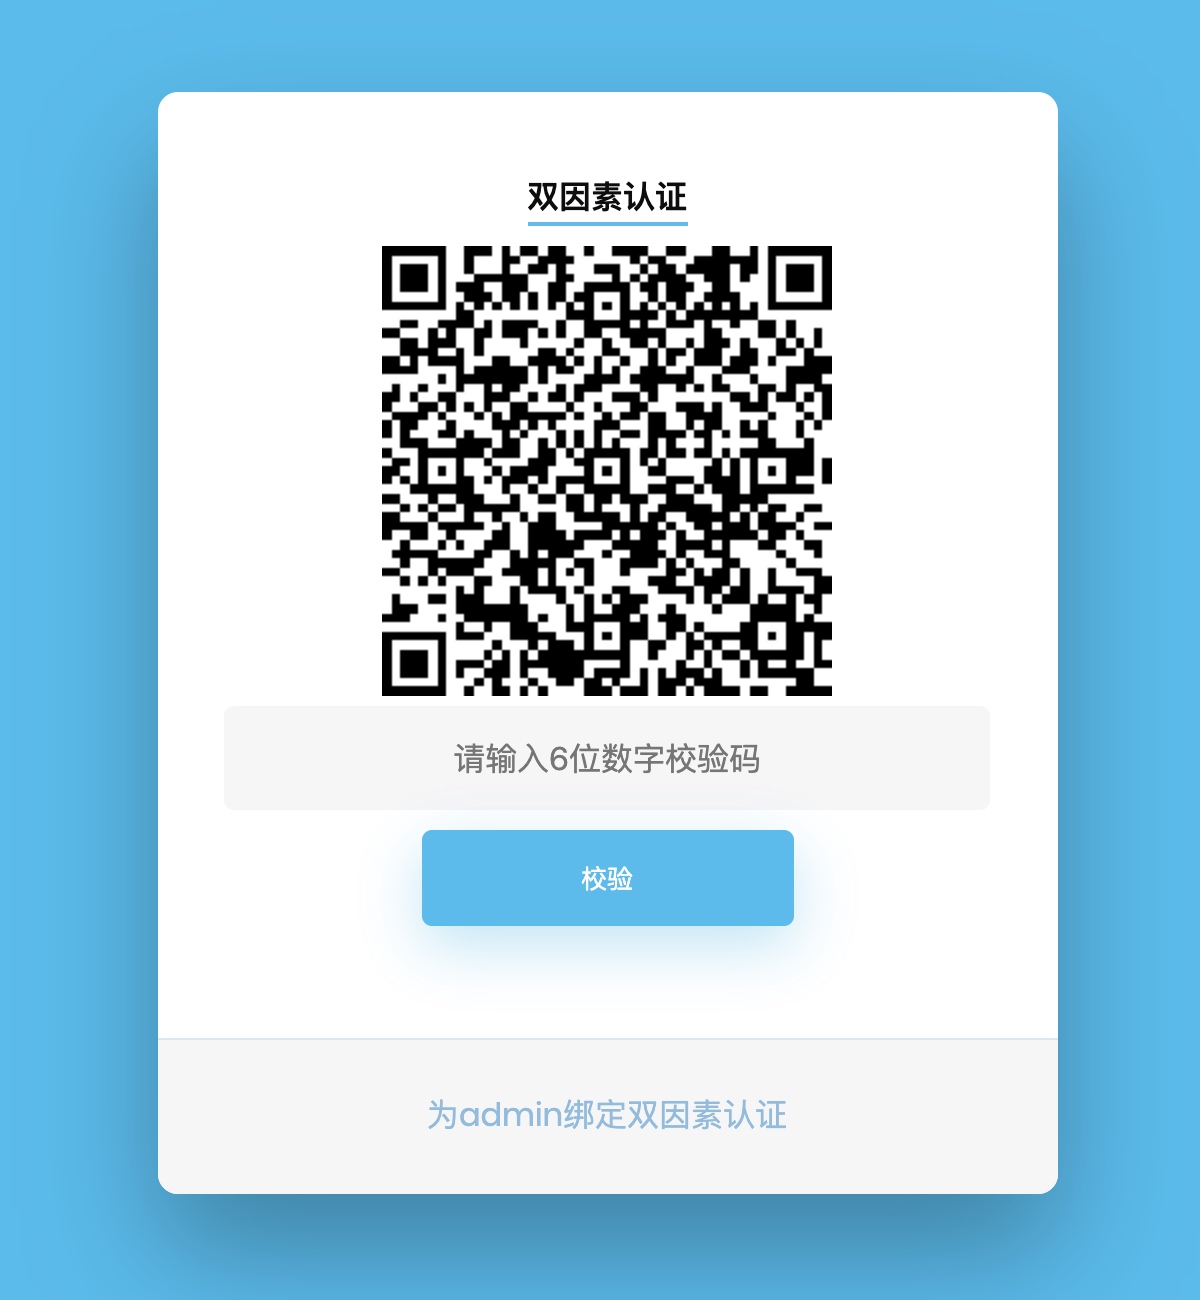
- 登录成功后绑定
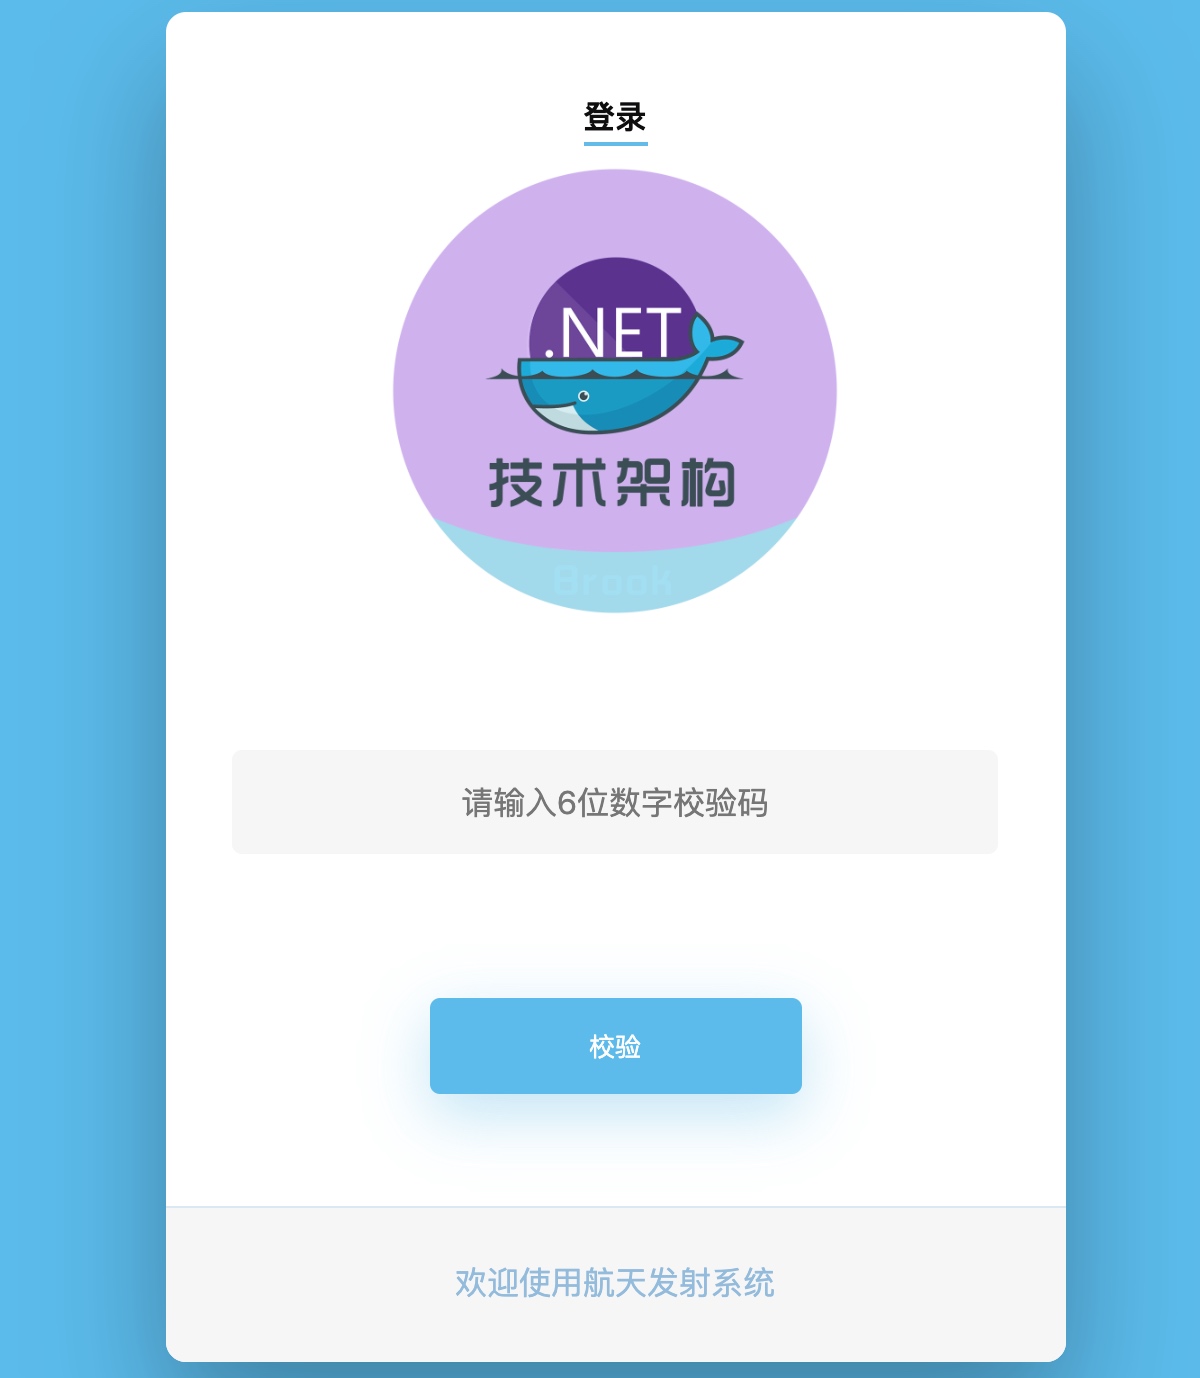
- 绑定后再次登录
六.如何使用
所有源代码请参照我的GitHub https://github.com/yuefengkai/Brook.Totp
Demo中使用了
EF Core In Memory Database所有的数据只存在内存中Cache in-memorydotNET Core Authentication
下方只展示部分代码
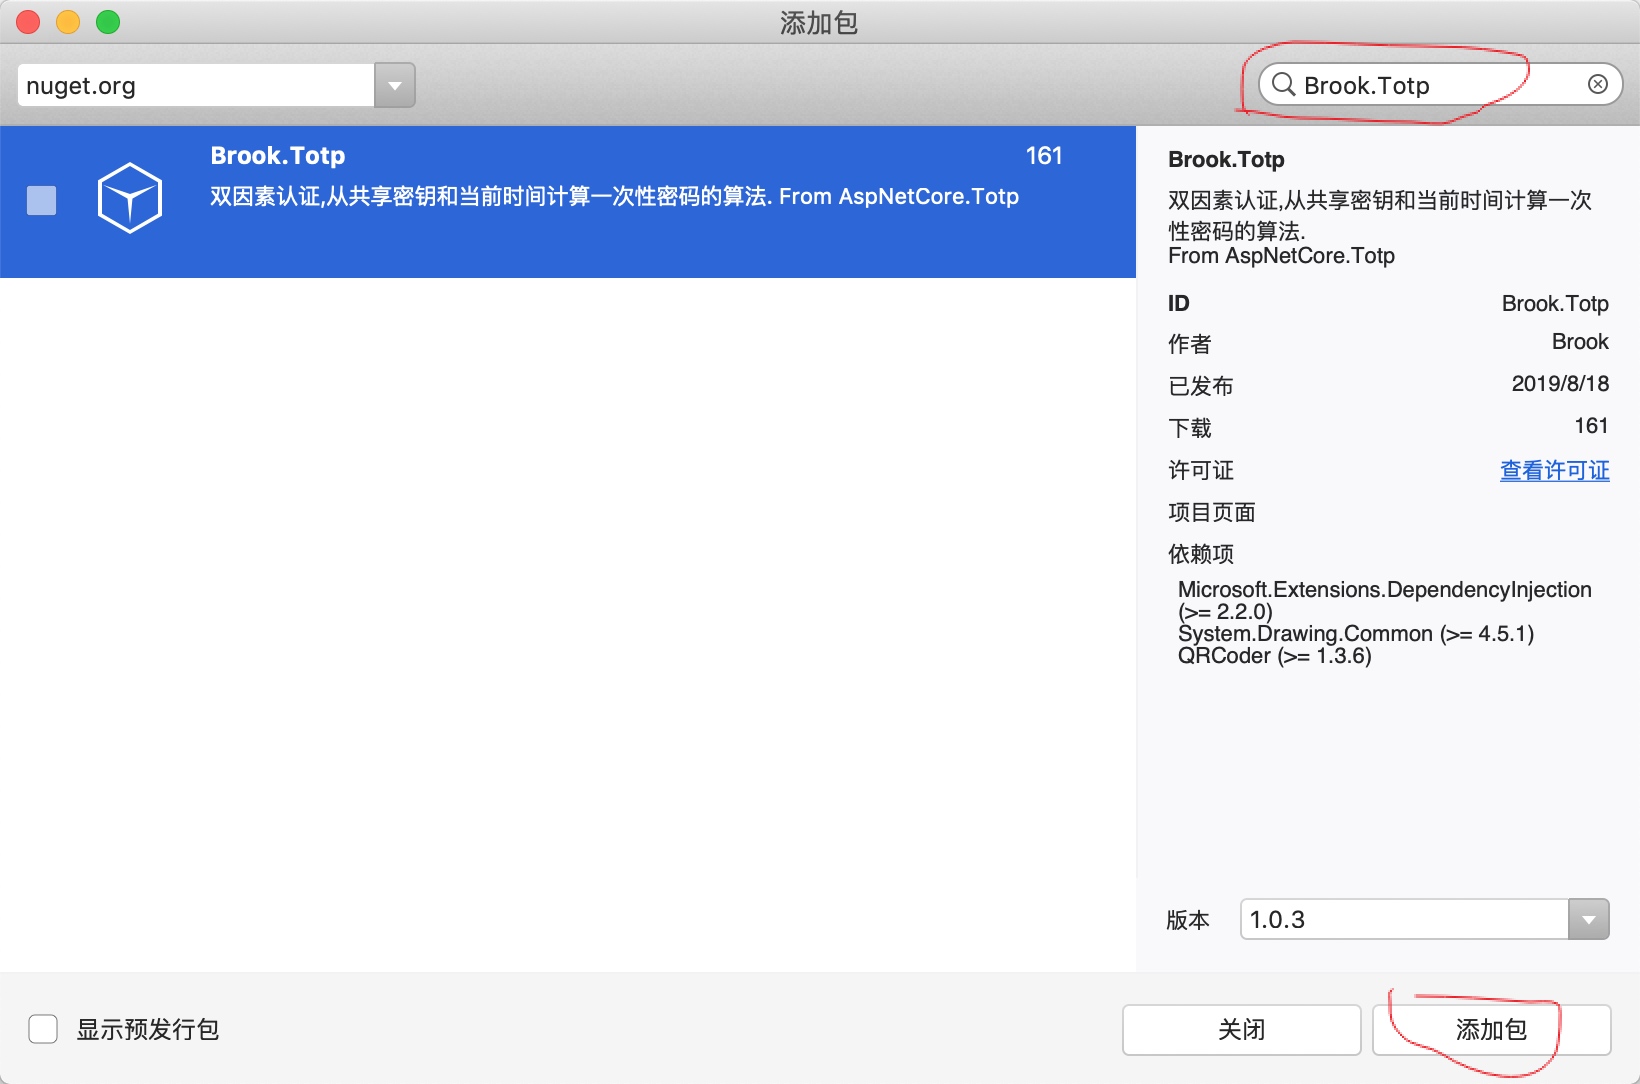
- 新建netCoreMVC项目添加Nuget包
Brook.Totp
- Startup注入
services.AddMemoryCache();
services.AddSingleton<ICacheManage, CacheManage>();
services.AddBrookTotp();
services.AddDbContext<BrookTotpDBContext>(options => options.UseInMemoryDatabase(databaseName: "BrookTotpDB"));
- Controller使用
private readonly ITotp _totp;
public AccountController(ITotp totp)
{
        _totp = totp;
}
//获取二维码
[Authorize]
public IActionResult GetQr()
{
    var totpSetup = _totp.GenerateUrl("dotNETBuild", CurremtUser.Email, CurremtUser.SecretKeyFor2FA);

    return Json(new { qrCodeContennt = totpSetup.QrCodeImageContent });
}
//验证双因素校验码
[Authorize]
[HttpPost]
public async Task<IActionResult> Valid(int code)
{
    var valid = _totp.Validate(CurremtUser.SecretKeyFor2FA
        , code, 30);

    if (!valid)
    {
        return Json(new { result = 0, msg = "2FA校验失败" });
    }
    //校验成功后 如果是第一次绑定校验 需将用户的accountSecretKey 存入数据库
    CurremtUser.IsOpen2FA = true;

    await _userService.UpdateAsync(CurremtUser);

    _cacheManage.Remove(string.Format(CacheKeys.GetUserForEmail, CurremtUser.Email));

    var claims = new List<Claim>
    {
        new Claim("user", CurremtUser.Email),
        new Claim("role", "Member")
    };

    await HttpContext.SignInAsync(new ClaimsPrincipal(new ClaimsIdentity(claims, "Cookies", "user", "role")));
    return Json(new { result = 1, msg = "2FA校验成功", url = "/Home/Index" });
}
七.写在最后
以上所有源代码已开源在 https://github.com/yuefengkai/Brook.Totp
如果觉得有用请给我个Start!
作者:Brook(高增智)

 浙公网安备 33010602011771号