使用hexo搭建自己的github pages博客[皮肤:Shoka & multi-markdown-it]
环境
Windows11
Powershell/CMD
Nodejs
新建仓库
首先新建github仓库(初始化什么的都不要选,保持空仓库) <你的用户名>.github.io
如我的是 sky5454.github.io
然后点该仓库的Settings
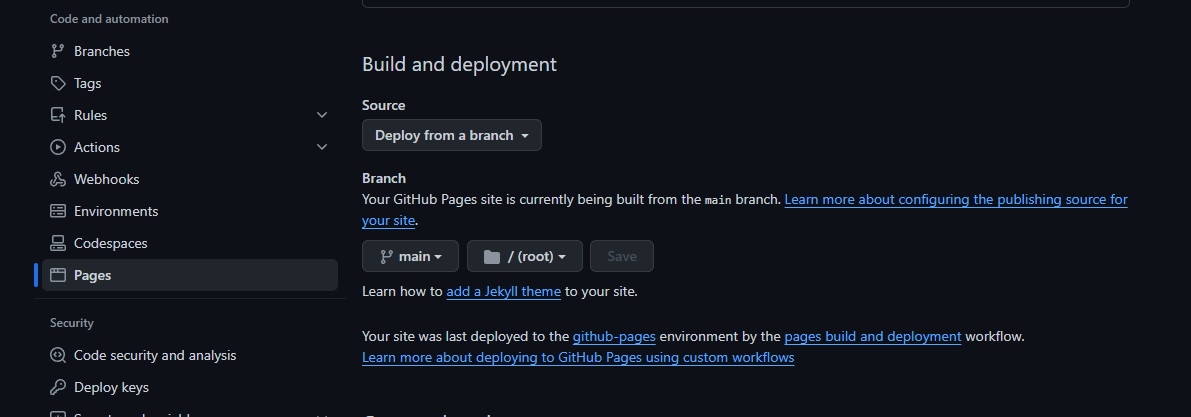
设置好分支和pages读取的路径
克隆仓库
这一步按照空仓库的提示,将github仓库克隆到本地电脑即可
安装 hexo
安装 nodejs
然后
npm install -g hexo-cli
cd 你刚克隆的空的git仓库
hexo init
npm install
然后生成并在本地运行
hexo clean
hexo generate
hexo server
浏览器打开 localhost:4000 查看效果,然后按Ctrl+C关闭服务
部署到 github
修改 _config.yml,主要修改以下这段:
deploy:
  type: git
  repo: https://github.com/你的用户名/你的用户名.github.io.git
  branch: main
安装hexo git部署命令,
npm install hexo-deployer-git --save
然后部署到 github
hexo clean
hexo generate
hexo deploy
修改主题为好看又强大的Shoka
参考:https://shoka.lostyu.me/computer-science/note/theme-shoka-doc/
安装主题
安装主题本体:
# cd your-blog
git clone https://github.com/amehime/hexo-theme-shoka.git ./themes/shoka
安装依赖插件:
npm un hexo-renderer-marked --save
npm i hexo-renderer-multi-markdown-it --save --ignore-scripts
npm install  hexo-autoprefixer hexo-algoliasearch hexo-symbols-count-time hexo-feed --save
修改 _config.yml,主要修改以下这段:
theme: shoka
本地运行查看效果(localhost:4000)
hexo clean
hexo generate
hexo server
然后部署到 github
hexo clean
hexo generate
hexo deploy
如果你还需要更多自定义,请修改 themes\shoka\_config.yml,配置项含义见:
https://shoka.lostyu.me/computer-science/note/theme-shoka-doc/config/
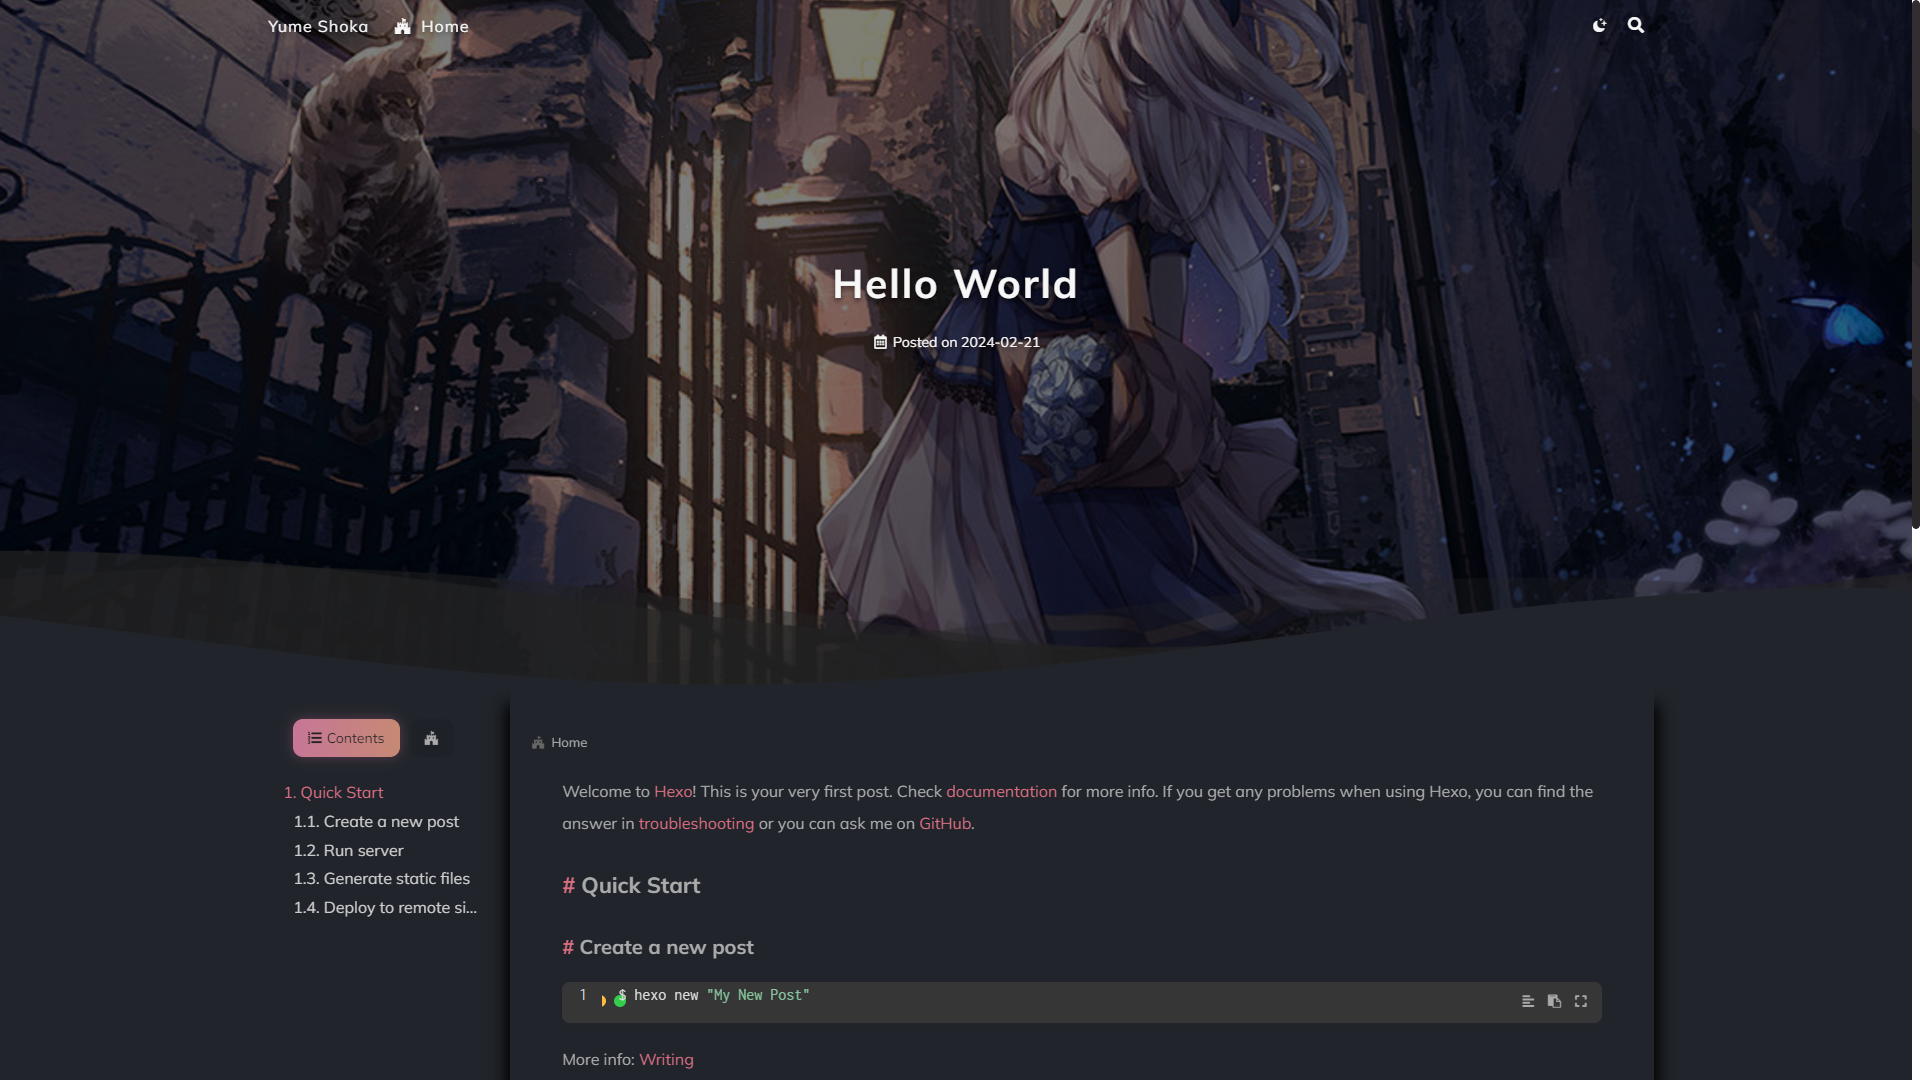
demo效果展示:https://sky5454.github.io
目录结构:
其中source_ports下的markdown文件就是博客文章,这些md文件在每次编译后都会生成为网页保存在public目录下,如果你觉得手动编译麻烦,还可以使用github Action在每次提交文章后自动编译

本文来自博客园,作者:蓝天上的云℡,采用 BY-NC-SA 许可协议,转载请注明:转载自作者蓝天上的云℡ 原文链接 https://www.cnblogs.com/yucloud/p/18024731/github_pages_hexo

 浙公网安备 33010602011771号