uni-app的uni.request()请求封装
第一种:常见的直接发起uni.request()请求
onLoad() {//页面加载时调用
this.getSwipers()
},
methods: {
//获取轮播图数据
getSwipers(){
uni.request({
url:"https://api-hmugo-web.itheima.net/api/public/v1/home/swiperdata",
method:"GET",
success: (res) => {
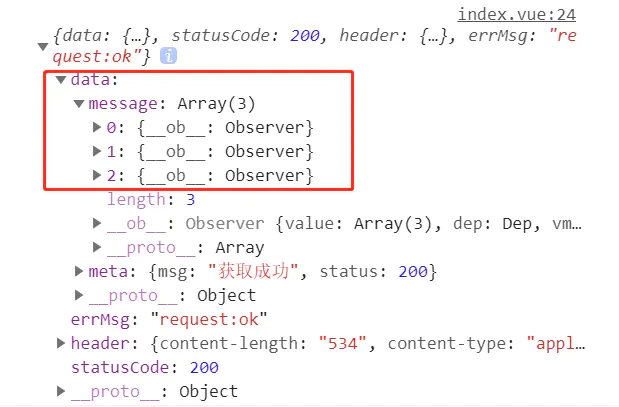
console.log(res)
if(res.data.meta.status !== 200){//如果请求失败,不等于200状态码
return uni.showToast({
title:"请求失败!"
})
}
//数据请求成功
this.swipers = res.data.message
}
})
}
}
第二种:async修饰函数和await的使用,这个好像是es7的
        onLoad() {//页面加载时调用
            this.getSwipers()
        },
        methods: {
            //获取轮播图数据
            async getSwipers(){
                const res = await uni.request({
                    url:"https://api-hmugo-web.itheima.net/api/public/v1/home/swiperdata",
                    method:"GET" //默认是GET,可省
                })
                console.log(res)
            }
        }
第三种:es6异步promise封装这种发起请求接口,跟axios封装差不多
一个项目有N多个接口,但前面的一段url基本是一致不变的(专业点说也就是前面那一段是域名,域名是不变的+后面一段是变化的,是接口地址)。

这时候我们就可以抽离封装了api了。

api.js
//功能:暴露接口

const BASE_URL = 'https://api-hmugo-web.itheima.net' //域名或选取所有接口不变的那一部分
export const myRequest = (options) => { //暴露一个function:myRequest,使用options接收页面传过来的参数
        return new Promise((resolve, reject) => { //异步封装接口,使用Promise处理异步请求
            uni.request({ //发送请求
                url: BASE_URL + options.url, //接收请求的API
                method: options.method || 'GET', //接收请求的方式,如果不传默认为GET
                data: options.data || {}, //接收请求的data,不传默认为空
                success: (res) => { //数据获取成功
                    if (res.data.meta.status !== 200) { //因为200是返回成功的状态码,如果不等于200,则代表获取失败,
                        return uni.showToast({
                            title: "数据获取失败!"
                        })
                    }
                    resolve(res) //成功,将数据返回
                },
                fail: (err) => { //失败操作
                    uni.showToast({
                        title: "请求接口失败!"
                    })
                    reject(err)
                }
            })
        })
    }

/*下面代码不作用途:仅参照演示,模仿页面调用函数,将实参传进myRequest,也就是上面myRequest使用(options)接收。
myRequest({
    url: '/getInfo',
    method: 'POST',
})
*/
在uni-app的main.js中将api.js挂载到全局,让所有页面都能接收
import { myRequest } from './utils/api.js'

//挂载到全局,让所有页面都能接收
Vue.prototype.$myRequest = myRequest //挂载到Vue的原型上
页面调用(index.vue想使用):
        data() {
            return {
                swipers: []
            }
        },
        onLoad() { //页面加载时调用
            this.getSwipers()
        },
        methods: {
            //获取轮播图数据
            async getSwipers() {
                const res = await this.$myRequest({//调用封装好的API请求函数
                    url:'/api/public/v1/home/swiperdata',//把接口传过去
                    method:'GET',
                })
                console.log(res)
                this.swipers = res.data.message //保存值
            }
        }
作者:似朝朝我心
链接:https://www.jianshu.com/p/8276ca362e5c
来源:简书
著作权归作者所有。商业转载请联系作者获得授权,非商业转载请注明出处。
uni-app封装一个request请求 案例二
在上一篇文章里面,写到使用uni.request请求的方法
https://www.jianshu.com/p/bc62c9e1beed
getList() {
                uni.request({
                    url: "https://unidemo.dcloud.net.cn/api/news",
                    method: 'get',
                    dataType: 'json',
                    success: (res) => {
                        console.log(res.data);
                        this.productList = res.data;
                    },
                });
            },
但是实际做项目的时候,会发现每个界面都要重复的写这些,看起来重复又啰嗦,心情就十分的不美丽了。
如果不封装那么我们会面临几个不方便的地方:
那么,该怎么使用uni-app封装一个request请求?步骤很简单,且听我一一道来。
注意:使用的例子,来自于这篇文章的相关的代码,修改封装请求是基于这个文章里面代码。进行相关的修改的。
https://www.jianshu.com/p/bc62c9e1beed
步骤如下:
1、项目下新建common文件夹,再创建request.js文件
2、打开request.js文件,开始写封装的代码
思路很简单
定义域名:baseUrl;
定义方法:api;
通过promise异步请求,最后导出方法。
request.js参考代码如下
const baseUrl = 'https://unidemo.dcloud.net.cn'
const request = (url = '', date = {}, type = 'GET', header = {
}) => {
    return new Promise((resolve, reject) => {
        uni.request({
            method: type,
            url: baseUrl + url,
            data: date,
            header: header,
            dataType: 'json',
        }).then((response) => {
            setTimeout(function() {
                uni.hideLoading();
            }, 200);
            let [error, res] = response;
            resolve(res.data);
        }).catch(error => {
            let [err, res] = error;
            reject(err)
        })
    });
}
export default request
3、在main.js全局注册
import request from 'common/request.js'
Vue.prototype.$request = request
4、页面调用
this.$request('/api/news', {
// 传参参数名:参数值,如果没有,就不需要传
}).then(res => {
// 打印调用成功回调
console.log(res)
})
页面调用的index.vue
<template>
    <view>
        <uni-list v-for="(item,index) in productList" :key="index">
            <uni-list-item :title="item.author_name" :note="item.title"></uni-list-item>
        </uni-list>

    </view>
</template>
<script>
    import uniList from "@/components/uni-list/uni-list.vue"
    import uniListItem from "@/components/uni-list-item/uni-list-item.vue"
    export default {
        components: {
            uniList,
            uniListItem
        },
        data() {
            return {
                productList: [],
            };
        },
        onLoad() {
            this.getList();
        },
        methods: {
            getList() {
                this.$request('/api/news', {
                    // 传参参数名:参数值,如果没有,就不需要传
                    // "username": "john",
                    // "key": this.searchValue
                }).then(res => {
                    // 打印调用成功回调
                    console.log(res)
                    this.productList = res;
                })
            },
        }
    }
</script>
<style>
</style>

 浙公网安备 33010602011771号