


Linux学习19-gitlab配置邮箱postfix(新用户激活邮件)
前言
gitlab新增新用户有两种方式,第一种可以用户主动注册(自己设置密码);第二种也可以通过root管理员用户直接添加用户,发个邮件到用户的邮箱里,收到邮件后激活。
如果是第二种方式添加新用户的话,就需要配置gitlab邮箱了。
相关环境
postfix
gitlab
postfix配置
前面一篇已经安装好postfix相关环境https://www.cnblogs.com/yoyoketang/p/10272544.html
先输入systemctl status postfix确定postfix是启动状态,看到 Active: active (running)说明,已经启动了
[root@yoyo ~]# systemctl status postfix
● postfix.service - Postfix Mail Transport Agent
   Loaded: loaded (/usr/lib/systemd/system/postfix.service; enabled; vendor preset: disabled)
   Active: active (running) since Thu 2019-01-17 10:24:03 CST; 1 day 1h ago
 Main PID: 1629 (master)
   CGroup: /system.slice/postfix.service
           ├─ 1629 /usr/libexec/postfix/master -w
           ├─ 1631 qmgr -l -t unix -u
           └─31352 pickup -l -t unix -u

Jan 18 09:29:37 yoyo postfix/smtp[19300]: 165D54046D: to=<admin@example.com>, relay=none, delay=7...out)
Jan 18 09:39:07 yoyo postfix/qmgr[1631]: 2A0804044C: from=<gitlab@47.104.190.48>, size=7538, nrcp...ive)
Jan 18 09:39:37 yoyo postfix/smtp[20356]: connect to example.com[93.184.216.34]:25: Connection timed out
Jan 18 09:39:37 yoyo postfix/smtp[20356]: 2A0804044C: to=<admin@example.com>, relay=none, delay=8...out)
Jan 18 10:39:07 yoyo postfix/qmgr[1631]: 165D54046D: from=<gitlab@47.104.190.48>, size=7547, nrcp...ive)
Jan 18 10:39:37 yoyo postfix/smtp[26711]: connect to example.com[93.184.216.34]:25: Connection timed out
Jan 18 10:39:37 yoyo postfix/smtp[26711]: 165D54046D: to=<admin@example.com>, relay=none, delay=7...out)
Jan 18 10:49:07 yoyo postfix/qmgr[1631]: 2A0804044C: from=<gitlab@47.104.190.48>, size=7538, nrcp...ive)
Jan 18 10:49:37 yoyo postfix/smtp[27758]: connect to example.com[93.184.216.34]:25: Connection timed out
Jan 18 10:49:37 yoyo postfix/smtp[27758]: 2A0804044C: to=<admin@example.com>, relay=none, delay=8...out)
Hint: Some lines were ellipsized, use -l to show in full.
vim打开gitlab的配置文件:/etc/gitlab/gitlab.rb,新增以下内容
- smtp_addressQQ邮箱服务器是smtp.qq.com
- smtp_port端口465 (注意,不要用25端口)
- smtp_user_name 配置自己的QQ号
gitlab_rails['smtp_enable'] = true
gitlab_rails['smtp_address'] = "smtp.qq.com"
gitlab_rails['smtp_port'] = 465
gitlab_rails['smtp_user_name'] = "2833xxx@qq.com"  # 你自己QQ号
gitlab_rails['smtp_password'] = "*************"             # QQ授权码
gitlab_rails['smtp_domain'] = "smtp.qq.com"
gitlab_rails['smtp_authentication'] = "login"
gitlab_rails['smtp_enable_starttls_auto'] = true
gitlab_rails['smtp_tls'] = true
gitlab_rails['gitlab_email_from'] = '2833xxx@qq.com'   # 你自己QQ号
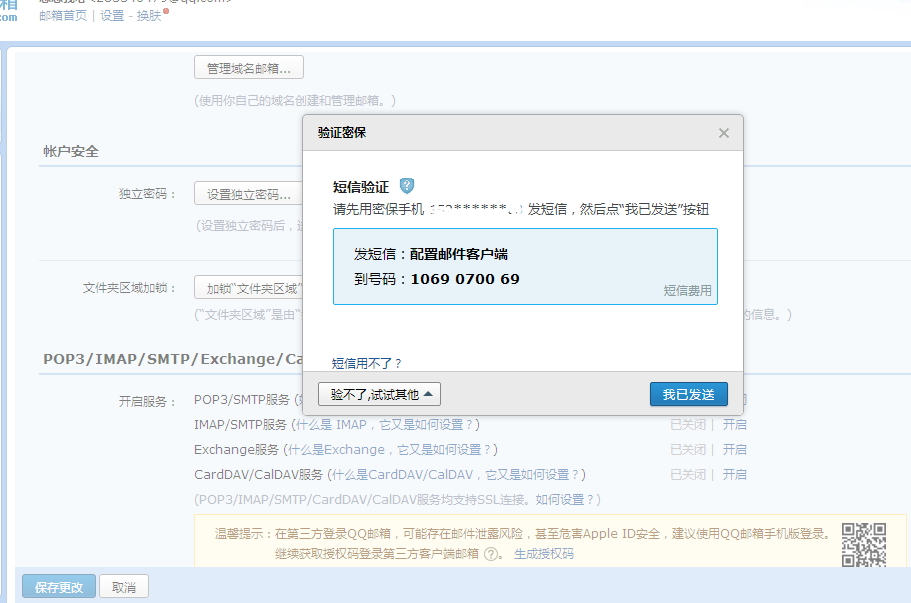
注意:这里的qq密码是授权码
打开QQ邮箱-设置-账户-帐户安全-开启服务-POP3/SMTP服务-生成授权码-发个短信
配置完成后执行gitlab-ctl reconfigure 让配置生效
gitlab-ctl reconfigure
测试邮箱
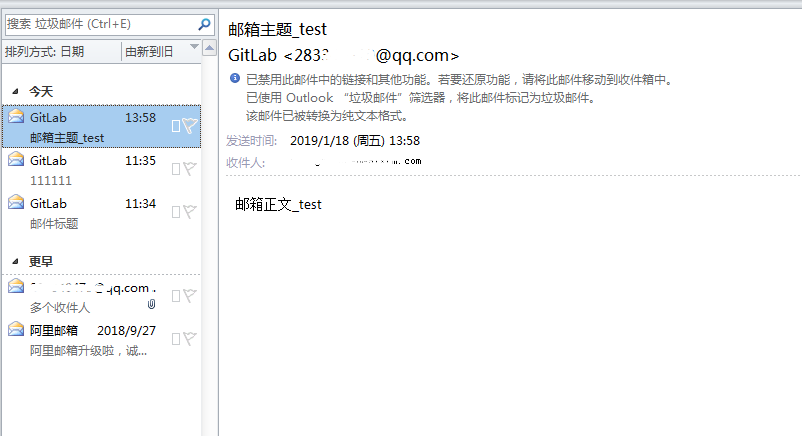
执行 gitlab-rails console进入控制台交互界面, 然后在控制台提示符后输入下面内容发送一封测试邮件,测试完成后exit()退出。
gitlab-rails console
Notify.test_email('yoyo_你自己随便邮箱@qq.com', '邮件标题_test', '邮件正文_test').deliver_now
[root@yoyo gitlab]# gitlab-rails console
Loading production environment (Rails 4.2.8)
irb(main):001:0> Notify.test_email('yoyo_******@qq.com', '邮件标题_test', '邮件正文_test').deliver_now

Notify#test_email: processed outbound mail in 1.2ms

Sent mail to yoyo_******@qq.com(1375.0ms)
Date: Fri, 18 Jan 2019 13:58:24 +0800
From: GitLab <2833xxx@qq.com>
Reply-To: GitLab <noreply@47.104.190.48>
To: yoyo_******@qq.com
Message-ID: <5c416b00e10ef_3e8f3fe6bd9db11817659@yoyo.mail>
Subject: =?UTF-8?Q?=E9=82=AE=E7=AE=B1=E4=B8=BB=E9=A2=98=5Ftest?=
Mime-Version: 1.0
Content-Type: text/html;
 charset=UTF-8
Content-Transfer-Encoding: quoted-printable
Auto-Submitted: auto-generated
X-Auto-Response-Suppress: All

<!DOCTYPE html PUBLIC "-//W3C//DTD HTML 4.0 Transitional//EN" "http://www=
.w3.org/TR/REC-html40/loose.dtd">
<html><body><p>=E9=82=AE=E7=AE=B1=E6=AD=A3=E6=96=87_test</p></body></html=
>

=> #<Mail::Message:70259829672900, Multipart: false, Headers: <Date: Fri, 18 Jan 2019 13:58:24 +0800>,
<From: GitLab <2833xxx@qq.com>>, <Reply-To: GitLab <noreply@47.104.190.48>>,
<To: yoyo_******@qq.com>, <Message-ID: <5c416b00e10ef_3e8f3fe6bd9db11817659@yoyo.mail>>,
<Subject: 邮箱主题_test>, <Mime-Version: 1.0>, <Content-Type: text/html; charset=UTF-8>,
<Content-Transfer-Encoding: quoted-printable>,
<Auto-Submitted: auto-generated>,
<X-Auto-Response-Suppress: All>>
irb(main):006:0> exit()  # 退出
新增新账号
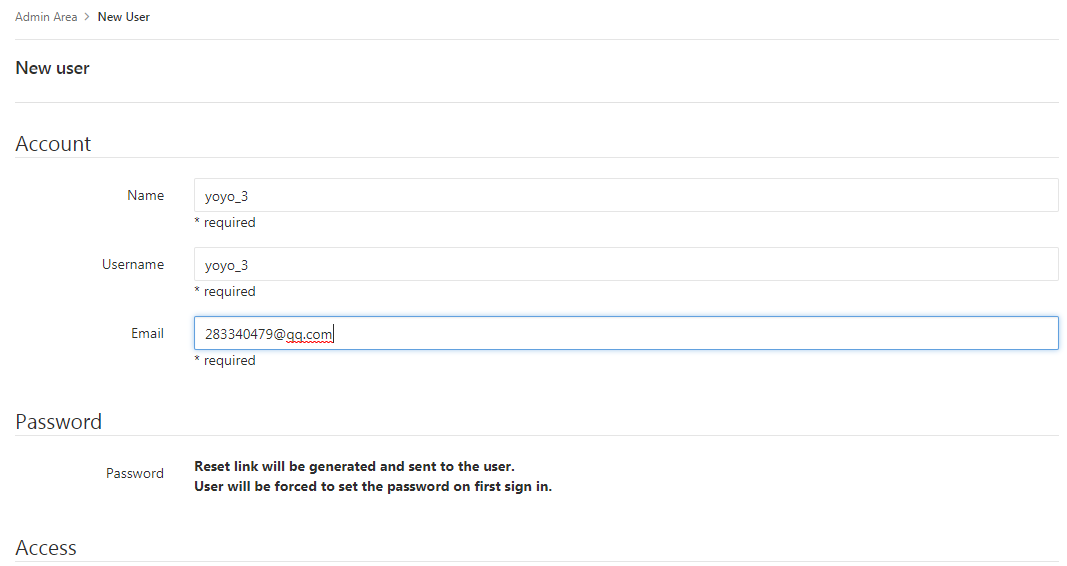
使用root管理员用户登录gitlab后台-> Users -> New user

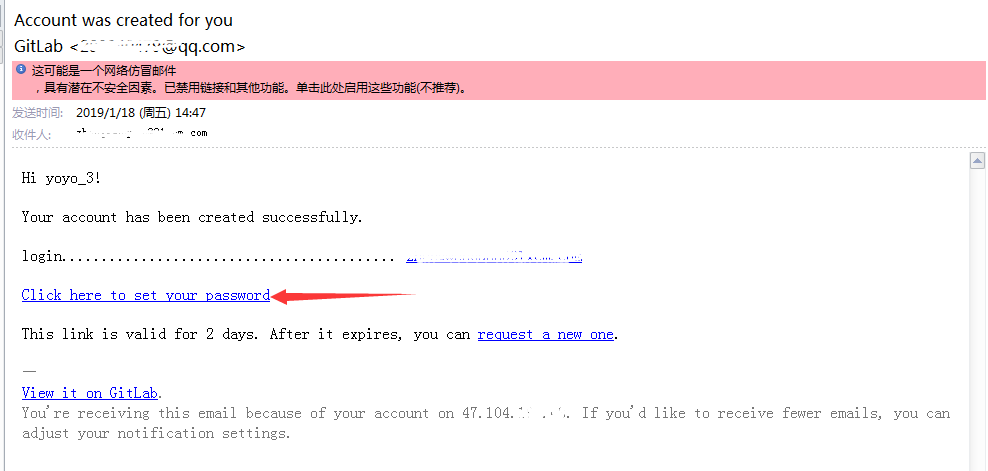
填写完用户信息后,点 Crear user按钮,填的邮箱地址就会收到激活邮件了
激动邮箱,设置登录密码,就可以登录gitlab了
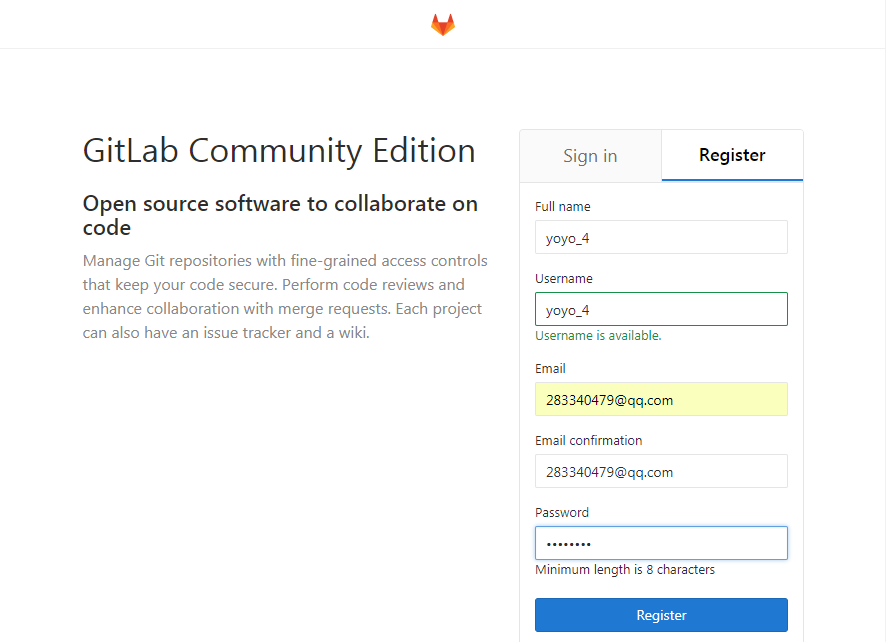
新用户自己注册
新用户也可以直接打开gitlab首页,自己注册
django交流QQ群:779429633

 浙公网安备 33010602011771号