Zookeeper源码导入IDEA&debug测试事务id打印结果
记录一下Mac下使用IDEA导入zookeeper源码,并debug测试的过程,全文参考了文末博文。
源码准备
github下载源码,地址为https://github.com/apache/zookeeper,选择对应的分支进行下载,这里选择的是3.4.14。

安装ant
官网(https://ant.apache.org/bindownload.cgi)下载ant,选择对应的版本。

配置环境变量,修改~/.bash_profile,添加ant的安装信息。
(base) [yangchaolin@youngchaolin-Mac.local ~/apache-ant-1.9.15/bin]$ vim ~/.bash_profile
添加ant的安装信息。
# ant的解压目录
export ANT_HOME=/Users/yangchaolin/apache-ant-1.9.15
# 添加环境变量
export PATH=$PATH:$ANT_HOME/bin
让新添加的信息生效。
(base) [yangchaolin@youngchaolin-Mac.local ~/apache-ant-1.9.15/bin]$ source ~/.bash_profile
使用ant -version命令查看,是否成功安装,如下所示即为成功安装。
(base) [yangchaolin@youngchaolin-Mac.local ~/apache-ant-1.9.15/bin]$ ant -version
Apache Ant(TM) version 1.9.15 compiled on May 10 2020
源码构建
进入zookeeper源码目录,使用ant eclipse命令,将项目编译并转化为eclipse的项目结构。
(base) [yangchaolin@youngchaolin-Mac.local ~/zookeeper-branch-3.4.14]$ ant eclipse
Buildfile: /Users/yangchaolin/zookeeper-branch-3.4.14/build.xml
编译过程比较长,大概几分钟左右。
(base) [yangchaolin@youngchaolin-Mac.local ~/zookeeper-branch-3.4.14]$ ant eclipse
Buildfile: /Users/yangchaolin/zookeeper-branch-3.4.14/build.xml

ant-eclipse-download:

init:

ivy-download:

ivy-taskdef:

ivy-init:

ivy-retrieve:
[ivy:retrieve] :: Apache Ivy 2.4.0 - 20141213170938 :: http://ant.apache.org/ivy/ ::
[ivy:retrieve] :: loading settings :: file = /Users/yangchaolin/zookeeper-branch-3.4.14/ivysettings.xml
[ivy:retrieve] :: resolving dependencies :: org.apache.zookeeper#zookeeper;3.4.14

# 过程略

	---------------------------------------------------------------------
	|                  |            modules            ||   artifacts   |
	|       conf       | number| search|dwnlded|evicted|| number|dwnlded|
	---------------------------------------------------------------------
	|       test       |   93  |   0   |   0   |   0   ||   93  |   0   |
	---------------------------------------------------------------------
  [eclipse] Writing the preferences for "org.eclipse.jdt.core".
  [eclipse] Writing the preferences for "org.eclipse.core.resources".
  [eclipse] Writing the project definition in the mode "java".
  [eclipse] Writing the classpath definition.

BUILD SUCCESSFUL
IDEA导入
首先import导入。
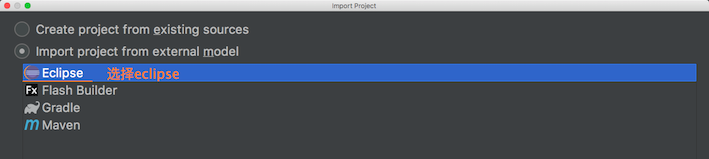
选择eclipse导入方式。
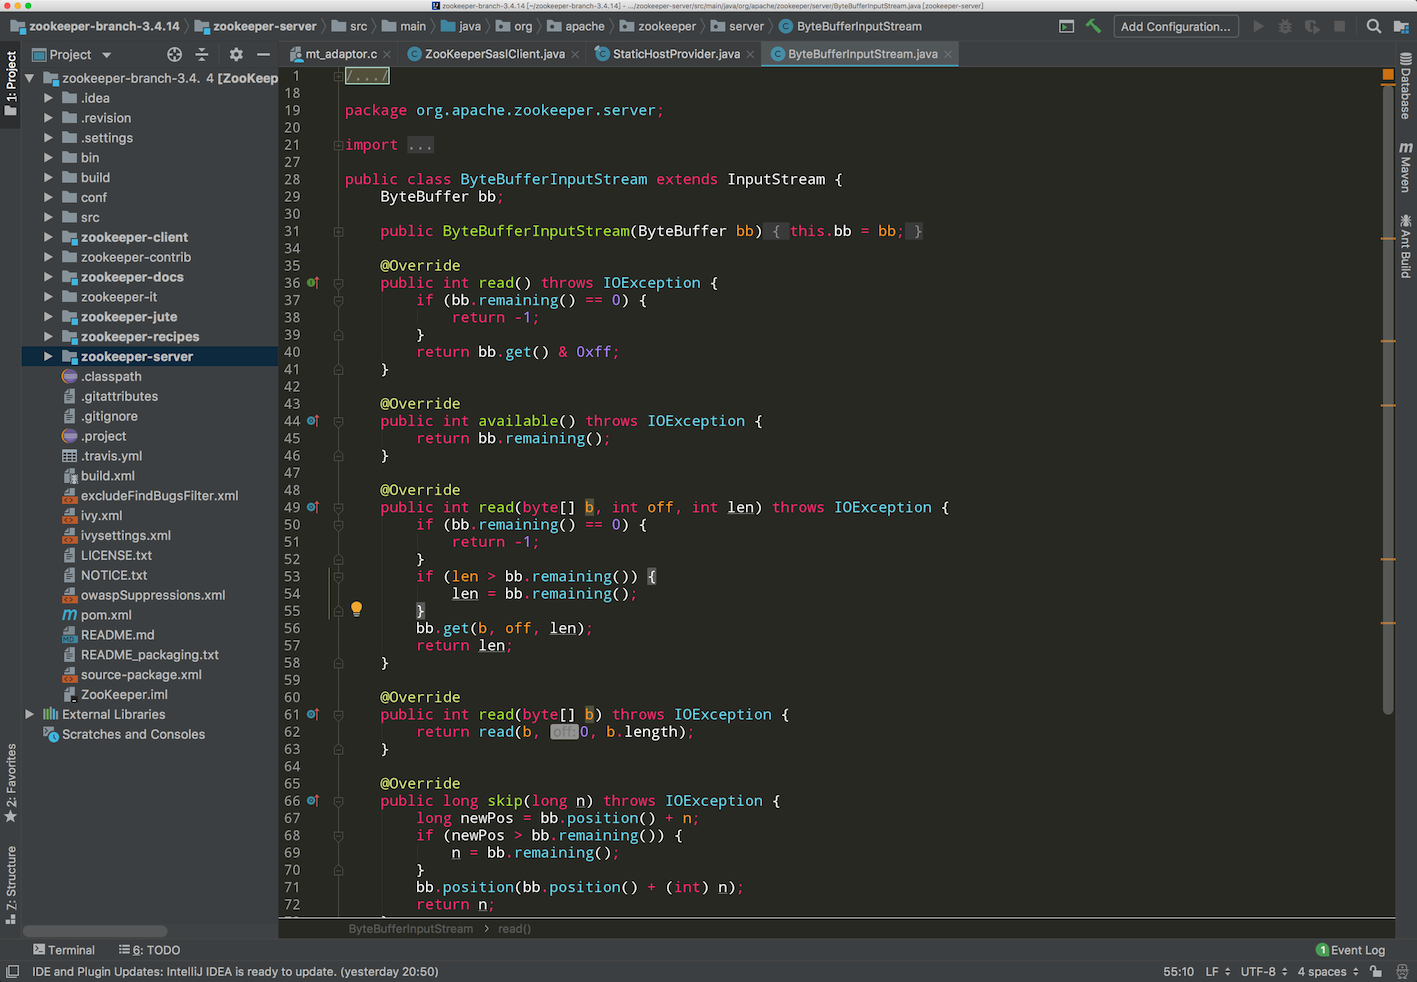
完成导入。
debug运行
接下来,以更新一条节点数据为例,选择在IDEA启动client进行更新,在linux服务器中启动zookeeper集群。
如图,在IDEA中配置一个代表client的application,文末博文是有配置本地zookeeper/conf目录下的zoo.cfg,这里选择不配置,选择默认的配置即可,本地复制一份模板文件重命名为zoo.cfg。
另外打印日志相关的log4j需要配置,其他配置如下图。
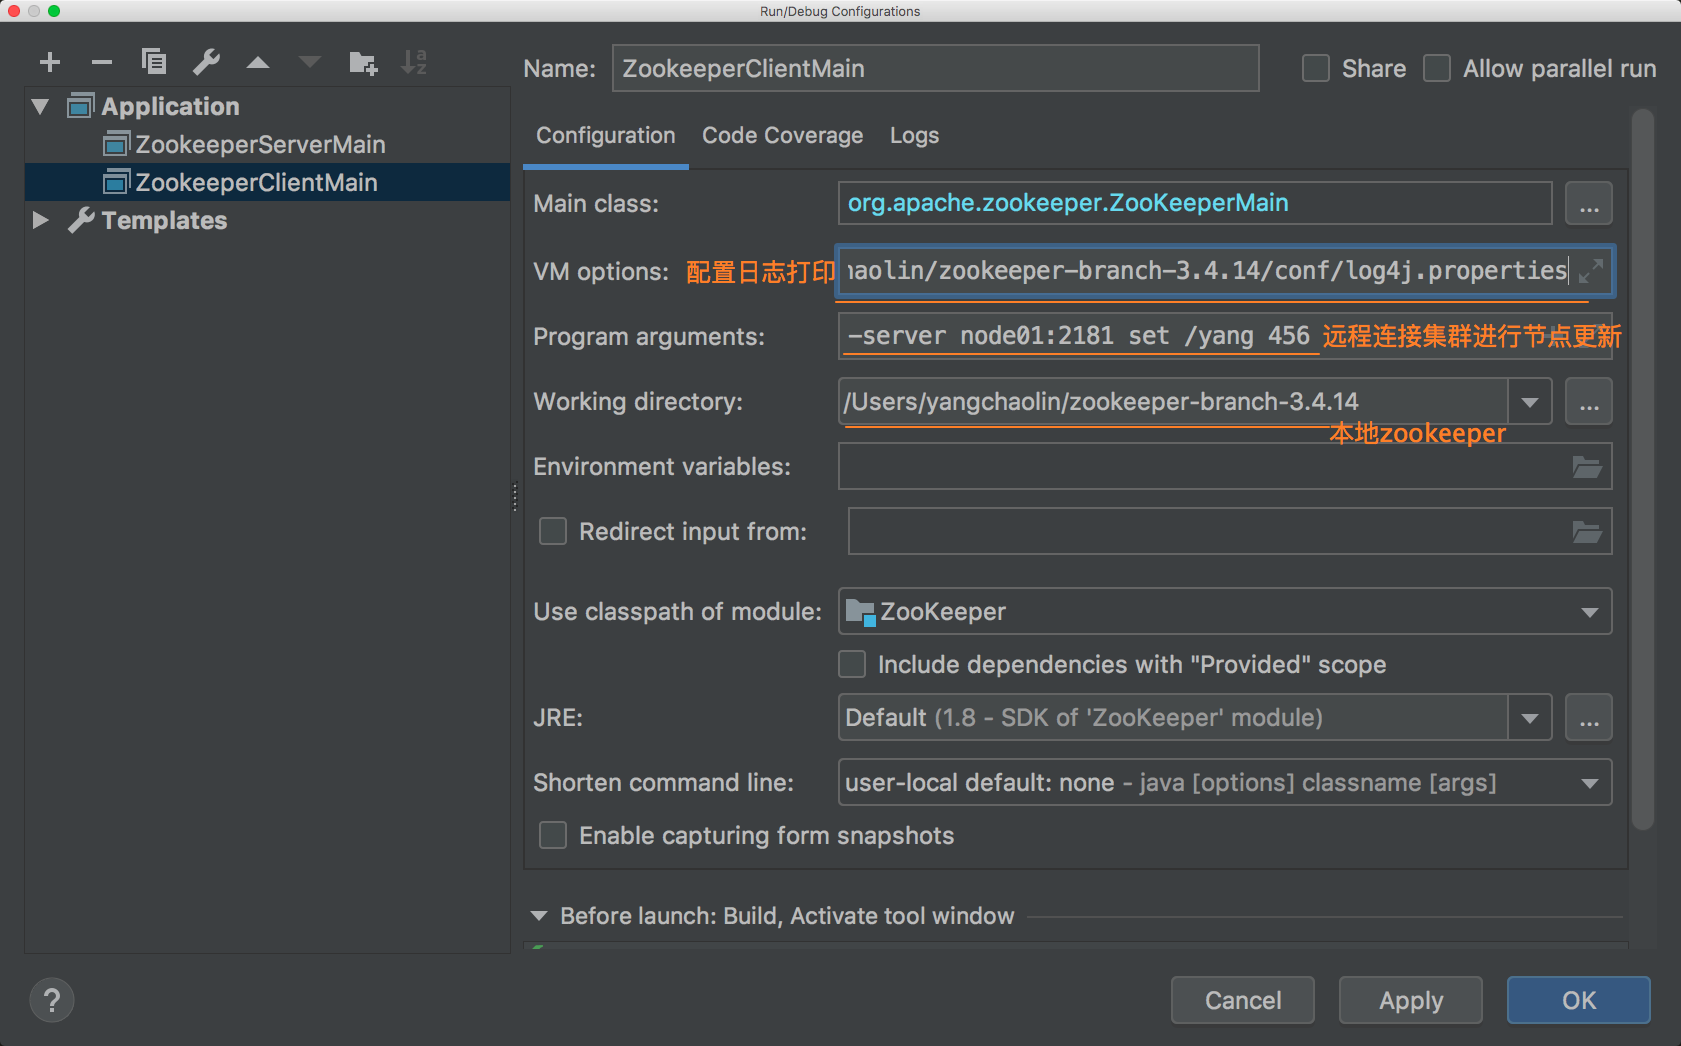
log4j配置。
# /Users/yangchaolin/zookeeper-branch-3.4.14就是${zookeeper_home}
-Dlog4j.configuration=file:/Users/yangchaolin/zookeeper-branch-3.4.14/conf/log4j.properties
关于事务id如cZxid,博文中有提到,由epoch+counter组成,各32位,其中高位是epoch,低位是counter,但是查看实际的事务id,epoch的位数显示没有32位,那是因为高位的0都被省略了,而低位的counter由于其还存在高位的epoch,因此32位都显示。
debug模式下更新节点数据,最后打印是需要调用ZooKeeperMain类下的printStat方法,其中Stat实体类中就封装了事务id。
private static void printStat(Stat stat) {
        System.err.println("cZxid = 0x" + Long.toHexString(stat.getCzxid()));
        System.err.println("ctime = " + new Date(stat.getCtime()).toString());
        System.err.println("mZxid = 0x" + Long.toHexString(stat.getMzxid()));
        System.err.println("mtime = " + new Date(stat.getMtime()).toString());
        System.err.println("pZxid = 0x" + Long.toHexString(stat.getPzxid()));
        System.err.println("cversion = " + stat.getCversion());
        System.err.println("dataVersion = " + stat.getVersion());
        System.err.println("aclVersion = " + stat.getAversion());
        System.err.println("ephemeralOwner = 0x"
        		+ Long.toHexString(stat.getEphemeralOwner()));
        System.err.println("dataLength = " + stat.getDataLength());
        System.err.println("numChildren = " + stat.getNumChildren());
    }
debug过程可以看到,事务id都是Long类型,这个可推理出是由64位epoch+counter二进制数据换算成的十进制的Long类型数据。
- cZxid:103079215134L
- mZxid :107374182416L
- pZxid :103079215149L
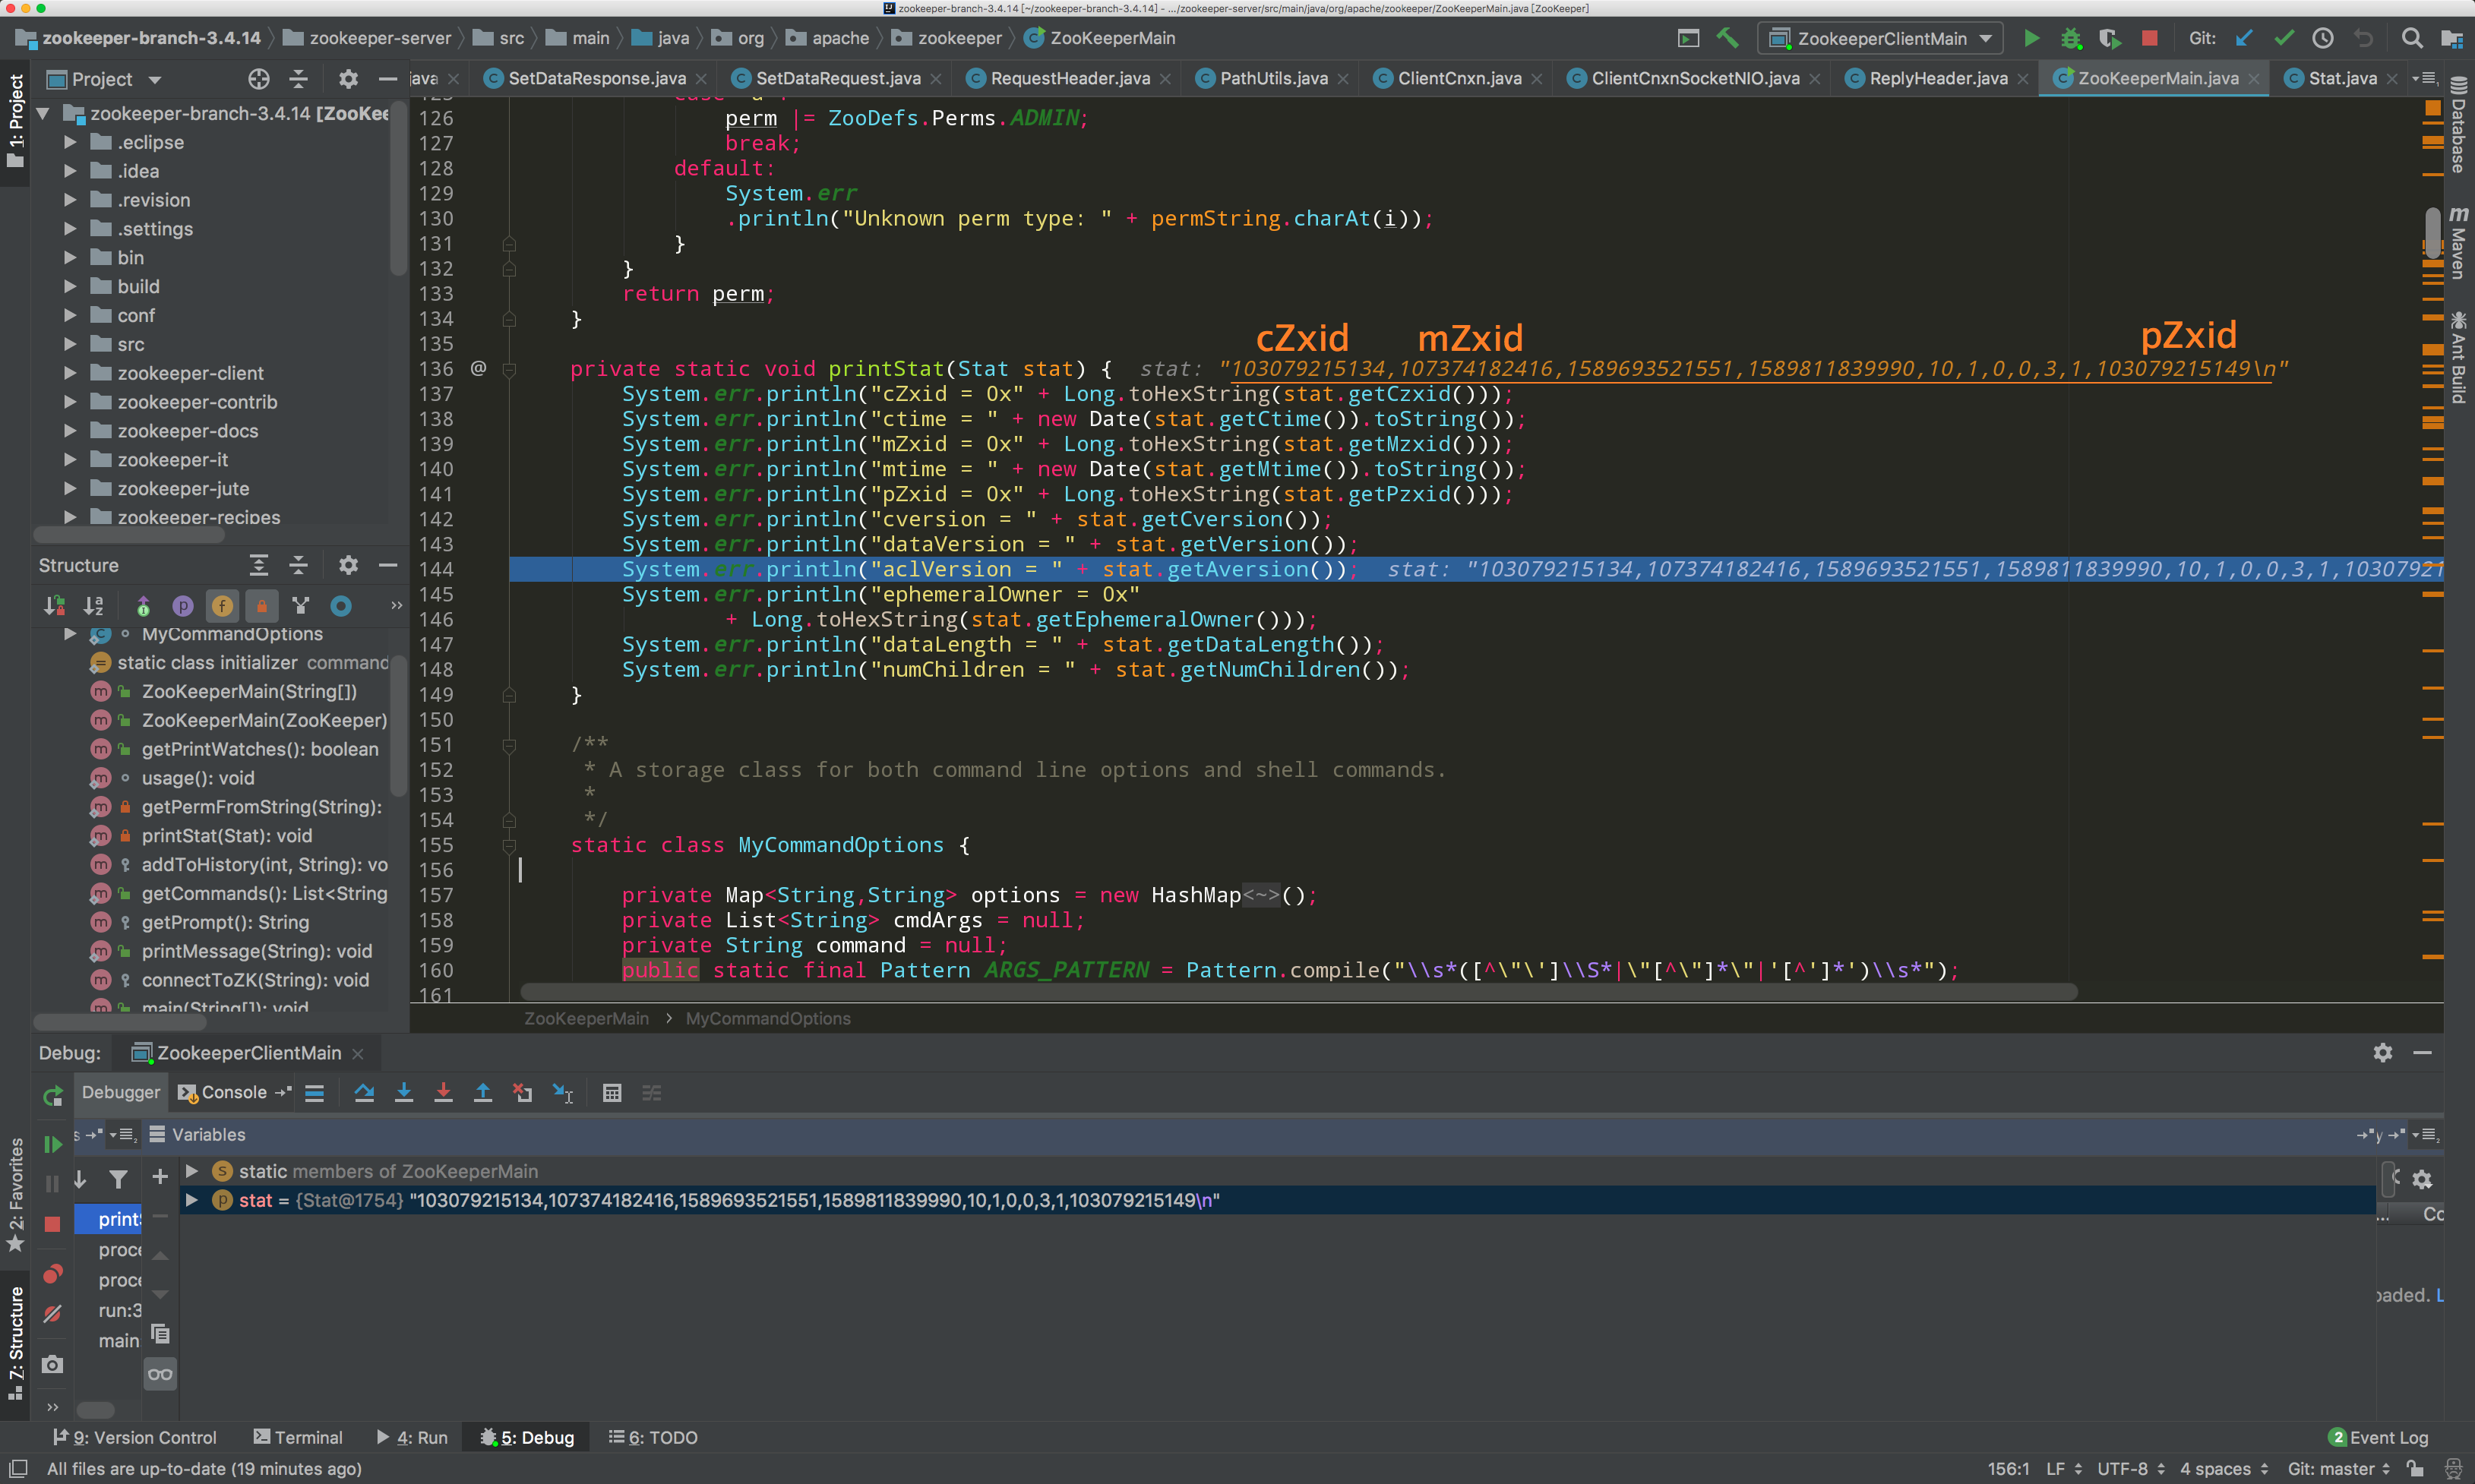
通过上面Long.toHexString(stat.getCzxid()))转换后,Long类型再转换为十六进制,就显示如下的结果,给人一种高位的epoch没有32位的假象,其实是因为epoch太小,且它前面没有像counter一样还有高位非0位,所以显示省略了前面0的情况。
通过一段代码可以打印出上面事务id对应的二进制形式。
/**
 * 测试类,Long转16进制
 */
public class ZookeeperTest {
    @Test
    public void testZxid(){
        //cZxid
        System.out.println("0x"+Long.toHexString(103079215134L));
        System.out.println(Long.toBinaryString(103079215134L));
        //mZxid
        System.out.println("0x"+Long.toHexString(107374182416L));
        System.out.println(Long.toBinaryString(107374182416L));
        //pZxid
        System.out.println("0x"+Long.toHexString(103079215149L));
        System.out.println(Long.toBinaryString(103079215149L));
    }
}
打印结果如下。
0x180000001e
1100000000000000000000000000000011110
0x1900000010
1100100000000000000000000000000010000
0x180000002d
1100000000000000000000000000000101101
补全高位,结果如下,为了阅读方便按4位隔开。
0x180000001e
//cZxid补全后的结果
0000 0000 0000 0000 0000 0000 0001 1000 0000 0000 0000 0000 0000 0000 0001 1110
0x1900000010
//mZxid补全后的结果
0000 0000 0000 0000 0000 0000 0001 1001 0000 0000 0000 0000 0000 0000 0001 0000
0x180000002d
//pZxid补全后的结果
0000 0000 0000 0000 0000 0000 0001 1000 0000 0000 0000 0000 0000 0000 0010 1101
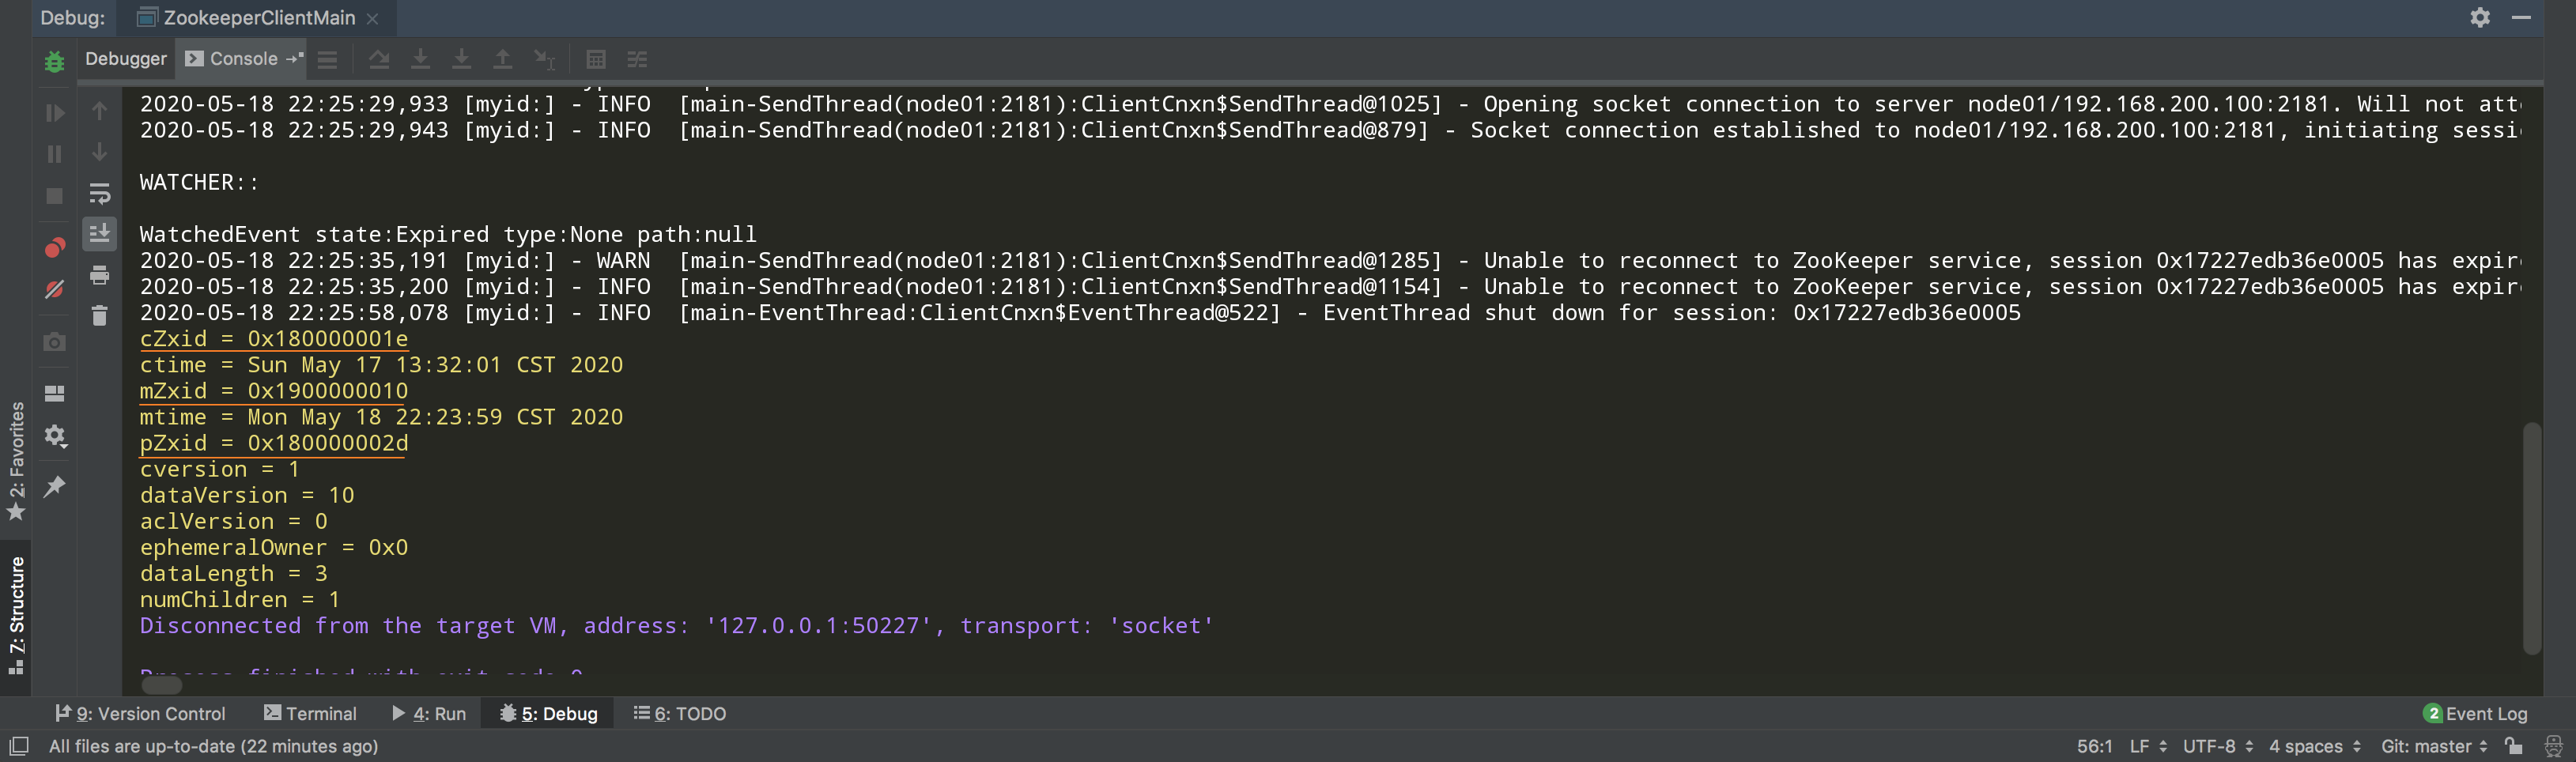
查看zookeeper客户端,跟上面IDEA控制台数据一致,说明本地client debug测试没有问题。
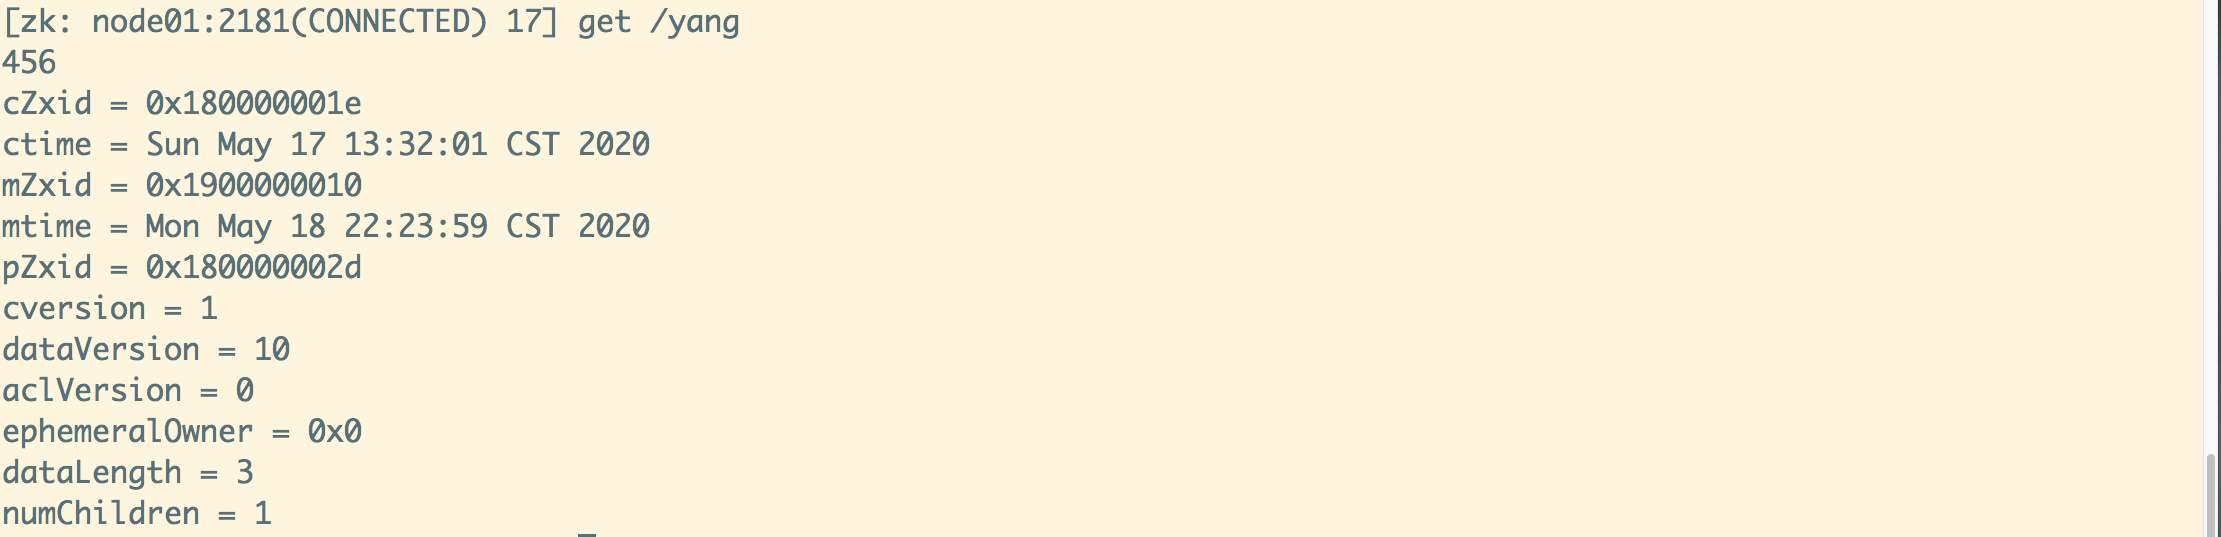
以上,就是zookeeper源码导入IDEA的过程,并且可以通过debug查看自己想看的业务代码线。
参考博文
(1)https://blog.csdn.net/moxiaomo0804/article/details/104249596

 浙公网安备 33010602011771号