

spring简单配置
1.导入资源
<?xml version="1.0" encoding="UTF-8"?>
<project xmlns="http://maven.apache.org/POM/4.0.0"
         xmlns:xsi="http://www.w3.org/2001/XMLSchema-instance"
         xsi:schemaLocation="http://maven.apache.org/POM/4.0.0 http://maven.apache.org/xsd/maven-4.0.0.xsd">
    <parent>
        <artifactId>springTest</artifactId>
        <groupId>com.shao</groupId>
        <version>1.0-SNAPSHOT</version>
    </parent>
    <modelVersion>4.0.0</modelVersion>

    <artifactId>test03</artifactId>


</project>
2.建立实体类
package com.shao.pojo;

public class User {
    private String name;

    public User(String name) {
        this.name = name;
    }

    public String getName() {
        return name;
    }

    public void setName(String name) {
        this.name = name;
    }
    public void show(){
        System.out.println("name = "+name);
    }
}
3.建立目录并编写beans
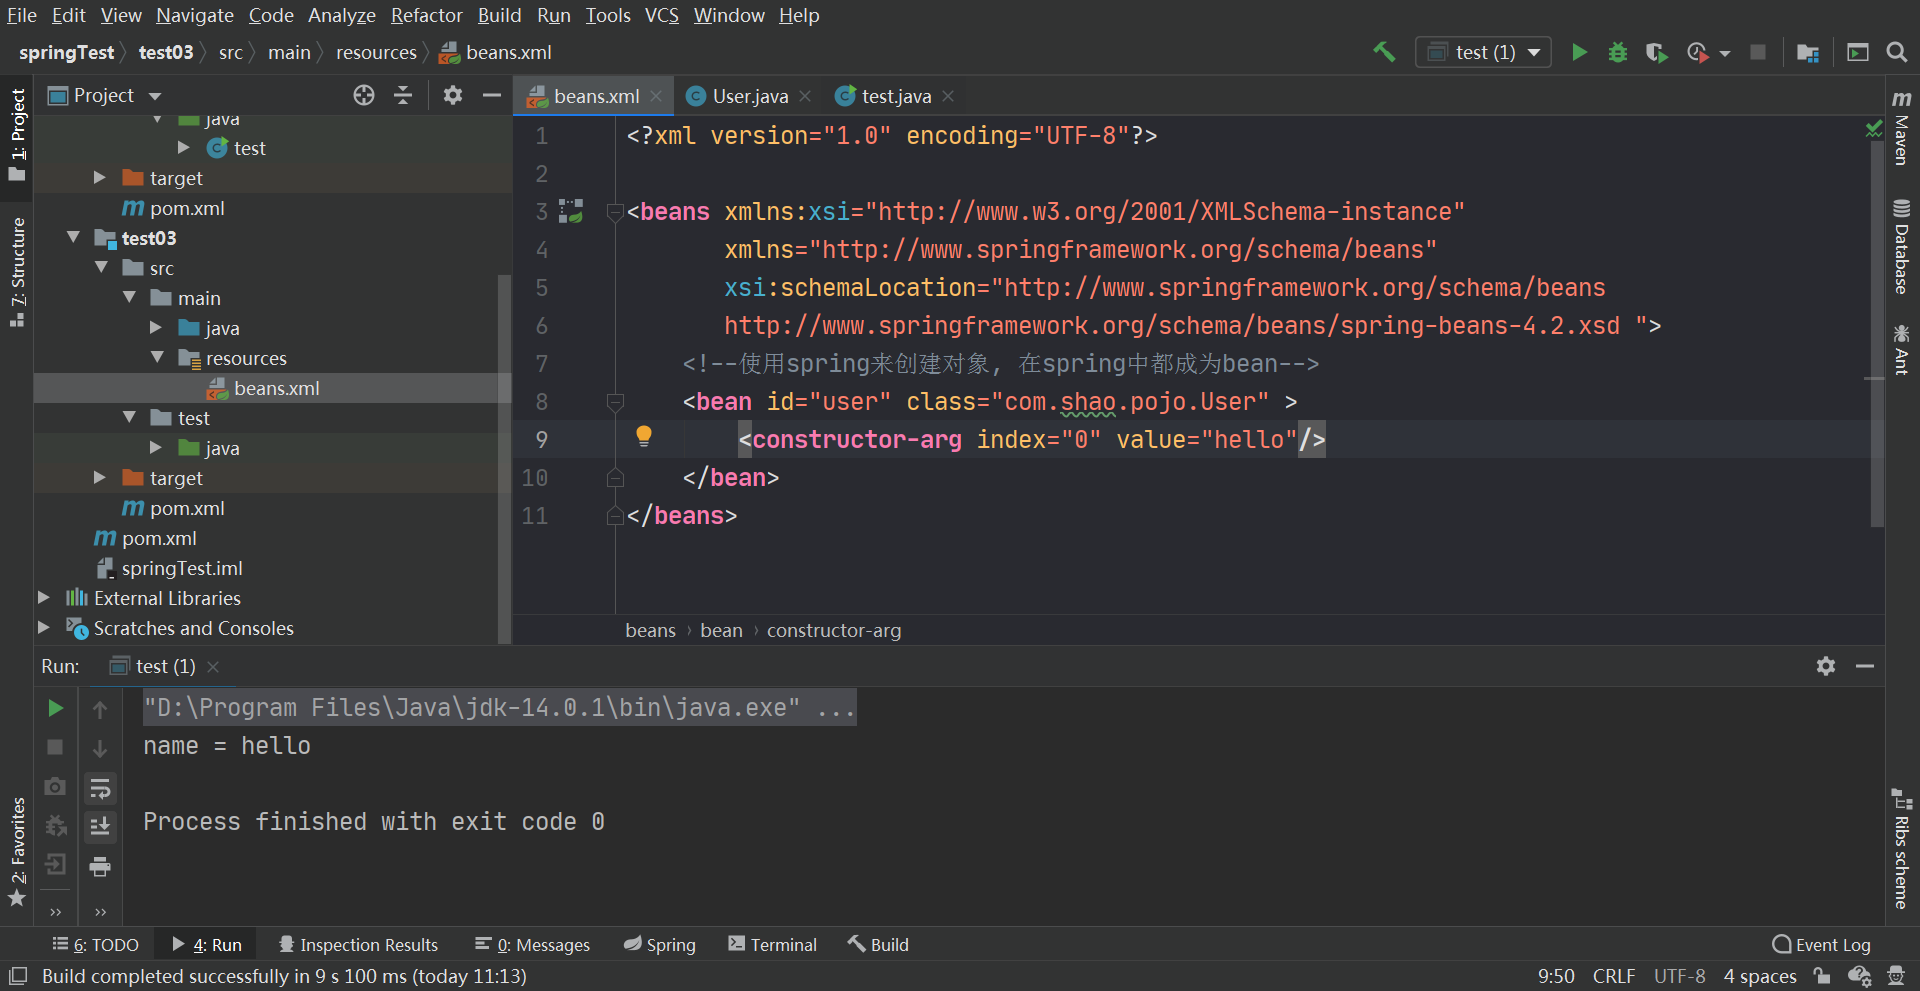
<?xml version="1.0" encoding="UTF-8"?>

<beans xmlns:xsi="http://www.w3.org/2001/XMLSchema-instance"
       xmlns="http://www.springframework.org/schema/beans"
       xsi:schemaLocation="http://www.springframework.org/schema/beans
       http://www.springframework.org/schema/beans/spring-beans-4.2.xsd ">
    <!--使用spring来创建对象, 在spring中都成为bean-->
    <bean id="user" class="com.shao.pojo.User" >
        <constructor-arg index="0" value="hello"/>
    </bean>
</beans>
4.测试
import com.shao.pojo.User;
import org.springframework.context.ApplicationContext;
import org.springframework.context.support.ClassPathXmlApplicationContext;

public class test {
    public static void main(String[] args) {
        ApplicationContext context = new ClassPathXmlApplicationContext("beans.xml");
        User user = (User) context.getBean("user");
        user.show();
    }
}
主要是给自己看的,所以肯定会出现很多错误哈哈哈哈哈

 浙公网安备 33010602011771号