CKeditor 集成 CKFinder
之前照着网上的做,遇到了一些问题,经过多次实验修改最后算是成功了,下面进行详细讲解。
一、CKeditor的配置(附件中已有最新版CKeditor和CKFinder)
1.需要下载ckeditor,
可去官网:http://ckeditor.com/
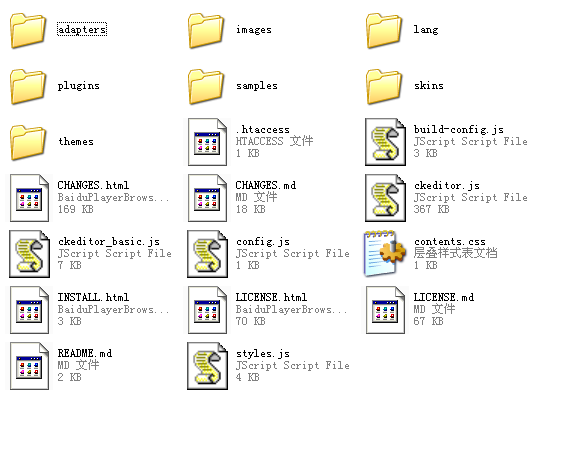
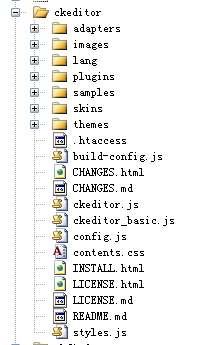
下载后直接解压得到ckeditor文件夹,包括如下内容:

2.其中sample为例子,source为源文件,为了减少editor的体积,直接删除。然后将整个文件夹直接拷贝到网站的根目录下.

3.在你需要使用editor控件的页面头部添加:
1 <head>
2 ...
3 <script type="text/javascript" src="/ckeditor/ckeditor.js"></script>
4 </head>
在页面相应位置上添加:
 1 <div>
 2     <%using (Html.BeginForm("Add", "Home"))
 3       { %>
 4 <p>文本域实验</p>
 5 <textarea id ="editor1" name="editor1" rows="10" >${model.content}</textarea>
 6         <input type="submit" value="添加" />
 7 <%} %>
 8 </div>
 9
10 <script type="text/javascript">
11 window.onload = function()
12 {
13 CKEDITOR.replace( 'editor1' );
14 };
15 </script>
4.在后台的方法获取编辑器中的数据:
 1 [AcceptVerbs(HttpVerbs.Post)]
 2         [ValidateInput(false)]
 3         public ActionResult Add(FormCollection collection)
 4         {
 5             FckEditorManageDataContext db = new FckEditorManageDataContext();
 6             CKeditors ads = new CKeditors();
 7             //FckeditorModel.contents = collection["editor1"];
 8             var contents = collection["editor1"];
 9             ads.contents = contents;
10             TryUpdateModel(ads);
11             db.CKeditors.InsertOnSubmit(ads);
12             db.SubmitChanges();
13             var res = "添加成功!";
14             return View(res);
15         }
4.接下来就要把ckfinder集成到ckeditor中了,代码如下:
 var editor = CKEDITOR.replace('editor1');
 CKFinder.SetupCKEditor(editor, '/ckfinder/');

当然,在页面相应位置引用script代码是必不可少的。
 <script type="text/javascript" src="/ckfinder/ckfinder.js"></script>
三、注意
如图所示:

在Telerik中显示的编辑器内容是数据库中存储的内容,但是如果我们选择这里的编辑按钮,
可以显示之前编辑器中的原版内容,所以,在做新闻热点中,如果需要获取一篇文章的前一段内容作为 摘要的话,需要在后台进行处理才能使用。
collection["editor1"]即可取得editor中的输入。这里需要注意的是由于textarea中有特殊字符,出于
安全原因,默认情况mvc框架不允许提交的,应在相应方法上加上[ValidateInput(false)]属性。
可是现在弄出来的是没有图片上传的,所以需要加上CKFinder
二、CKFinder配置
1.下载ckfinder,可取官网http://ckeditor.com/
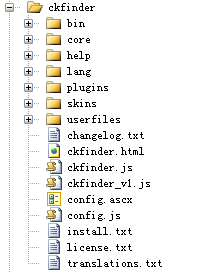
解压后,得到一个名为ckfinder的文件夹,同样删除掉source、sample目录(原因同上),拷贝到网站根目录下。如图:

2.把文件夹中的bin目录下的dll文件添加到网站的引用中,防止出现找不到类的错误。
3.打开config.ascx,修改public override bool CheckAuthentication()
{
reture false;//改为return true;
}此处修改是为了有权限上传。


 浙公网安备 33010602011771号