


使用ProxyFactoryBean进行AOP
使用ProxyFactoryBean之前先来了解一下它的属性
- target属性:指明要代理的目标类 ,这个目标类实现了上面proxyInterfaces属性指定的接口。
- proxyInterfaces属性:指明要代理的接口。
- interceptorNames属性:指明要在代理的目标类中添加的功能,即advice 。
- proxyTargetClass属性:,如果这个属性被设定为“true”,说明 ProxyFactoryBean要代理的不是接口类,而是要使用CGLIB方式来进行代理。默认值为false,如果是要代理的是接口就采用JDK进行动态代理,如果要代理的不是接口类就采用cglib代理
了解完ProxyFactoryBean的重要的几个属性之后,我们就用ProxyFactoryBean的方式来进行一个环绕增强
第一步:创建一个业务类
package com.yjc.autoproxys;

public class DoSomeServiceImpl  {

    public void doSome() {
        System.out.println("doSome===============================");
    }

    public void doSome2() {
        System.out.println("doSome2==========================================");
    }
}
第二步:创建增强类,实现环绕增强要实现的MethodInterceptor 接口,重写invoke
package com.yjc.aroundproxy;

import org.aopalliance.intercept.MethodInterceptor;
import org.aopalliance.intercept.MethodInvocation;
import org.springframework.aop.ThrowsAdvice;
public class AroundProxyAdvice implements MethodInterceptor {
    @Override
    public Object invoke(MethodInvocation invocation) throws Throwable {
        System.out.println("前置===============");
      //用于启动目标方法执行的
        Object proceed = invocation.proceed();
        System.out.println("后置===============");
        return  proceed;
    }
}
第三步:在Spring的核心配置文件中实现增强
<?xml version="1.0" encoding="UTF-8"?>
<beans xmlns="http://www.springframework.org/schema/beans"
       xmlns:xsi="http://www.w3.org/2001/XMLSchema-instance" xmlns:aop="http://www.springframework.org/schema/aop"
       xsi:schemaLocation="http://www.springframework.org/schema/beans http://www.springframework.org/schema/beans/spring-beans.xsd http://www.springframework.org/schema/aop http://www.springframework.org/schema/aop/spring-aop.xsd">
   <!--将增强类和目标业务都放入到Spring容器中-->
    <bean id="advice" class="com.yjc.aroundproxy.AroundProxyAdvice"></bean>

    <bean id="dosome" class="com.yjc.aroundproxy.DoSome"></bean>

    <bean id="proxyFactoryBean" class="org.springframework.aop.framework.ProxyFactoryBean">
        <property name="proxyTargetClass" value="true"/>
        <property name="interceptorNames" value="advice"/> <!--如果用多种增强方式,value的值使用逗号(,)分割-->
        <property name="target" ref="dosome"/>
    </bean>

</beans>
第四步:测试类
package com.yjc.aroundproxy;


import org.springframework.context.ApplicationContext;
import org.springframework.context.support.ClassPathXmlApplicationContext;

public class AroundProxyTest {
    public static void main(String[] args) {
        ApplicationContext applicationContext=new ClassPathXmlApplicationContext("com/yjc/aroundproxy/application_aroundproxy.xml");
        DoSome proxyFactory = applicationContext.getBean("proxyFactoryBean", DoSome.class);
        proxyFactory.doSome();
        proxyFactory.doSome2();
    }
}
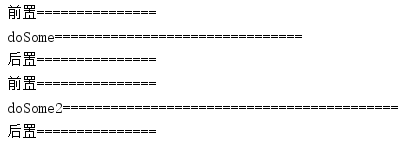
测试成功
其他的增强方式除了(最终增强)之外,都可以使用ProxyFactoryBean来进行实现
使用aop:config的方式进行异常和最终增强
第一步:在业务类里添加一个除零异常
package com.yjc.error;

public class DoSomeServiceImpl  {

    public void doSome()throws Exception {
        int i=1/0;
        System.out.println("doSome===============================");
    }
    public void doSome2() {
        System.out.println("doSome2==========================================");
    }
}
第二步:定义增强类,添加异常增强方法,和最终增强方法
package com.yjc.error;


import org.aspectj.lang.JoinPoint;
import org.springframework.aop.AfterReturningAdvice;
import org.springframework.aop.MethodBeforeAdvice;

import java.lang.reflect.Method;

public class ErrorAdvice {
    //异常增强
    public  void  afterThrowing(JoinPoint joinPoint,RuntimeException e){
        System.out.println(joinPoint.getSignature().getName()+"发生异常"+e);
    }

    //最终增强
    public  void afterAdvice(){
        System.out.println("最终增强==============");
    }

}
第三步:在Spring的核心配置文件中实现增强
<?xml version="1.0" encoding="UTF-8"?>
<beans xmlns="http://www.springframework.org/schema/beans"
       xmlns:xsi="http://www.w3.org/2001/XMLSchema-instance" xmlns:aop="http://www.springframework.org/schema/aop"
       xsi:schemaLocation="http://www.springframework.org/schema/beans http://www.springframework.org/schema/beans/spring-beans.xsd http://www.springframework.org/schema/aop http://www.springframework.org/schema/aop/spring-aop.xsd">

    <bean id="doSomeService" class="com.yjc.error.DoSomeServiceImpl"></bean>

    <bean id="advice" class="com.yjc.error.ErrorAdvice"></bean>

    <aop:config>
        <aop:pointcut id="pointcut" expression="execution(* com.yjc.error.*.*(..))" />
        <aop:aspect ref="advice">
            <aop:after-throwing method="afterThrowing" pointcut-ref="pointcut" throwing="e"/> <!--throwing中的e是你异常增强方法中的参数名-->
            <aop:after method="afterAdvice" pointcut-ref="pointcut"/>
        </aop:aspect>
    </aop:config>
</beans>
第四步:测试
package com.yjc.error;

import org.springframework.context.ApplicationContext;
import org.springframework.context.support.ClassPathXmlApplicationContext;

public class ErrorTest {
    public static void main(String[] args) {
        ApplicationContext applicationContext=new ClassPathXmlApplicationContext("com/yjc/error/application_error.xml");
        DoSomeServiceImpl proxyFactory = applicationContext.getBean("doSomeService", DoSomeServiceImpl.class);

        try {
            proxyFactory.doSome();
        } catch (Exception e) {
            e.printStackTrace();
        }
        proxyFactory.doSome2();

    }
}
测试
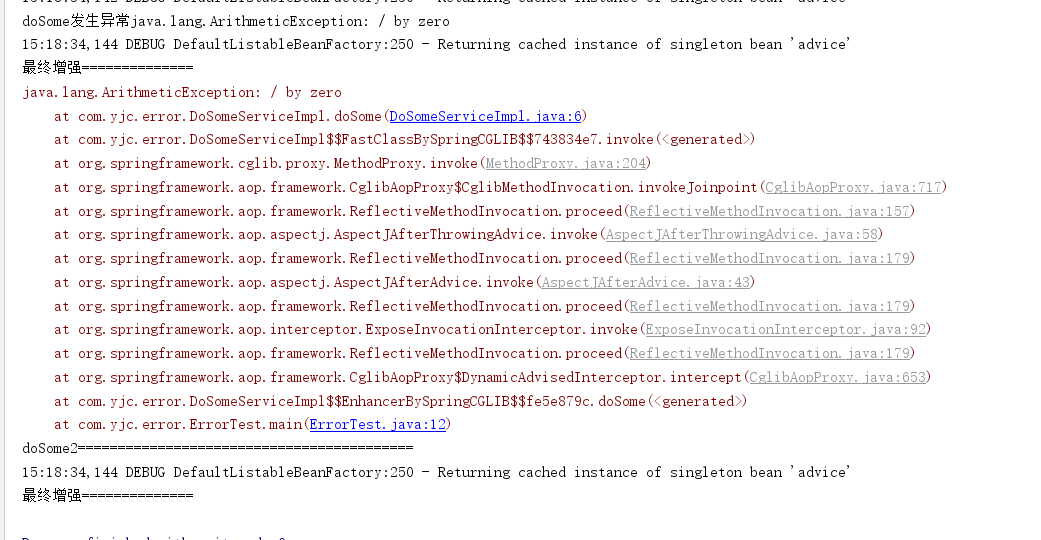
由上图可知我们的增强已经成功了,虽然在dosom方法里发生了异常,但是dosome的最终增强还是执行了,异常处理的目标就是,程序中发生了异常,把他吞掉不会影响后续模块的执行, 我们在测试方法把有可能出现异常的dosome方法放到了try-catch中,发生异常之后并不影响dosome2方法的执行


 浙公网安备 33010602011771号