Linux定制篇-GitLab的安装和设置
传送门
SpringMVC的源码解析(精品)
Spring6的源码解析(精品)
SpringBoot3框架(精品)
MyBatis框架(精品)
MyBatis-Plus
SpringDataJPA
SpringCloudNetflix
SpringCloudAlibaba(精品)
Shiro
SpringSecurity
java的LOG日志框架
Activiti(敬请期待)
JDK8新特性
JDK9新特性
JDK10新特性
JDK11新特性
JDK12新特性
JDK13新特性
JDK14新特性
JDK15新特性
JDK16新特性
JDK17新特性
JDK18新特性
JDK19新特性
JDK20新特性
JDK21新特性
其他技术文章传送门入口
前言
不懂点Linux,都不好意思和别人说自己是开发,所以一些基础的必须掌握,同样的也是面试高频。
以下文章不定时更新…
Linux基础篇
Linux实操篇
Linux定制篇
Linux安装JDK17(精品)
Linux安装MySQL(精品)
Linux安装Nginx(精品)
Linux安装Maven(精品)
运行一个jar包(精品)
java -jar提示jar中没有主清单属性(no main manifest attribute)(精品)
Jenkins安装启动(JDK8/11/17)(精品)
Jenkins配置(插件/角色/凭证)(精品)
Jenkins的jdk和maven配置(精品)
Jenkins三种构建类型(精品)
一、GitLab的安装和配置概念
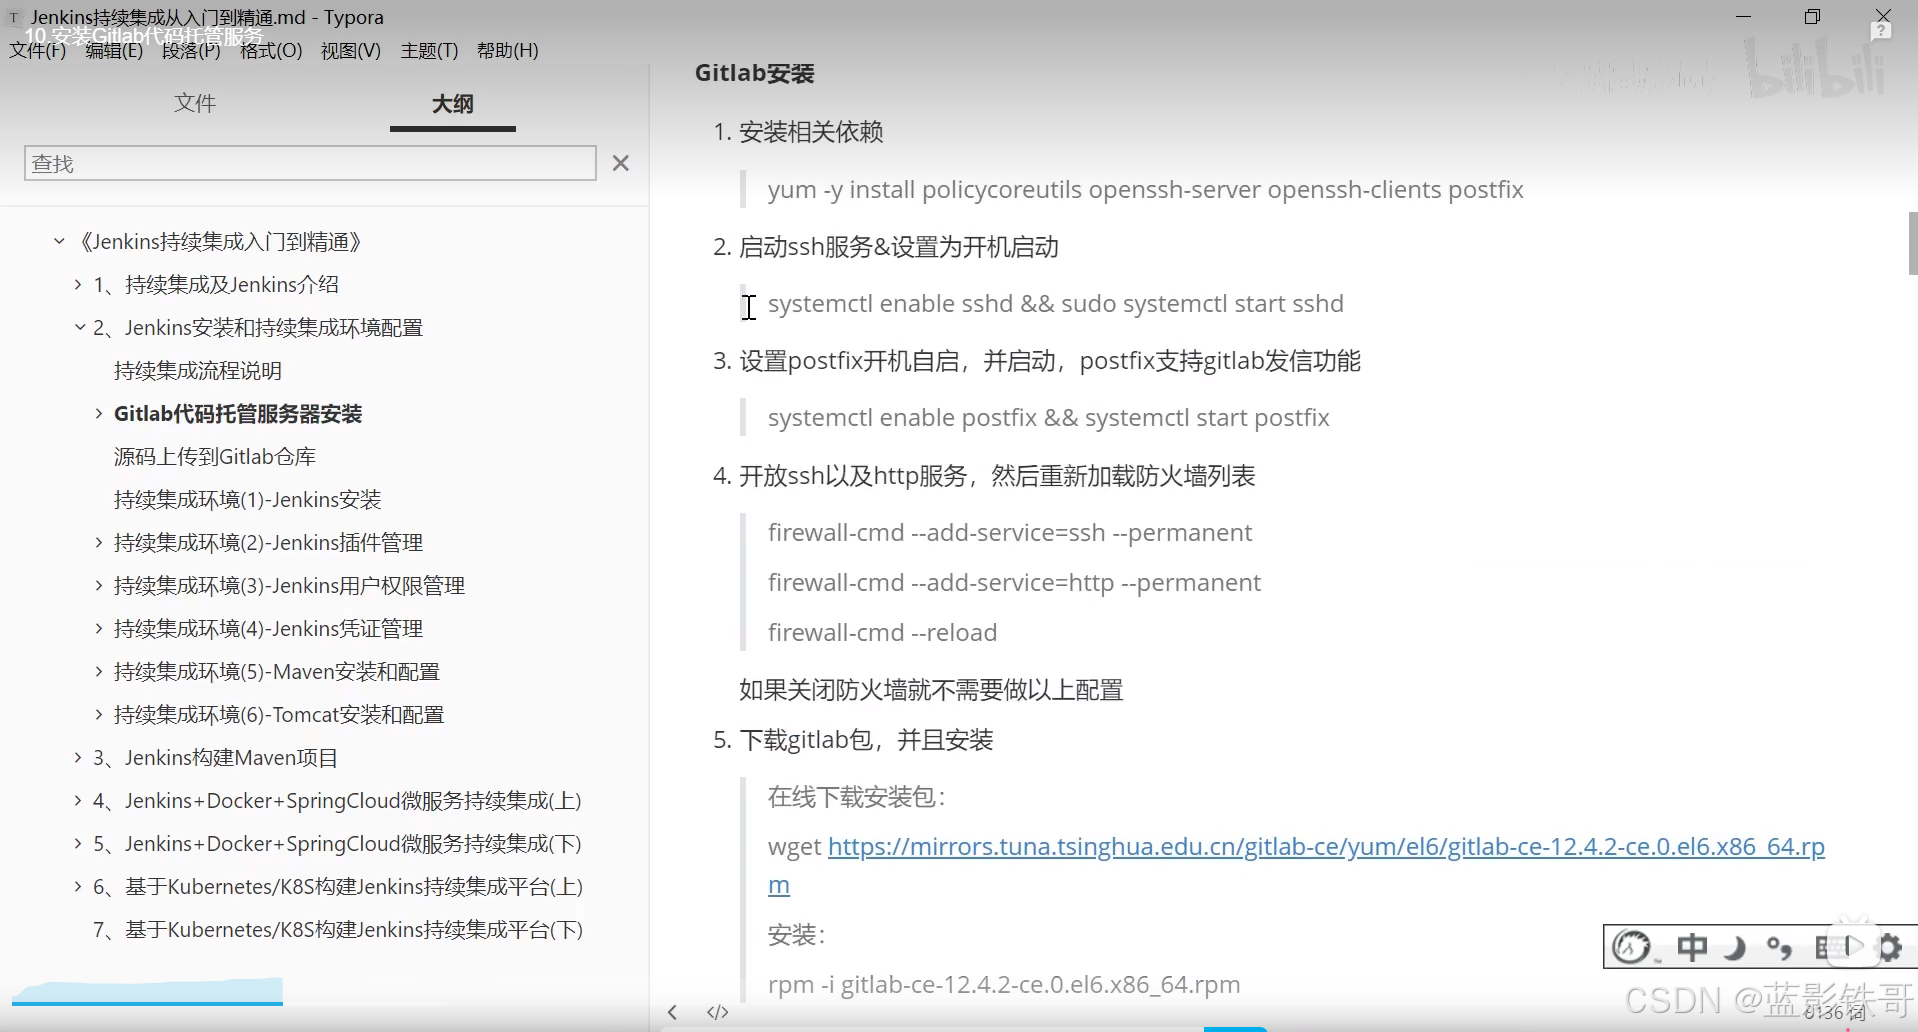
\1. 安装相关依赖
yum -y install policycoreutils openssh-server openssh-clients postfix
\2. 启动ssh服务&设置为开机启动
systemctl enable sshd &&
sudo systemctl start sshd
\3. 设置postfix开机自启,并启动,postfix支持gitlab发信功能
systemctl enable postfix && systemctl start postfix
\4. 开放ssh以及http服务,然后重新加载防火墙列表 firewall-cmd --add-service=ssh --permanent firewall-cmd --add-service=http --permanent firewall-cmd --reload
如果关闭防火墙就不需要做以上配置
\5. 下载gitlab包,并且安装在线下载安装包:
wget https://mirrors.tuna.tsinghua.edu.cn/gitlab-ce/yum/el6/gitlab-ce-12.4.2-ce.0.el6.x 86_64.rpm
安装:
rpm -i gitlab-ce-12.4.2-ce.0.el6.x86_64.rpm
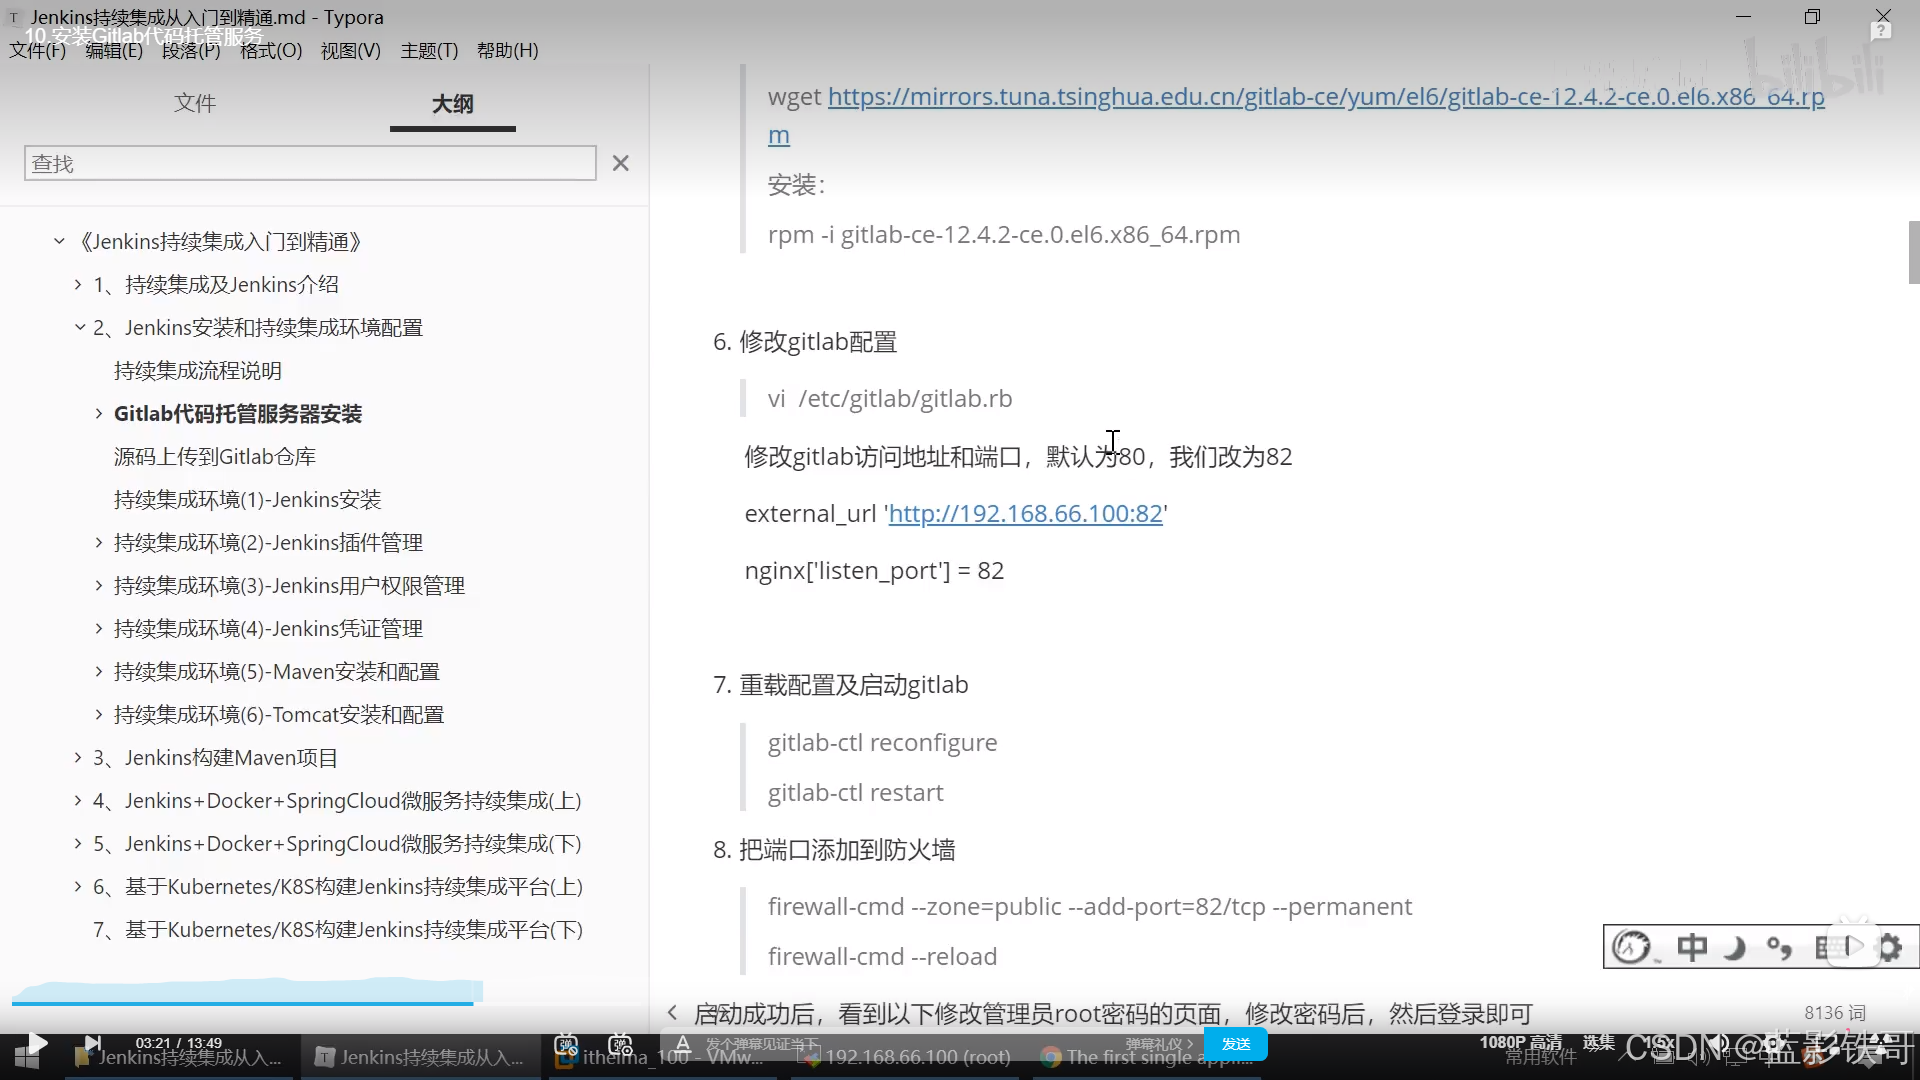
\6. 修改gitlab配置
vi /etc/gitlab/gitlab.rb
修改gitlab访问地址和端口,默认为80,我们改为82 external_url ‘http://192.168.66.100:82’
nginx[‘listen_port’] = 82
\7. 重载配置及启动gitlab gitlab-ctl reconfigure gitlab-ctl restart
\8. 把端口添加到防火墙
firewall-cmd --zone=public --add-port=82/tcp --permanent firewall-cmd --reload
启动成功后,看到以下修改管理员root密码的页面,修改密码后,然后登录即可
————————————————
版权声明:本文为CSDN博主「hancoder」的原创文章,遵循CC 4.0 BY-SA版权协议,转载请附上原文出处链接及本声明。
原文链接:https://blog.csdn.net/hancoder/article/details/118233786二、GitLab的安装和配置实战
GitLab 安装和配置
GitLab 是一个基于 Web 的 Git 仓库管理工具,提供代码托管、版本控制、CI/CD、代码审查等功能。GitLab 可以安装在不同的平台上,以下是 GitLab 的安装和配置指南,涵盖了不同操作系统上的安装方法。
一、GitLab 安装
1. 在 Ubuntu/Debian 上安装 GitLab
1.1 安装前准备
首先,确保你的系统是最新的,并且安装了必要的软件包:
sudo apt update
sudo apt upgrade
sudo apt install curl openssh-server ca-certificates
sudo apt install postfix # 用于邮件通知注意:在安装过程中,postfix 会提示你选择邮件配置方式。可以选择 Internet Site 作为邮件配置。
1.2 安装 GitLab
添加 GitLab 仓库并安装 GitLab:
首先,添加 GitLab 的官方仓库,并安装 GitLab 包:
curl https://packages.gitlab.com/install/repositories/gitlab/gitlab-ee/script.deb.sh | sudo bash安装 GitLab:
选择适合你的安装版本(例如,GitLab Enterprise Edition 或 GitLab Community Edition),并安装 GitLab:
sudo EXTERNAL_URL="http://gitlab.example.com" apt-get install gitlab-eeEXTERNAL_URL是 GitLab 访问的 URL,可以根据需要进行更改(例如使用 HTTPS)。
配置和启动 GitLab:
安装完成后,GitLab 会自动运行并启动。你可以运行以下命令来重新配置 GitLab 服务(这将进行数据库初始化、邮件配置等):
sudo gitlab-ctl reconfigure
1.3 访问 GitLab
配置完成后,可以通过浏览器访问 GitLab 页面,地址为 http://gitlab.example.com(或你在安装过程中配置的 URL)。第一次登录时,默认的管理员账号是:
- 用户名:
root - 密码:
5iveL!fe(第一次登录时会要求你更改密码)
2. 在 CentOS/RHEL 上安装 GitLab
2.1 安装前准备
在 CentOS/RHEL 上,首先确保安装了必要的依赖包:
sudo yum install curl policycoreutils openssh-server perl
sudo systemctl enable sshd
sudo systemctl start sshd
2.2 安装 GitLab
添加 GitLab 的官方仓库:
curl https://packages.gitlab.com/install/repositories/gitlab/gitlab-ee/script.rpm.sh | sudo bash安装 GitLab:
使用以下命令安装 GitLab,记得替换
EXTERNAL_URL为你实际使用的 URL:sudo EXTERNAL_URL="http://gitlab.example.com" yum install gitlab-ee配置和启动 GitLab:
安装完成后,运行以下命令来初始化和启动 GitLab 服务:
sudo gitlab-ctl reconfigure
2.3 访问 GitLab
配置完成后,你可以通过浏览器访问 GitLab:
- 默认 URL:
http://gitlab.example.com - 管理员账号:
root - 默认密码:
5iveL!fe
3. 在 Docker 中安装 GitLab
如果你希望在 Docker 容器中运行 GitLab,可以按照以下步骤进行安装。
3.1 拉取 GitLab Docker 镜像
首先拉取官方的 GitLab Docker 镜像:
docker pull gitlab/gitlab-ee:latest3.2 创建并运行 GitLab 容器
运行 GitLab 容器:
docker run --detach \
--hostname gitlab.example.com \
--publish 443:443 --publish 80:80 --publish 22:22 \
--name gitlab \
--restart always \
--volume /srv/gitlab/config:/etc/gitlab \
--volume /srv/gitlab/data:/var/opt/gitlab \
--volume /srv/gitlab/logs:/var/log/gitlab \
gitlab/gitlab-ee:latest--hostname:GitLab 实例的主机名,可以使用你的域名。--publish:将容器的端口映射到宿主机的端口。--name:为容器指定一个名称。--restart always:确保容器在 Docker 重启时自动启动。
3.3 访问 GitLab
容器启动后,可以通过 http://<host-ip> 访问 GitLab(或使用设置的域名)。第一次登录时,使用默认的管理员账号 root 和默认密码 5iveL!fe。
二、GitLab 配置
GitLab 的配置主要是通过修改 /etc/gitlab/gitlab.rb 文件来完成的。你可以通过编辑该文件来调整 GitLab 的各种设置。
1. 设置外部 URL
GitLab 默认会使用本地的 localhost 作为 URL,但可以修改为你的域名或 IP 地址。打开配置文件并修改 external_url:
sudo nano /etc/gitlab/gitlab.rb找到 external_url 这一行,并修改为你的 GitLab 地址:
external_url 'http://gitlab.example.com'保存并退出编辑器,然后重新配置 GitLab:
sudo gitlab-ctl reconfigure2. 启用 HTTPS(SSL)
如果你希望启用 HTTPS,GitLab 提供了使用 Let’s Encrypt 自动配置 SSL 证书的功能。只需修改配置文件并启用 Let’s Encrypt:
external_url 'https://gitlab.example.com'
letsencrypt['enable'] = true
然后重新配置 GitLab:
sudo gitlab-ctl reconfigureGitLab 会自动为你申请并配置 SSL 证书。
3. 配置邮件通知
GitLab 支持通过邮件发送通知,修改邮件配置(如 SMTP 服务器):
gitlab_rails['smtp_enable'] = true
gitlab_rails['smtp_address'] = "smtp.example.com"
gitlab_rails['smtp_port'] = 587
gitlab_rails['smtp_user_name'] = "your_username"
gitlab_rails['smtp_password'] = "your_password"
gitlab_rails['smtp_domain'] = "example.com"
gitlab_rails['smtp_authentication'] = "plain"
gitlab_rails['smtp_enable_starttls_auto'] = true
修改后,重新配置 GitLab:
sudo gitlab-ctl reconfigure4. 设置 GitLab 数据库
GitLab 使用 PostgreSQL 作为数据库,默认的数据库配置在 gitlab.rb 文件中。你可以在该文件中修改数据库的设置,例如连接池、用户、密码等。
postgresql['enable'] = true
postgresql['db_encoding'] = 'unicode'
postgresql['db_collation'] = 'en_US.UTF-8'
完成修改后,重新配置 GitLab:
sudo gitlab-ctl reconfigure三、常用 GitLab 命令
检查 GitLab 状态:
sudo gitlab-ctl status重新配置 GitLab:
sudo gitlab-ctl reconfigure重启 GitLab 服务:
sudo gitlab-ctl restart查看日志:
查看 GitLab 日志(例如 NGINX 日志):sudo gitlab-ctl tail nginx备份 GitLab 数据:
sudo gitlab-rake gitlab:backup:create恢复 GitLab 数据:
sudo gitlab-rake gitlab:backup:restore BACKUP=timestamp重置管理员密码:
sudo gitlab-rails console
user = User.find_by_username('root')
user.password = 'new_password'
user.save!
总结
GitLab 的安装和配置过程相对简单,可以通过包管理器、Docker 或源码进行安装。安装后,通过配置文件 (/etc/gitlab/gitlab.rb) 可以调整 GitLab 的外部 URL、邮件服务器、数据库等设置。完成配置后,使用命令行工具可以管理 GitLab 服务、进行备份和恢复。GitLab 提供了丰富的功能,适合团队进行代码托管、CI/CD 管理以及其他开发生命周期的管理。

 浙公网安备 33010602011771号