每日会议20230423
进度汇报:
吕金帅:下载了SQL Server和SQL Server Management Studio,用于数据库操作
张博文:加入APP背景,用柱状图实现营销数据的可视化。
package com.example.myapplication;

import androidx.appcompat.app.AppCompatActivity;

import android.annotation.SuppressLint;
import android.os.Bundle;

import com.github.mikephil.charting.charts.BarChart;
import com.github.mikephil.charting.components.Description;
import com.github.mikephil.charting.components.XAxis;
import com.github.mikephil.charting.components.YAxis;
import com.github.mikephil.charting.data.BarData;
import com.github.mikephil.charting.data.BarDataSet;
import com.github.mikephil.charting.data.BarEntry;
import com.github.mikephil.charting.utils.ColorTemplate;

import java.util.ArrayList;
import java.util.List;

public class DataActivity extends AppCompatActivity {

    private BarChart bar_chart;

    @SuppressLint("MissingInflatedId")
    @Override
    protected void onCreate(Bundle savedInstanceState) {
        super.onCreate(savedInstanceState);
        setContentView(R.layout.activity_data);
        bar_chart = findViewById(R.id.bar_chart);

        //设置desc
        Description description = new Description();
        description.setText("商品销售量");
        bar_chart.setDescription(description);
        //是否绘制柱状图的背景
        bar_chart.setDrawBarShadow(false);

        //设置X轴
        XAxis xAxis = bar_chart.getXAxis();
        xAxis.setPosition(XAxis.XAxisPosition.BOTTOM);
        //设置网格线
        xAxis.setDrawAxisLine(true);
        xAxis.setDrawGridLines(false);

        //设置Y轴
        YAxis yAxis = bar_chart.getAxisLeft();
        yAxis.setLabelCount(5, false);

        //设置数据
        bar_chart.setData(getBarData());
        //设置y轴的动画
        bar_chart.animateY(700);
    }

    private BarData getBarData() {
        //设置数据点
        List<BarEntry> entries1 = new ArrayList<>();
        for (int i = 1; i < 12; i++) {
            entries1.add(new BarEntry(i, (int) (Math.random()*10)));
        }
        BarDataSet dataSet = new BarDataSet(entries1, "销售量");
        dataSet.setColors(ColorTemplate.VORDIPLOM_COLORS);
        dataSet.setDrawValues(false);

        BarData barData = new BarData(dataSet);
        return barData;
    }
}
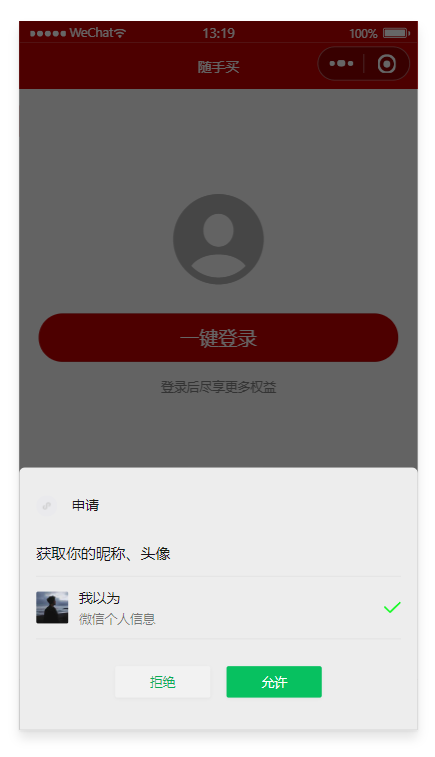
赵纪旭:正在努力完成小程序购物车的登录界面的编写和小程序购物车结算功能模拟的编写;
代码及其实现:
<template>
  <view>
    <view class="login-container">
      <!-- 提示登录的图标 -->
      <uni-icons type="contact-filled" size="100" color="#AFAFAF"></uni-icons>
      <!-- 登录按钮 -->
      <!-- 可以从 @getuserinfo 事件处理函数的形参中,获取到用户的基本信息 -->
      <button type="primary" class="btn-login" @click="getUserProfile">一键登录</button>
      <!-- 登录提示 -->
      <view class="tips-text">登录后尽享更多权益</view>
    </view>
  </view>
</template>

<script>
  // 按需导入辅助函数
  import {
    mapMutations,
    mapState
  } from 'vuex'

  export default {
    computed: {
      // 调用 mapState 辅助方法,把 m_user 模块中的数据映射到当前用组件中使用
      ...mapState('m_user', ['redirectInfo']),
    },
    data() {
      return {

      };
    },
    methods: {
      // 1. 使用 mapMutations 辅助方法,把 m_user 模块中的 updateToken 方法映射到当前组件中使用
      ...mapMutations('m_user', ['updateUserInfo', 'updateToken', 'updateRedirectInfo']),
      // 获取微信用户的基本信息
      getUserProfile() {
        let that = this
        // 获取微信用户的基本信息
        uni.getUserProfile({
          desc: '测试用途,仅获取本人账号信息',
          success: function(res) {
            // 将用户的基本信息存储到 vuex 中
            that.updateUserInfo(res.userInfo)
            // 获取登录成功后的 Token 字符串
            that.getToken(res)
            console.log(res.userInfo)
            console.log(res)
          },
          fail: function(res) {
            uni.$showMsg('您取消了登录授权!')
          }
        })
      },
      // 调用登录接口,换取永久的 token
      async getToken(info) {
        // 调用微信登录接口
        const [err, res] = await uni.login().catch(err => err)
        // 判断是否 uni.login() 调用失败
        if (err || res.errMsg !== 'login:ok') return uni.$showError('登录失败!')

        // 准备参数对象
        const query = {
          code: res.code,
          encryptedData: info.encryptedData,
          iv: info.iv,
          rawData: info.rawData,
          signature: info.signature
        }

        // 换取 token
        const {
          data: loginResult
        } = await uni.$http.post('/api/public/v1/users/wxlogin', query)
        if (loginResult.meta.status !== 400) return uni.$showMsg('登录失败!')
        uni.$showMsg('登录成功')

        // 2. 更新 vuex 中的 token
        this.updateToken(res.code)

        // 判断 vuex 中的 redirectInfo 是否为 null
        // 如果不为 null,则登录成功之后,需要重新导航到对应的页面
        this.navigateBack()
      },
      // 返回登录之前的页面
      navigateBack() {
        // redirectInfo 不为 null,并且导航方式为 switchTab
        if (this.redirectInfo && this.redirectInfo.openType === 'switchTab') {
          // 调用小程序提供的 uni.switchTab() API 进行页面的导航
          uni.switchTab({
            // 要导航到的页面地址
            url: this.redirectInfo.from,
            // 导航成功之后,把 vuex 中的 redirectInfo 对象重置为 null
            complete: () => {
              this.updateRedirectInfo(null)
            }
          })
        }
      }
    }
  }
</script>


<style lang="scss">
  .login-container {
    // 登录盒子的样式
    height: 750rpx;
    display: flex;
    flex-direction: column;
    align-items: center;
    justify-content: center;
    background-color: #f8f8f8;
    position: relative;
    overflow: hidden;

    // 绘制登录盒子底部的半椭圆造型
    &::after {
      content: ' ';
      display: block;
      position: absolute;
      width: 100%;
      height: 40px;
      left: 0;
      bottom: 0;
      background-color: white;
      border-radius: 100%;
      transform: translateY(50%);
    }

    // 登录按钮的样式
    .btn-login {
      width: 90%;
      border-radius: 100px;
      margin: 15px 0;
      background-color: #c00000;
    }

    // 按钮下方提示消息的样式
    .tips-text {
      font-size: 12px;
      color: gray;
    }
  }
</style>
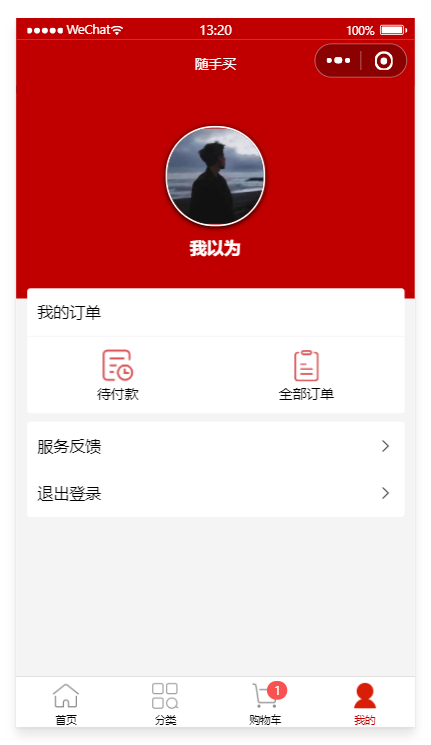
具体目标:完成数据库表的创建;完成小程序购物车的登录界面的编写和小程序购物车结算功能模拟的编写;
会议照片:


 浙公网安备 33010602011771号