
docker数据管理
volume(数据卷)
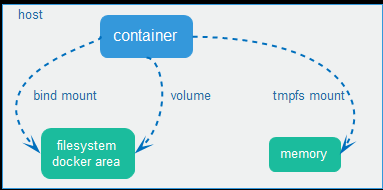
docker提供三种不同的方式将数据从宿主机挂载到容器中:volumes、bind mounts和tmpfs。
volumes:docker管理宿主机文件系统的一部分(/var/lib/docker/volumes)。
[root@docker ~]# ls /var/lib/docker/volumes/
metadata.db
bind mounts:可以存储在宿主机系统的任意位置。
tmpfs:挂载存储在宿主机系统的内存中,而不会写入宿主机的文件系统。
volume
[root@docker ~]# docker volume --help
Usage: docker volume COMMAND
Manage volumes
Commands:
create Create a volume
inspect Display detailed information on one or more volumes
ls List volumes
prune Remove all unused local volumes
rm Remove one or more volumes
Run 'docker volume COMMAND --help' for more information on a command.
创建volume
[root@docker ~]# docker volume create nginx-vol
nginx-vol
查看volume
[root@docker ~]# docker volume ls
DRIVER VOLUME NAME
local nginx-vol
查看volume详细信息
[root@docker ~]# docker volume inspect nginx-vol
[
{
"CreatedAt": "2019-06-08T12:32:51+08:00",
"Driver": "local",
"Labels": {},
"Mountpoint": "/var/lib/docker/volumes/nginx-vol/_data",
"Name": "nginx-vol",
"Options": {},
"Scope": "local"
}
]
用卷创建一个容器
[root@docker ~]# docker run -itd --name=nginx05 --mount src=nginx-vol,dst=/usr/share/nginx/html nginx
364562755b4079c1f16be6e14cebb88543b35234875d7052877dbae3b900751d
进入容器
[root@docker ~]# docker exec -it nginx05 bash
root@364562755b40:/# cd /usr/share/nginx/html/
查看挂载点文件信息
root@364562755b40:/usr/share/nginx/html# ls
50x.html index.html
宿主机查看
[root@docker ~]# cd /var/lib/docker/volumes/nginx-vol/_data/
[root@docker _data]# ls
50x.html index.html
容器内创建文件
root@364562755b40:/usr/share/nginx/html# touch {1..10}.html
root@364562755b40:/usr/share/nginx/html# ls
1.html 2.html 4.html 50x.html 7.html 9.html
10.html 3.html 5.html 6.html 8.html index.html
宿主机查看
[root@docker _data]# ls
10.html 2.html 4.html 5.html 7.html 9.html
1.html 3.html 50x.html 6.html 8.html index.html
删除所有容器
[root@docker _data]# docker rm -f $(docker ps -qa)
文件仍存在
[root@docker _data]# ls
10.html 1.html 2.html 3.html 4.html 50x.html 5.html 6.html 7.html 8.html 9.html index.html
重新创建容器
[root@docker _data]# docker run -itd --name=nginx-test -p 8080:80 --mount src=nginx-vol,dst=/usr/share/nginx/html nginx
65d38d81ca99131b752521d06a61af1bb55281c59613c94aa029463538bbd21a
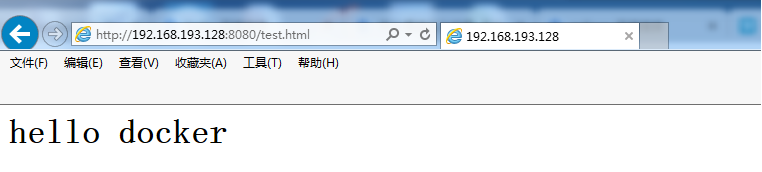
宿主机添加文件

访问
新建另一个容器挂载同一份数据
[root@docker _data]# docker run -itd --name=nginx-test02 -p 8081:80 --mount src=nginx-vol,dst=/usr/share/nginx/html nginx
283c20ae4d4522949c84181bb947de94c89904b38a0aacc1946d5f0ef1e80595

官方文档
https://docs.docker.com/storage/volumes/
bind mounts
创建目录
[root@docker ~]# mkdir /app/wwwroot -p
用卷创建一个容器
[root@docker ~]# docker run -itd --name=nginx-test03 --mount type=bind,src=/app/wwwroot,dst=/usr/share/nginx/html nginx
43ce89bcb12f440a296e33dbd44803af2da4309046ce742ce0026a28bd7bd7ac
进入容器查看绑定目录
[root@docker ~]# docker exec -it nginx-test03 bash
root@43ce89bcb12f:/# cd /usr/share/nginx/html/
root@43ce89bcb12f:/usr/share/nginx/html# ls
宿主机创建文件
[root@docker ~]# cd /app/wwwroot/

[root@docker wwwroot]# ls
index.html
容器内再次查看
root@43ce89bcb12f:/usr/share/nginx/html# ls
index.html

注意:
1、如果源文件/目录不存在,不会自动创建,会抛出一个错误。
2、如果挂载目录在容器中非空目录,则该目录现有内容将被隐藏。
官方文档
https://docs.docker.com/storage/bind-mounts/
搭建LNMP
1、自定义网络
创建网络
[root@docker ~]# docker network create lnmp
039ac6691cdeb87823e58d5e6b82609253aa4d778e43ff382d8dc5ae3deeec73
2、创建mysql数据库容器
下载mysql
[root@docker ~]# docker pull hub.c.163.com/library/mysql:5.7
[root@docker ~]# docker image ls
REPOSITORY TAG IMAGE ID CREATED SIZE
hub.c.163.com/library/mysql 5.7 9e64176cd8a2 2 years ago 407MB
[root@docker ~]# docker tag hub.c.163.com/library/mysql:5.7 mysql:5.7
[root@docker ~]# docker image ls
REPOSITORY TAG IMAGE ID CREATED SIZE
mysql 5.7 9e64176cd8a2 2 years ago 407MB
hub.c.163.com/library/mysql 5.7 9e64176cd8a2 2 years ago 407MB
创建mysql容器
[root@docker ~]# docker run -itd --name lnmp_mysql --net lnmp -p 3306:3306 --mount src=mysql-vol,dst=/var/lib/mysql -e MYSQL_ROOT_PASSWORD=123456 mysql:5.7 --character-set-server=utf8
3e21e42d9a1ca123da5968c96e3c23a3ecb66973f934e65d6a5de6bc16f663b6
查看已启动的容器
[root@docker ~]# docker ps
CONTAINER ID IMAGE COMMAND CREATED STATUS PORTS NAMES
3e21e42d9a1c mysql:5.7 "docker-entrypoint.s…" 8 seconds ago Up 5 seconds 0.0.0.0:3306->3306/tcp lnmp_mysql
查看数据卷
[root@docker ~]# docker volume ls
DRIVER VOLUME NAME
local mysql-vol
查看mysql目录
[root@docker ~]# ls /var/lib/docker/volumes/mysql-vol/_data/
auto.cnf ca-key.pem ib_buffer_pool ibtmp1 performance_schema server-key.pem
binlog.000001 ca.pem ibdata1 #innodb_temp private_key.pem sys
binlog.000002 client-cert.pem ib_logfile0 mysql public_key.pem undo_001
binlog.index client-key.pem ib_logfile1 mysql.ibd server-cert.pem undo_002
查看mysql日志
[root@docker ~]# docker logs lnmp_mysql
查看mysql容器进程
[root@docker ~]# docker top lnmp_mysql
UID PID PPID C STIME TTY TIME CMD
polkitd 6675 6658 1 15:31 pts/0 00:00:09 mysqld --character-set-server=utf8
3、创建所需数据库
[root@docker ~]# docker exec lnmp_mysql sh -c 'exec mysql -uroot -p"$MYSQL_ROOT_PASSWORD" -e"create database wp"'
mysql: [Warning] Using a password on the command line interface can be insecure.
安装mysql客户端
[root@docker ~]# yum install -y mysql
连接mysql数据库
[root@docker ~]# mysql -h192.168.193.128 -uroot -p
Enter password:
Welcome to the MariaDB monitor. Commands end with ; or \g.
Your MySQL connection id is 5
Server version: 5.7.18 MySQL Community Server (GPL)
Copyright (c) 2000, 2018, Oracle, MariaDB Corporation Ab and others.
Type 'help;' or '\h' for help. Type '\c' to clear the current input statement.
MySQL [(none)]> show databases;
+--------------------+
| Database |
+--------------------+
| information_schema |
| mysql |
| performance_schema |
| sys |
| wp |
+--------------------+
5 rows in set (0.00 sec)
4、创建php环境容器
下载nginx-php-fpm
[root@docker ~]# docker pull richarvey/nginx-php-fpm
[root@docker ~]# docker image ls
REPOSITORY TAG IMAGE ID CREATED SIZE
richarvey/nginx-php-fpm latest 85fae22da140 3 days ago 329MB
mysql 5.7 9e64176cd8a2 2 years ago 407MB
hub.c.163.com/library/mysql 5.7 9e64176cd8a2 2 years ago 407MB
[root@docker ~]# docker run -itd --name lnmp_web --net lnmp -p 8080:80 --mount type=bind,src=/app/wwwroot,dst=/var/www/html richarvey/nginx-php-fpm:latest
cf8e0c29005f4ab16ed97dd802f45c6f2a9fc8cdfcd995c61f1e80b1996b8f2f
[root@docker ~]# docker ps
CONTAINER ID IMAGE COMMAND CREATED STATUS PORTS NAMES
cf8e0c29005f richarvey/nginx-php-fpm:latest "docker-php-entrypoi…" 26 seconds ago Up 24 seconds 443/tcp, 9000/tcp, 0.0.0.0:8080->80/tcp lnmp_web
3e21e42d9a1c mysql:5.7 "docker-entrypoint.s…" About an hour ago Up About an hour 0.0.0.0:3306->3306/tcp
5、以workpress博客为例测试
下载workpress
[root@docker ~]# wget https://cn.wordpress.org/wordpress-5.0.3-zh_CN.tar.gz
--2019-06-08 14:39:22-- https://cn.wordpress.org/wordpress-5.0.3-zh_CN.tar.gz
Resolving cn.wordpress.org (cn.wordpress.org)... 198.143.164.252
Connecting to cn.wordpress.org (cn.wordpress.org)|198.143.164.252|:443... connected.
HTTP request sent, awaiting response... 200 OK
Length: 11098483 (11M) [application/octet-stream]
Saving to: ‘wordpress-5.0.3-zh_CN.tar.gz’
100%[========================================================>] 11,098,483 75.5KB/s in 1m 56s
2019-06-08 14:41:18 (93.6 KB/s) - ‘wordpress-5.0.3-zh_CN.tar.gz’ saved [11098483/11098483]
[root@docker ~]# ll wordpress-5.0.3-zh_CN.tar.gz
-rw-r--r--. 1 root root 11098483 Jan 11 18:02 wordpress-5.0.3-zh_CN.tar.gz
解压workpress
[root@docker ~]# tar -zxf wordpress-5.0.3-zh_CN.tar.gz -C /app/wwwroot/
[root@docker ~]# ls /app/wwwroot/
index.html wordpress
6、服务测试


如果无法写配置信息,手动将配置信息写入如下文件。
[root@docker ~]# ls /app/wwwroot/wordpress/wp-config.php
/app/wwwroot/wordpress/wp-config.php
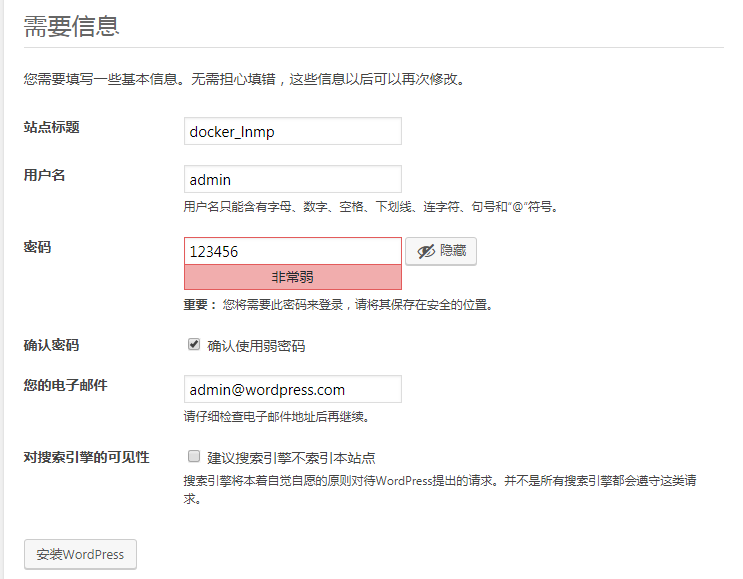
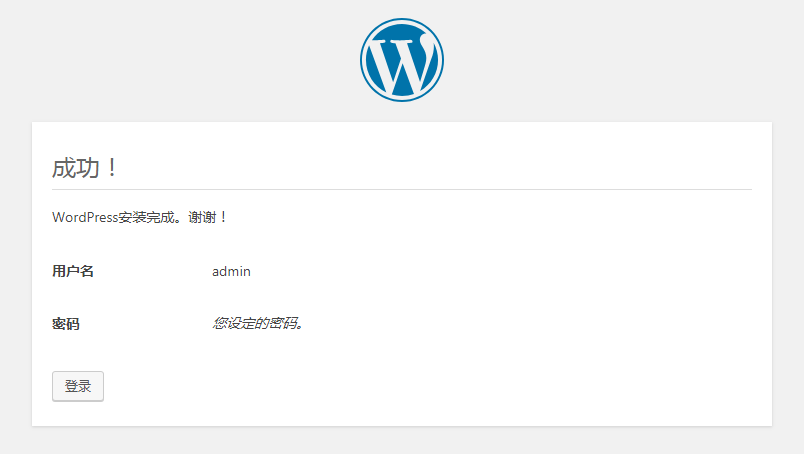
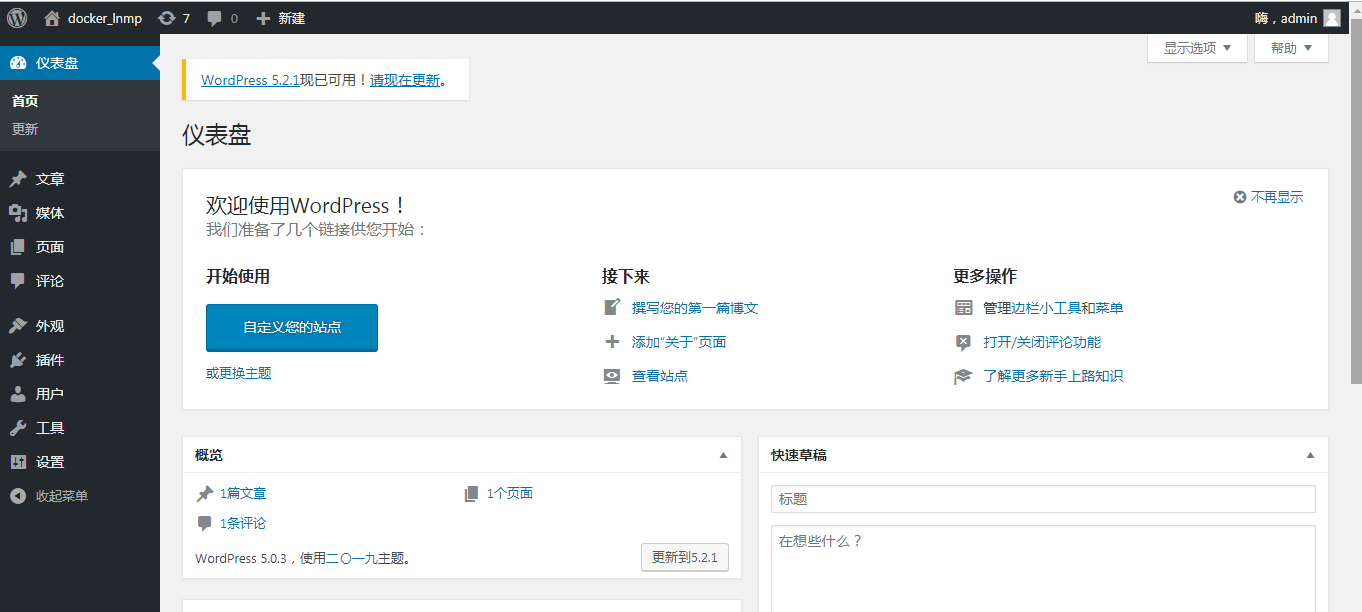
进入wordpress后台
http://192.168.193.128:8080/wordpress/wp-admin/

posted on 2019-06-08 18:48 yinshoucheng 阅读(299) 评论(0) 收藏 举报

 浙公网安备 33010602011771号