
LNMP网站搭建ubuntu
简介:
需要安装4种软件。其余三个软在线安装。
nginx
mysql-server
php
wordpress(下载包,上传),使用版本:wordpress-6.4.2-zh_CN.zip
1.基本源环境调整
可考虑更换软件源:
vim /etc/apt/sources.list
deb https://mirrors.ustc.edu.cn/ubuntu/ focal main restricted universe multiverse
deb-src https://mirrors.ustc.edu.cn/ubuntu/ focal main restricted universe multiverse

deb https://mirrors.ustc.edu.cn/ubuntu/ focal-security main restricted universe multiverse
deb-src https://mirrors.ustc.edu.cn/ubuntu/ focal-security main restricted universe multiverse

deb https://mirrors.ustc.edu.cn/ubuntu/ focal-updates main restricted universe multiverse
deb-src https://mirrors.ustc.edu.cn/ubuntu/ focal-updates main restricted universe multiverse

deb https://mirrors.ustc.edu.cn/ubuntu/ focal-backports main restricted universe multiverse
deb-src https://mirrors.ustc.edu.cn/ubuntu/ focal-backports main restricted universe multivers

deb https://mirrors.ustc.edu.cn/ubuntu/ focal-proposed main restricted universe multiverse
deb-src https://mirrors.ustc.edu.cn/ubuntu/ focal-proposed main restricted universe multivers
#更新
apt-get update
apt-get upgrade
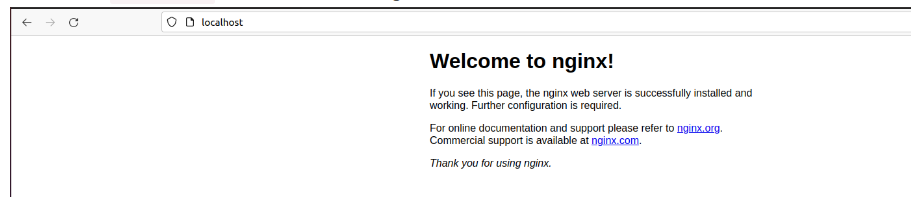
2.nginx
apt-get install nginx
测试:浏览器打开localhost 出现下列图片表示nginx安装成功
3.mysql-server
安装
apt-get install mysql-server
sudo mysql
第一次安装
ALTER USER 'root'@'localhost' IDENTIFIED WITH mysql_native_password by 'password';
创建数据库命令:
--数据库建立:登录
mysql -u 用户名 -p
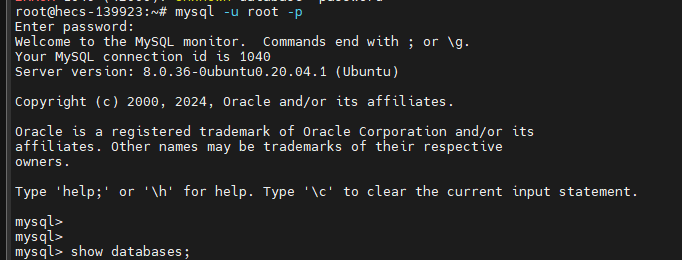
#以后登录mysql方式
mysql -u root -p
CREATE DATABASE 数据库名 CHARACTER SET utf8mb4 COLLATE utf8mb4_unicode_ci;
#建库
CREATE DATABASE `wordpress` CHARACTER SET utf8;
#创建用户、和关联数据库
CREATE USER 'wduser'@'localhost' IDENTIFIED BY '123456';
GRANT ALL PRIVILEGES ON wordpress.* TO 'wduser'@'localhost';
#刷新
FLUSH PRIVILEGES;
--查看用户列表:
SELECT user, host FROM mysql.user;
SHOW GRANTS FOR '用户名'@'localhost';
#退出
exit
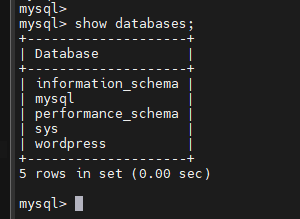
#查看数据库
show databases;
创建wordpress备用库成功结果:
以后登录数据库
4.php
安装:
$apt-get install -y php php-fpm php7.4-mysql php7.4-gd php7.4-curl php7.4-mbstring php7.4-xml php7.4-cgi php7.4-cli
$apt-get install php7.4-zip
#查看
php -v
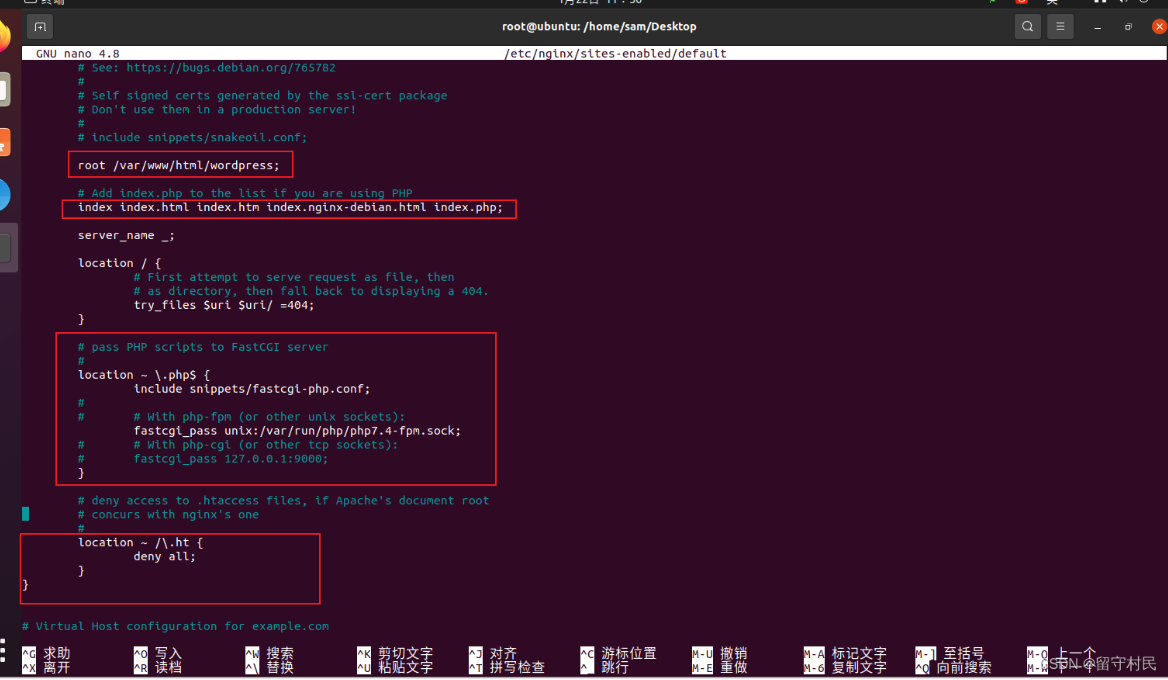
配置修改:
#文件
vim /etc/nginx/sites-enabled/default
#default文件
#cat /etc/nginx/sites-enabled/default
server {
        listen 80 default_server;
        listen [::]:80 default_server;

        # SSL configuration
        #
        # listen 443 ssl default_server;
        # listen [::]:443 ssl default_server;
        #
        # Note: You should disable gzip for SSL traffic.
        # See: https://bugs.debian.org/773332
        #
        # Read up on ssl_ciphers to ensure a secure configuration.
        # See: https://bugs.debian.org/765782
        #
        # Self signed certs generated by the ssl-cert package
        # Don't use them in a production server!
        #
        # include snippets/snakeoil.conf;

        root /var/www/html/wordpress;

        # Add index.php to the list if you are using PHP
        index index.html index.htm index.nginx-debian.html index.php;

        server_name _;

        location / {
                # First attempt to serve request as file, then
                # as directory, then fall back to displaying a 404.
                try_files $uri $uri/ =404;
        }

        # pass PHP scripts to FastCGI server
        #
        location ~ \.php$ {
                include snippets/fastcgi-php.conf;

                # With php-fpm (or other unix sockets):
                fastcgi_pass unix:/var/run/php/php7.4-fpm.sock;
                # With php-cgi (or other tcp sockets):
                # fastcgi_pass 127.0.0.1:9000;
        }

        # deny access to .htaccess files, if Apache's document root
        # concurs with nginx's one
        #
        location ~ /\.ht {
                deny all;
        }
}
重启服务:
systemctl restart nginx
5.wordpress
1.创建安装目录、更改权限
mkdir /var/www/html/wordpress
cd /var/www
chmod 777 * -R
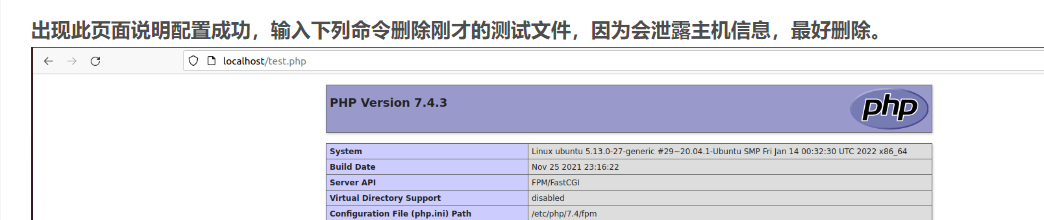
2.创建测试文件
nano /var/www/html/wordpress/test.php
#在test.php里输入以下语句,然后Ctrl+x退出,输入y确定修改,回车退出
<?php phpinfo(); ?>
测试后可删除:rm /var/www/html/wordpress/test.php
访问:localhost/test.php
3.上传下载的安装包,解压到html目录下。
#安装解压工具
apt-get install unzip

unzip wordpress-5.8.3-zh_CN.zip -d /var/www/html
#修改权限
cd /var/www/html/wordpress
chmod 777 * -R
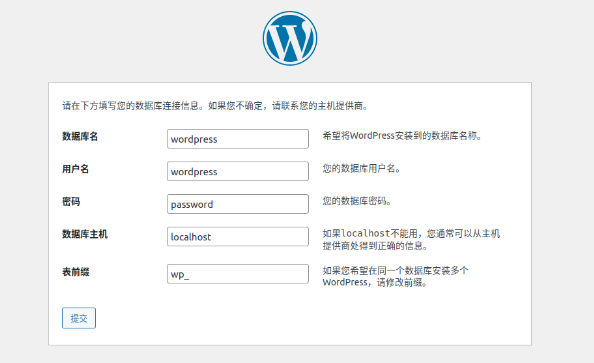
4.访问网页,开始安装说明
4.1浏览器打开localhost

数据库使用mysql中创建的新库。使用对应用户名密码。
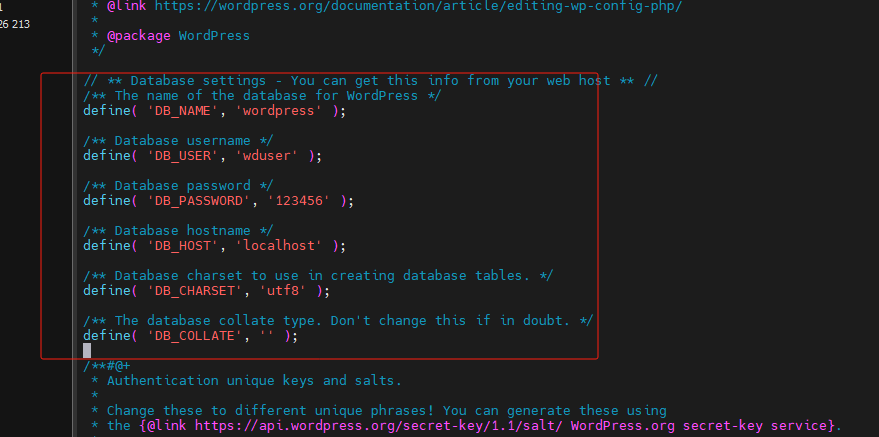
4.2若此方法安装不成功。直接更改配置文件。文件路径:/var/www/html/wordpress/wp-config.php
vim /var/www/html/wordpress/wp-config.php
文件修改示例:
4.3.在文件末尾添加如下代码,编辑wp-config.php
define("FS_METHOD", "direct");
define("FS_CHMOD_DIR", 0777);
define("FS_CHMOD_FILE", 0777);
更改后重新登录。
完整文件参考:
<?php
/**
 * The base configuration for WordPress
 *
 * The wp-config.php creation script uses this file during the installation.
 * You don't have to use the web site, you can copy this file to "wp-config.php"
 * and fill in the values.
 *
 * This file contains the following configurations:
 *
 * * Database settings
 * * Secret keys
 * * Database table prefix
 * * ABSPATH
 *
 * @link https://wordpress.org/documentation/article/editing-wp-config-php/
 *
 * @package WordPress
 */

// ** Database settings - You can get this info from your web host ** //
/** The name of the database for WordPress */
define( 'DB_NAME', 'wordpress' );

/** Database username */
define( 'DB_USER', 'wduser' );

/** Database password */
define( 'DB_PASSWORD', '123456' );

/** Database hostname */
define( 'DB_HOST', 'localhost' );

/** Database charset to use in creating database tables. */
define( 'DB_CHARSET', 'utf8' );

/** The database collate type. Don't change this if in doubt. */
define( 'DB_COLLATE', '' );

/**#@+
 * Authentication unique keys and salts.
 *
 * Change these to different unique phrases! You can generate these using
 * the {@link https://api.wordpress.org/secret-key/1.1/salt/ WordPress.org secret-key service}.
 *
 * You can change these at any point in time to invalidate all existing cookies.
 * This will force all users to have to log in again.
 *
 * @since 2.6.0
 */
define( 'AUTH_KEY',         'put your unique phrase here' );
define( 'SECURE_AUTH_KEY',  'put your unique phrase here' );
define( 'LOGGED_IN_KEY',    'put your unique phrase here' );
define( 'NONCE_KEY',        'put your unique phrase here' );
define( 'AUTH_SALT',        'put your unique phrase here' );
define( 'SECURE_AUTH_SALT', 'put your unique phrase here' );
define( 'LOGGED_IN_SALT',   'put your unique phrase here' );
define( 'NONCE_SALT',       'put your unique phrase here' );

/**#@-*/

/**
 * WordPress database table prefix.
 *
 * You can have multiple installations in one database if you give each
 * a unique prefix. Only numbers, letters, and underscores please!
 */
$table_prefix = 'wp_';

/**
 * For developers: WordPress debugging mode.
 *
 * Change this to true to enable the display of notices during development.
 * It is strongly recommended that plugin and theme developers use WP_DEBUG
 * in their development environments.
 *
 * For information on other constants that can be used for debugging,
 * visit the documentation.
 *
 * @link https://wordpress.org/documentation/article/debugging-in-wordpress/
 */
define( 'WP_DEBUG', false );

/* Add any custom values between this line and the "stop editing" line. */


/* That's all, stop editing! Happy publishing. */

/** Absolute path to the WordPress directory. */
if ( ! defined( 'ABSPATH' ) ) {
        define( 'ABSPATH', __DIR__ . '/' );
}

/** Sets up WordPress vars and included files. */
require_once ABSPATH . 'wp-settings.php';
define("FS_METHOD", "direct");
define("FS_CHMOD_DIR", 0777);
define("FS_CHMOD_FILE", 0777);

 浙公网安备 33010602011771号