

学号: 363
本实验来源 https://github.com/mengning/linuxkernel/
一、实验要求
1.编译内核5.0
2.qemu -kernel linux-5.0.1/arch/x86/boot/bzImage -initrd rootfs.img
3.选择系统调用号后两位与您的学号后两位相同的系统调用进行跟踪分析https://github.com/mengning/menu
4.给出相关关键源代码及实验截图,撰写一篇博客(署真实姓名或学号最后3位编号),并在博客文章中注明“原创作品转载请注明出处 + https://github.com/mengning/linuxkernel/ ”,博客内容的具体 如下:
题目自拟,内容围绕系统调用进行;
博客中需要使用实验截图
博客内容中需要仔细分析系统调用、保护现场与恢复现场、系统调用号及参数传递过程
总结部分需要阐明自己对系统调用工作机制的理解。
编译环境: Ubuntu 18 gcc 4.8
二、编译内核:
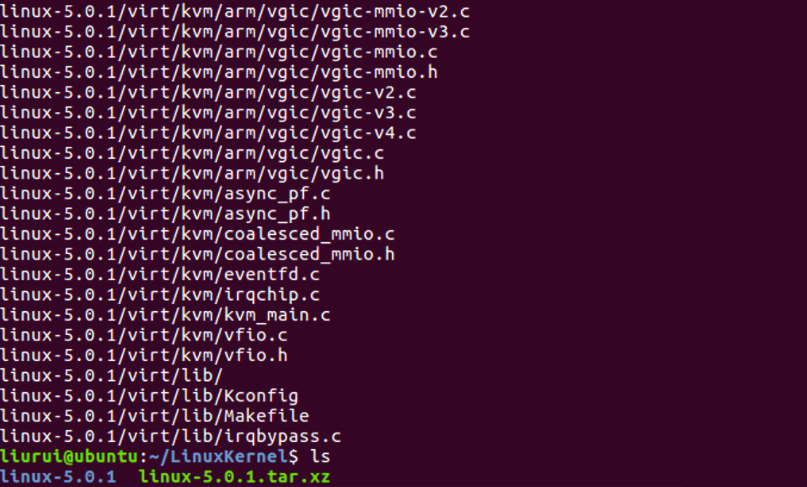
mkdir kernel
wget https://mirrors.edge.kernel.org/pub/linux/kernel/v5.x/linux-5.0.1.tar.xz
xz -d linux-5.0.1.tar.xz
tar -xvf linux-5.0.1.tar
cd linux-5.0.1
make menuconfig
make
三、制作根文件系统
cd ..
mkdir rootfs
git clone https://github.com/mengning/menu.git
cd menu
sudo apt install gcc-multilib
gcc -pthread -o init linktable.c menu.c test.c -m32 -static
cd ../rootfs
cp ../menu/init ./
find . | cpio -o -Hnewc | gzip -9 > ../rootfs.img
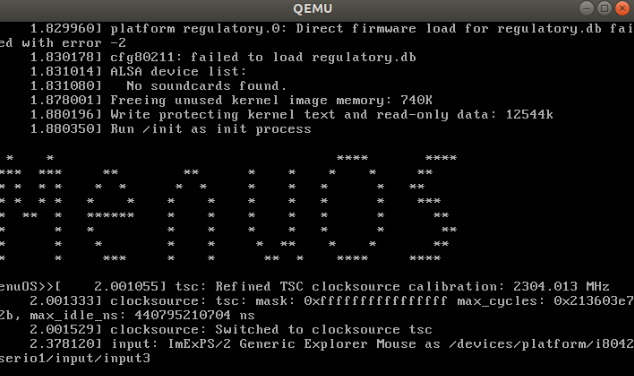
四、 启动MenuOS
qemu-system-i386 -kernel bzImage -initrd rootfs.img
五、 系统调用(学号后两位:63)
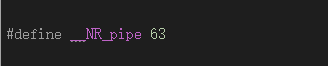
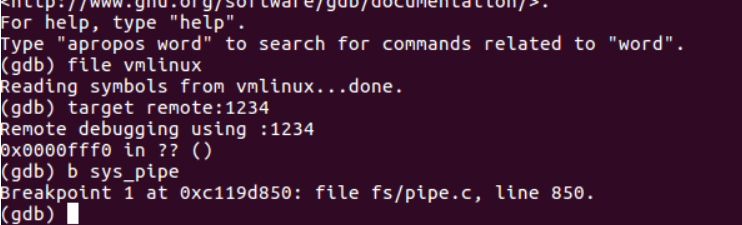
在test.c中增加pipe函数,再重新编译rootfs.img.
int Pipe(int argc, char *argv[])
{
    int result=-1;
    int fd[2];
    result = pipe(fd);
    if(-1 == result)
    {
        printf("fail to create pipe\n");
    }
    else
    {
        printf("successfully create pipe\n");
    }
    return 0;
}
六、实验总结
本实验让我了解了系统调用的工作机制,作为程序员的我们通常只跟用户空间实现的API打交道,内核只跟系统调用打交道,内核不关心应用程序是如何系统调用的。内核中大多数系统函数调用名称以sys_为前缀,每个系统调用有唯一的系统调用号。应用程序通过软中断来通知内核,进入系统调用入口system_call,从而执行对应的系统调用函数。

 浙公网安备 33010602011771号