jenkins基础、手动、自动代码上线
1. jenkins基本介绍与使用
1.1 jenkins介绍
官网 https://jenkins.io
Jenkins是一个开源的、可扩展的持续集成、交付、部署(软件/代码的编译、打包、部署)基于web界面的平台。
Jenkins是一个工具集,提供了各种各样的插件
比如获取git上最新的代码
比如可以帮你编译源代码
比如可以调用自定义的shell脚本远程执行命令
官方文档 https://jenkins.io/doc/
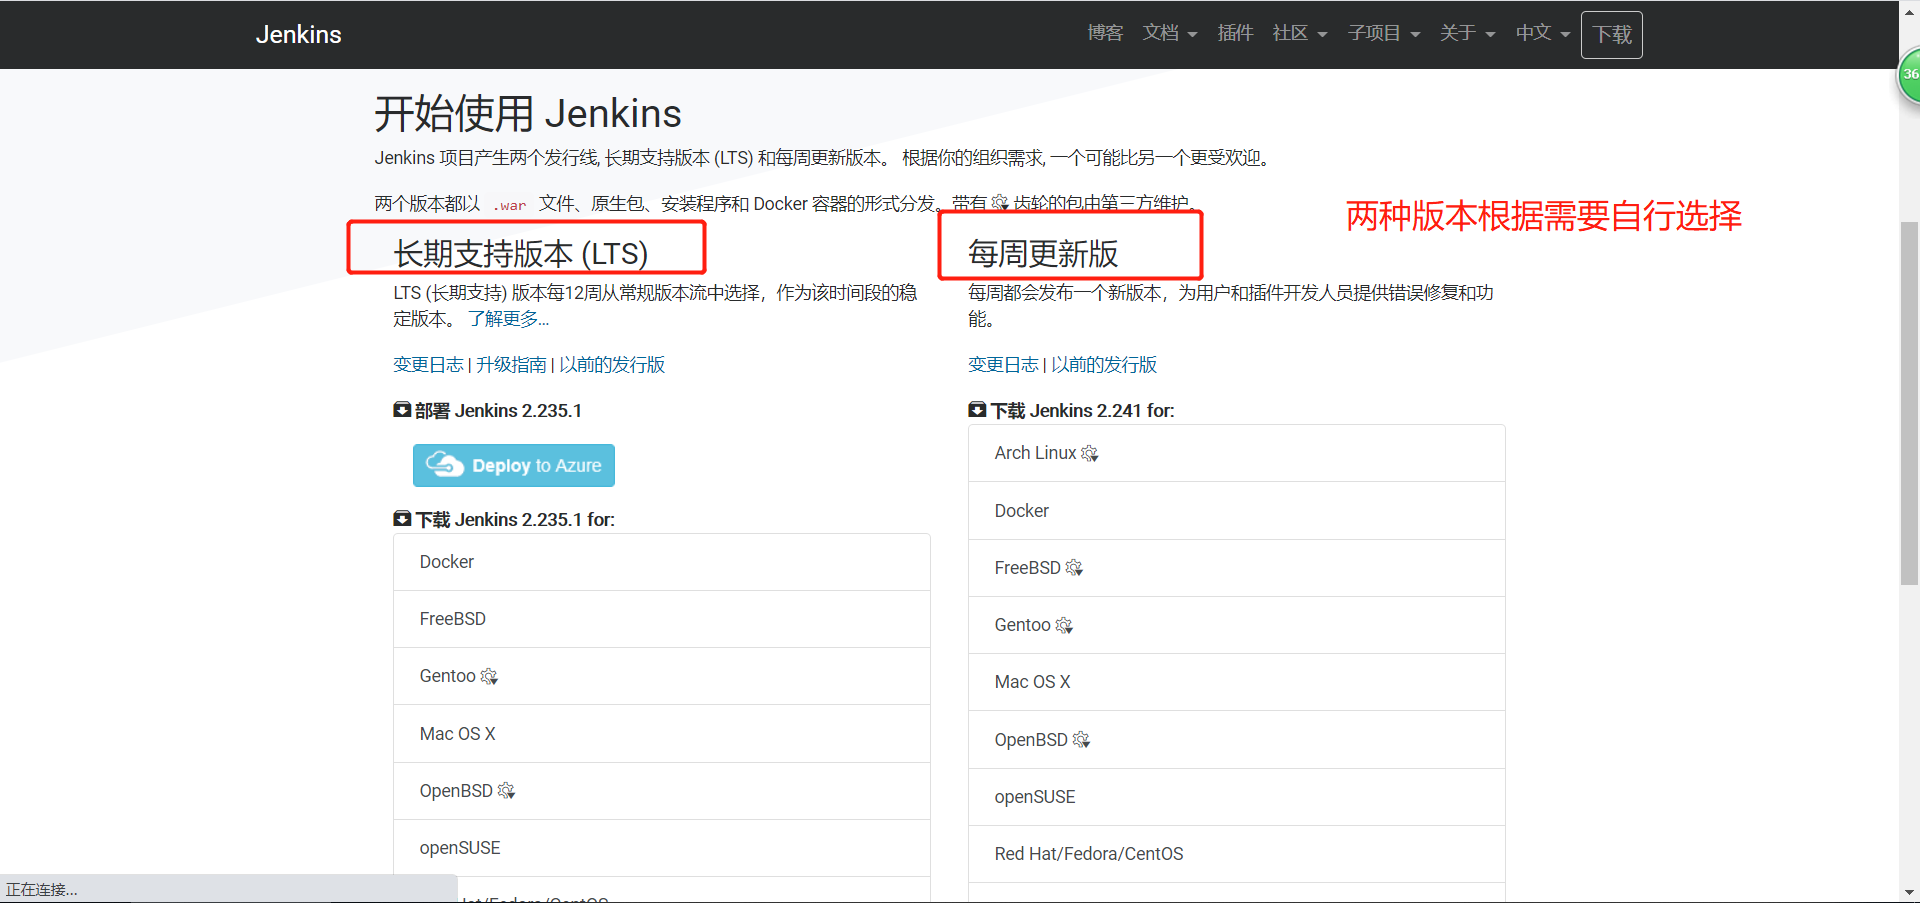
1.2 jenkins安装方式
(1)docker
(2)windows
(3)linux
(4)war
(5)yum
1.3 jenkins下载
2. 安装jenkins
2.1 安装java依赖环境
[root@jenkins ~]# yum -y install java
2.2 安装jenkins并启动
[root@jenkins ~]# yum -y localinstall jenkins-2.176.1-1.1.noarch.rpm
[root@jenkins ~]# systemctl start jenkins && systemctl enable jenkins
jenkins.service is not a native service, redirecting to /sbin/chkconfig.
Executing /sbin/chkconfig jenkins on
[root@jenkins ~]# echo $?
0
[root@jenkins ~]# ps -ef|grep [j]enkins
jenkins    7031      1 64 01:40 ?        00:01:02 /etc/alternatives/java -Dcom.sun.akuma.Daemon=daemonized -Djava.awt.headless=true -DJENKINS_HOME=/var/lib/jenkins -jar /usr/lib/jenkins/jenkins.war --logfile=/var/log/jenkins/jenkins.log --webroot=/var/cache/jenkins/war --daemon --httpPort=8080 --debug=5 --handlerCountMax=100 --handlerCountMaxIdle=20   # jenkins监听8080端口
2.3 jenkins目录说明
[root@jenkins ~]# rpm -ql jenkins
/etc/init.d/jenkins # jenkins启动脚本
/etc/logrotate.d/jenkins # jenkins日志轮转脚本
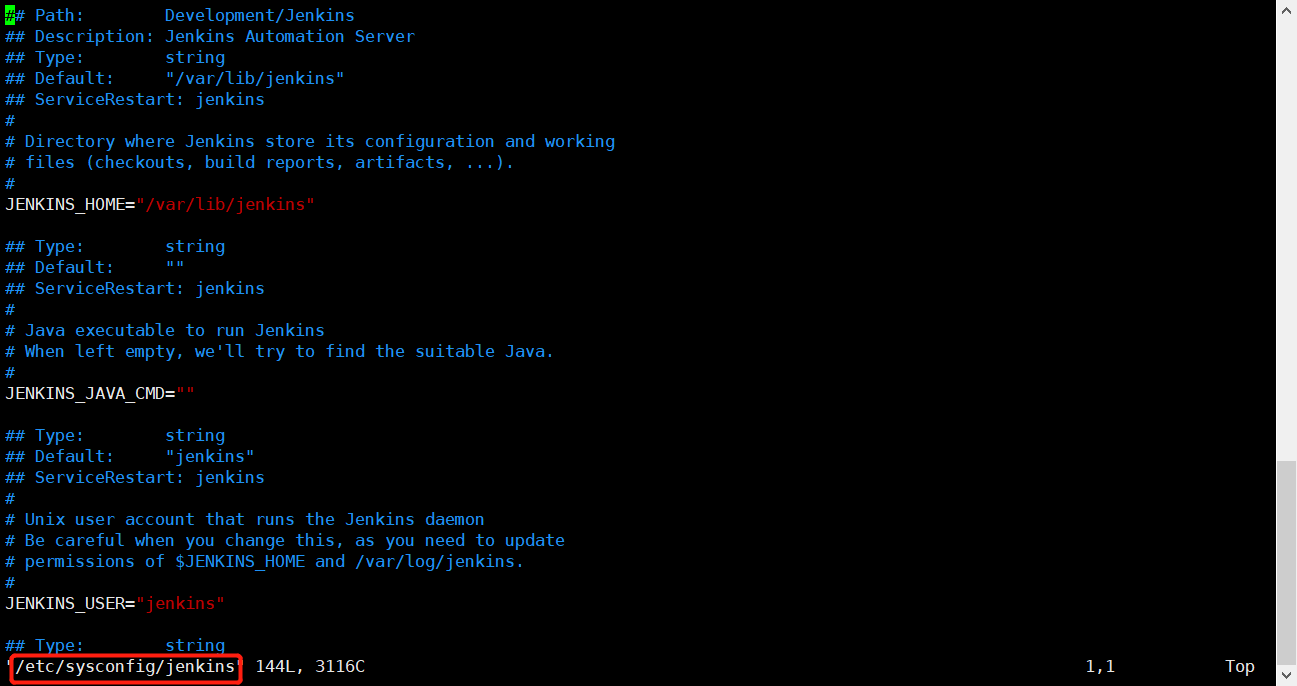
/etc/sysconfig/jenkins # jenkins 配置文件
/usr/lib/jenkins # jenkins主程序包(war包),升级的时候替换一下这个包就行了
/usr/lib/jenkins/jenkins.war # jenkins主程序包(war包),升级的时候替换一下这个包就行了
/usr/sbin/rcjenkins # /etc/init.d/jenkins的软连接文件,也是一个启动文件
/var/cache/jenkins # jenkins缓存目录
/var/lib/jenkins # jenkins站点目录
/var/log/jenkins # jenkins日志目录
2.4 配置客户端域名解析
# 在hosts文件中添加如下
192.168.1.62 jenkins.xts.com
2.5 访问jenkins并配置
java项目启动都比较慢,出现下图,只要日志没有报错,请耐心等待(建议多给点内存)
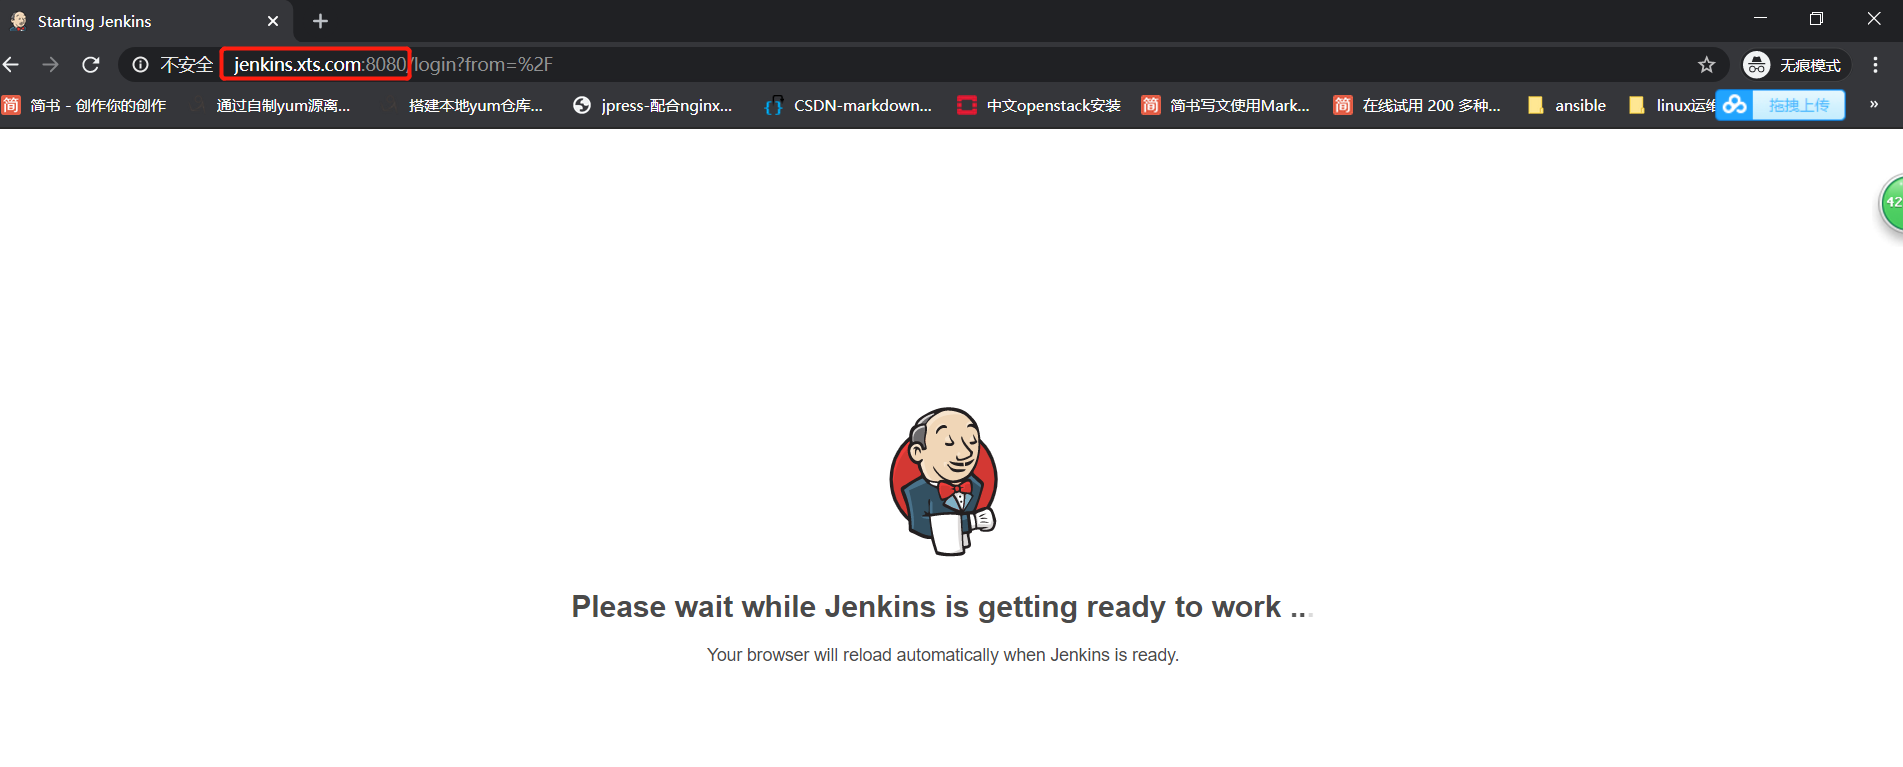
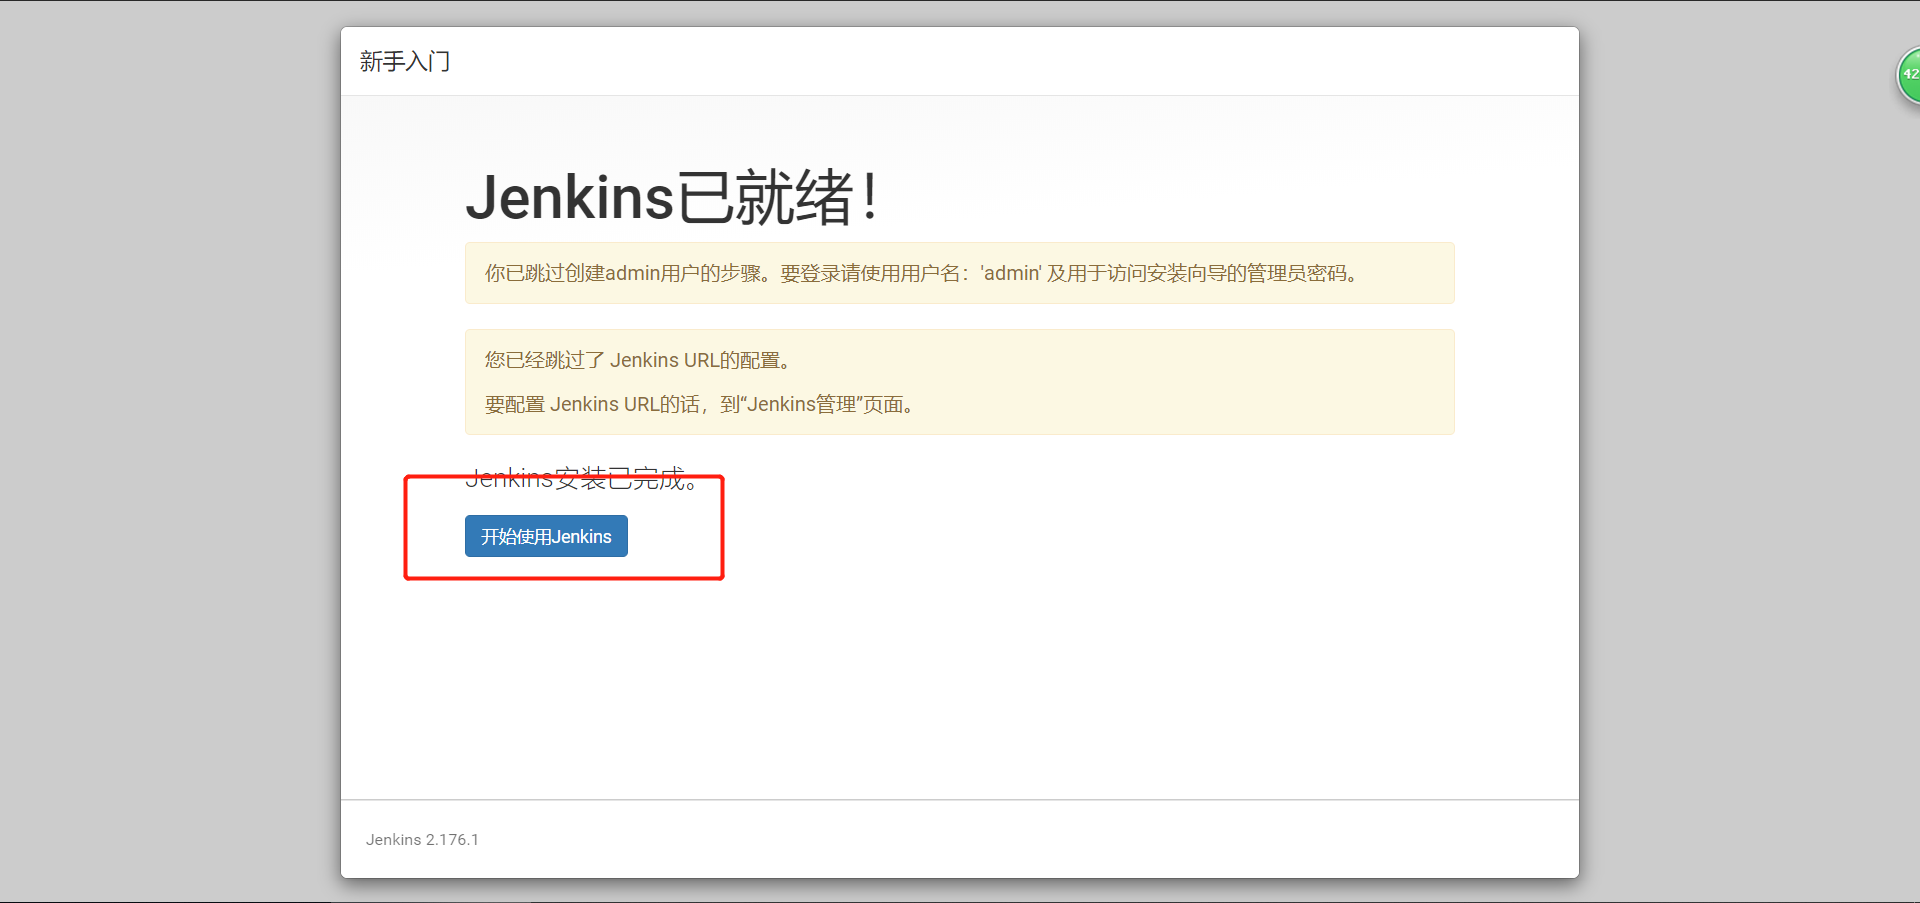
启动完毕
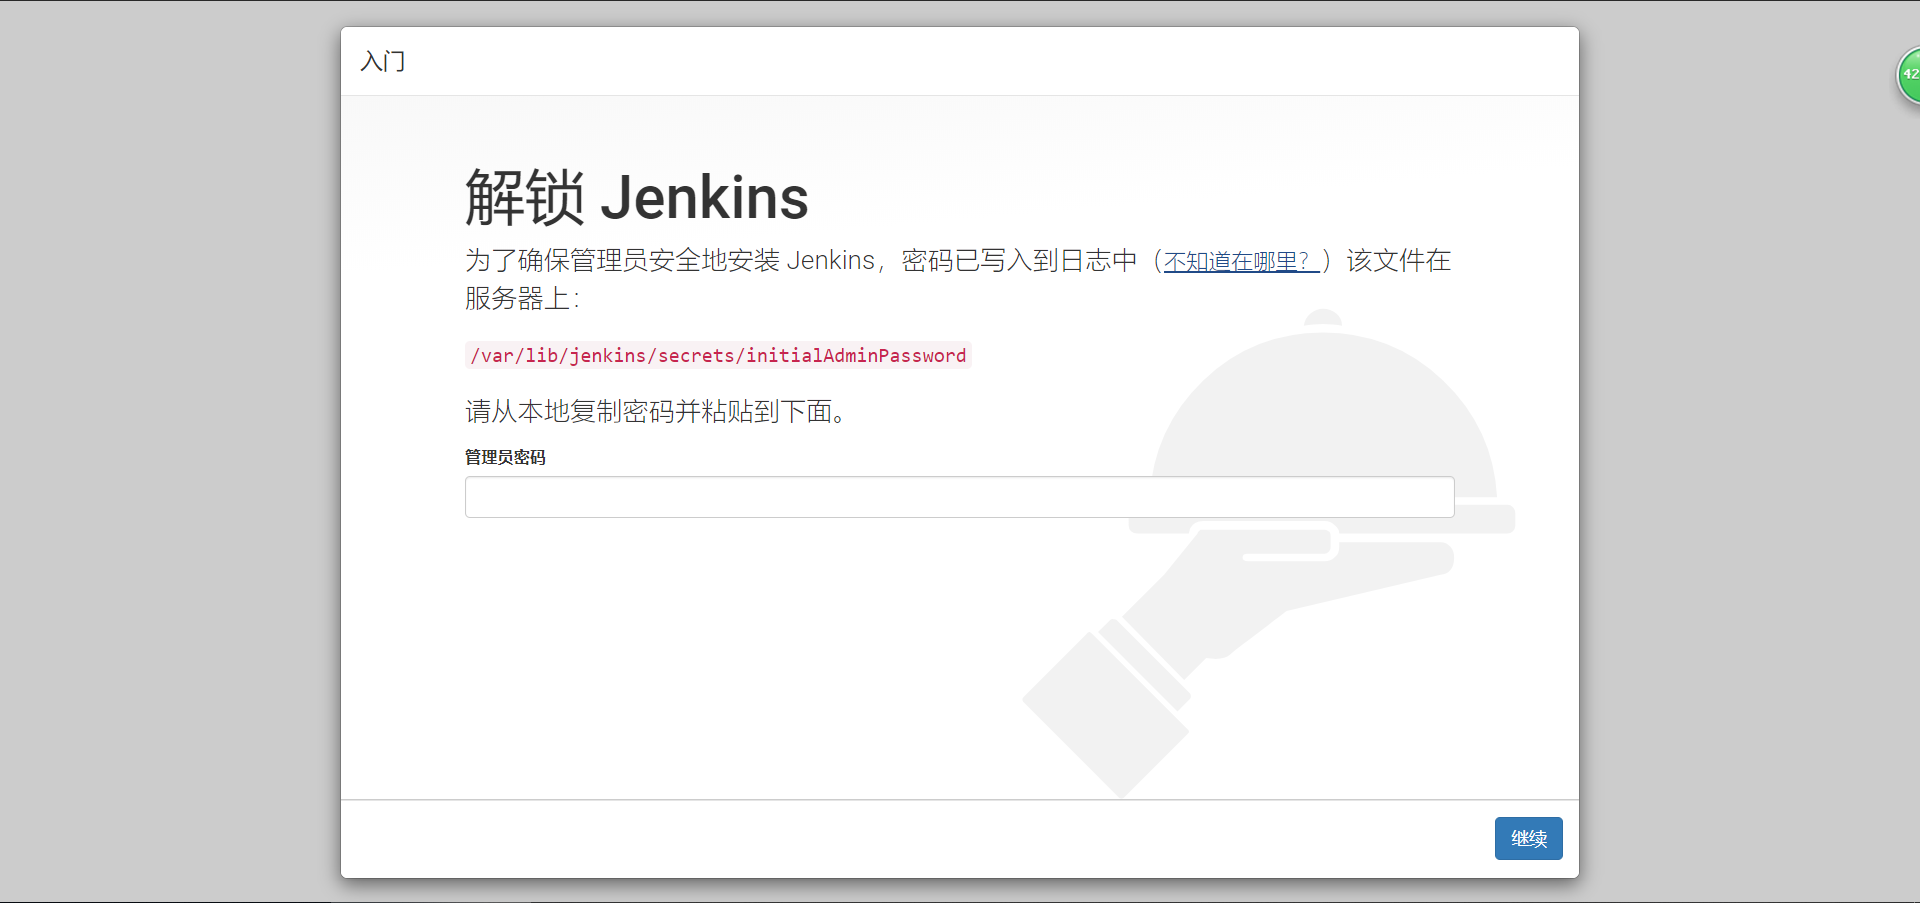
基本配置
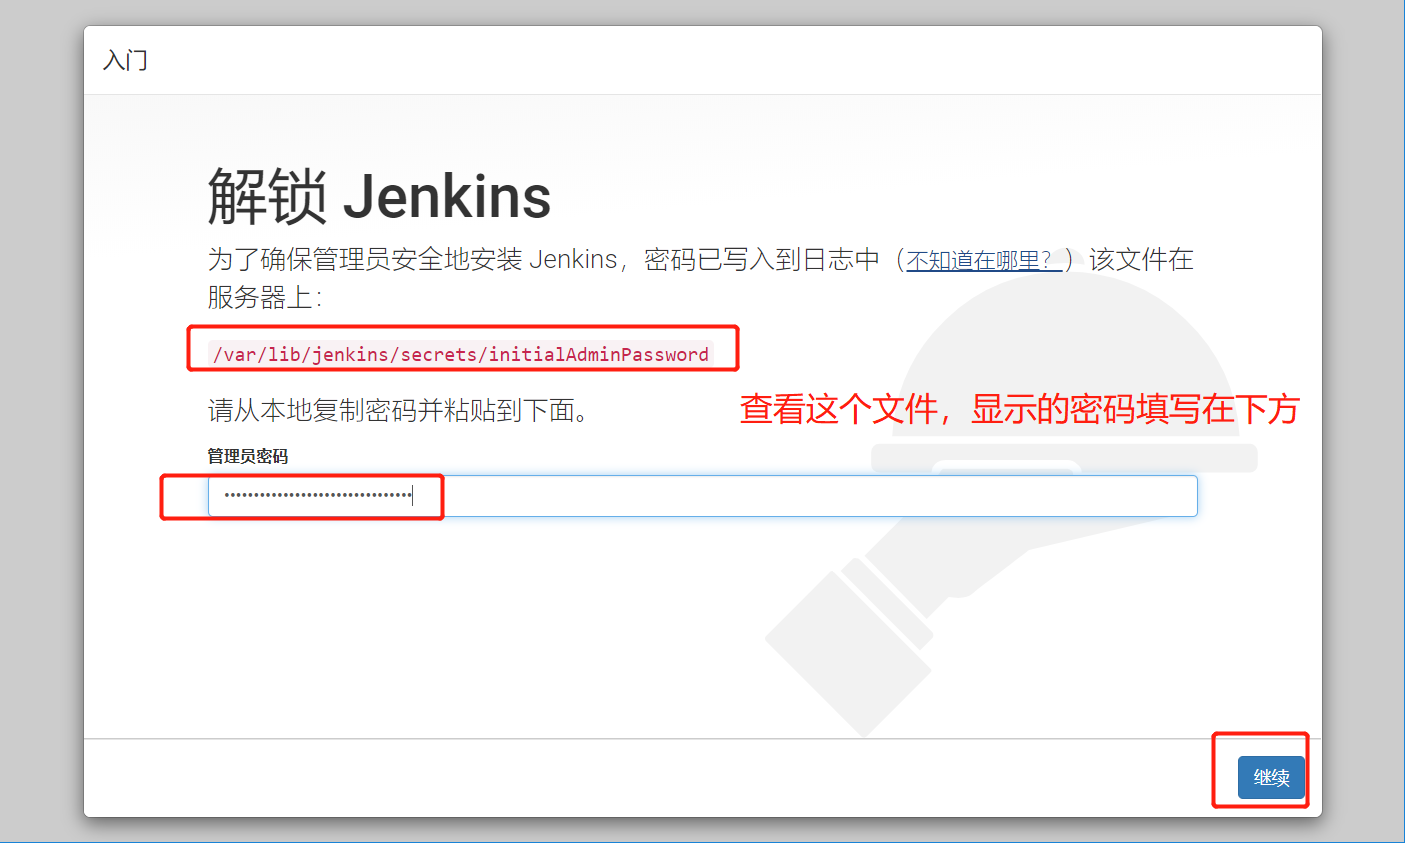
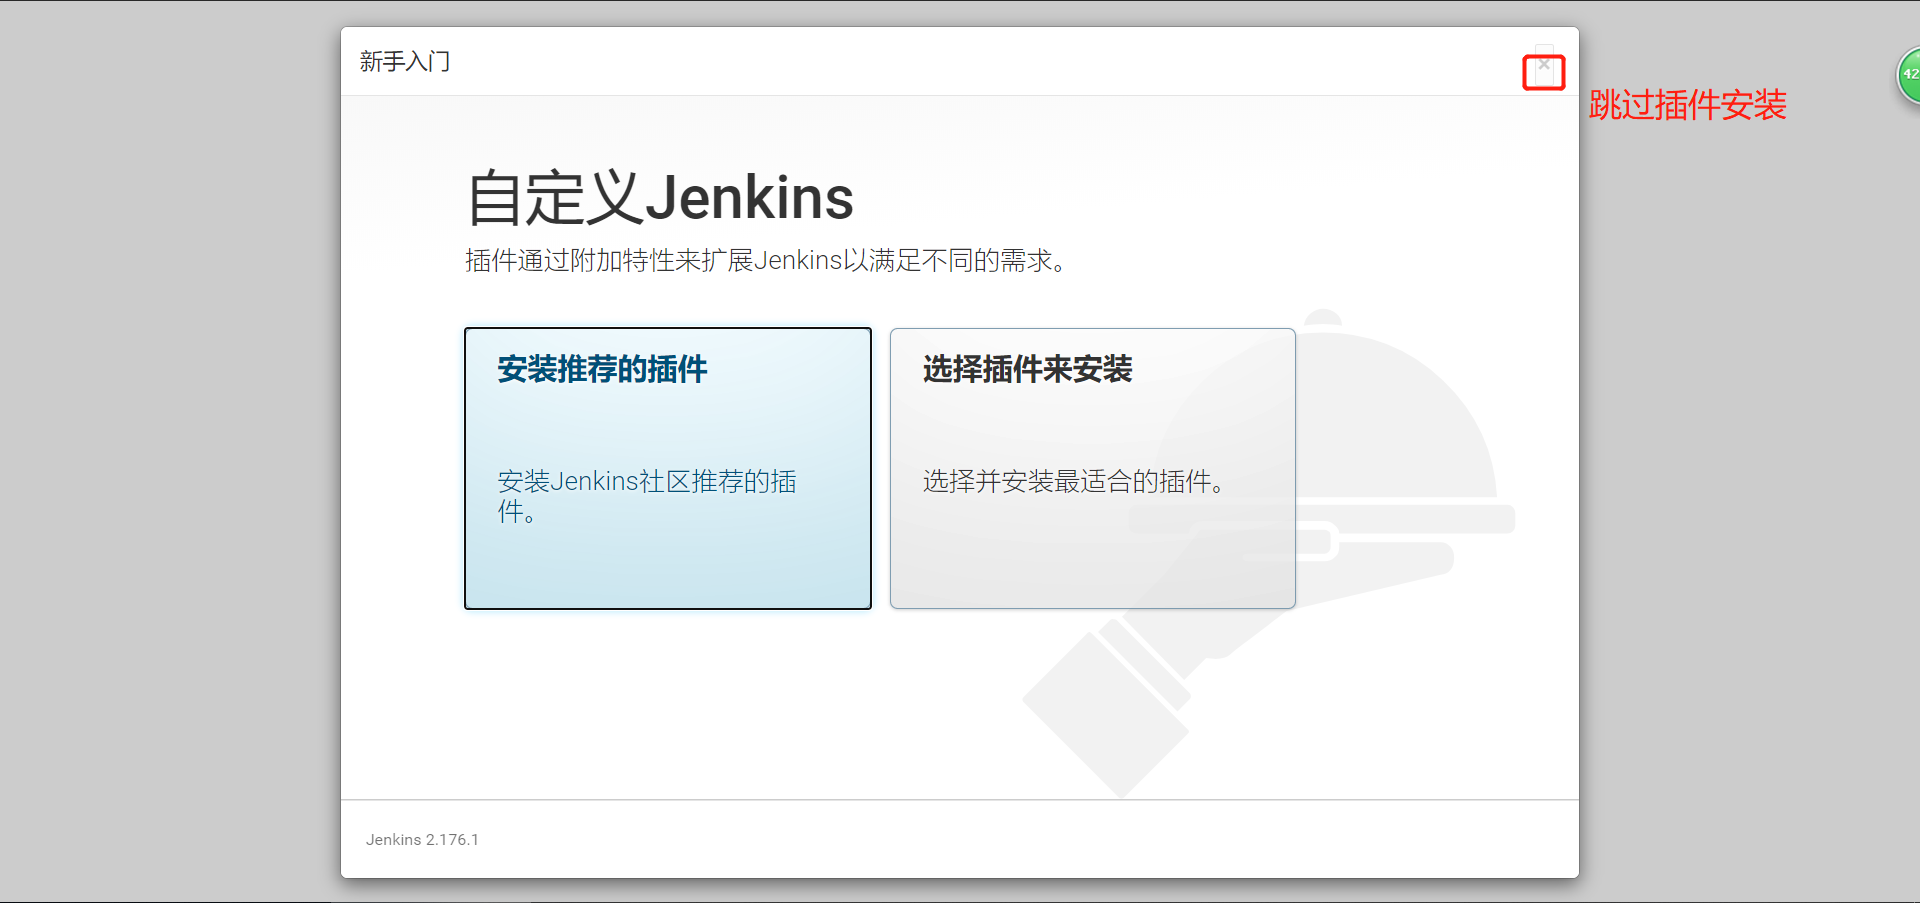
注意:
(1)如果在安装插件界面,没有准备好拆件,可以使用安装推荐的插件
(2)如果提前准备好了插件,选择右上角的跳过插件安装,然后更改admin的默认密码
(3)离线状态:连不上插件地址导致,选择跳过插件安装,然后会直接进入jenkins,这个时候第一时间更改admin的默认密码
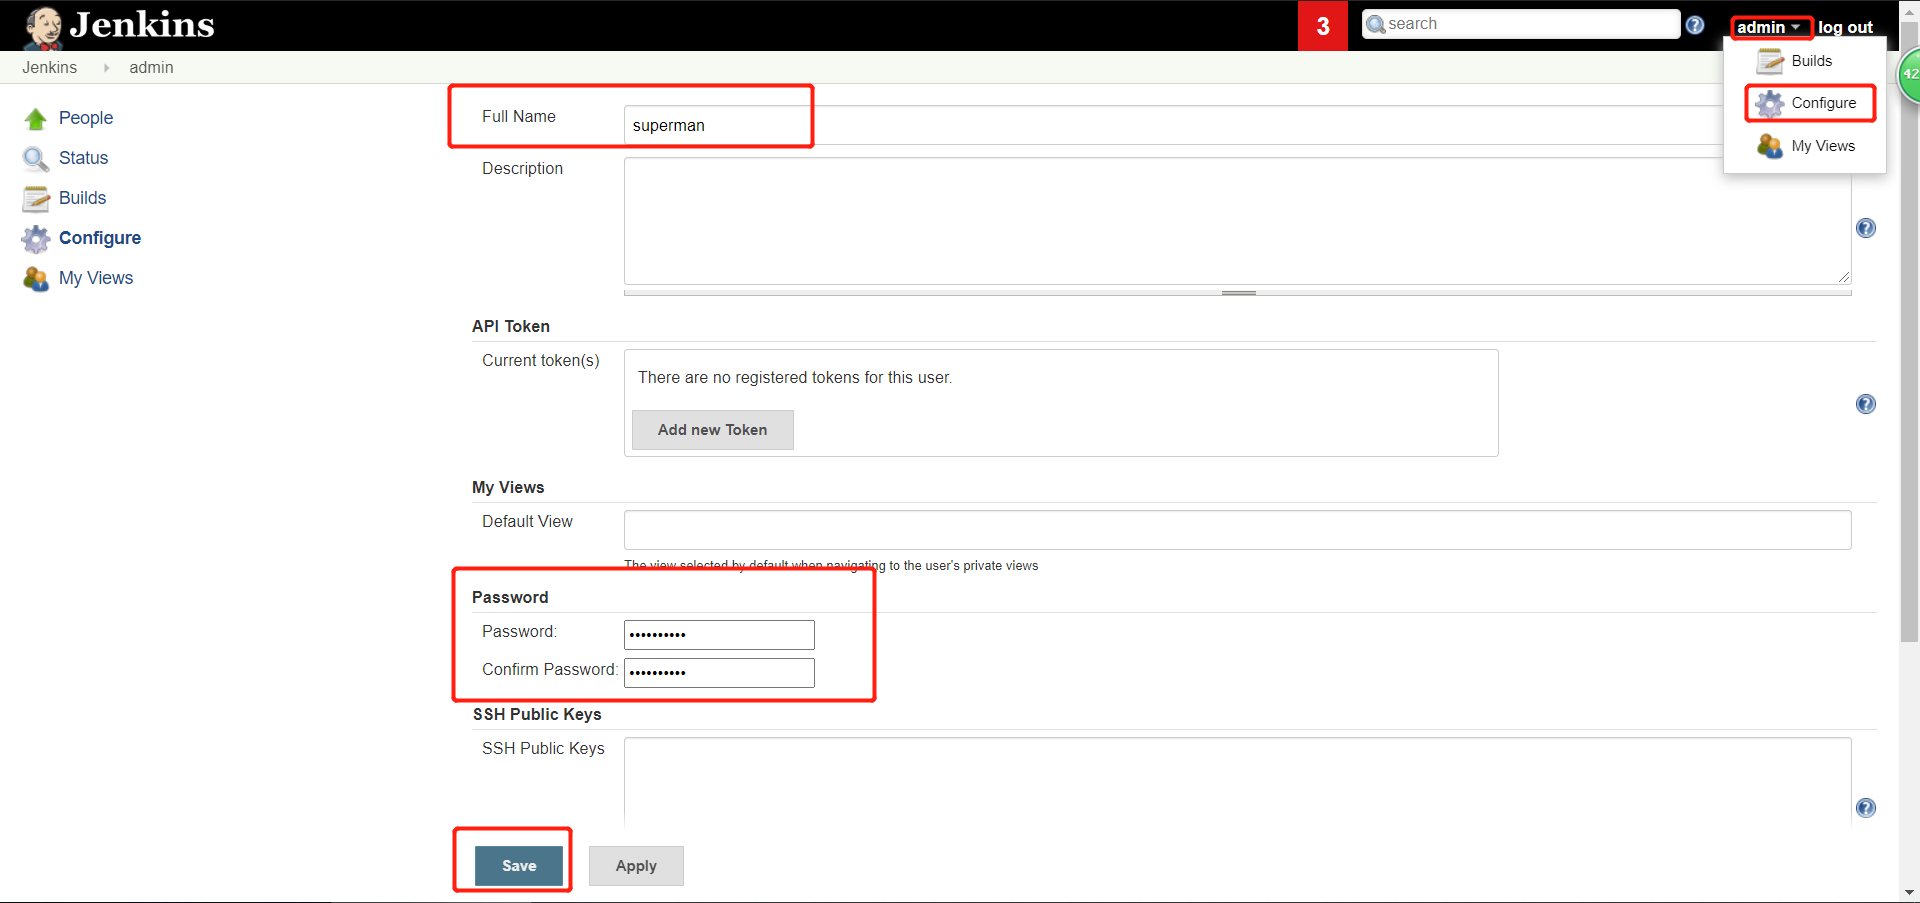
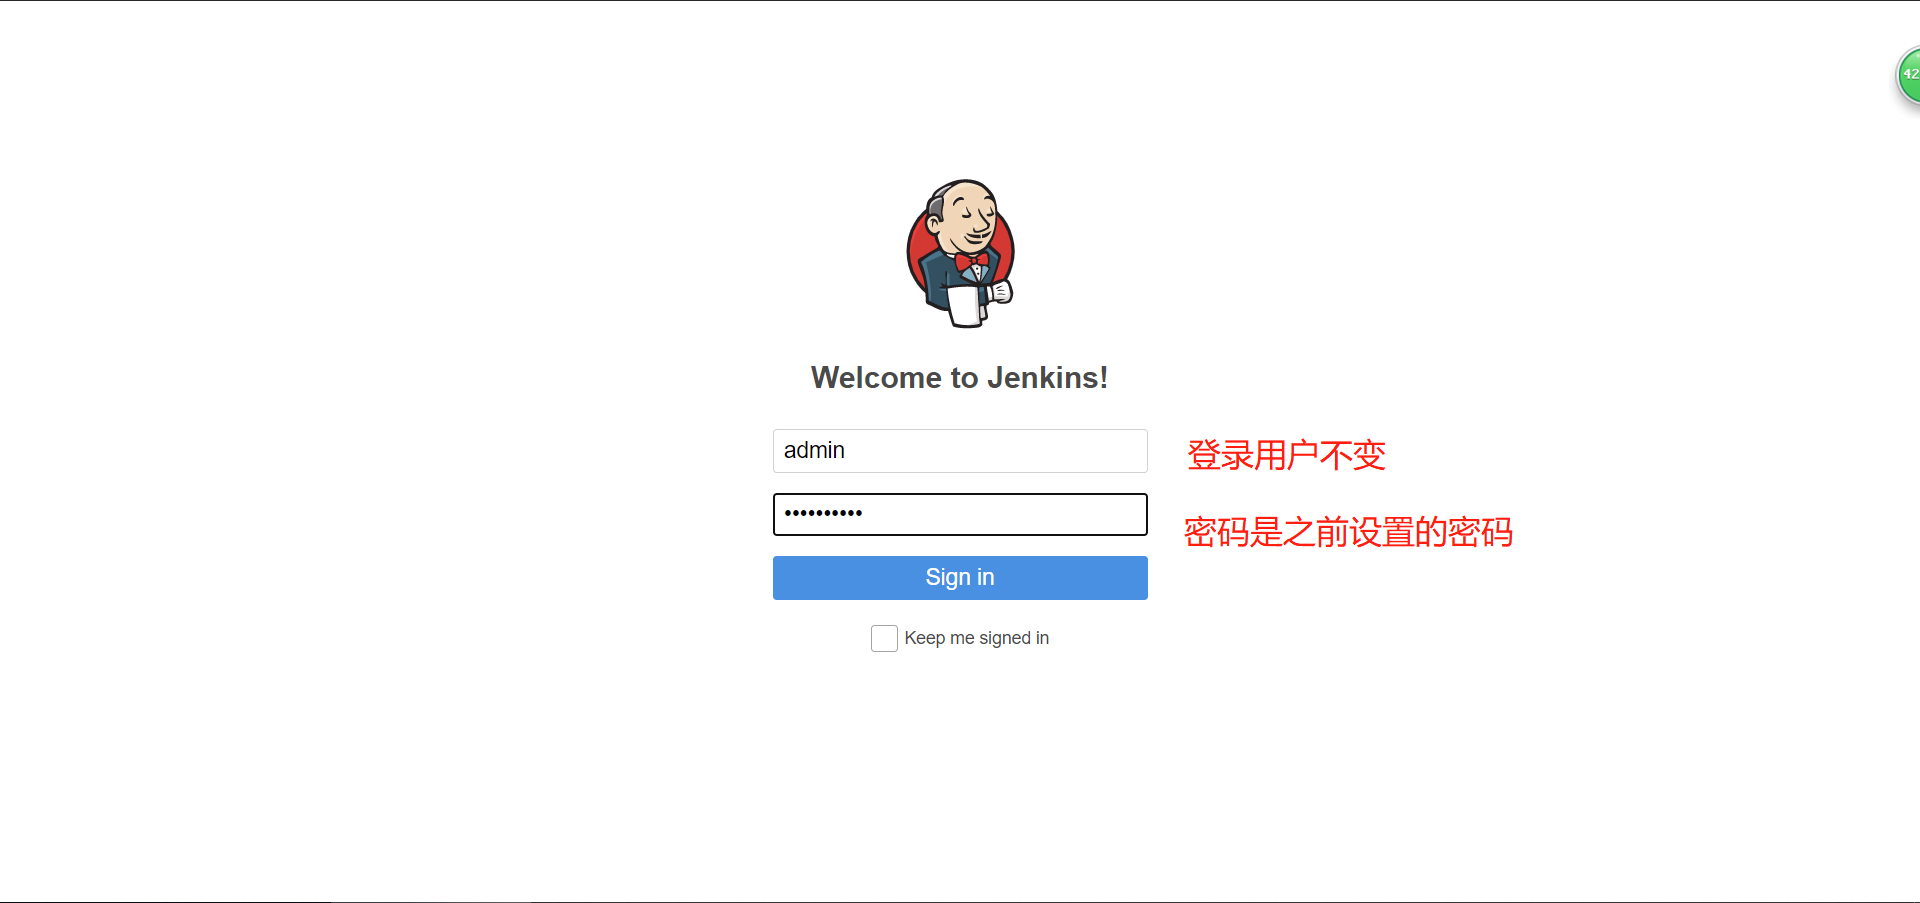
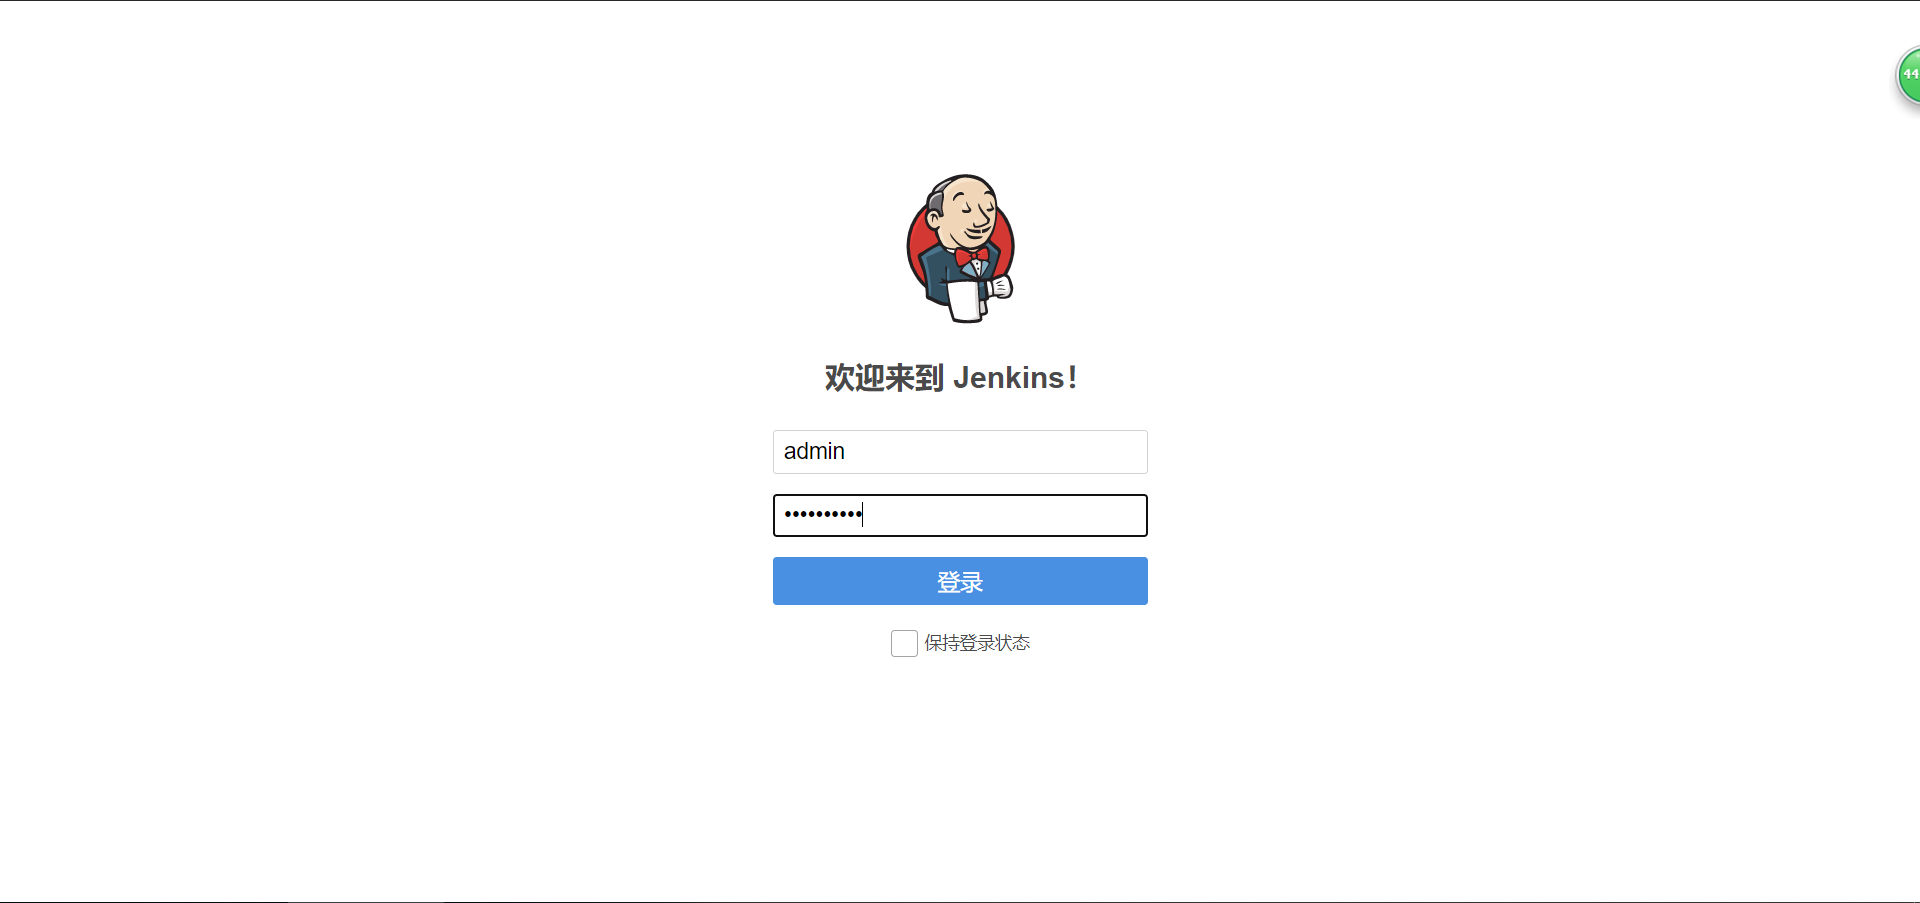
更改admin默认密码
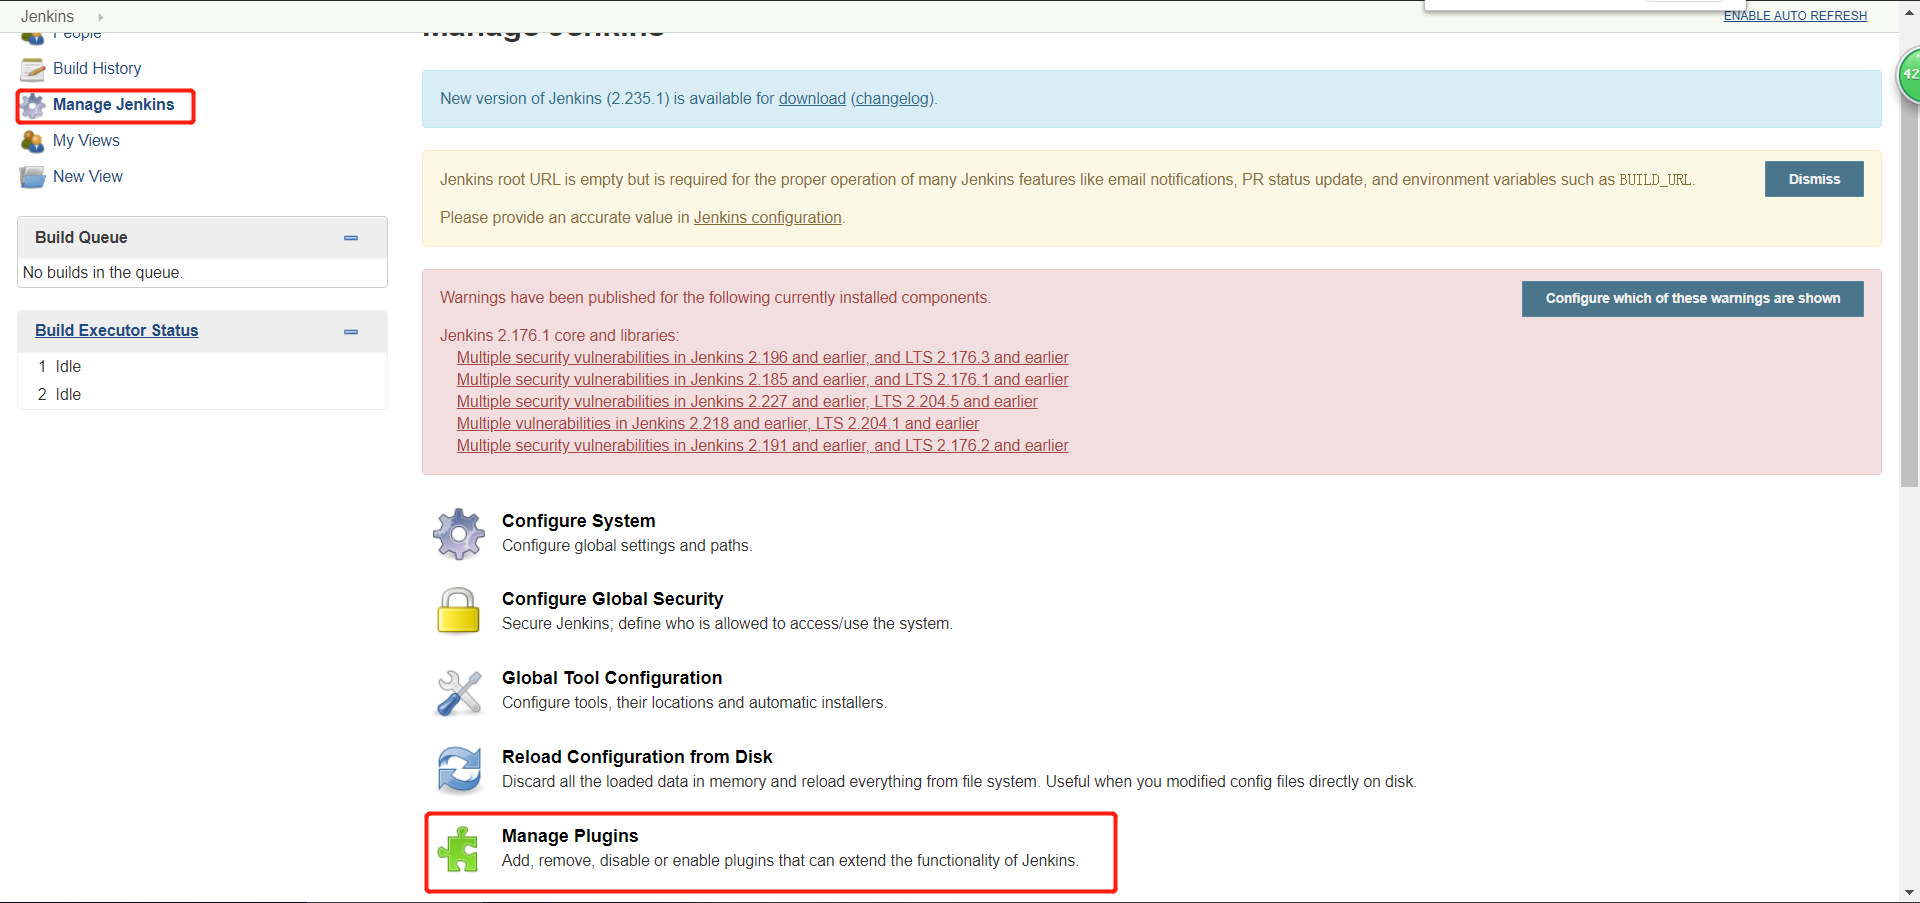
3. 安装jenkisn插件与汉化
安装插件注意事项
(1)如何对插件下载进行加速
(2)如何导入一个.hpi的插件
(3)如何批量导入备份过的插件
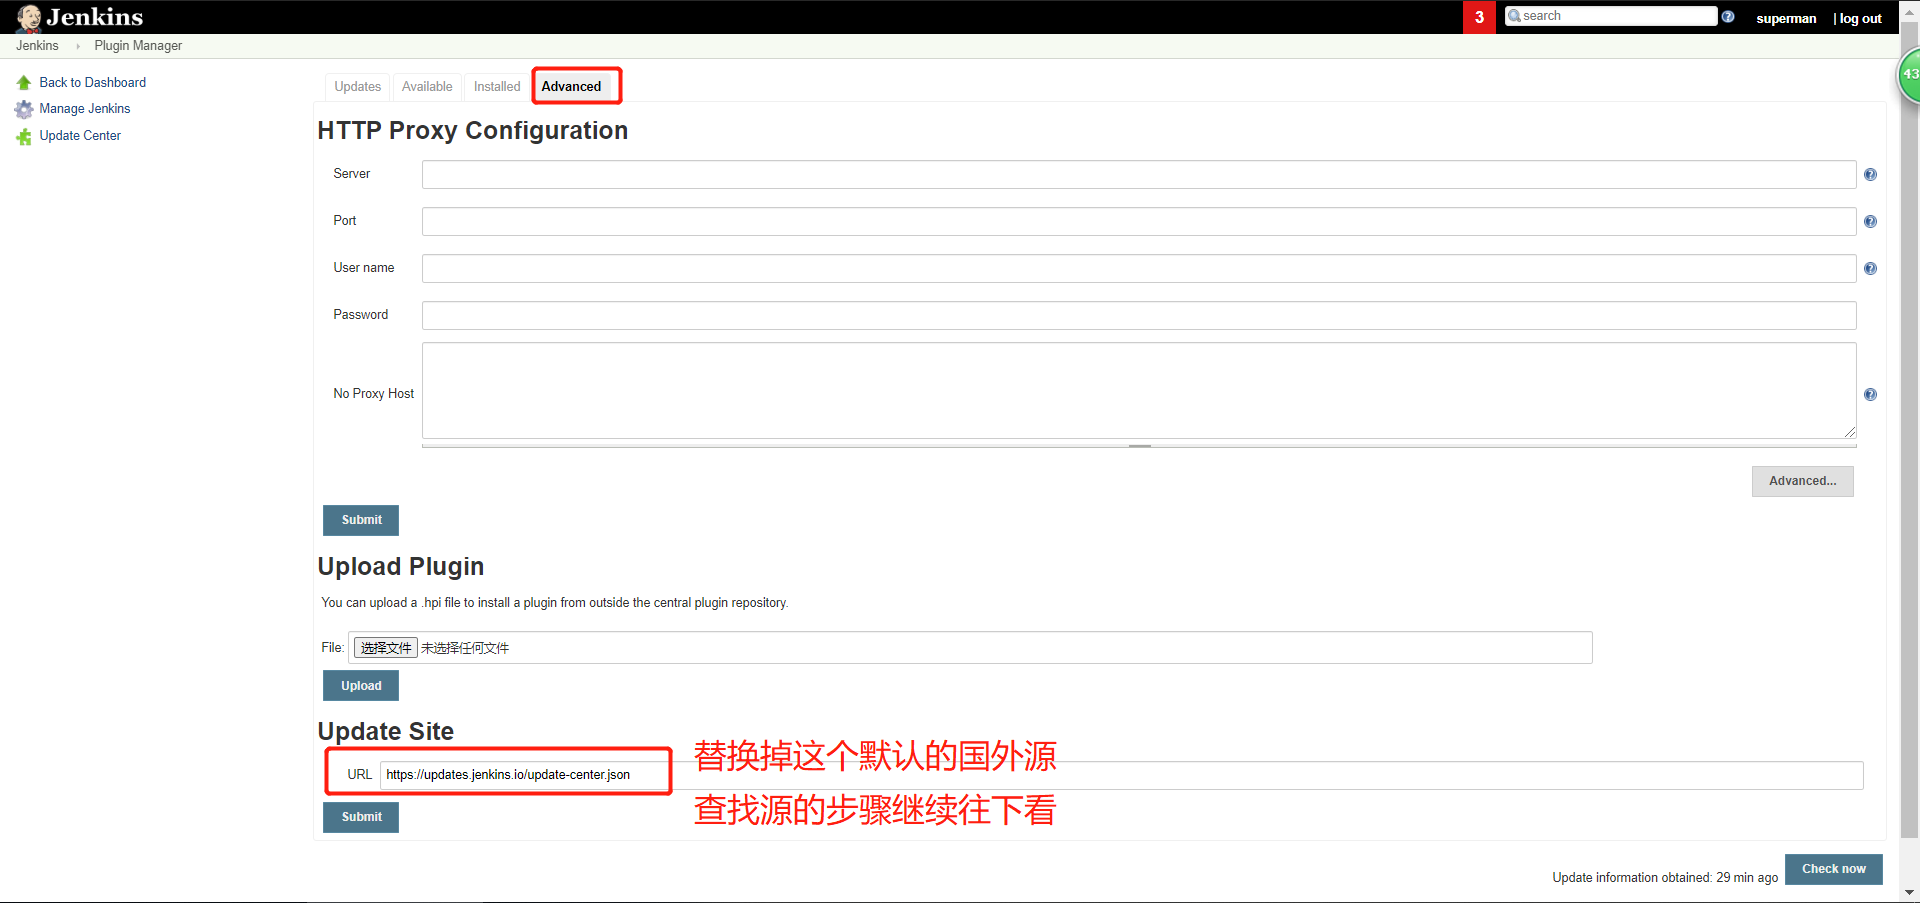
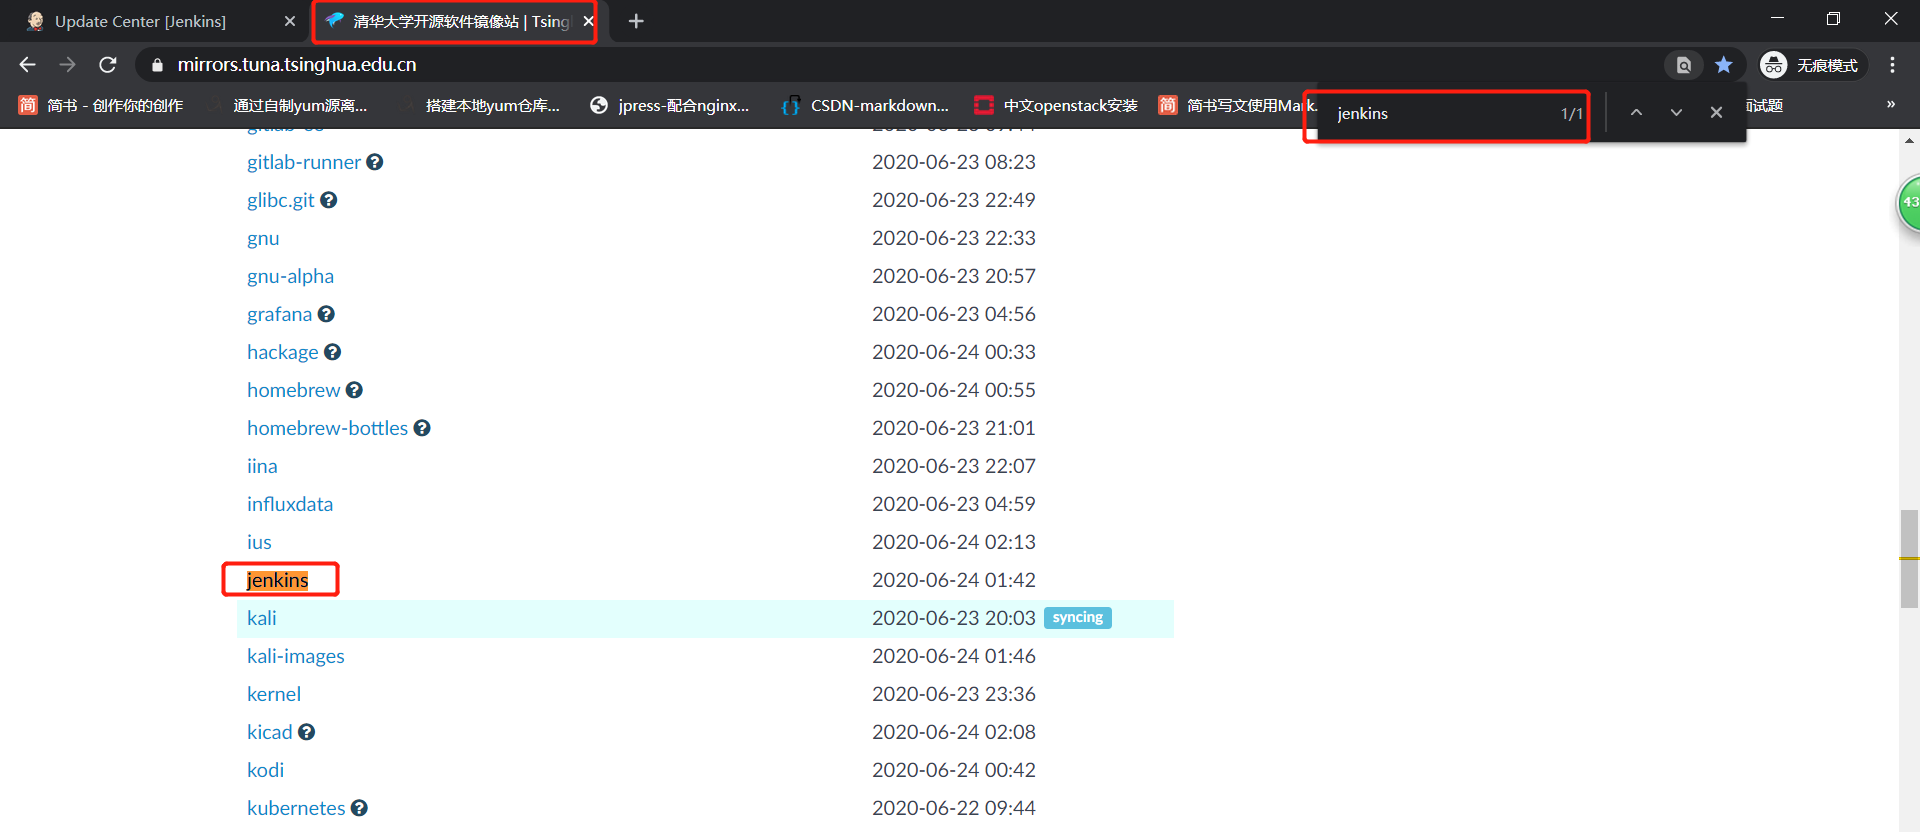
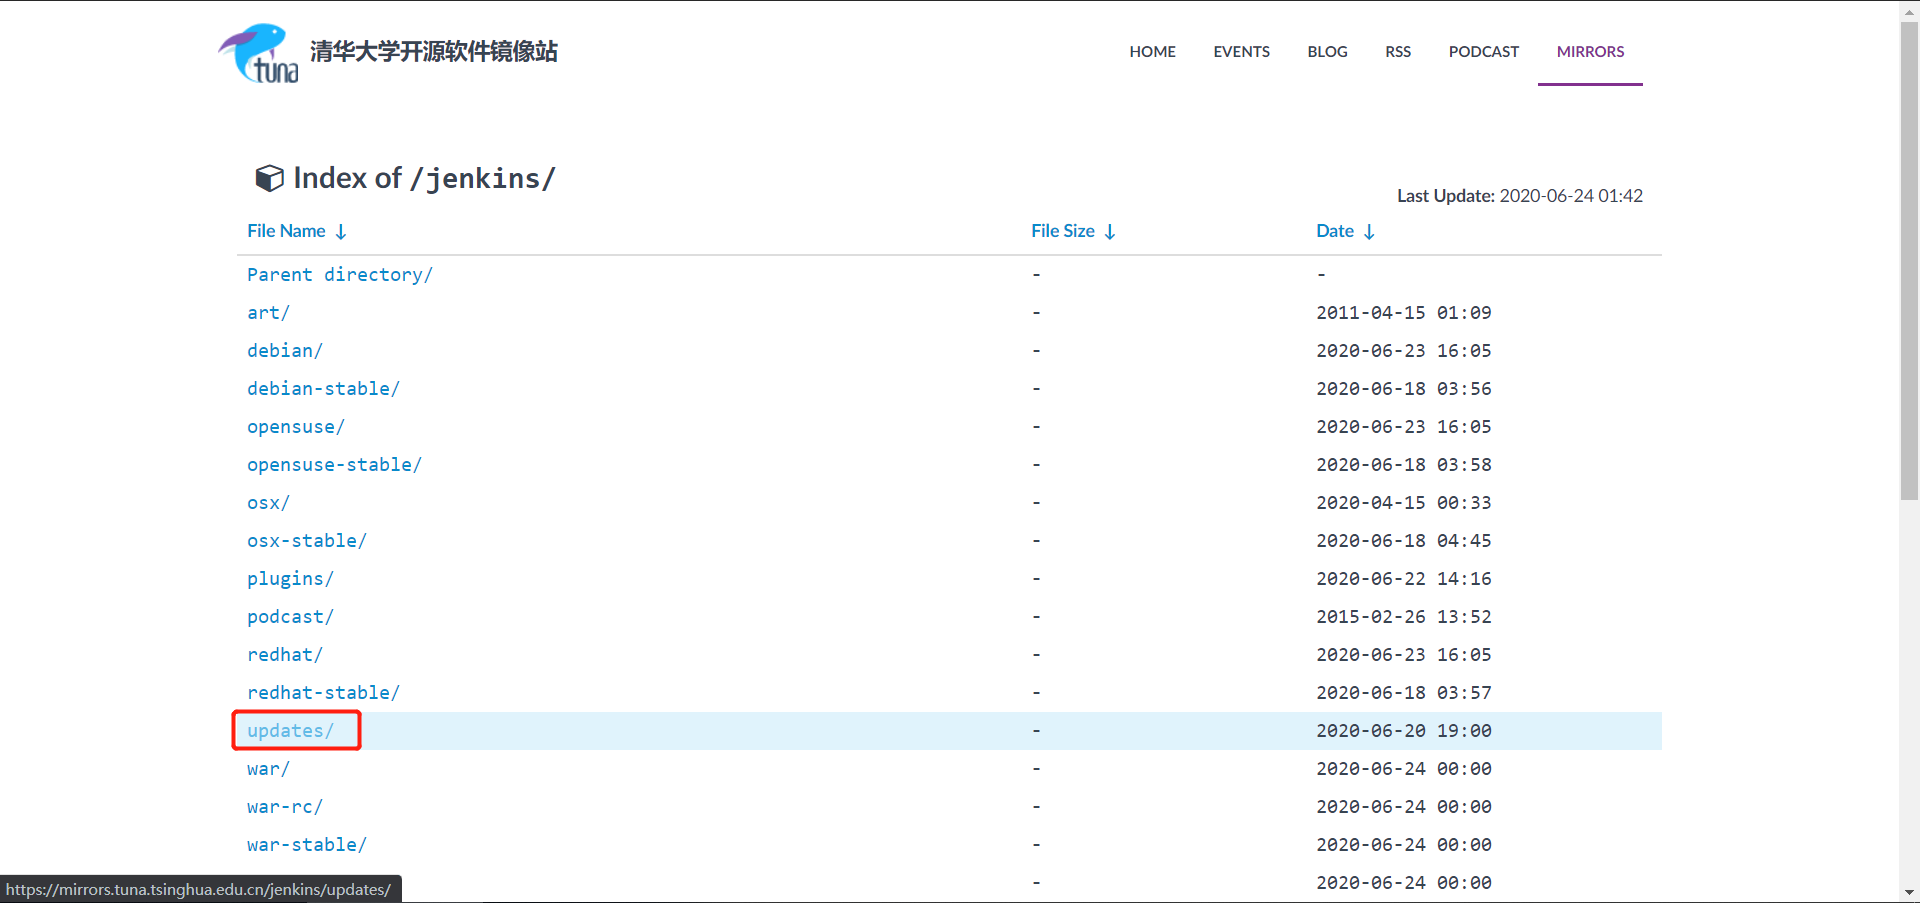
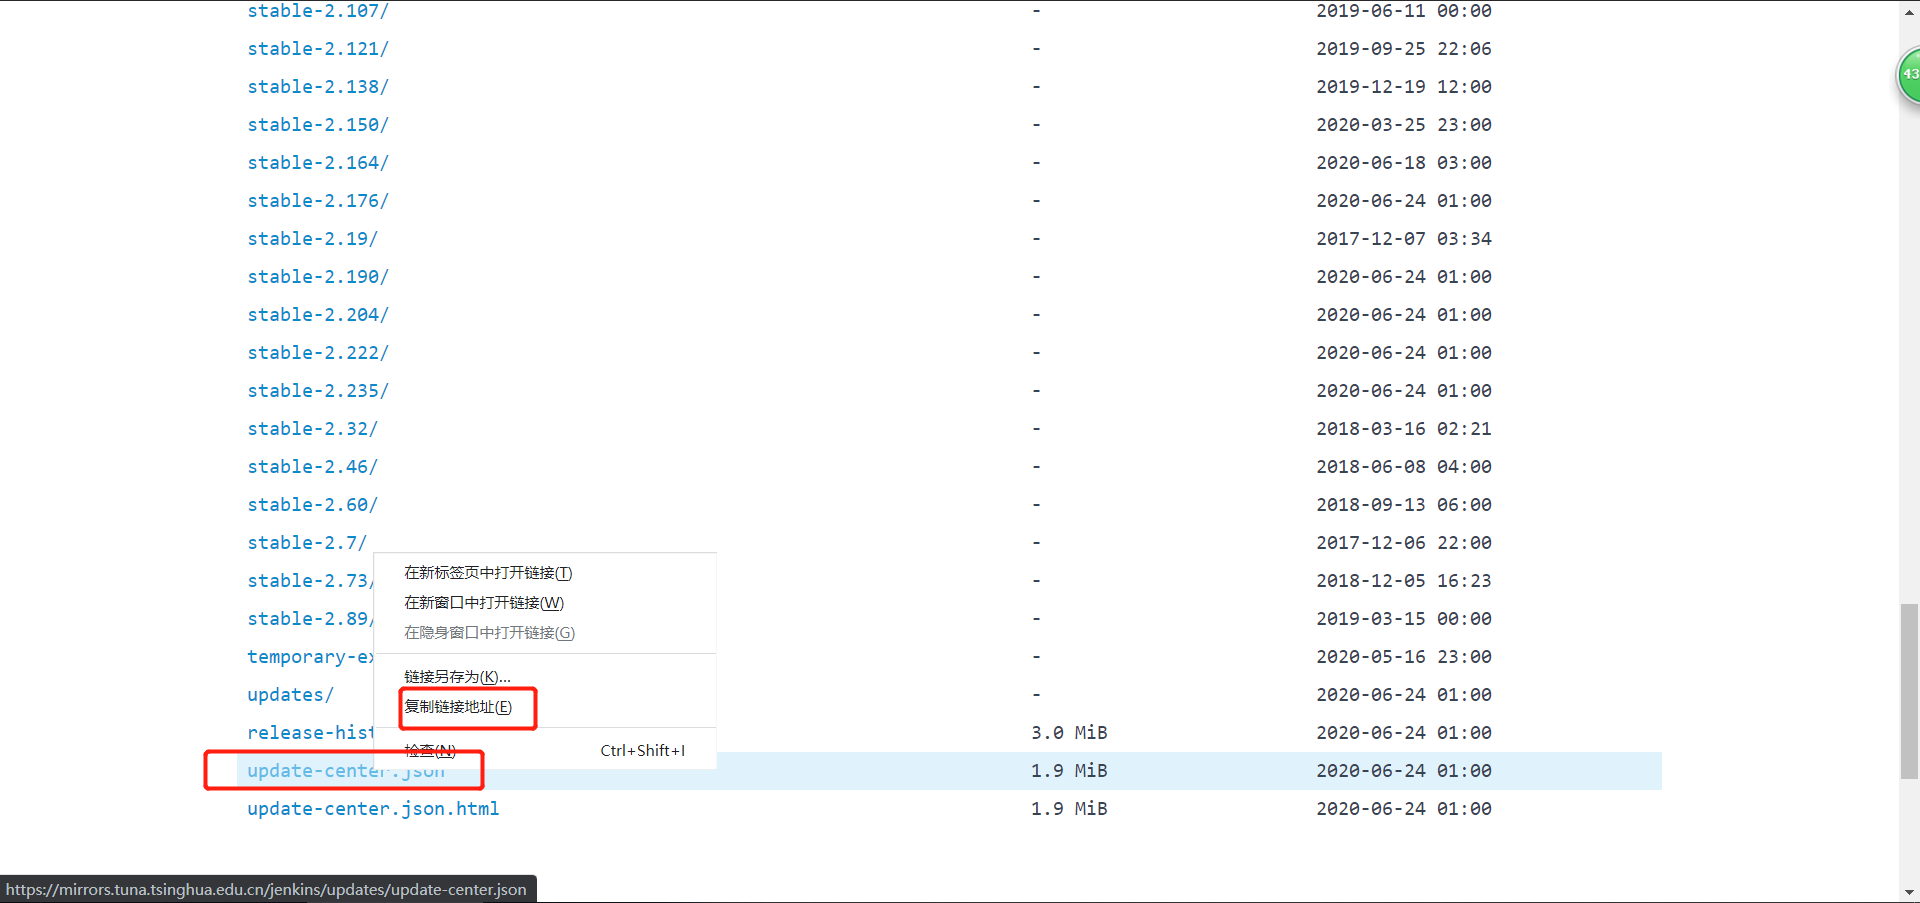
3.1 如何对插件下载进行加速
默认插件所有下载地址都是国外地址,这里只需要替换一下成国内地址即可。
步骤如下:

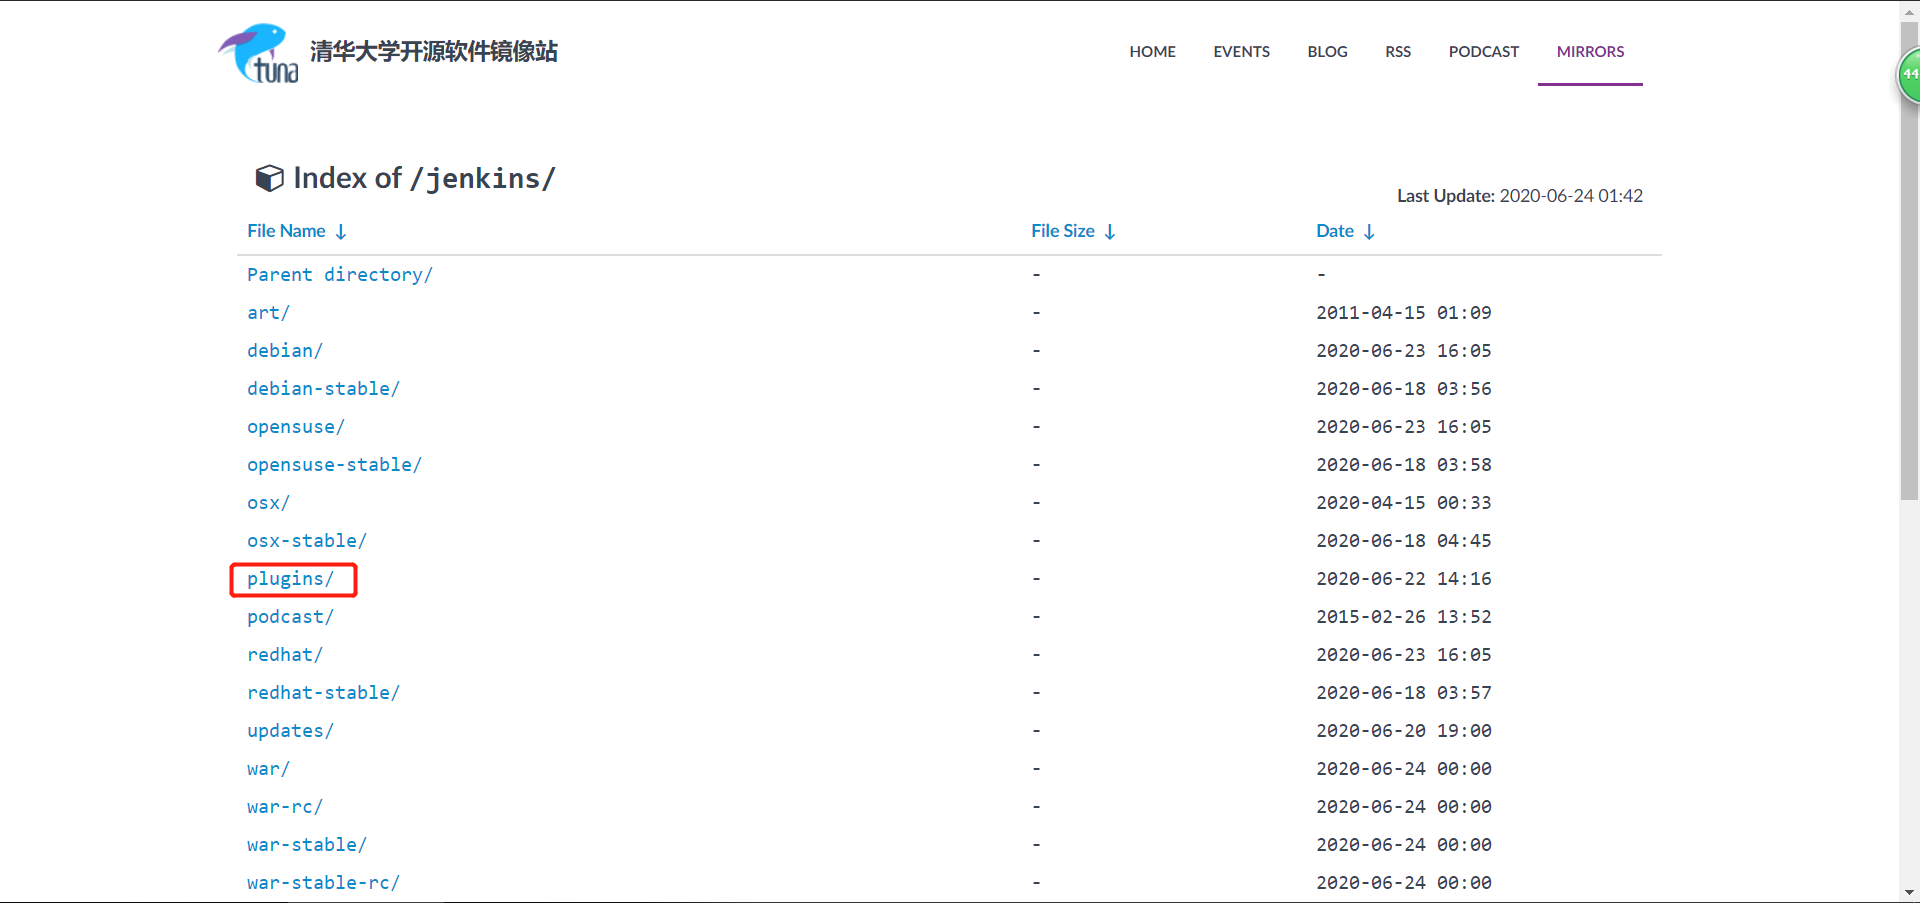
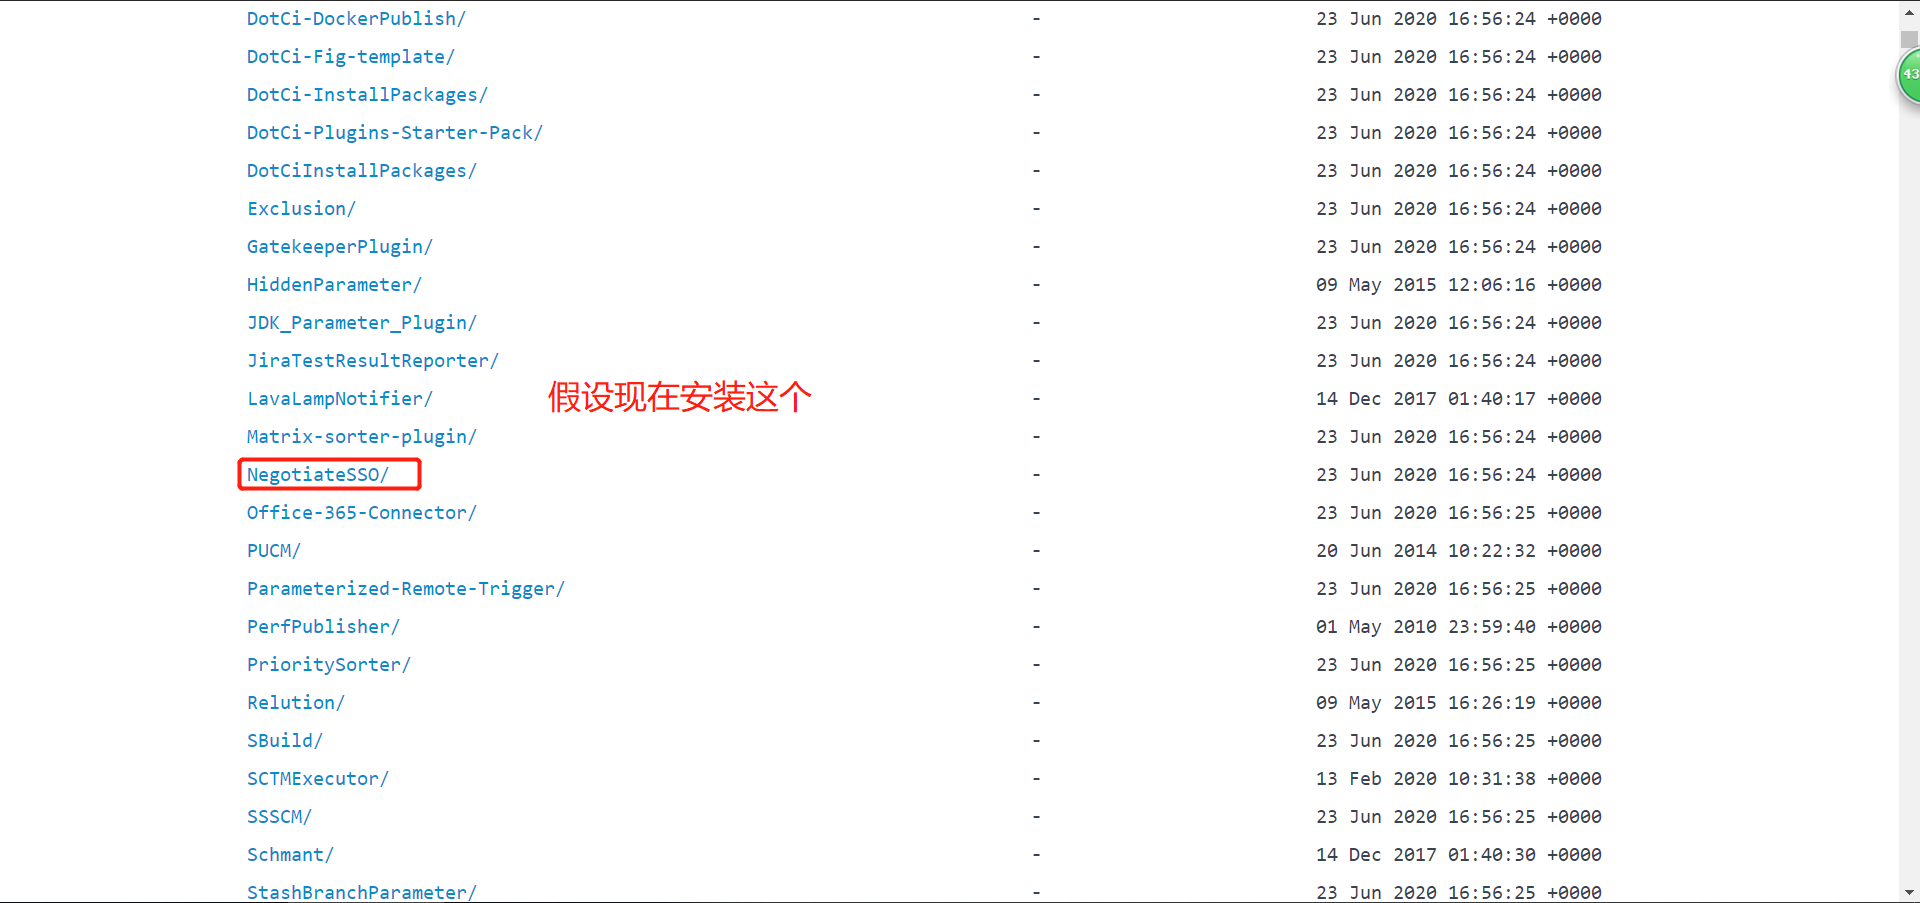
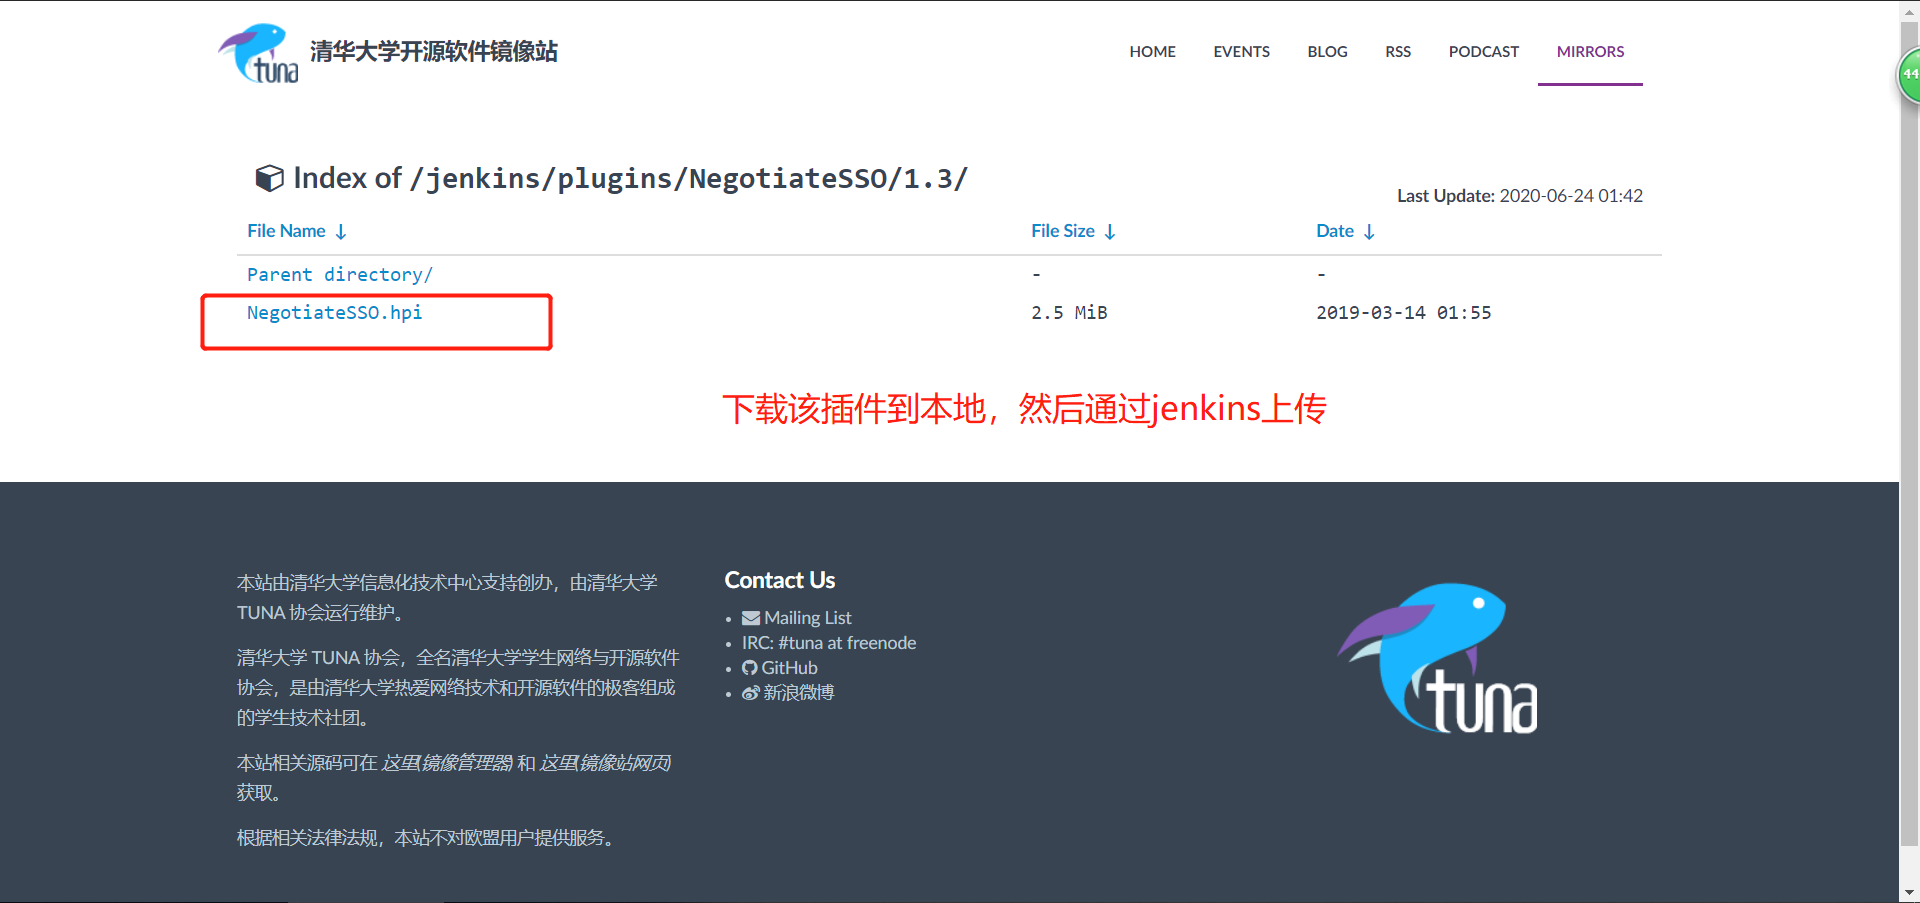
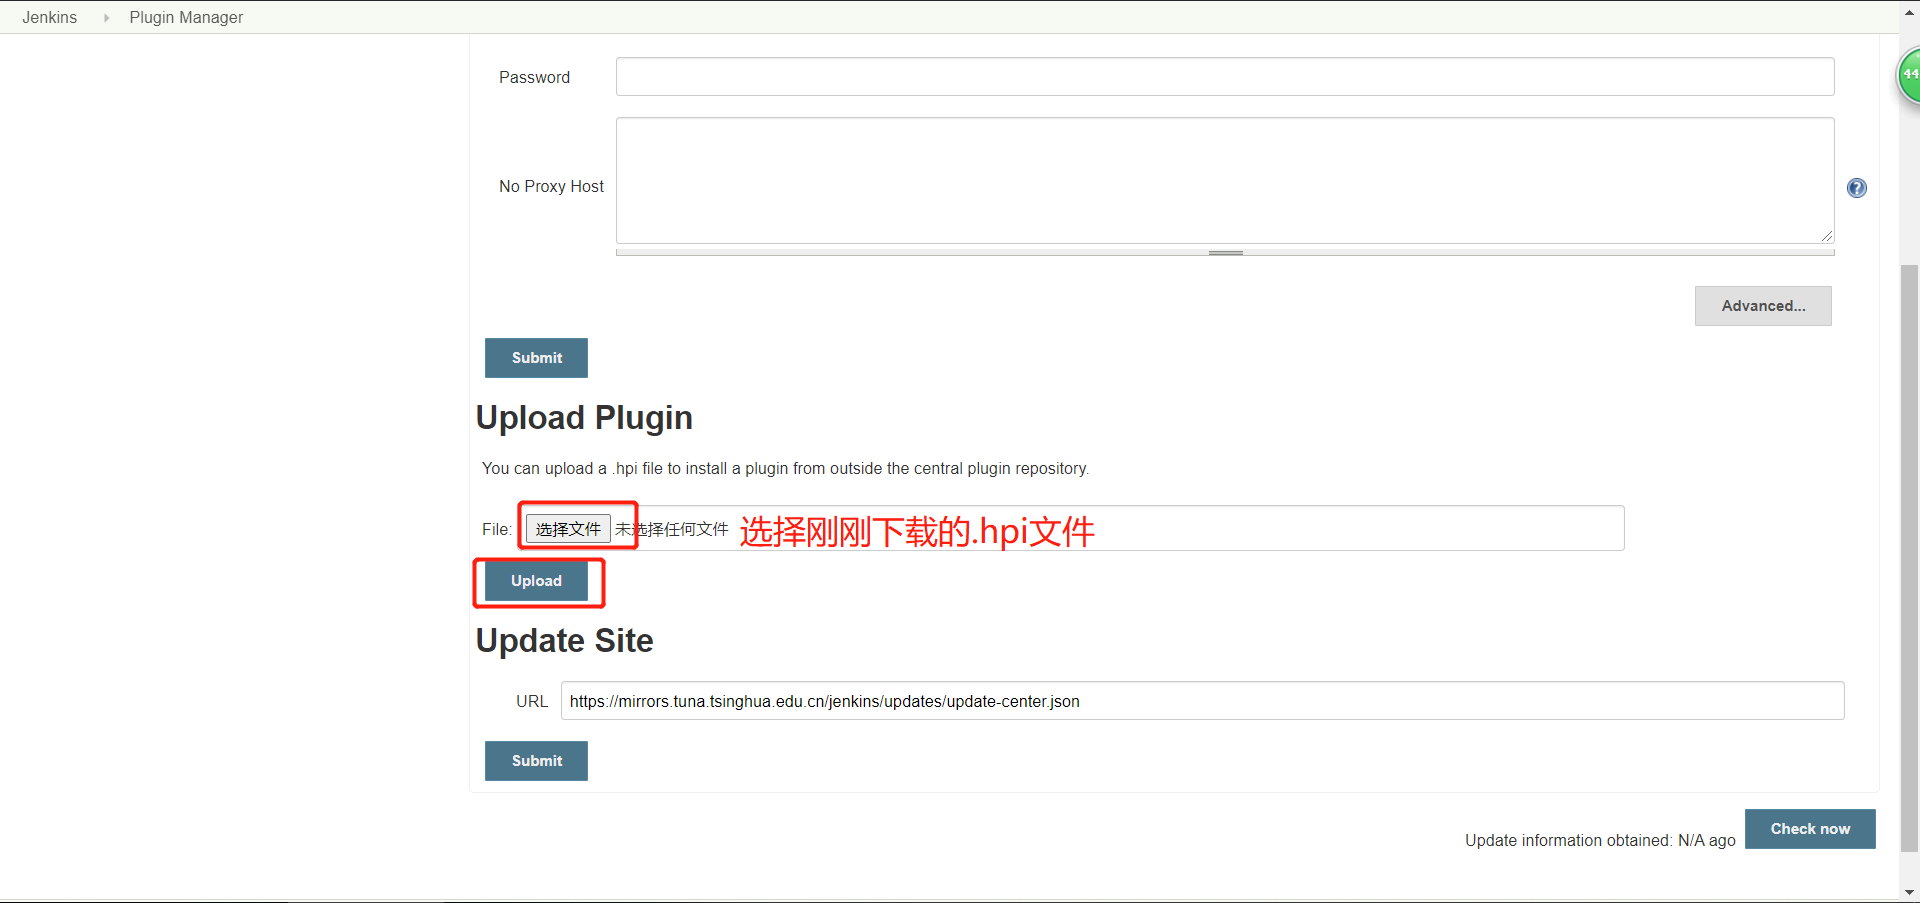
3.2 如何导入一个.hpi的插件

3.3 如何批量导入备份过的插件
[root@jenkins ~]# ls /var/lib/jenkins/plugins/      # 插件的安装目录
[root@jenkins ~]#

# 解压准备好的插件到插件的安装目录
[root@jenkins ~]# rm -rf /var/lib/jenkins/plugins                # 这里之所以要删除plugins,是因为解压出来的包也叫plugins,实际工作中,不一定是相同的名称,建议操作的时候,先备份
[root@jenkins ~]# tar xf jenkins_2.176_plugins.tar.gz -C //var/lib/jenkins/
[root@jenkins ~]# ll /var/lib/jenkins/plugins/|wc -l
247

# 授权
[root@jenkins ~]# chown -R jenkins.jenkins /var/lib/jenkins/plugins/

# 重启jenkins
[root@jenkins ~]# systemctl restart jenkins.service
浏览器访问

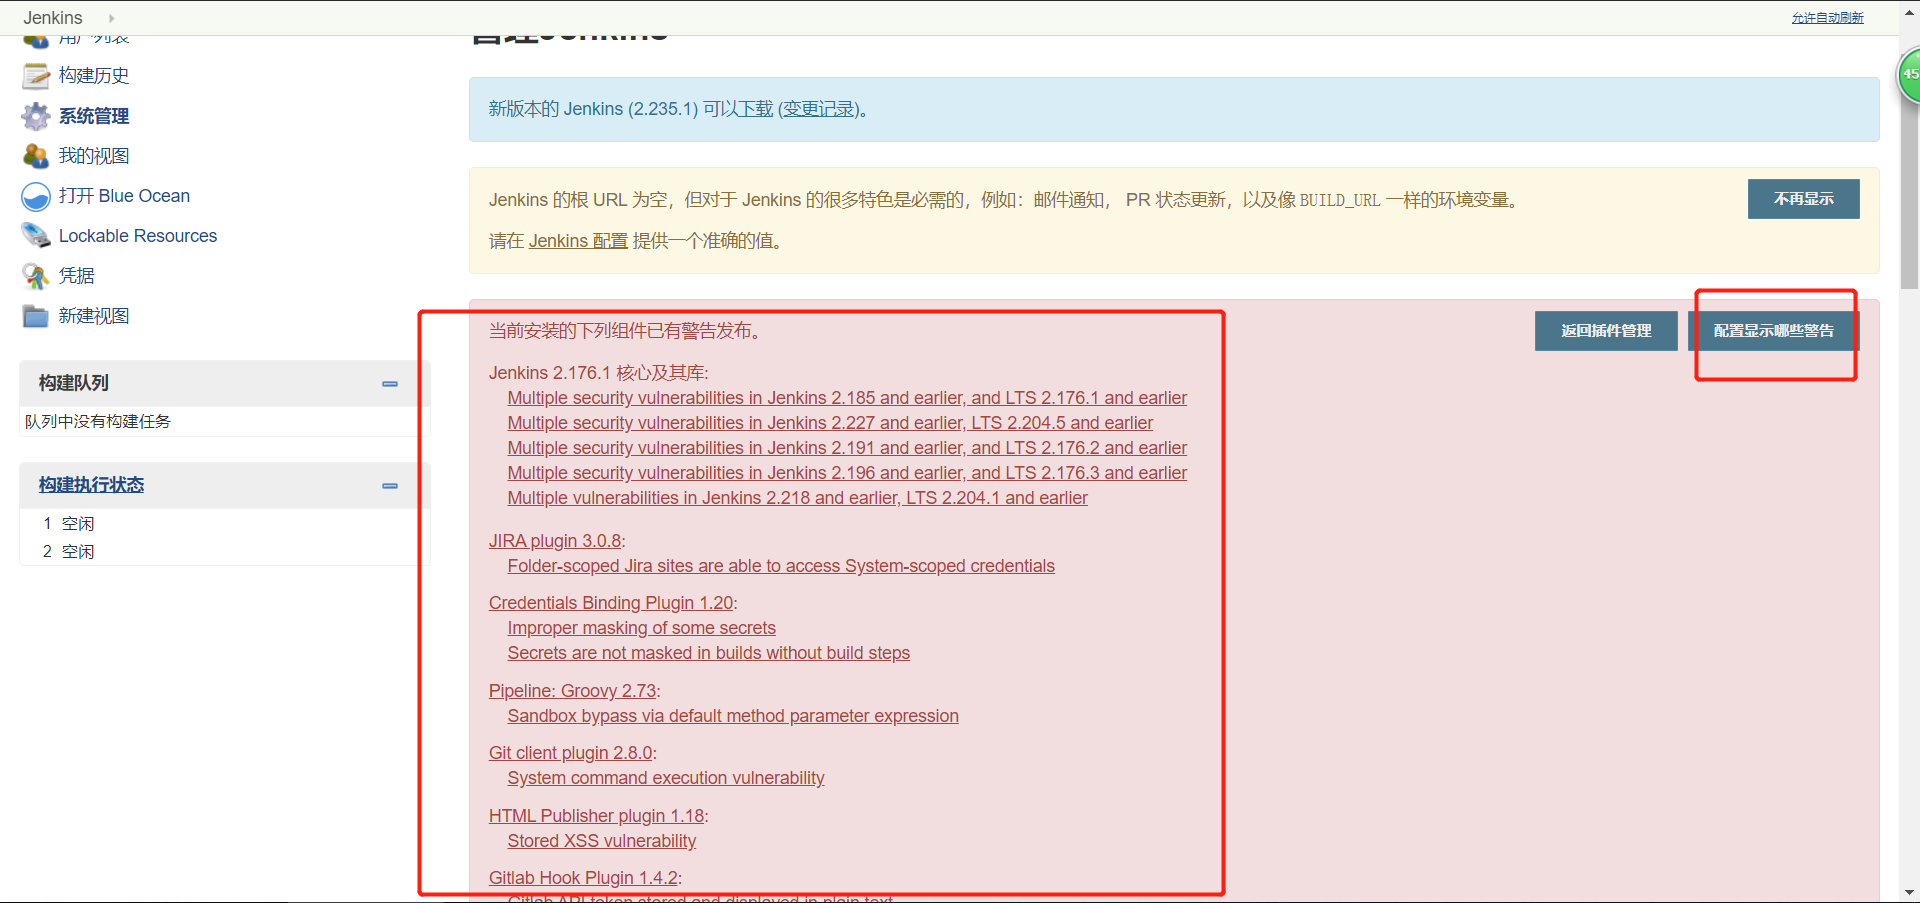
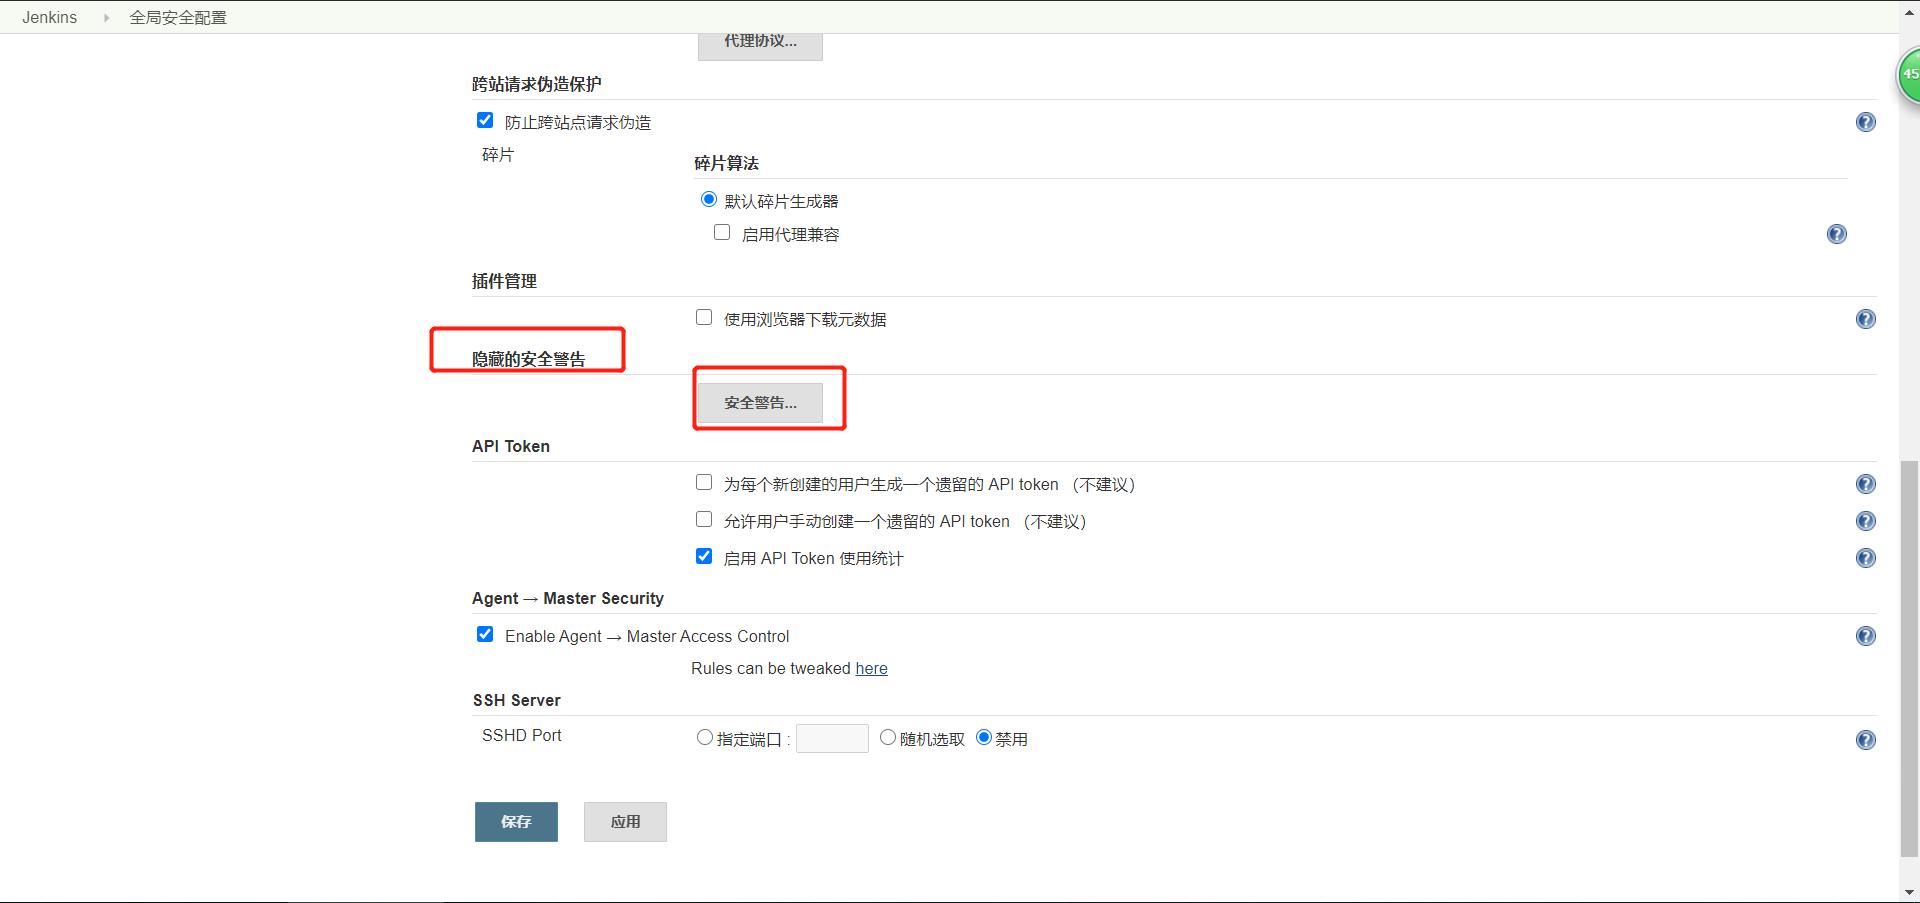
注意:不要随便升级插件,防止升级插件的同时把jenkins版本也给升级了,这样就会导致其他原版本的无法使用升级后jenkins的插件
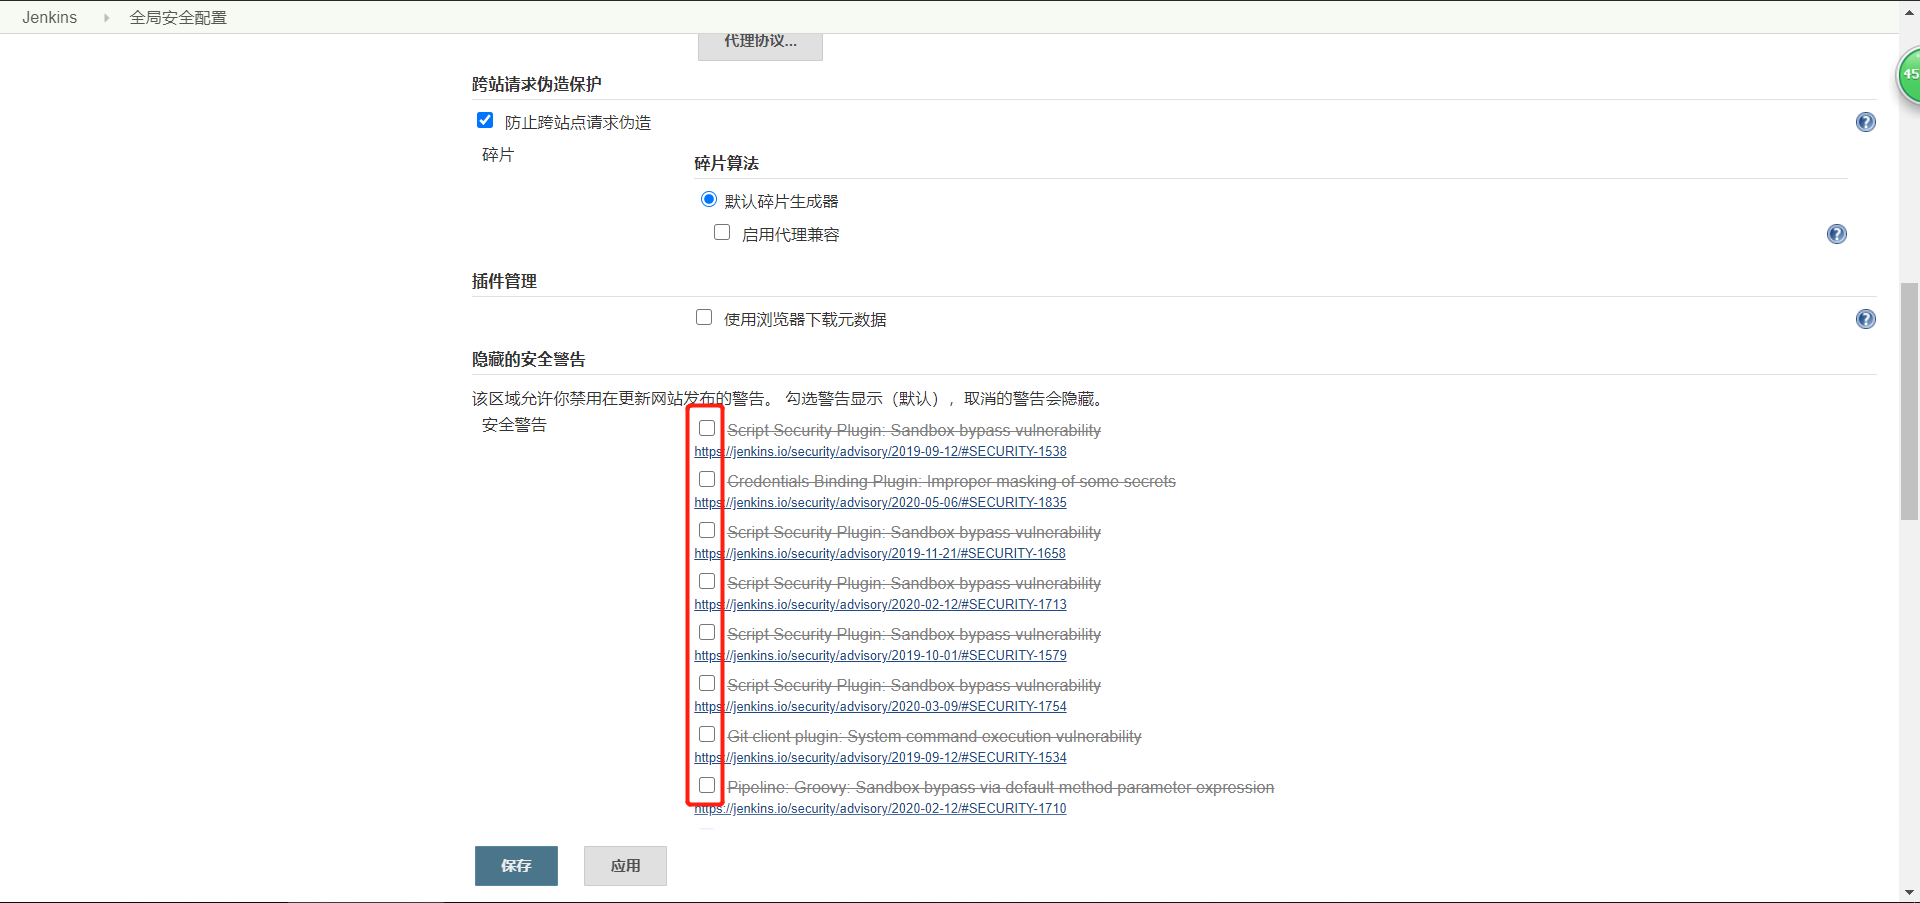
隐藏可忽略的警告

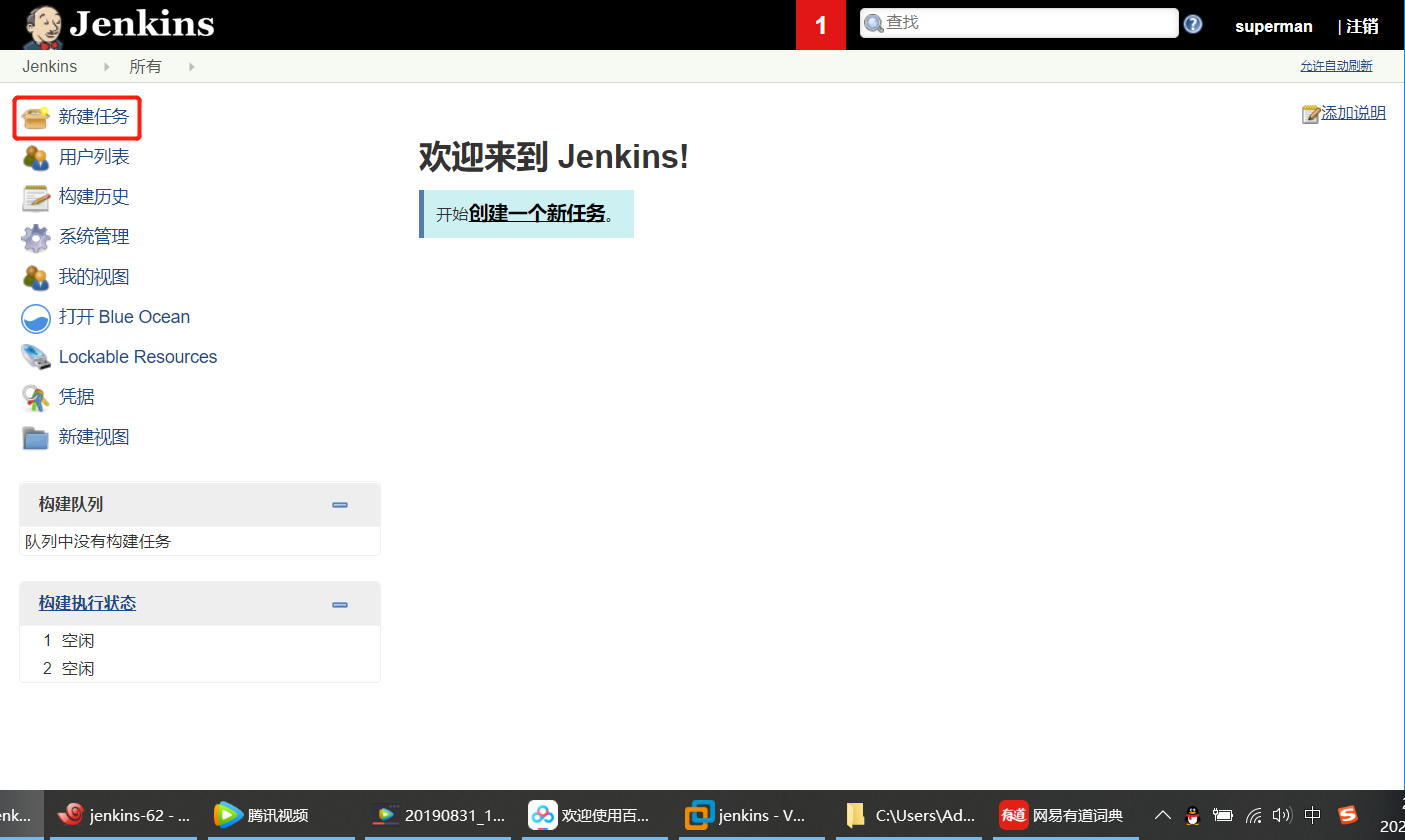
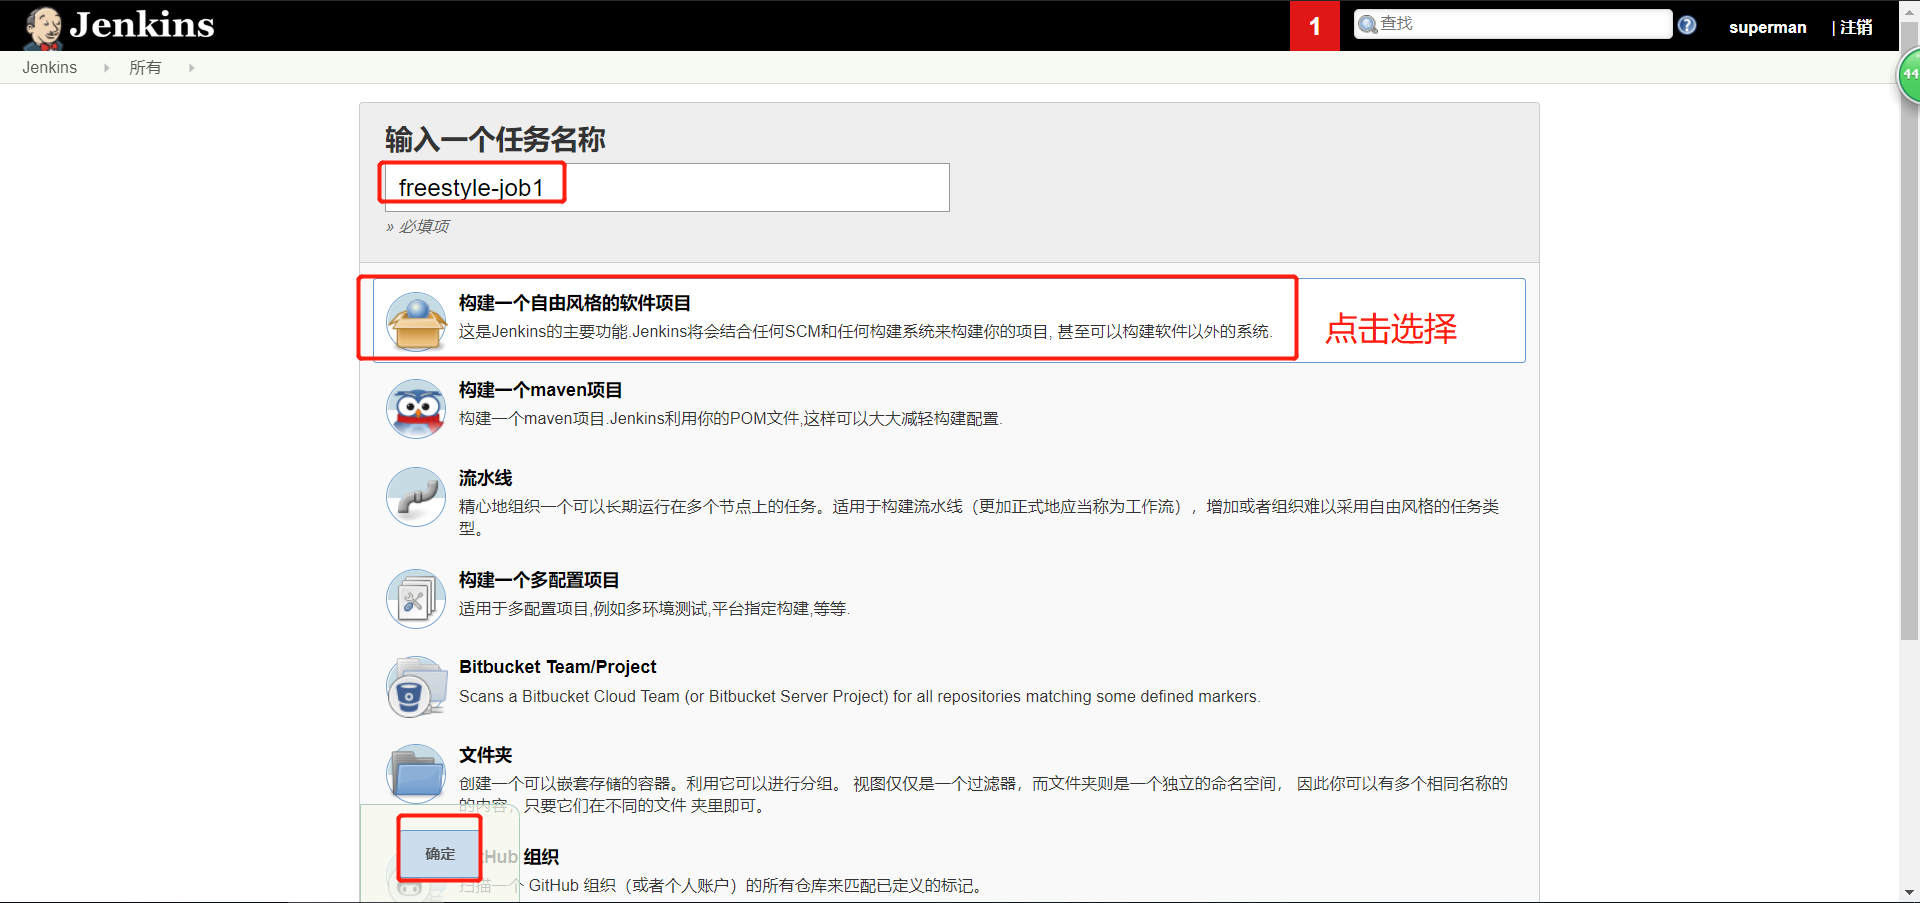
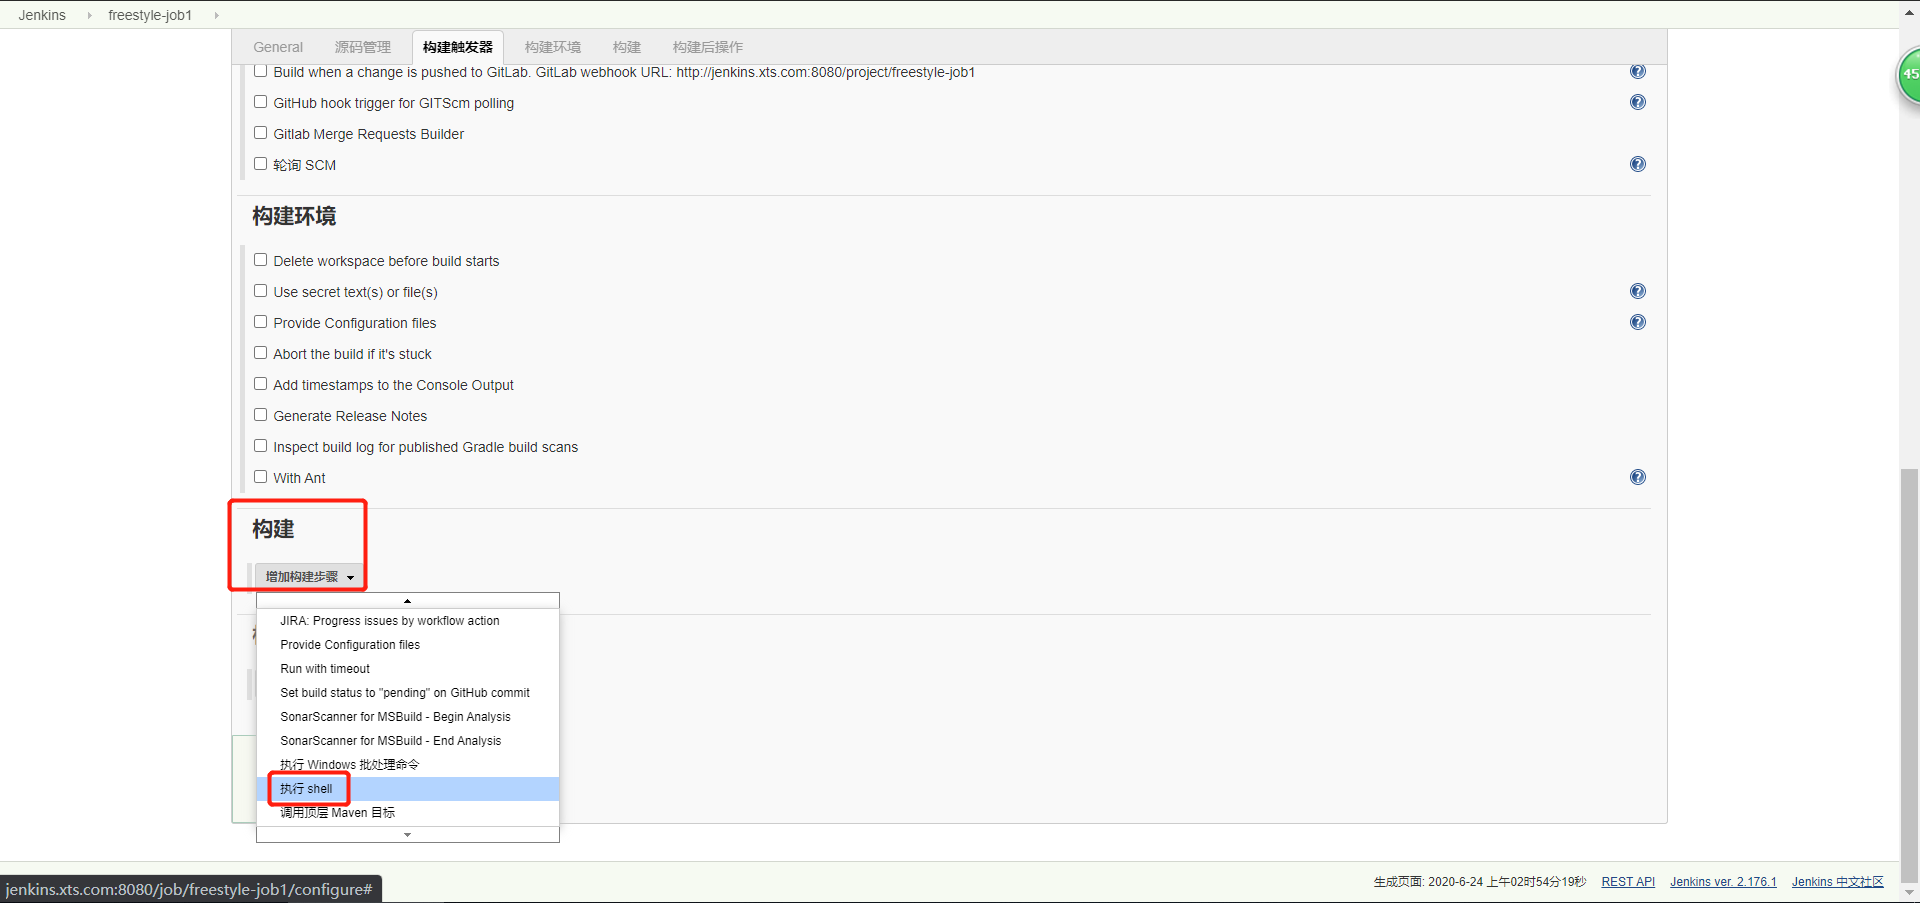
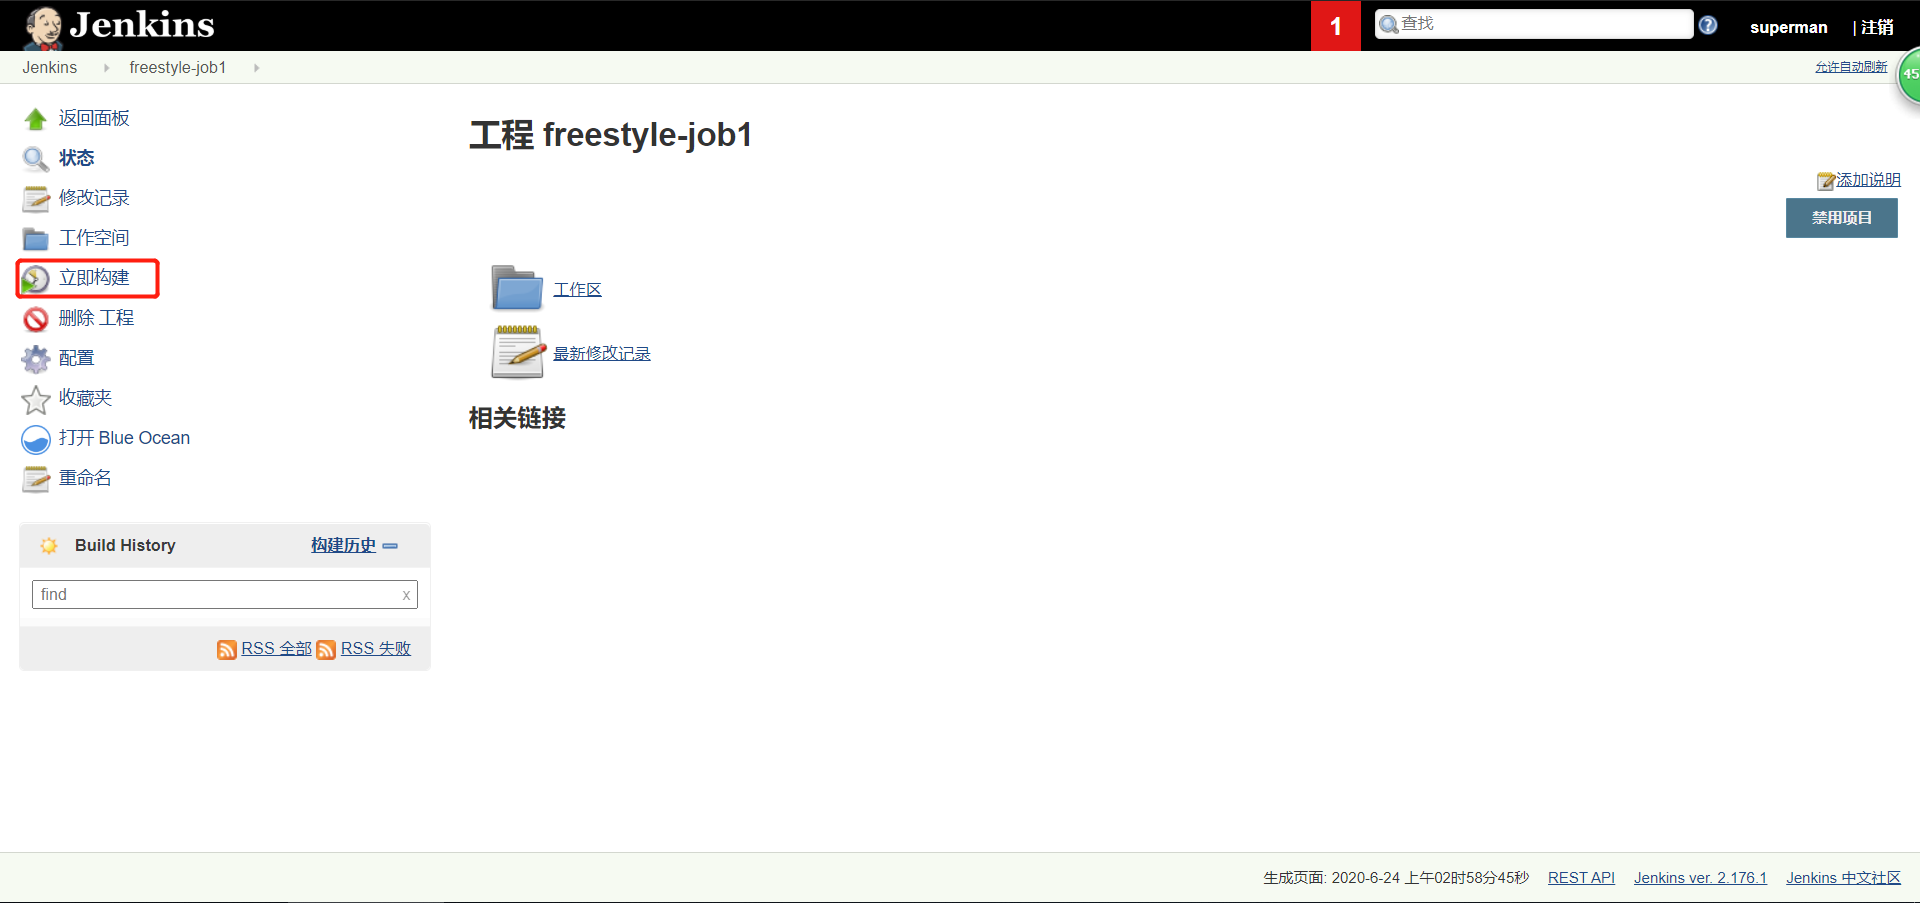
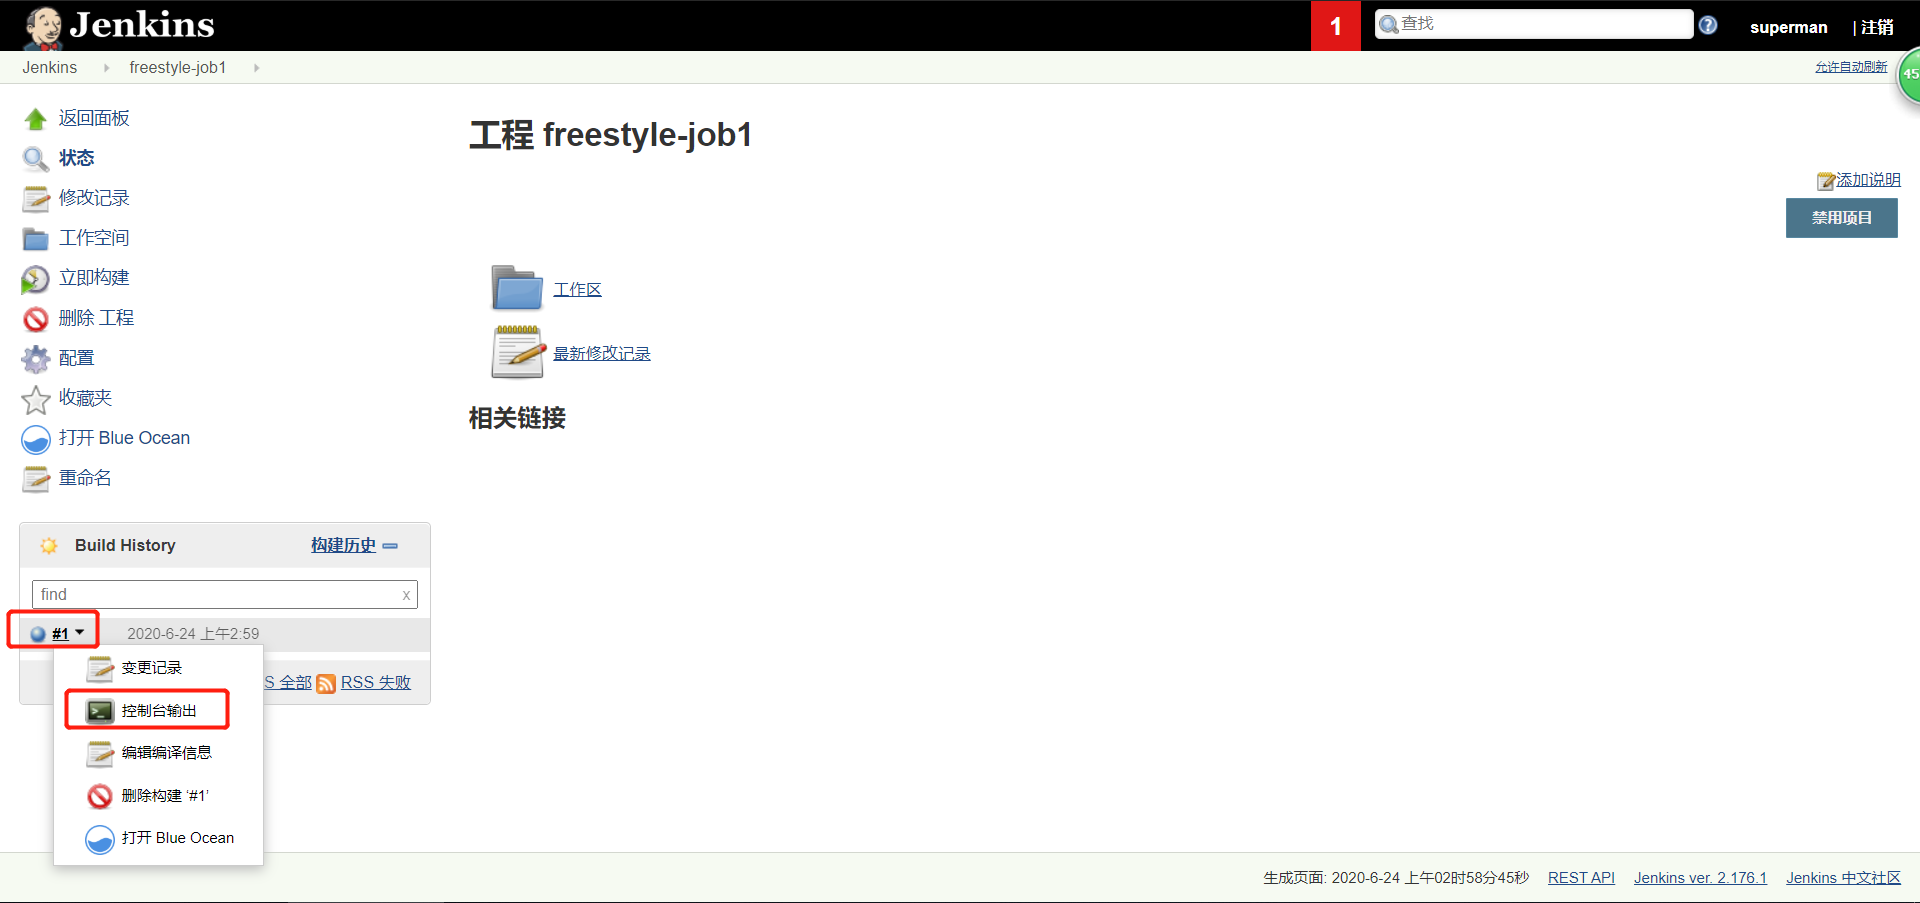
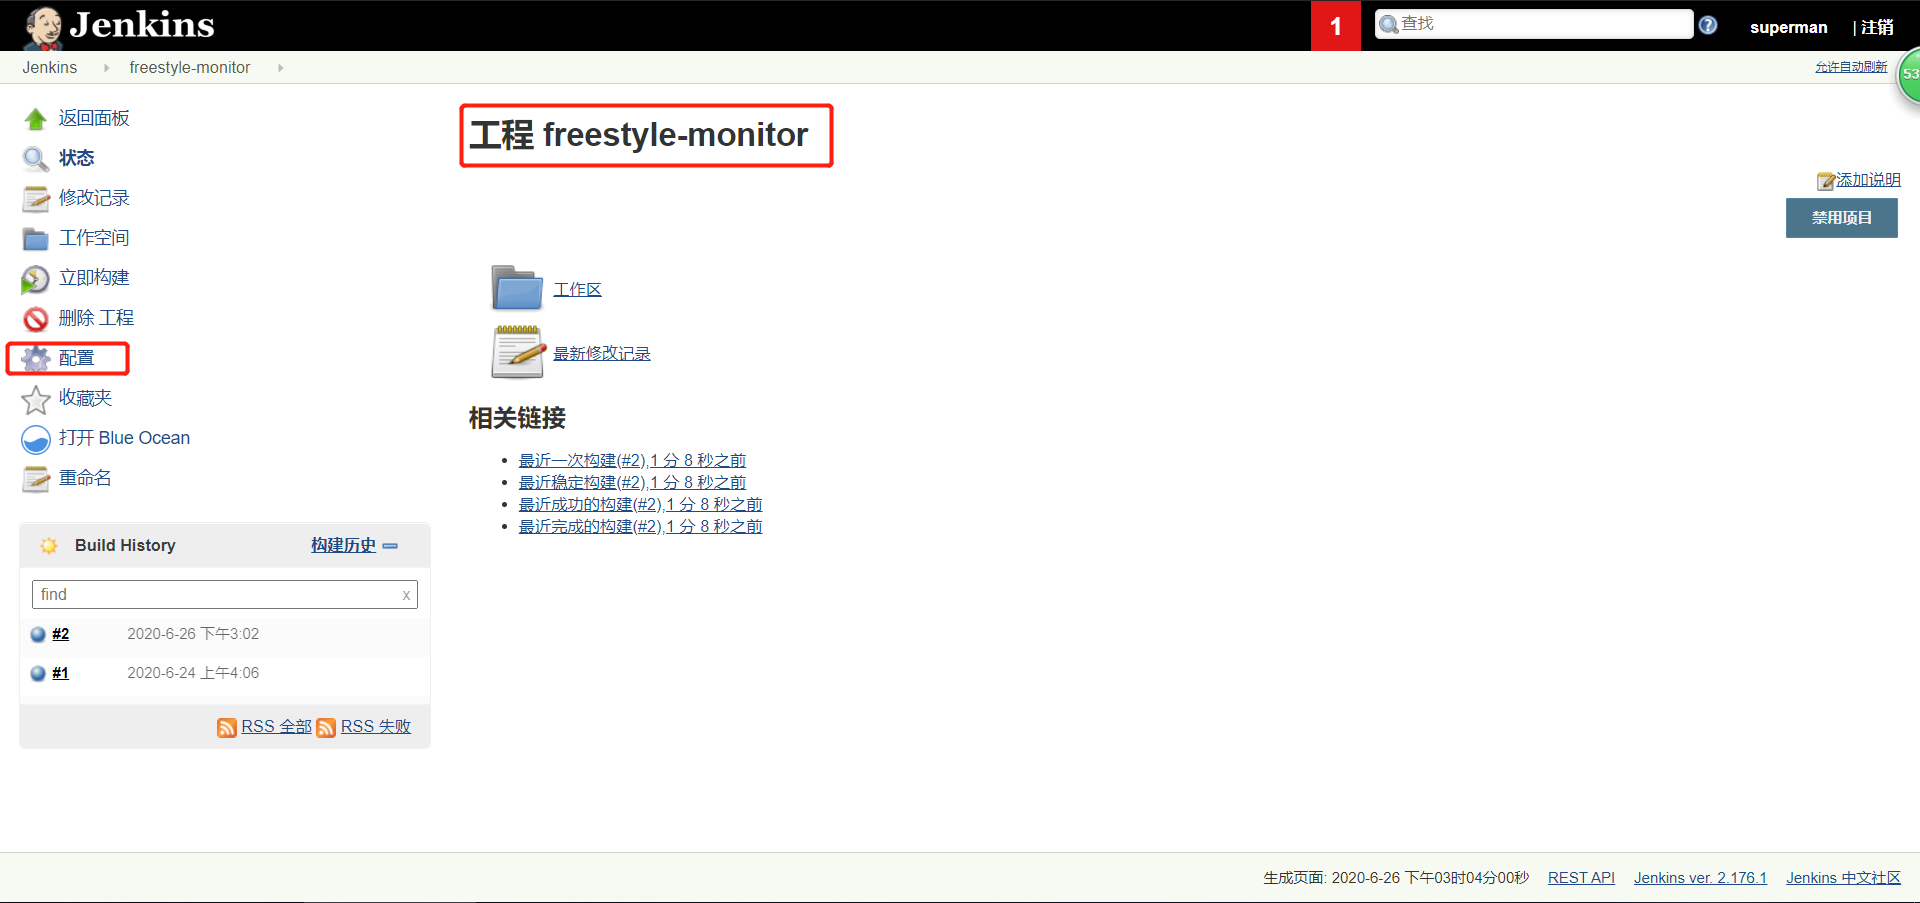
4. 创建jenkinsjob任务
4.1 实现jenkins+shell的集成
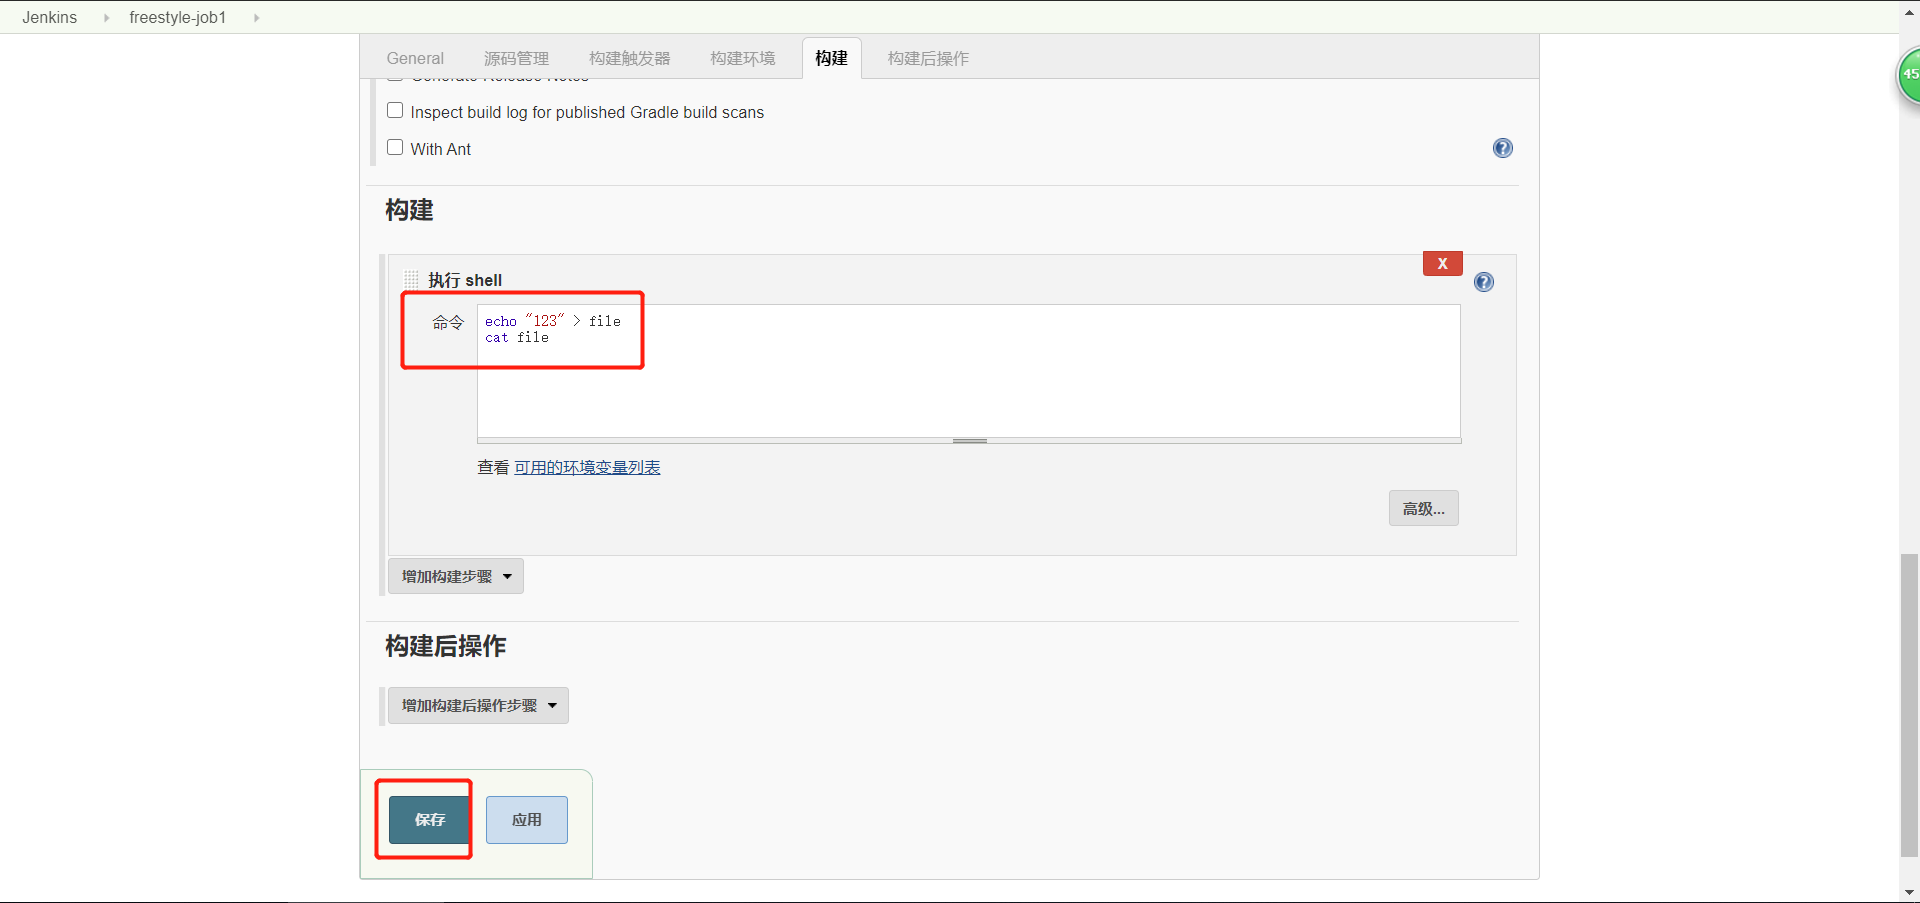
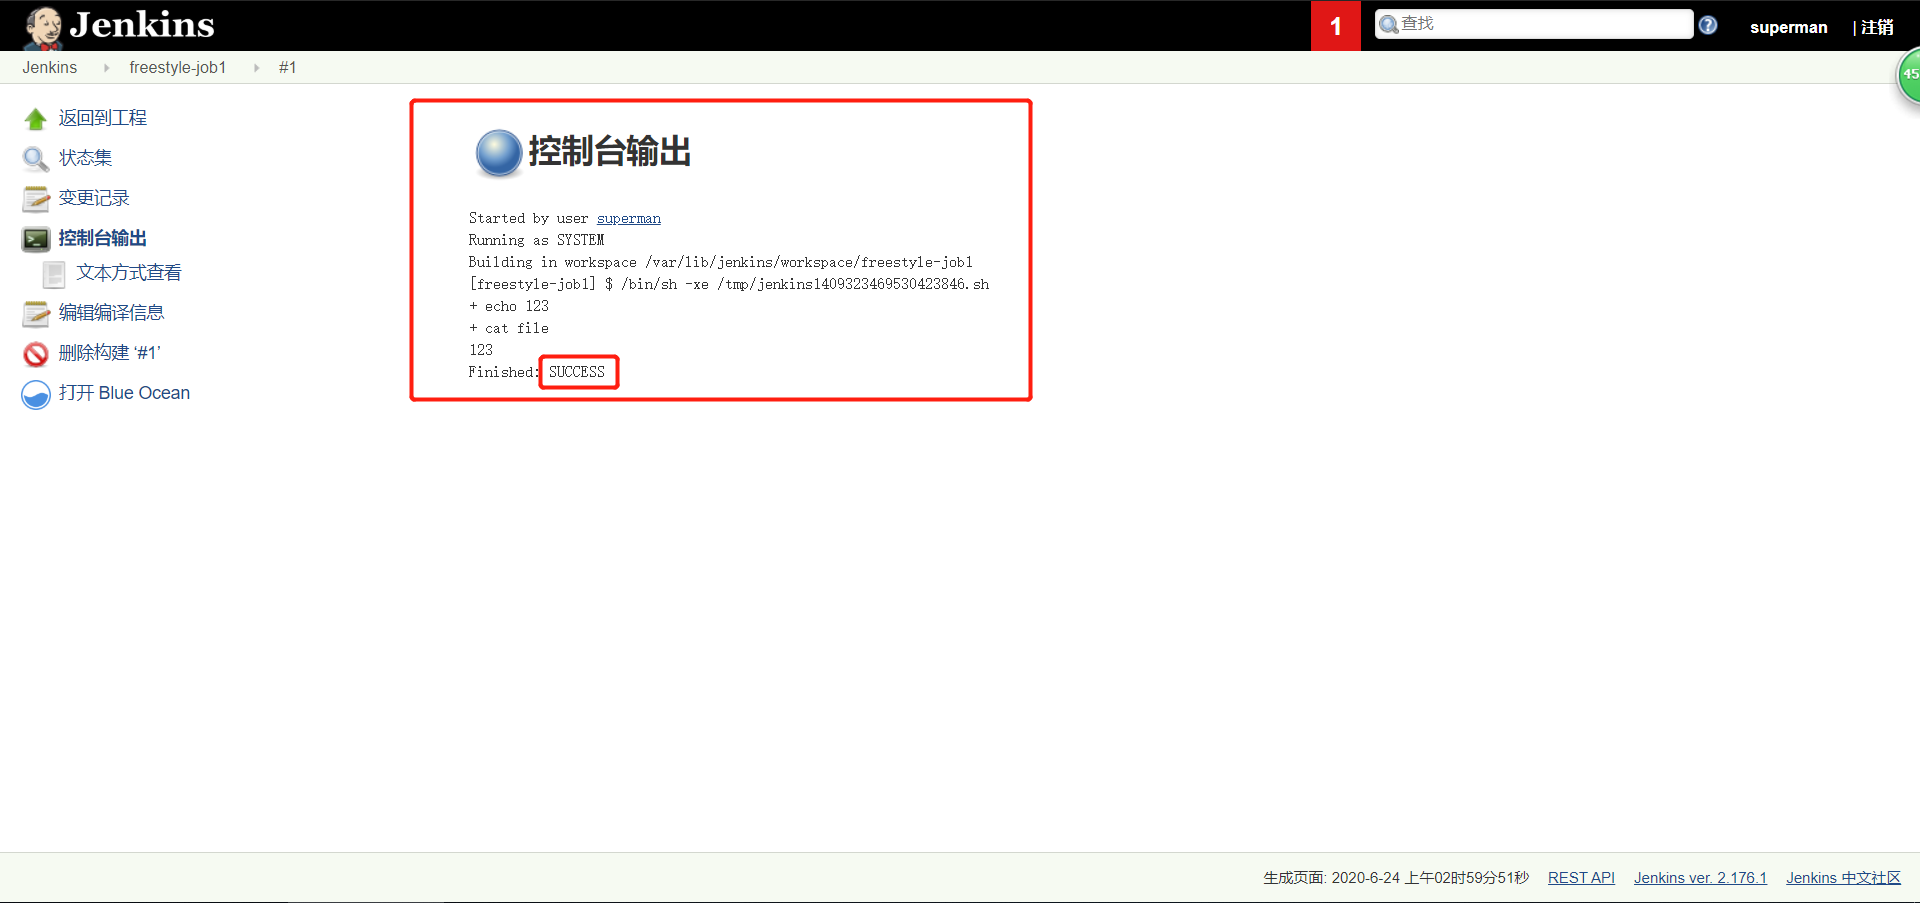

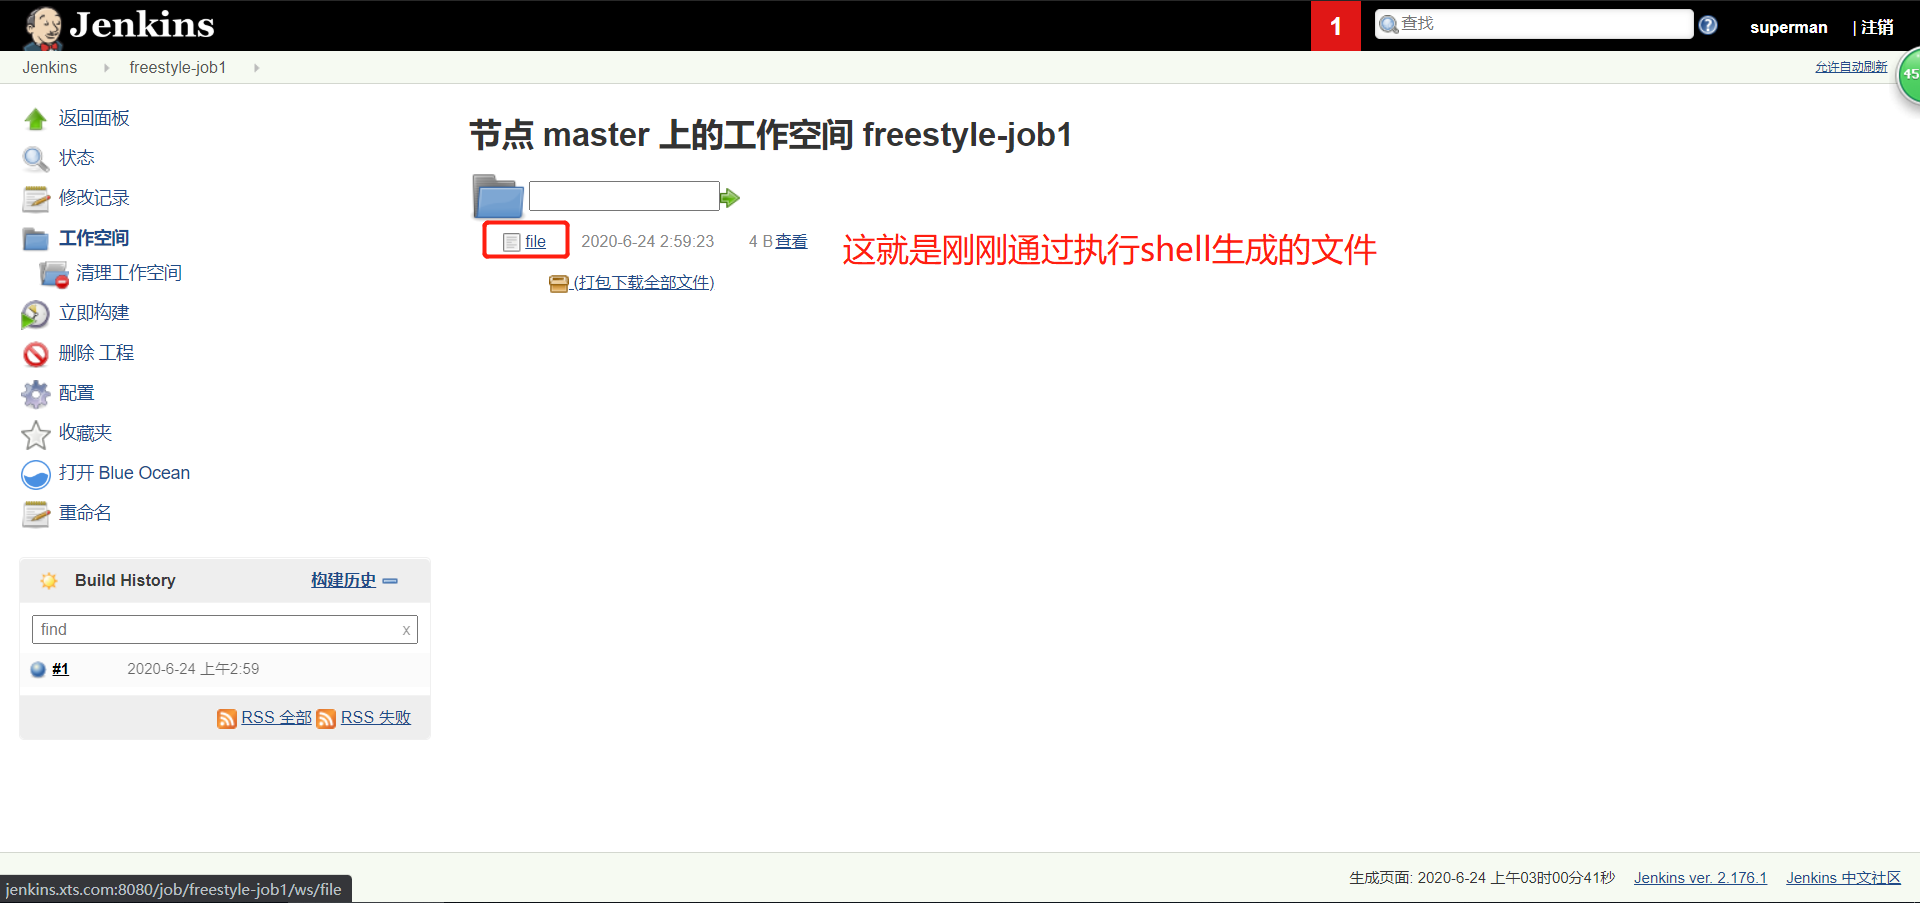
构建文件没有写绝对路径时,生成的文件所在位置

4.2 实现jenkins+gitlab的集成
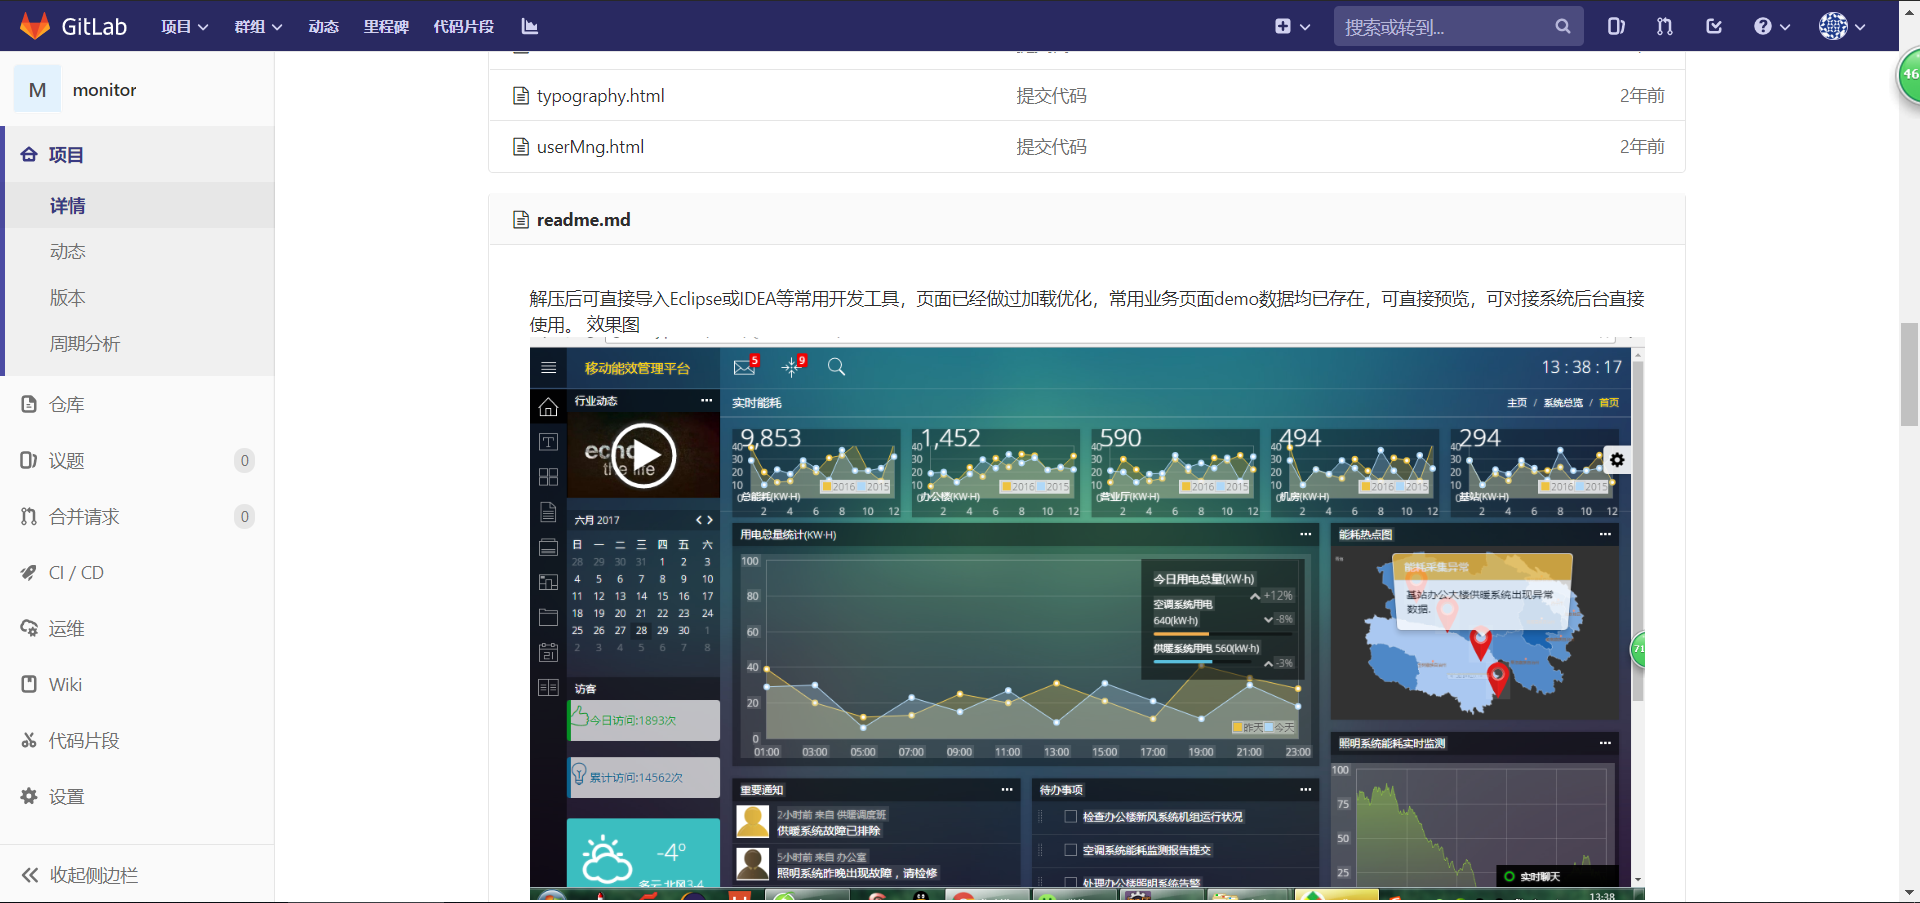
4.2.1 准备一个项目
monitor_html代码包下载点我
提取码:ohjg
[root@gitlab ~]# tar xf monitor_html.tar.gz
[root@gitlab ~]# ls
anaconda-ks.cfg  gitlab-12-0-stable-zh         gitlab-ce-12.0.3-ce.0.el7.x86_64.rpm  monitor_html.tar.gz
demo             gitlab-12-0-stable-zh.tar.gz  monitor
[root@gitlab ~]# cd monitor/
[root@gitlab ~/monitor]# ls
404.html         content-widgets.html     fonts                 index.html      media                    QHME.iml
alerts.html      css                      form-components.html  js              media.html               readme.md
assets           deviceManager.html       form-elements.html    keyInfo.html    messages.html            real-time.html
buttons.html     dianfei.html             form-examples.html    labels.html     mstp_105_SuperAdmin.iml  sa.html
calendar.html    efficiencyAnalysis.html  form-validation.html  LICENSE         mstp_map.html            tables.html
charts.html      energy_consumption.html  images-icons.html     list-view.html  other-components.html    typography.html
components.html  file-manager.html        img                   login.html      profile-page.html        userMng.html
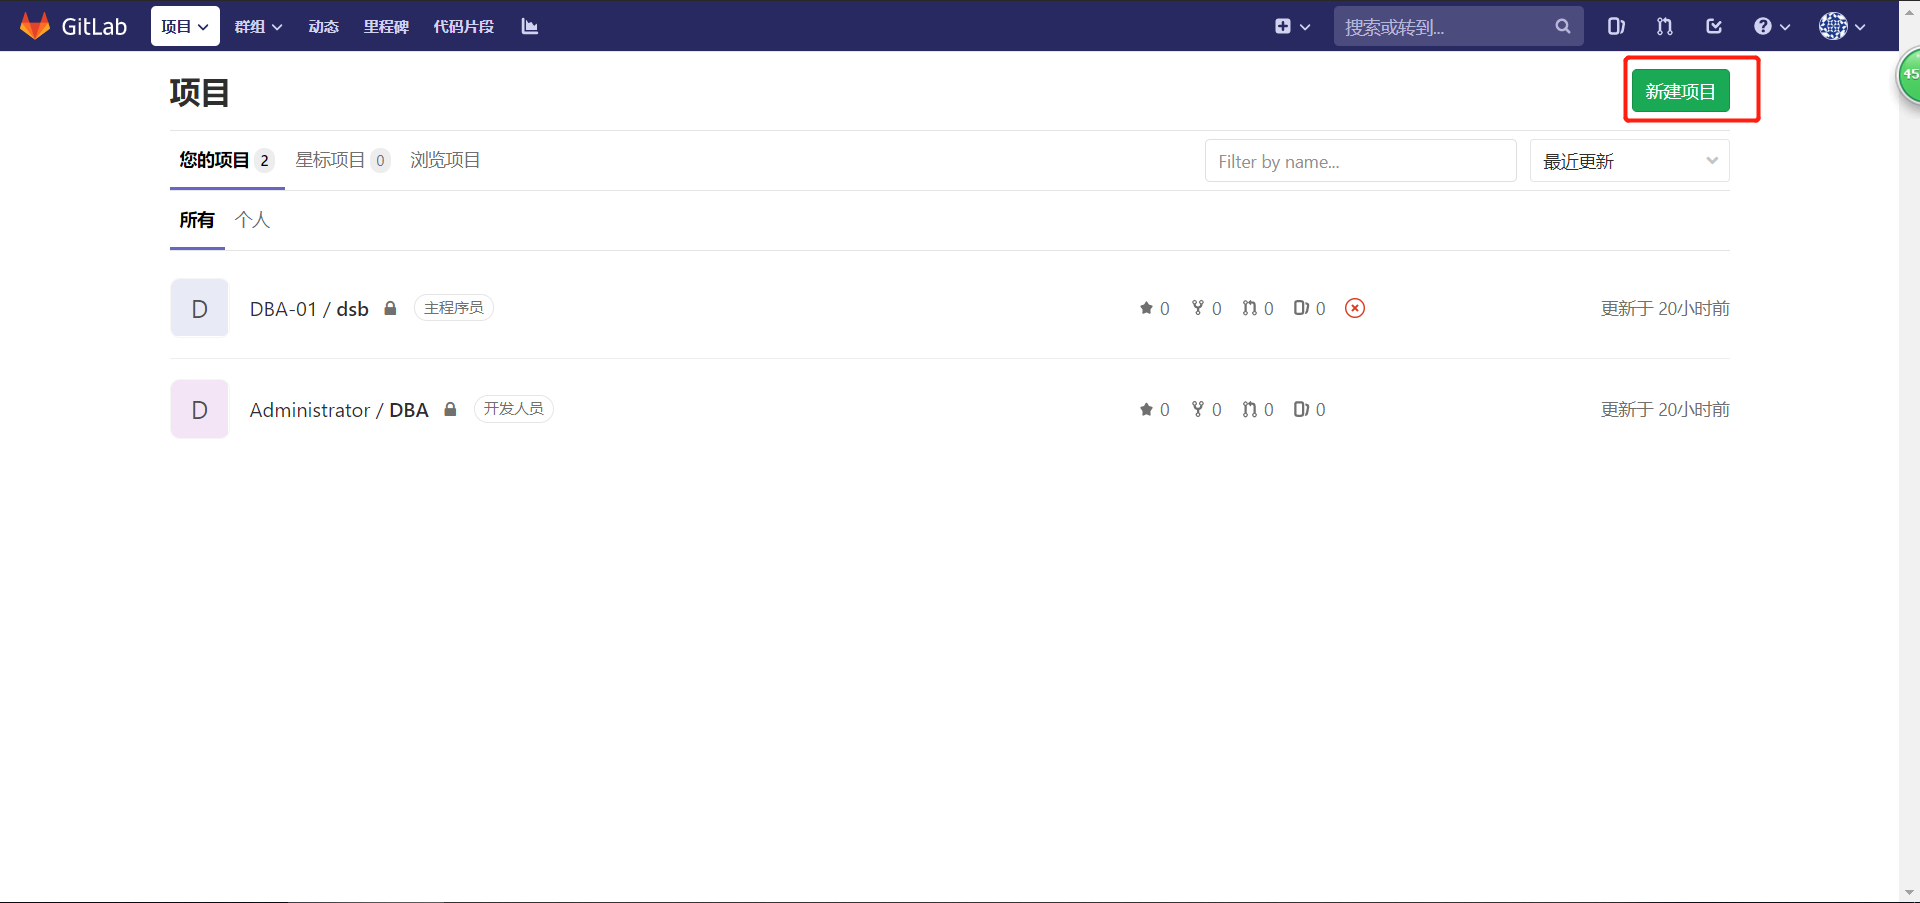
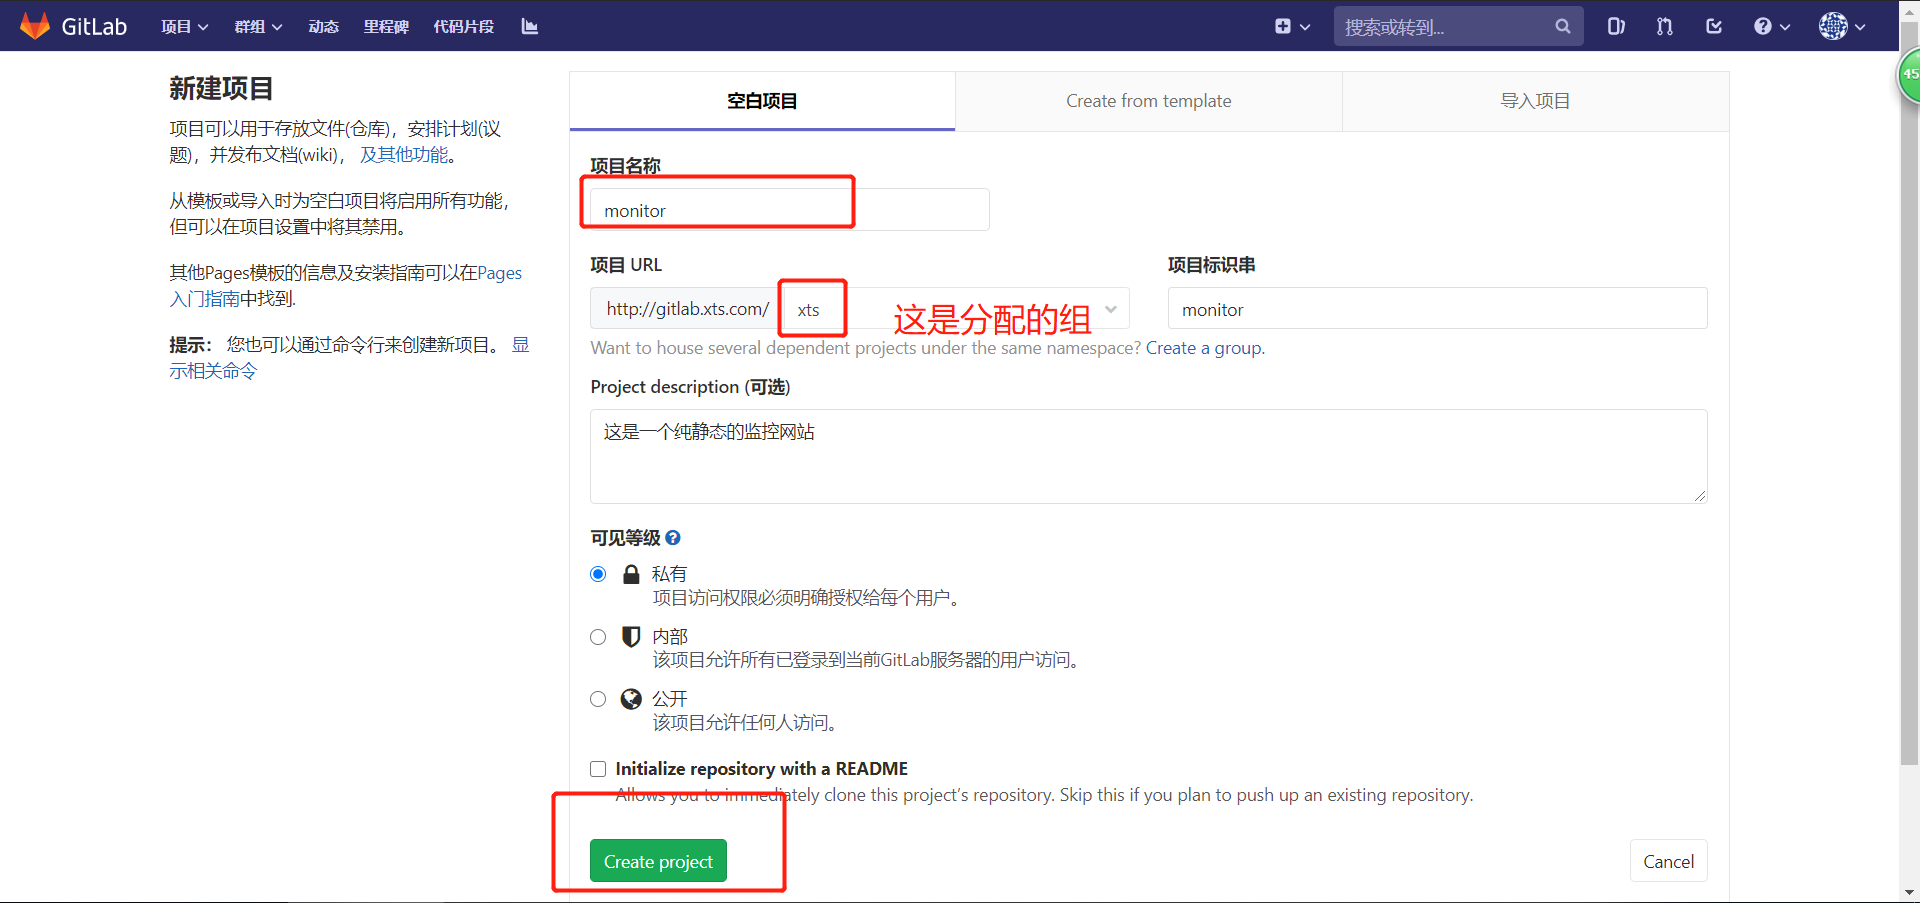
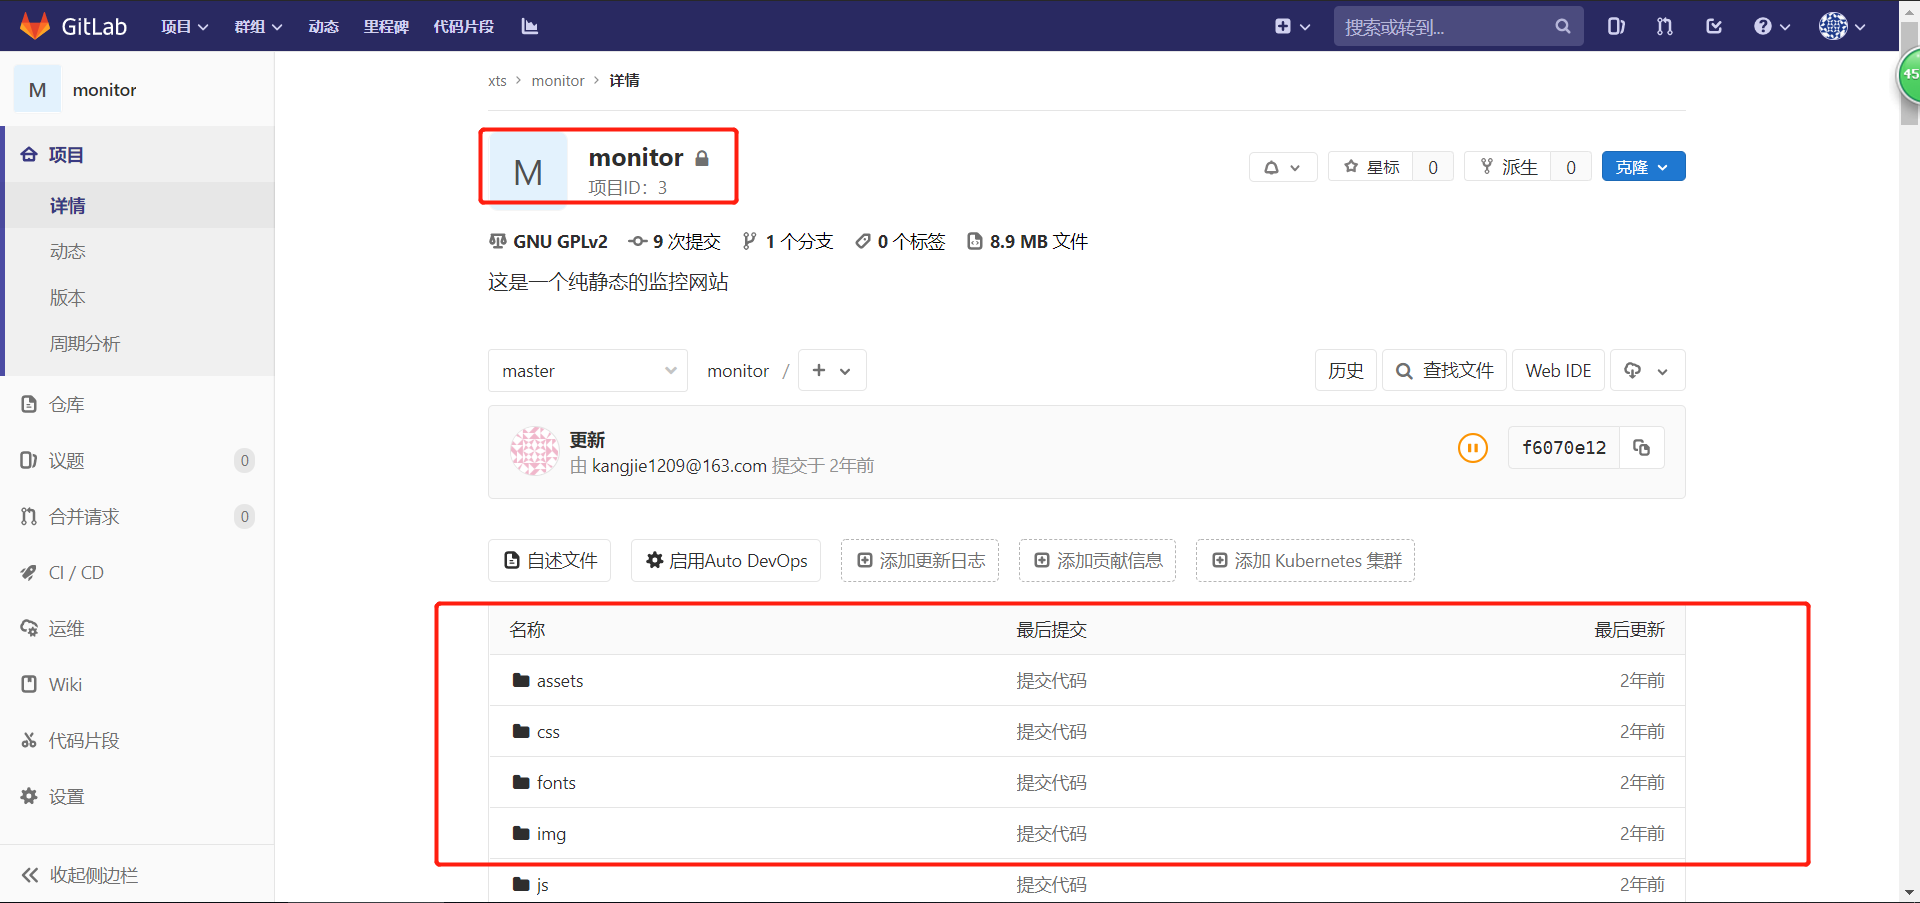
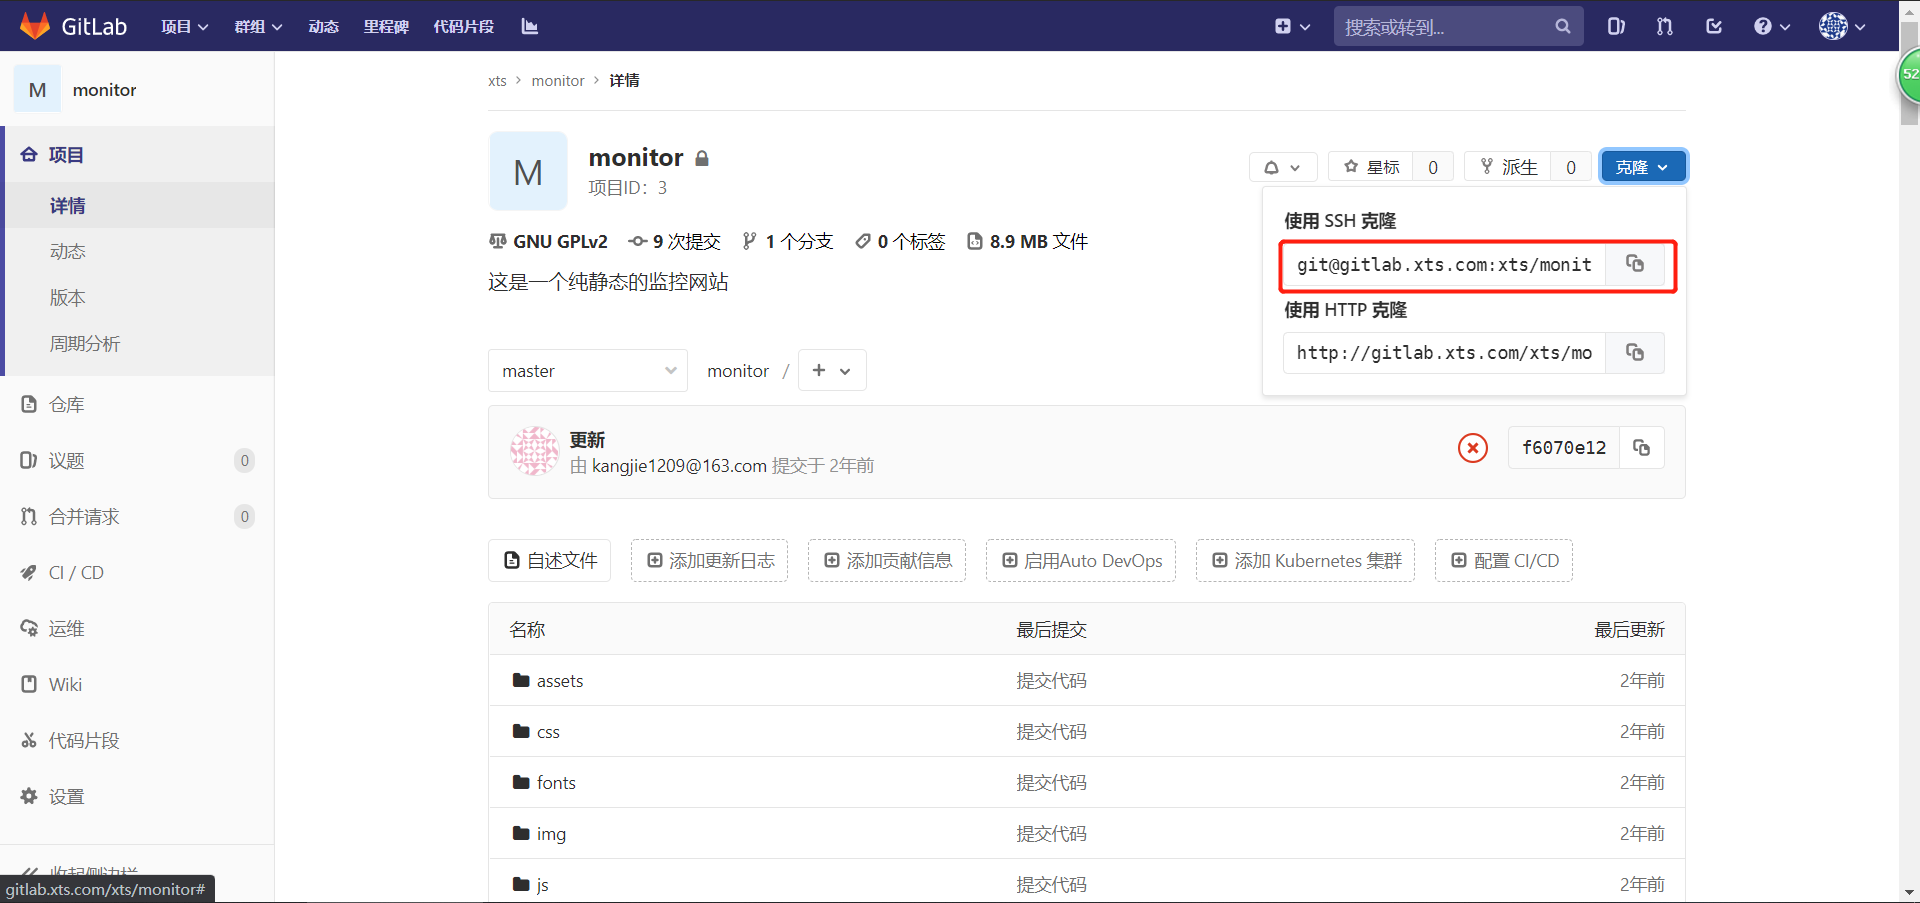
4.2.2 前往gitlab创建一个仓库
命令行操作
[root@gitlab ~/monitor]# git remote -v
origin	https://gitee.com/kangjie1209/monitor.git (fetch)
origin	https://gitee.com/kangjie1209/monitor.git (push)

# 干掉原有的远程仓库
[root@gitlab ~/monitor]#  git remote remove origin

# 添加新的远程仓库(命令在gitlab页面“推送现有文件夹”中)
[root@gitlab ~/monitor]# git remote add origin git@gitlab.xts.com:xts/monitor.git
4.2.3 本地仓库提交项目到gitlab仓库
[root@gitlab ~/monitor]# git add .
[root@gitlab ~/monitor]# git commit -m "第一次提交"
# On branch master
nothing to commit, working directory clean

[root@gitlab ~/monitor]# git push origin master
Counting objects: 435, done.
Delta compression using up to 4 threads.
Compressing objects: 100% (372/372), done.
Writing objects: 100% (435/435), 8.78 MiB | 0 bytes/s, done.
Total 435 (delta 53), reused 435 (delta 53)
remote: Resolving deltas: 100% (53/53), done.
To git@gitlab.xts.com:xts/monitor.git
 * [new branch]      master -> master
浏览器刷新查看结果
4.2.4 配置jenkins job连接到gitlab
(1)jenkins安装插件(gitlab plugins)


5. 搭建一套小的集群,实现手动代码上线
5.1 服务器配置
| 主机名 | IP | 说明 |
|---|---|---|
| lb01 | 192.168.1.91 | 负载均衡 |
| web01 | 192.168.1.92 | 后端节点 |
| web02 | 192.168.1.93 | 后端节点 |
5.2 搭建过程
5.2.1 准备web集群环境
# lb01、web01、web02都安装nginx
yum -y install nginx

# 配置负载(lb01)
[root@lb01 ~]# vim /etc/nginx/conf.d/proxy_html.xts.com.conf
[root@lb01 ~]# cat /etc/nginx/conf.d/proxy_html.xts.com.conf
upstream html {
        server 192.168.1.92:80;
	server 192.168.1.93:80;
}

server {
	listen 80;
        server_name html.xts.com;
	location / {
		proxy_pass http://html;
		proxy_set_header Host $http_host;
  }
}
[root@lb01 ~]# nginx -t
nginx: the configuration file /etc/nginx/nginx.conf syntax is ok
nginx: configuration file /etc/nginx/nginx.conf test is successful

[root@lb01 ~]# systemctl restart nginx
[root@lb01 ~]# systemctl enable nginx

# 配置后端web节点
## web01
[root@web01 ~]# vim /etc/nginx/conf.d/html.xts.com.conf
[root@web01 ~]# cat /etc/nginx/conf.d/html.xts.com.conf
server {
	listen 80;
        server_name html.xts.com;
	root /code/web;

	location / {
		index index.html;
  }
}
[root@web01 ~]# nginx -t
nginx: the configuration file /etc/nginx/nginx.conf syntax is ok
nginx: configuration file /etc/nginx/nginx.conf test is successful
[root@web01 ~]# systemctl restart nginx
[root@web01 ~]# systemctl enable nginx

## web02
[root@web02 ~]# vim /etc/nginx/conf.d/html.xts.com.conf
[root@web02 ~]# cat /etc/nginx/conf.d/html.xts.com.conf
server {
	listen 80;
        server_name html.xts.com;
	root /code/web;

	location / {
		index index.html;
  }
}
[root@web02 ~]# systemctl restart nginx
[root@web02 ~]# systemctl enable nginx

# 创建站点目录
[root@web01 ~]# mkdir /code/web -p
[root@web01 ~]# echo web01 > /code/web/index.html
[root@web02 ~]# mkdir -p /code/web
[root@web02 ~]# echo web02 > /code/web/index.html
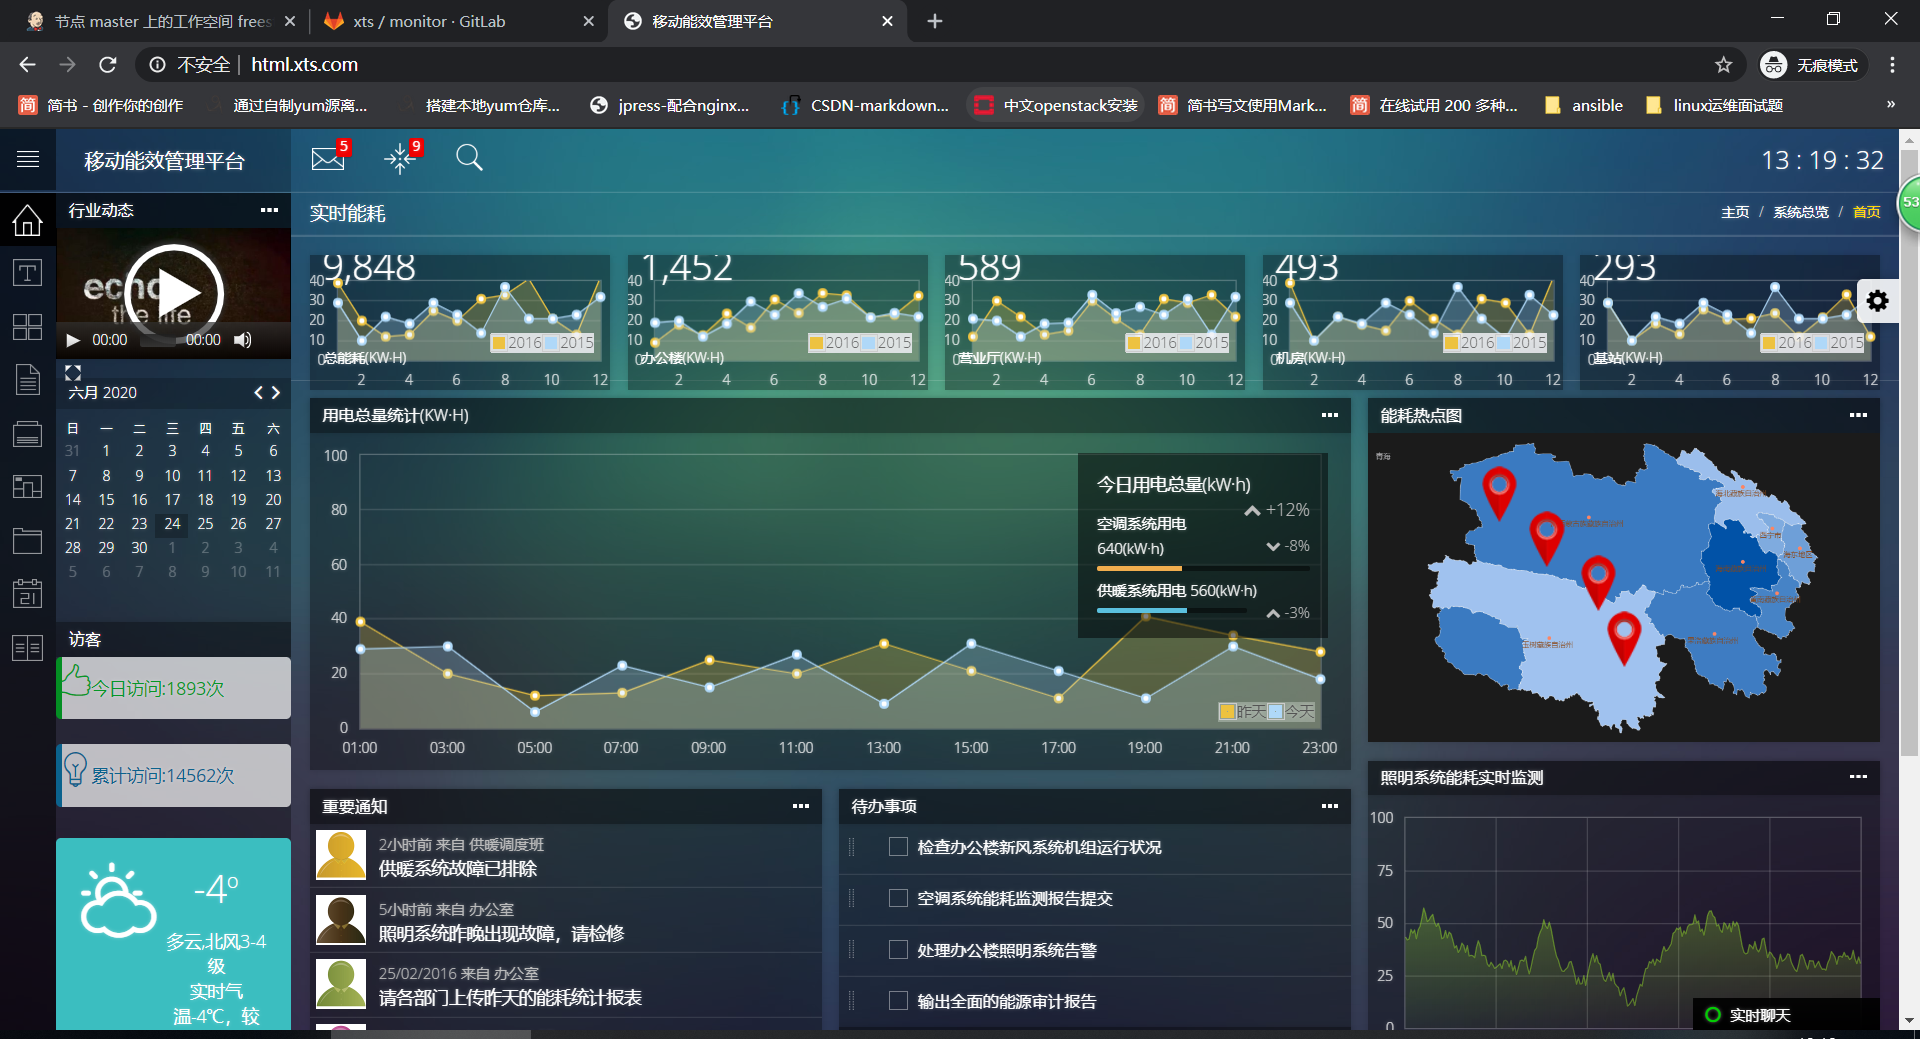
5.3 浏览器访问
# hosts解析配置
192.168.1.91 html.xts.com

5.4 克隆代码
[root@jenkins /tmp]# git clone git@gitlab.xts.com:xts/monitor.git
Cloning into 'monitor'...
The authenticity of host 'gitlab.xts.com (192.168.1.51)' can't be established.
ECDSA key fingerprint is SHA256:TTu0eIxmefjYUd12/DCcn8irm/rmOBQP/U31gIKhbDo.
ECDSA key fingerprint is MD5:a0:f0:7a:09:ef:b7:e8:4b:0f:3c:c8:6e:cb:6c:a4:7e.
Are you sure you want to continue connecting (yes/no)? yes
Warning: Permanently added 'gitlab.xts.com,192.168.1.51' (ECDSA) to the list of known hosts.
remote: Enumerating objects: 435, done.
remote: Counting objects: 100% (435/435), done.
remote: Compressing objects: 100% (372/372), done.
remote: Total 435 (delta 53), reused 435 (delta 53)
Receiving objects: 100% (435/435), 8.78 MiB | 0 bytes/s, done.
Resolving deltas: 100% (53/53), done.
[root@jenkins /tmp]# ls
monitor

# 把代码传输到两个web节点
## 这里注意:jenkins和两台web需要打通免密
[root@jenkins /tmp]# for i in 192.168.1.92 192.168.1.93;do scp -rp monitor/* ${i}:/code/web/;done
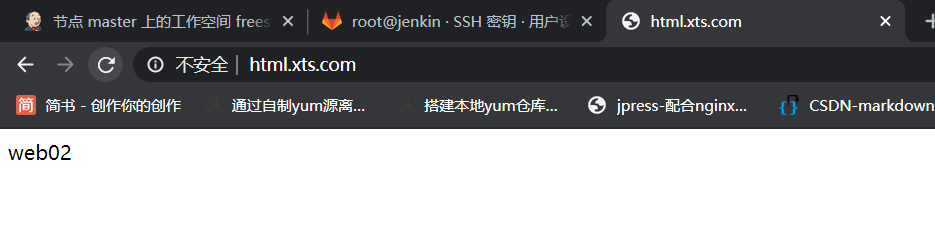
5.5 浏览器访问
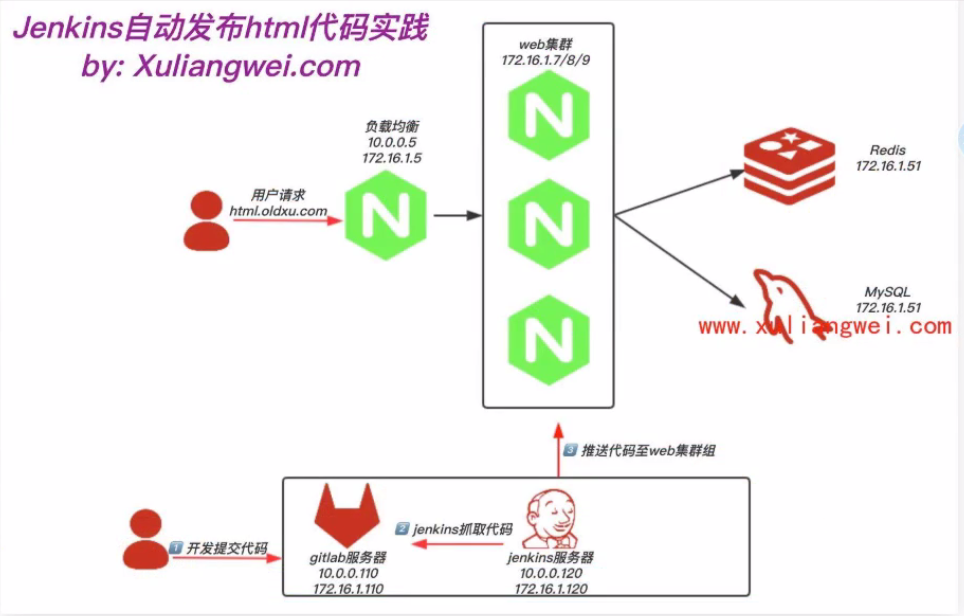
6. jenkins实现代码自动上线
6.1 实现思路
# 脚本
(1)进入对应的仓库目录
(2)打包
(3)scp推送
6.2 实现步骤
6.2.1 编写脚本
[root@jenkins /scripts]# cat html_deploy.sh
#!/bin/bash

Date=$(date +%F-%H:%M)
web_server="192.168.1.92 192.168.1.93"
code_tar(){
         cd /var/lib/jenkins/workspace/freestyle-monitor
	 tar czf /opt/web-${Date}.tar.gz ./*
}

scp_web(){
	 for host in $web_server
  	 do
	   scp -rp /opt/web-${Date}.tar.gz ${host}:/code
           ssh ${host} "mkdir -p /code/web-${Date} && \
           tar xf /code/web-${Date}.tar.gz -C /code/web-${Date} && \
	   rm -f /code/web-${Date}.tar.gz && \
           rm -rf /code/web && \
           ln -s /code/web-${Date} /code/web"
	 done
}
deploy(){
	 code_tar
	 scp_web
}

deploy

[root@jenkins /scripts]# chmod +x html_deploy.sh

# 打通免密
[root@jenkins /scripts]# ssh-copy-id -i /root/.ssh/id_rsa.pub root@192.168.1.92
[root@jenkins /scripts]# ssh-copy-id -i /root/.ssh/id_rsa.pub root@192.168.1.93

# 手动执行脚本,然后检查执行结果
[root@jenkins /scripts]# sh html_deploy.sh
web-2020-06-26-14:59.tar.gz                                                                 100% 4545KB  28.3MB/s   00:00
web-2020-06-26-14:59.tar.gz                                                                 100% 4545KB  43.8MB/s   00:00

# web检查执行结果
[root@web01 /code]# ls
web  web-2020-06-26-14:59
[root@web02 /code]# ls
web  web-2020-06-26-14:59
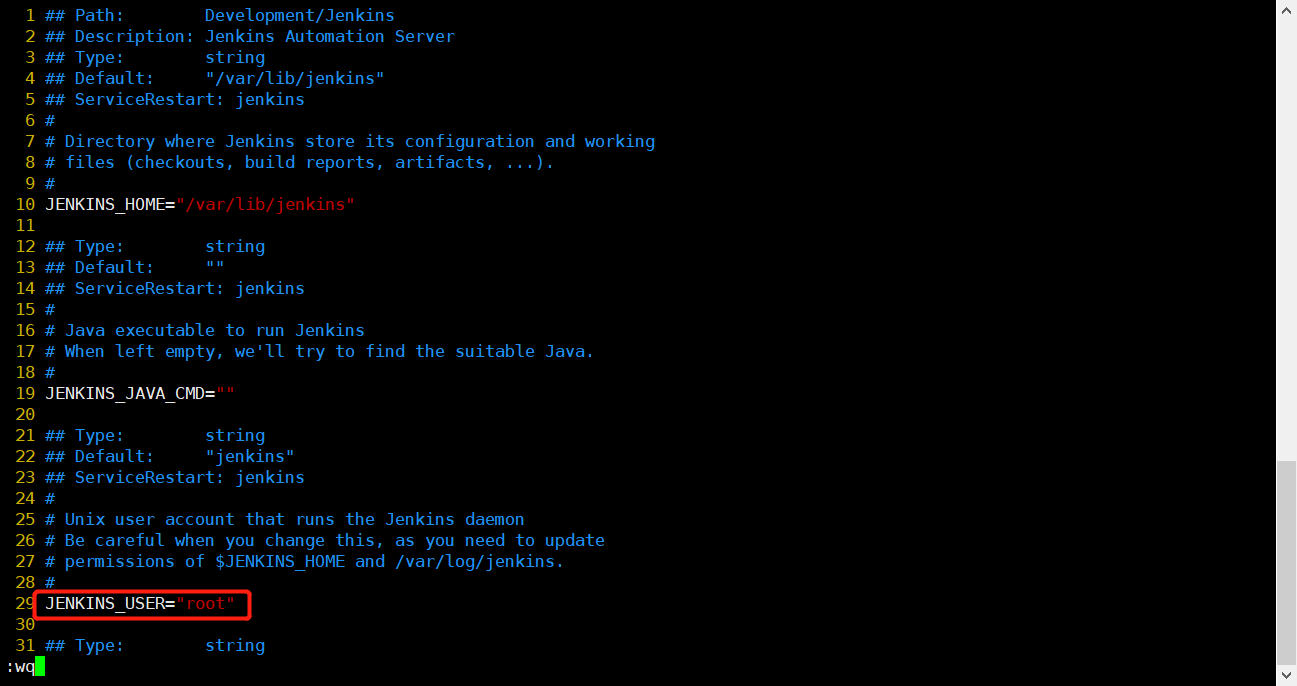
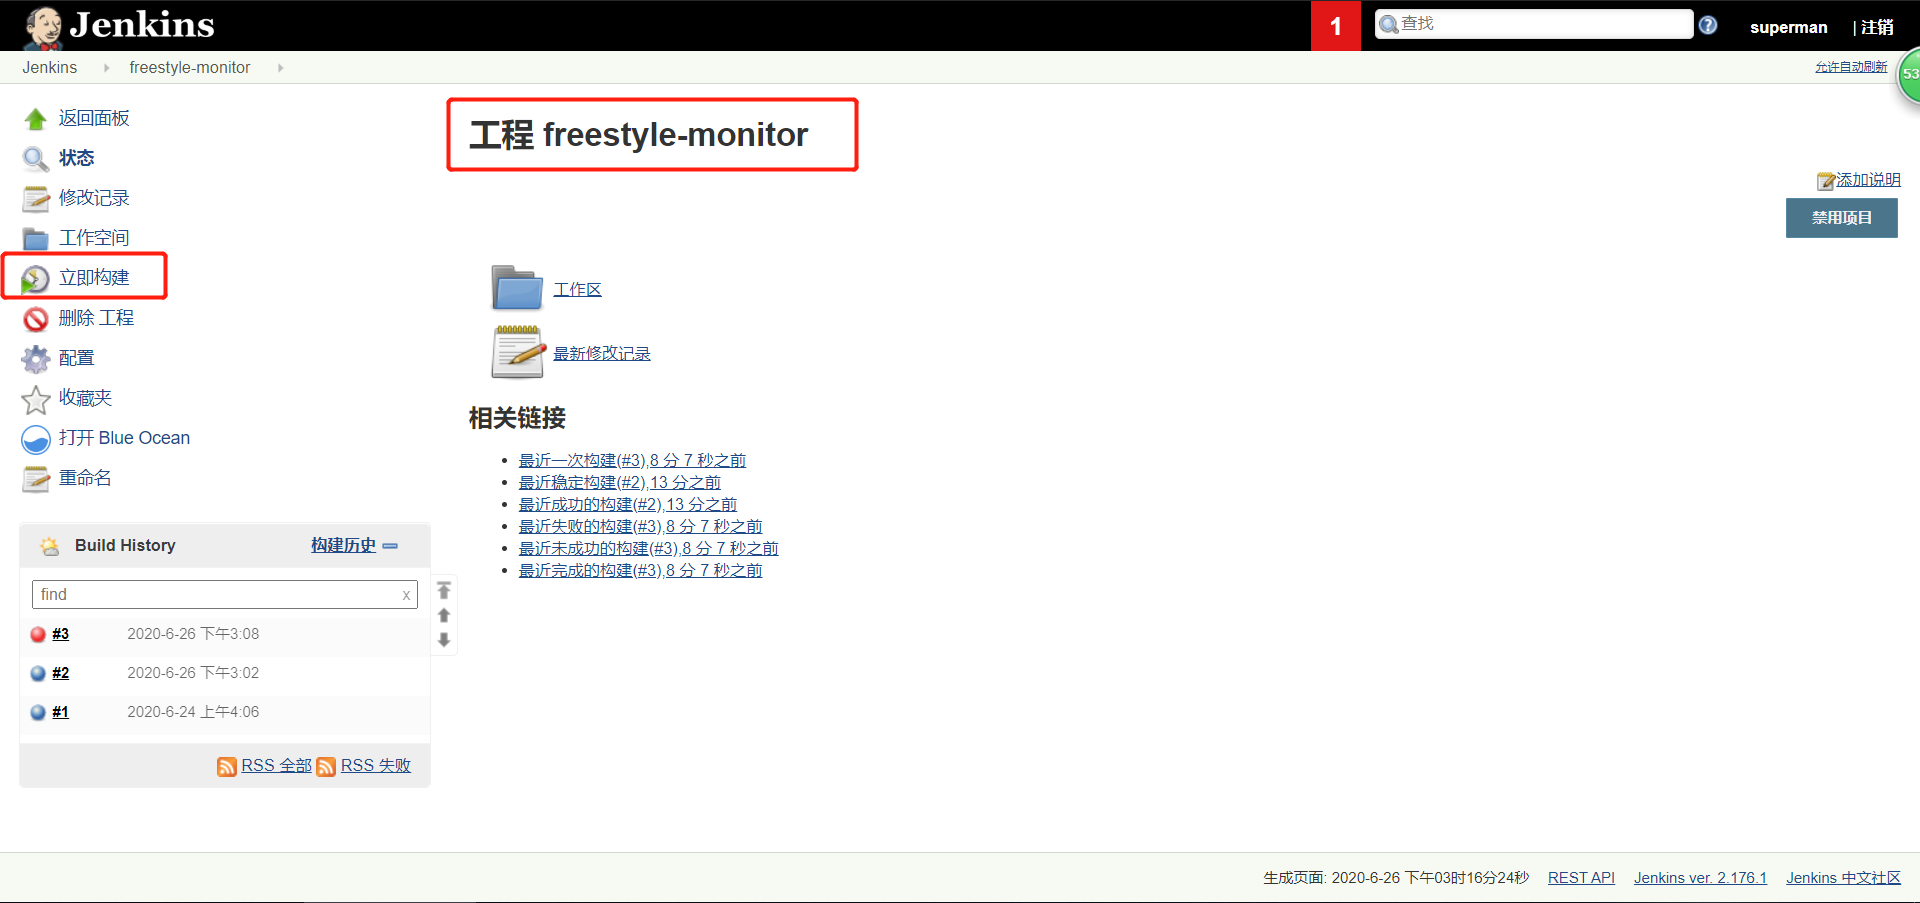
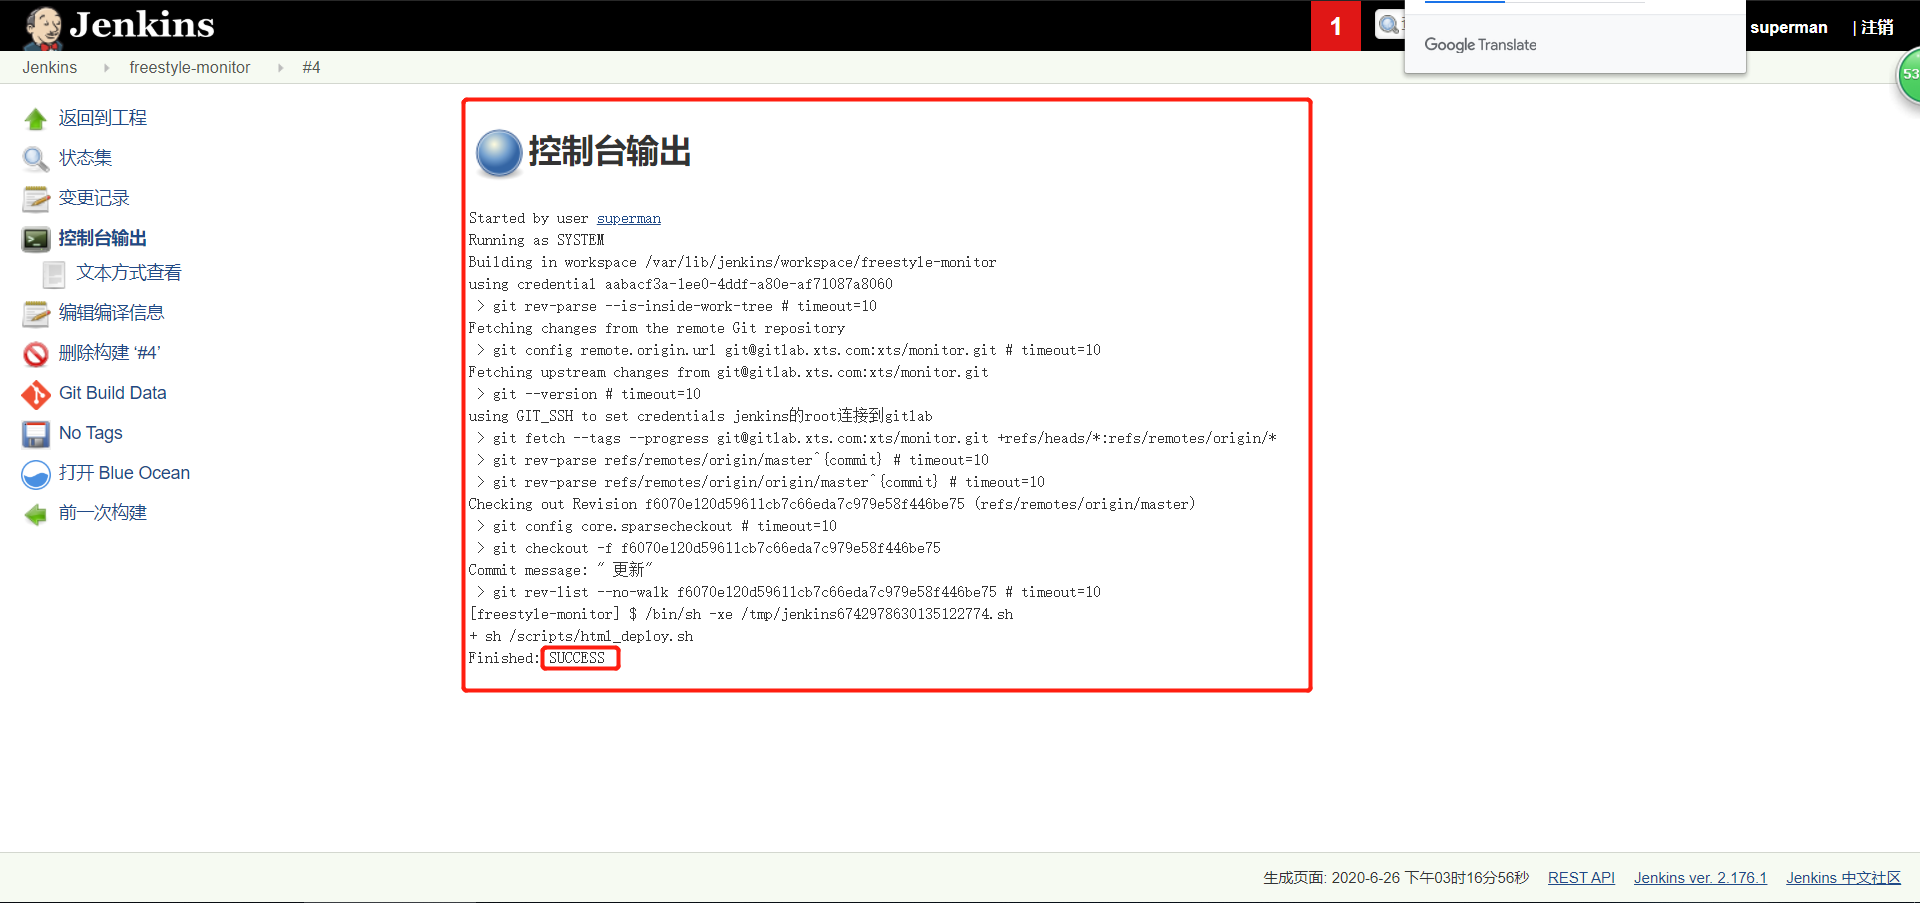
6.2.2 整合脚本到jenkins

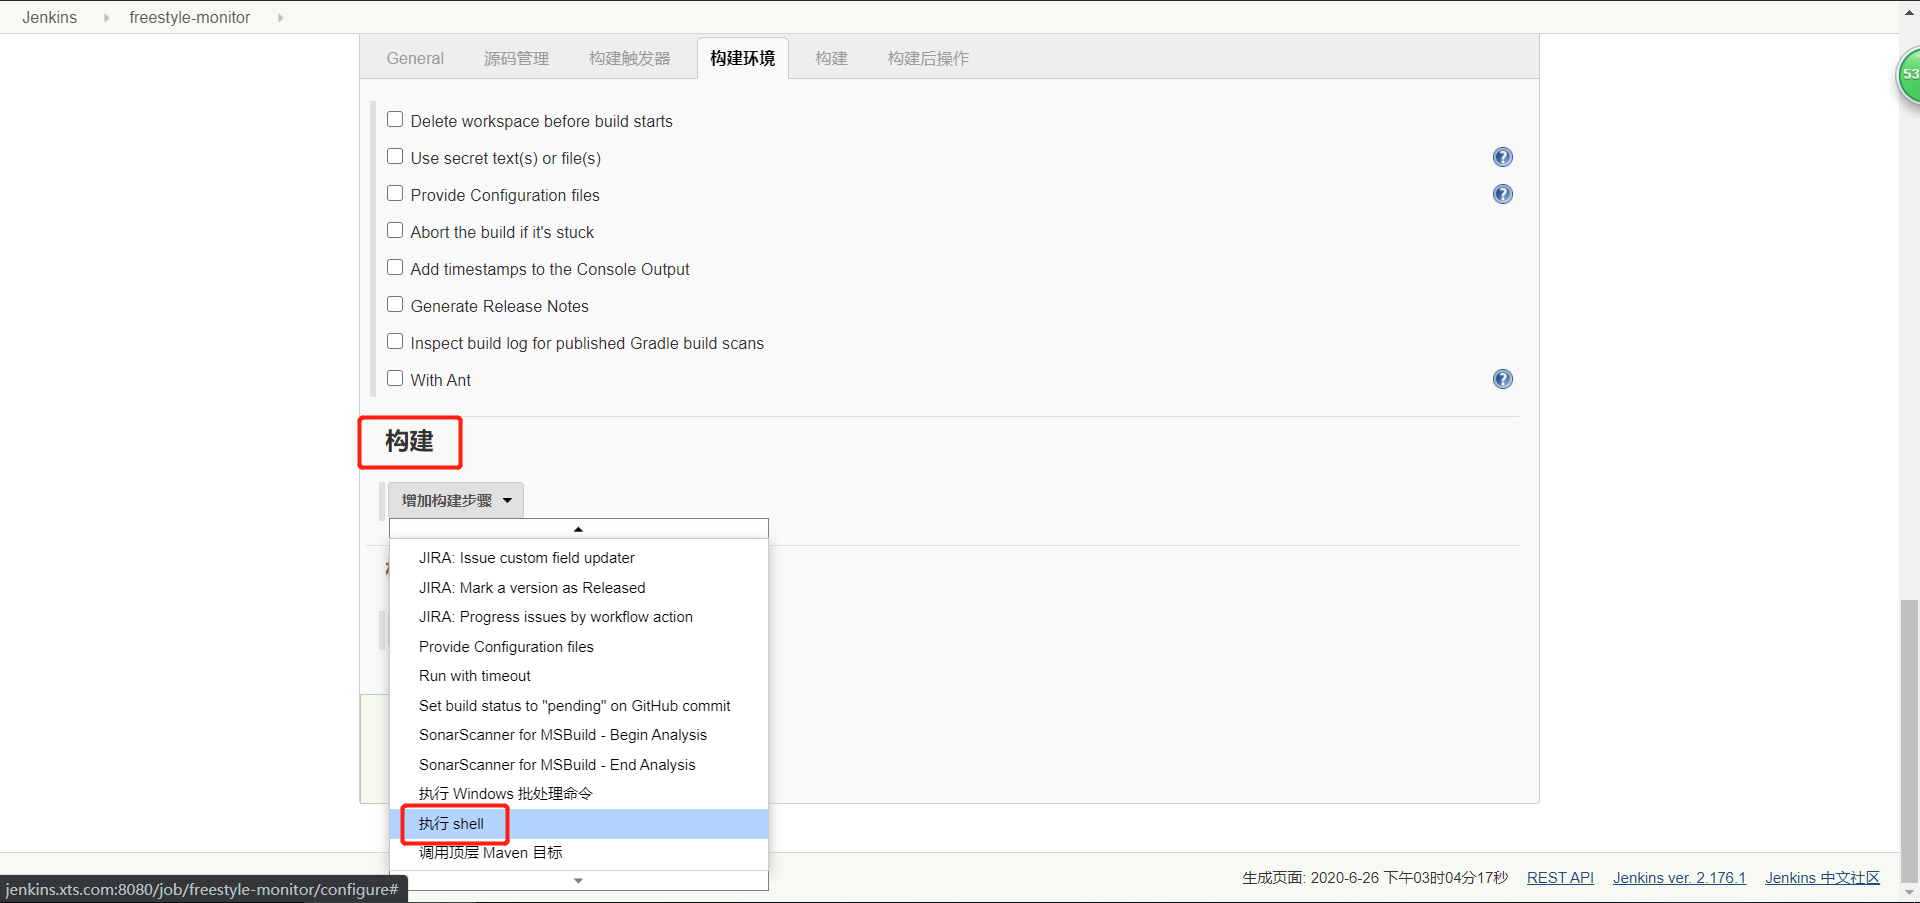
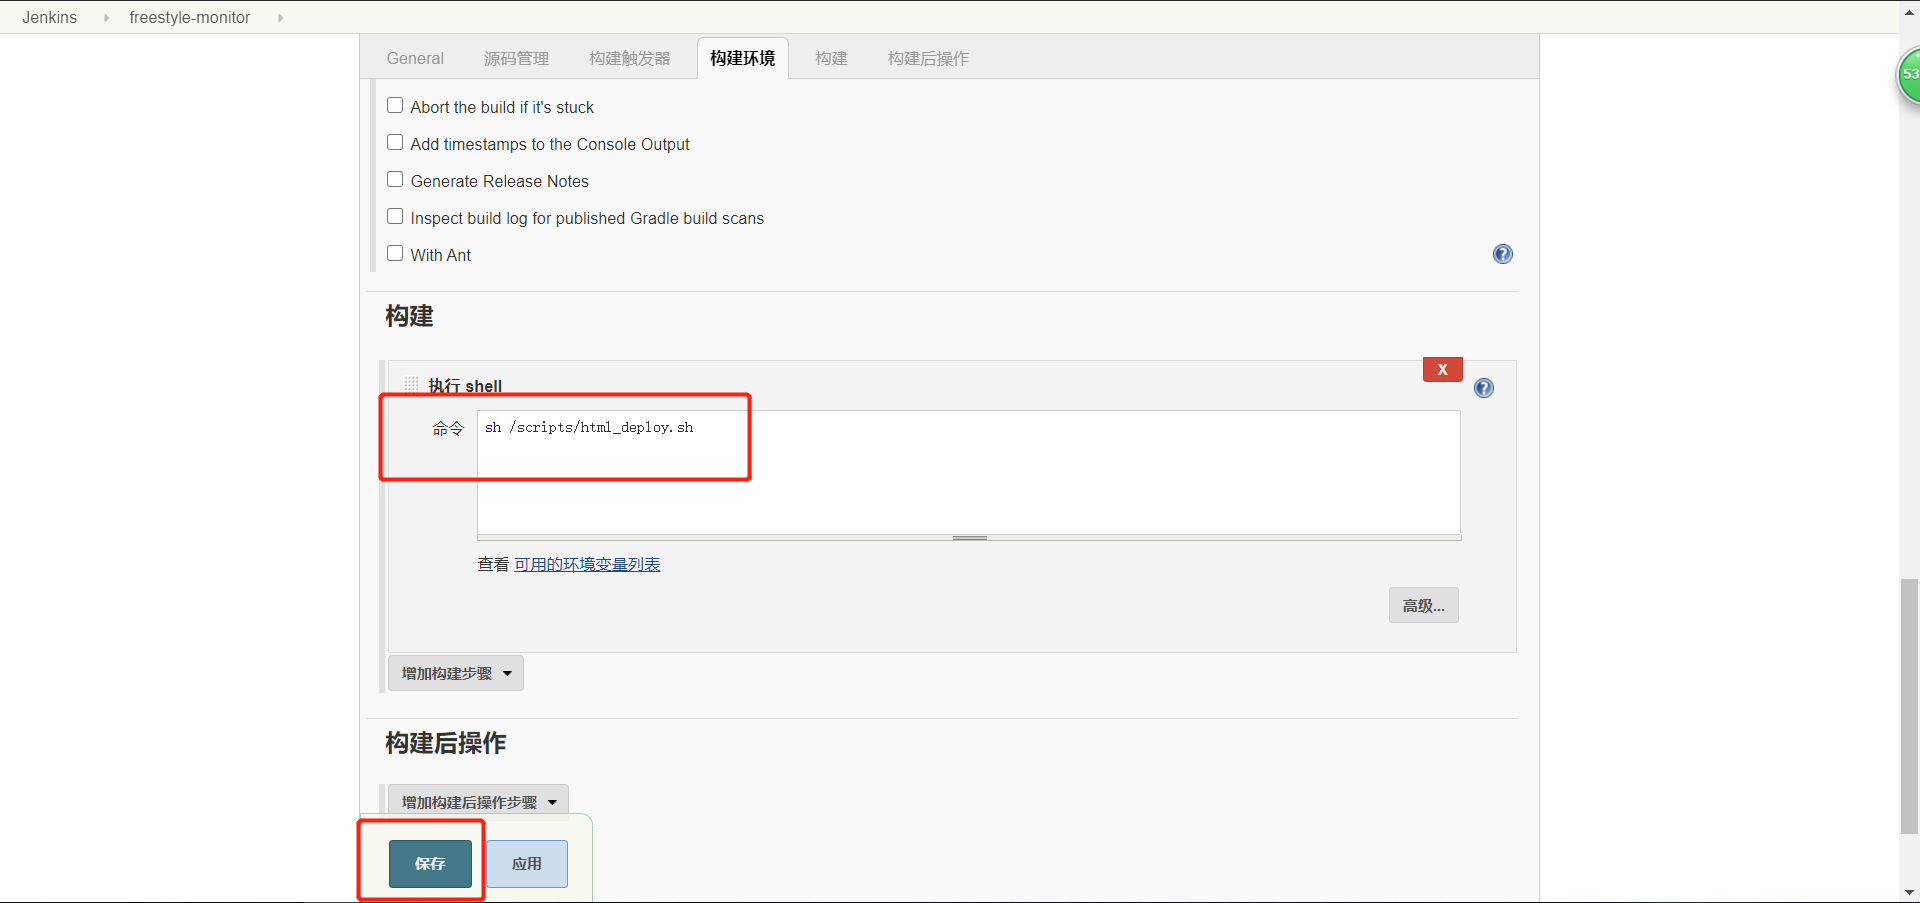
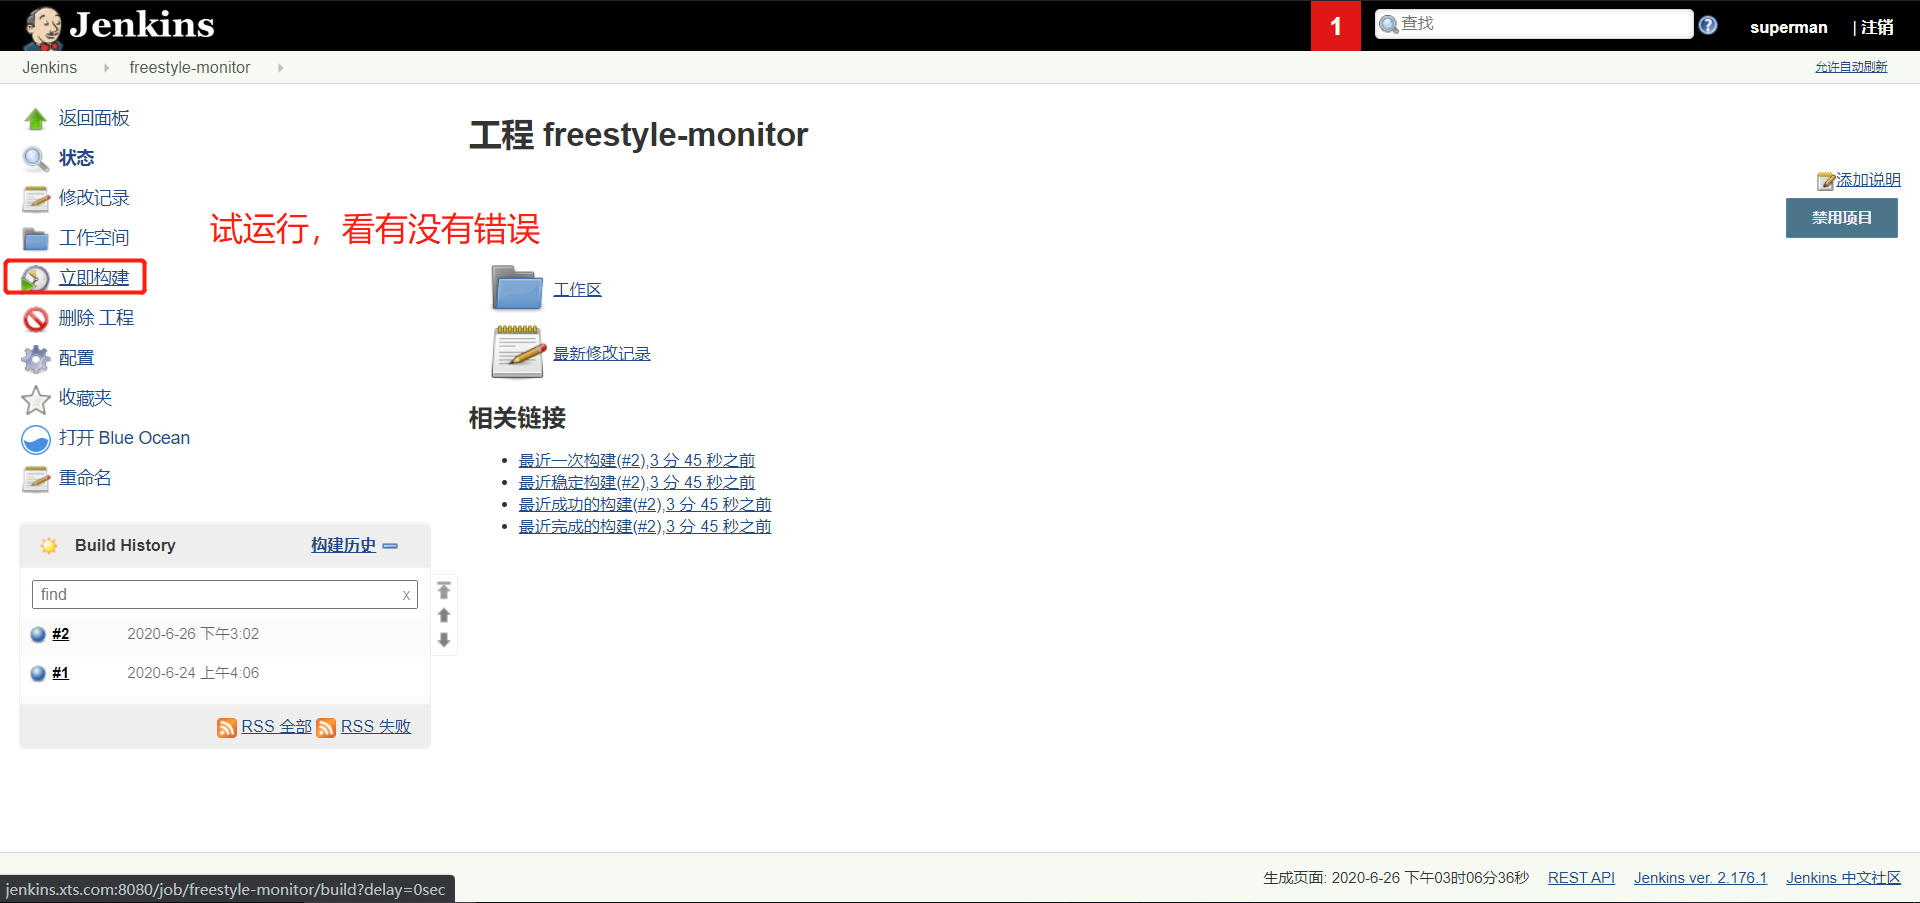
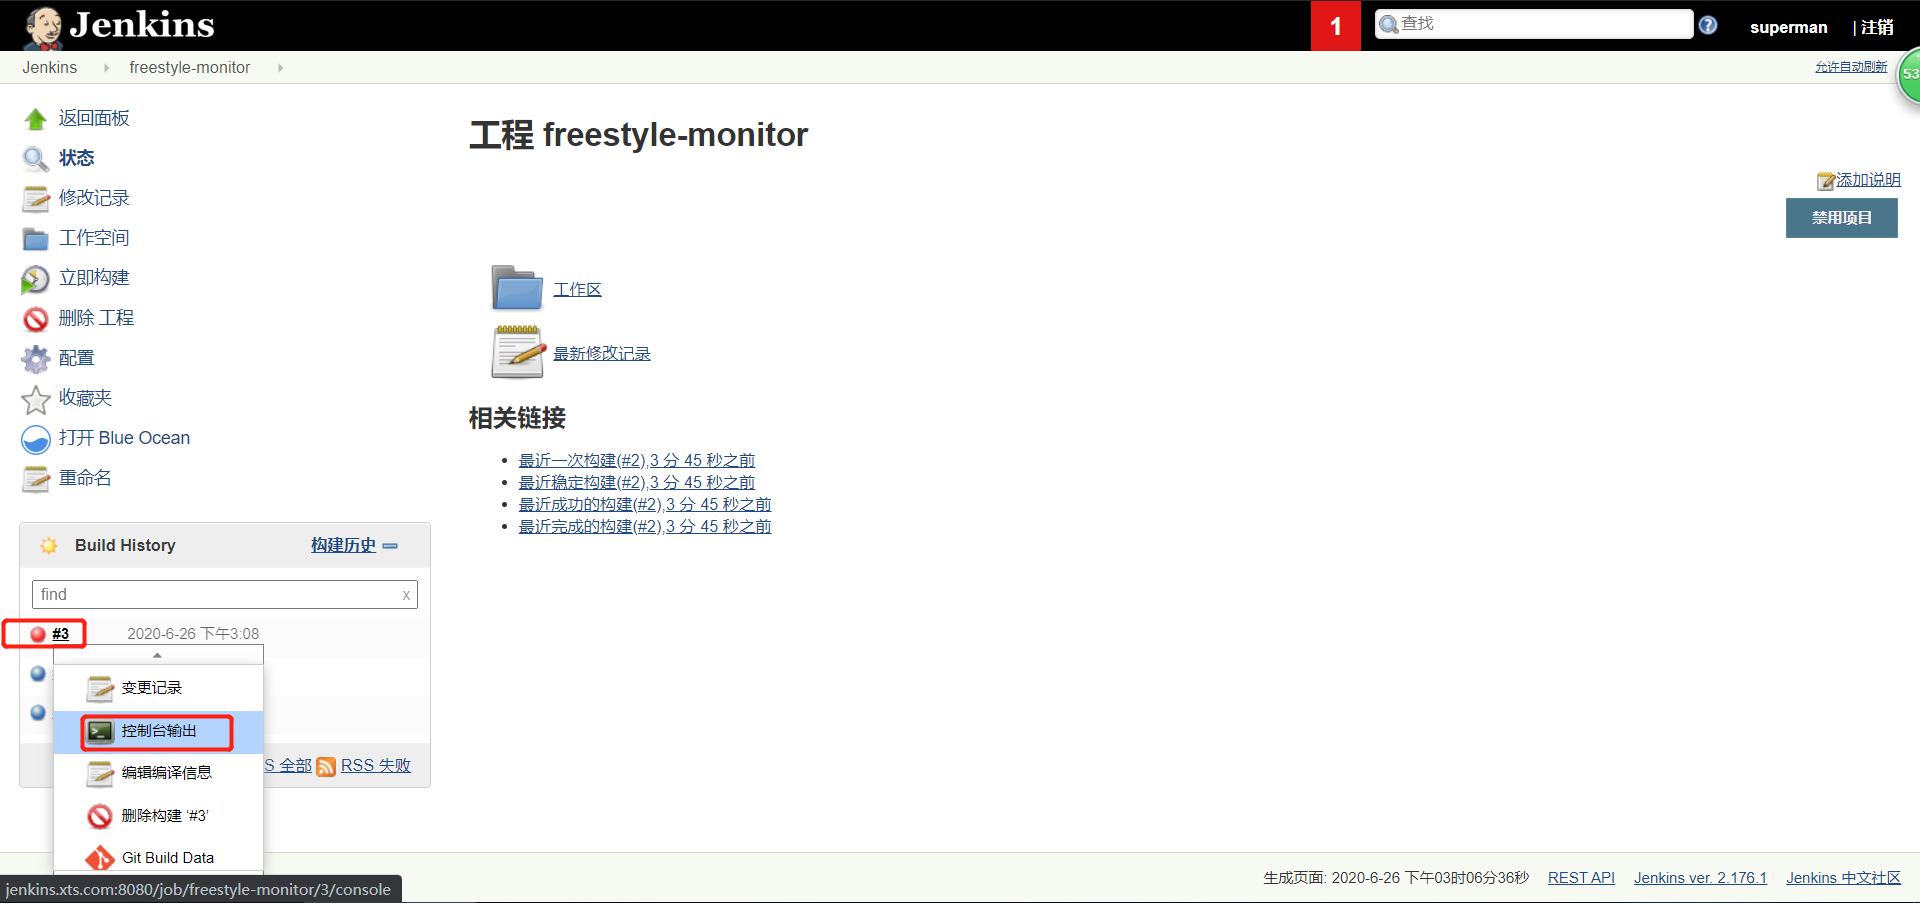
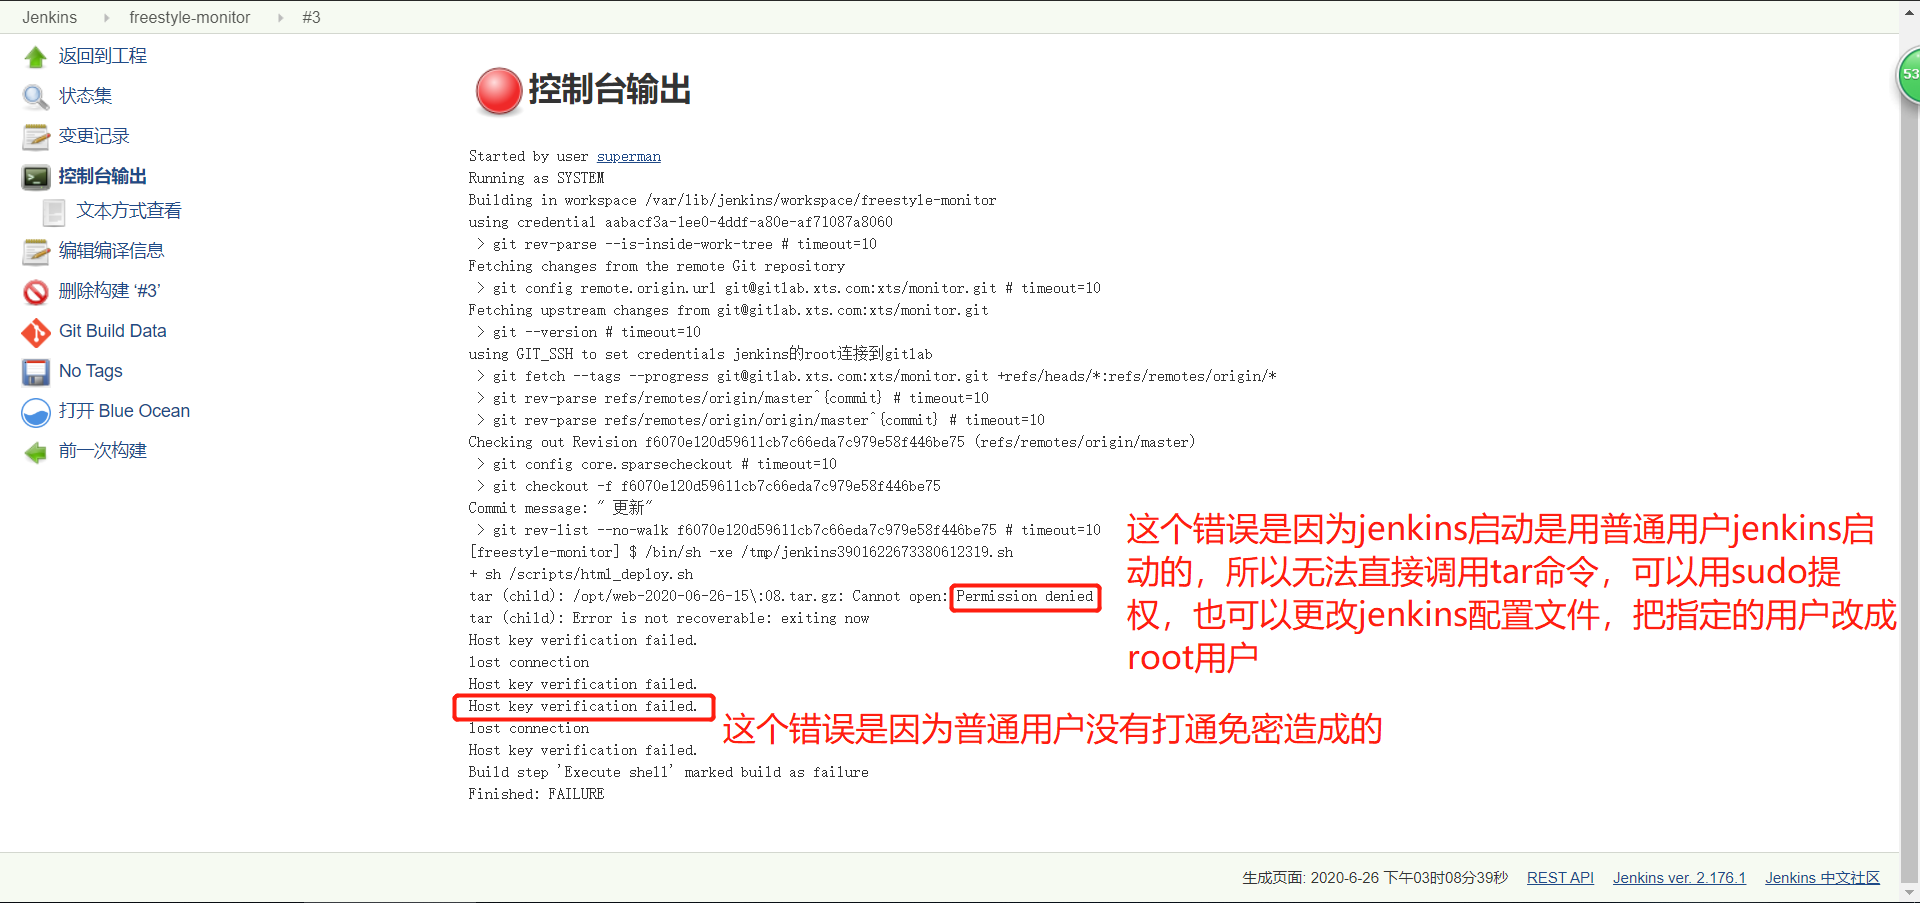
编辑jenkins配置文件,解决报错

浏览器重新验证
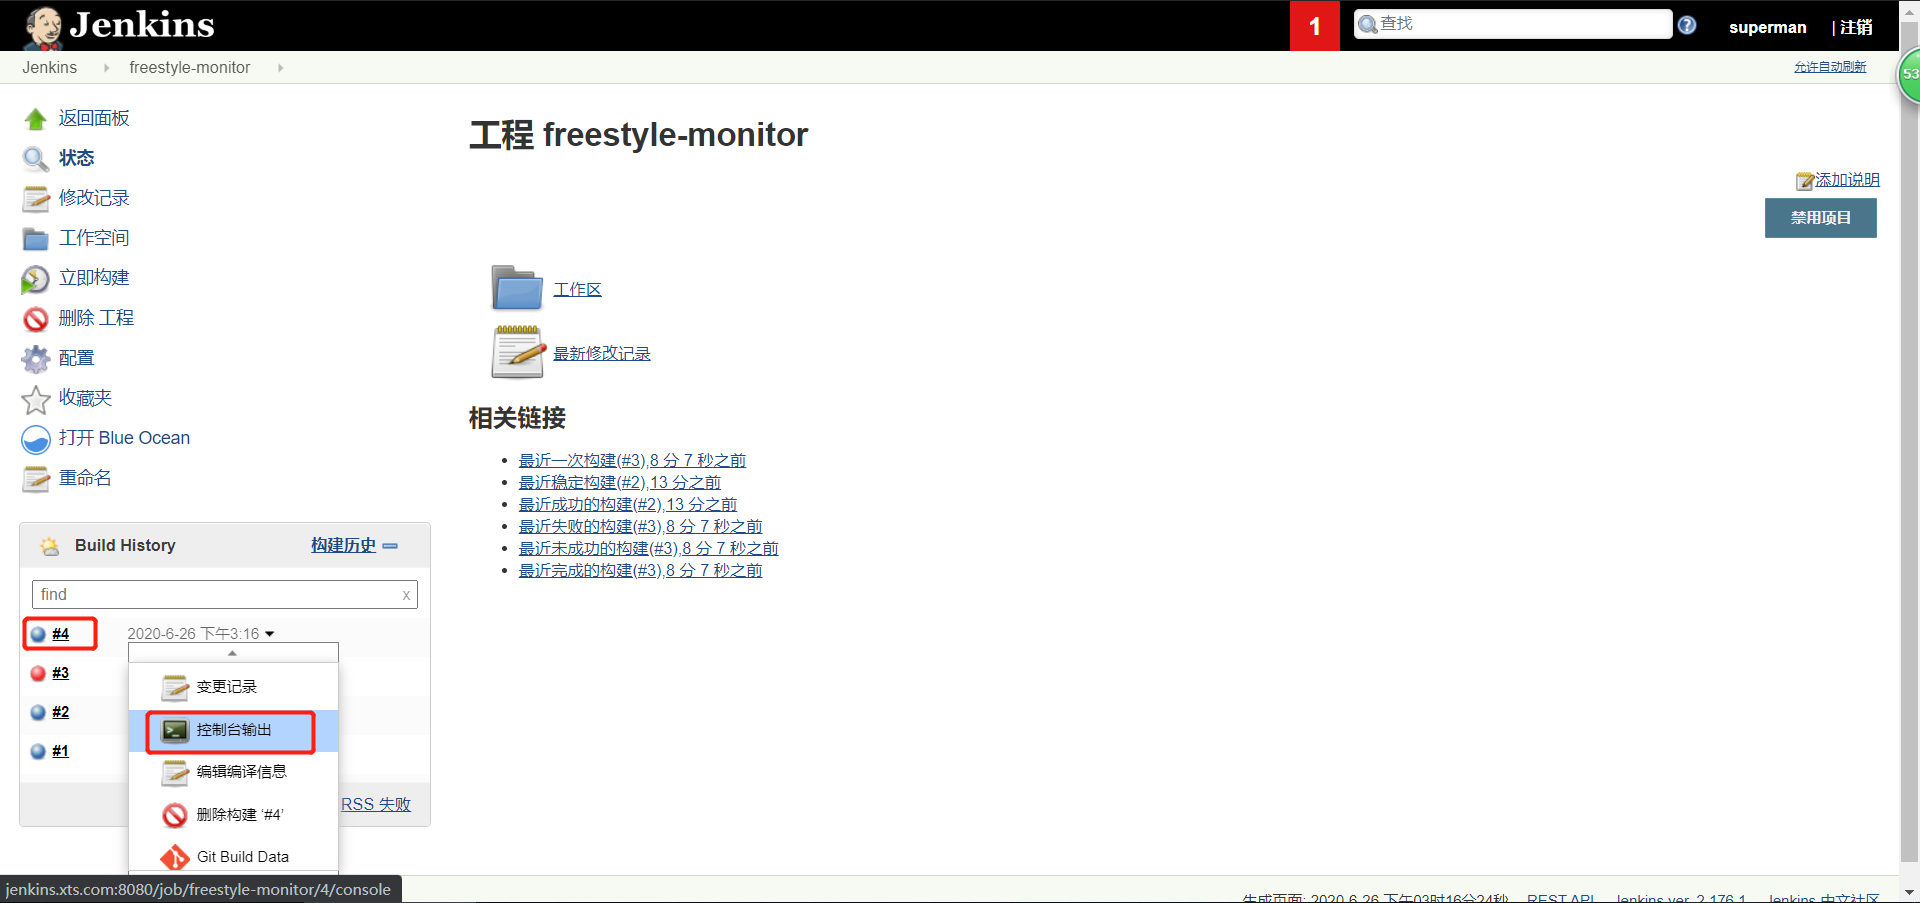
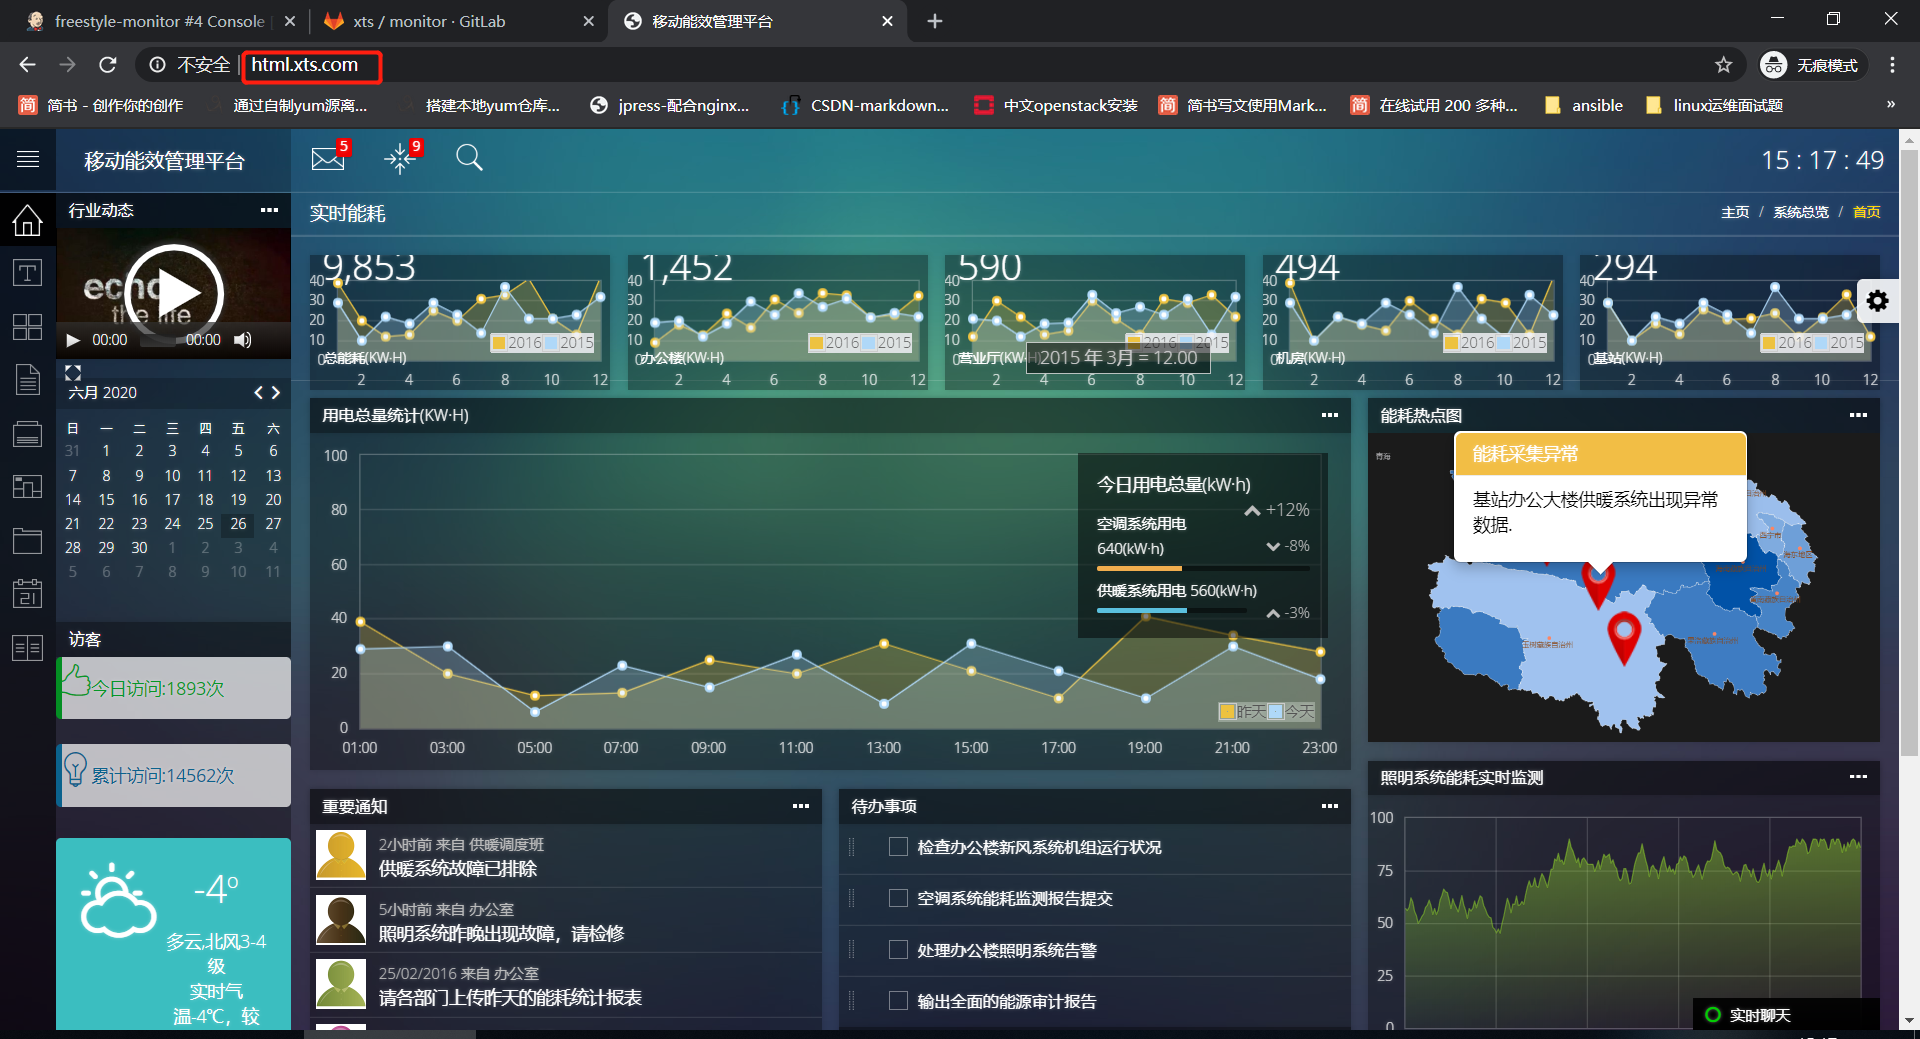
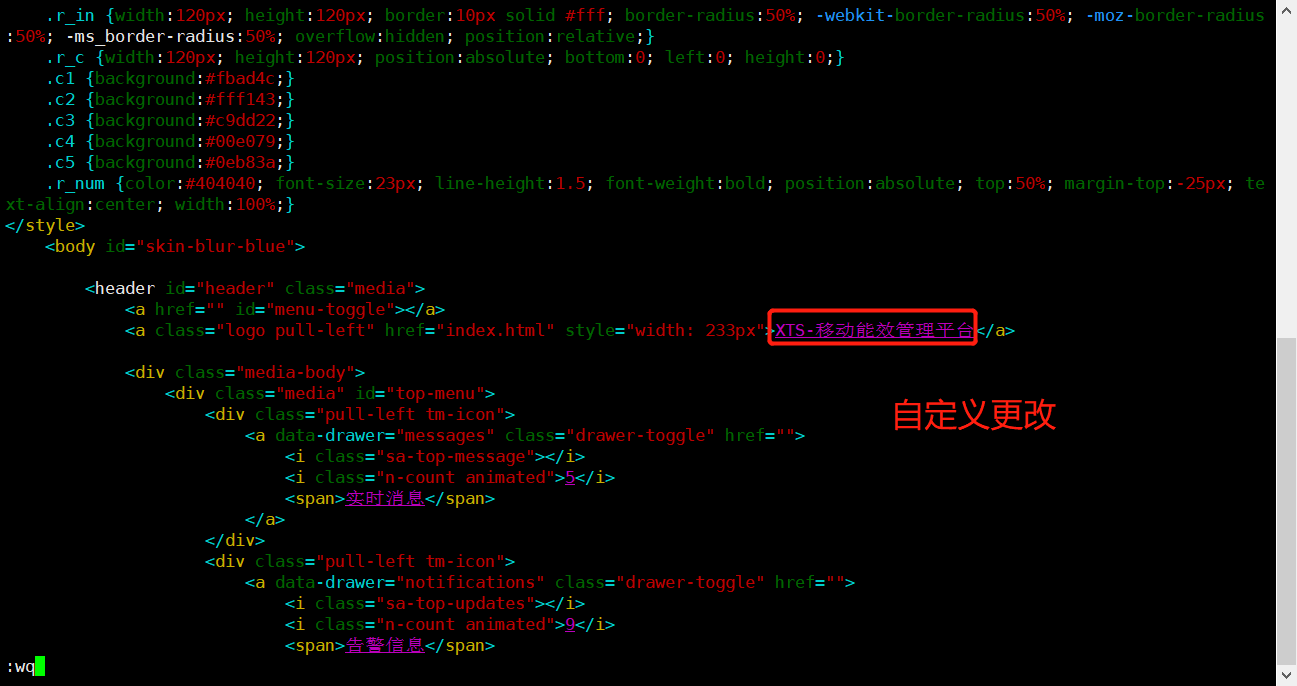
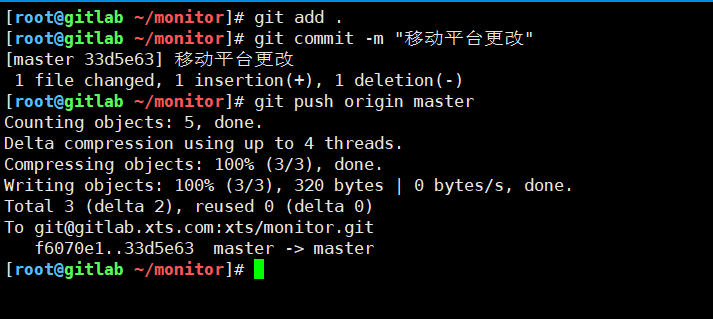
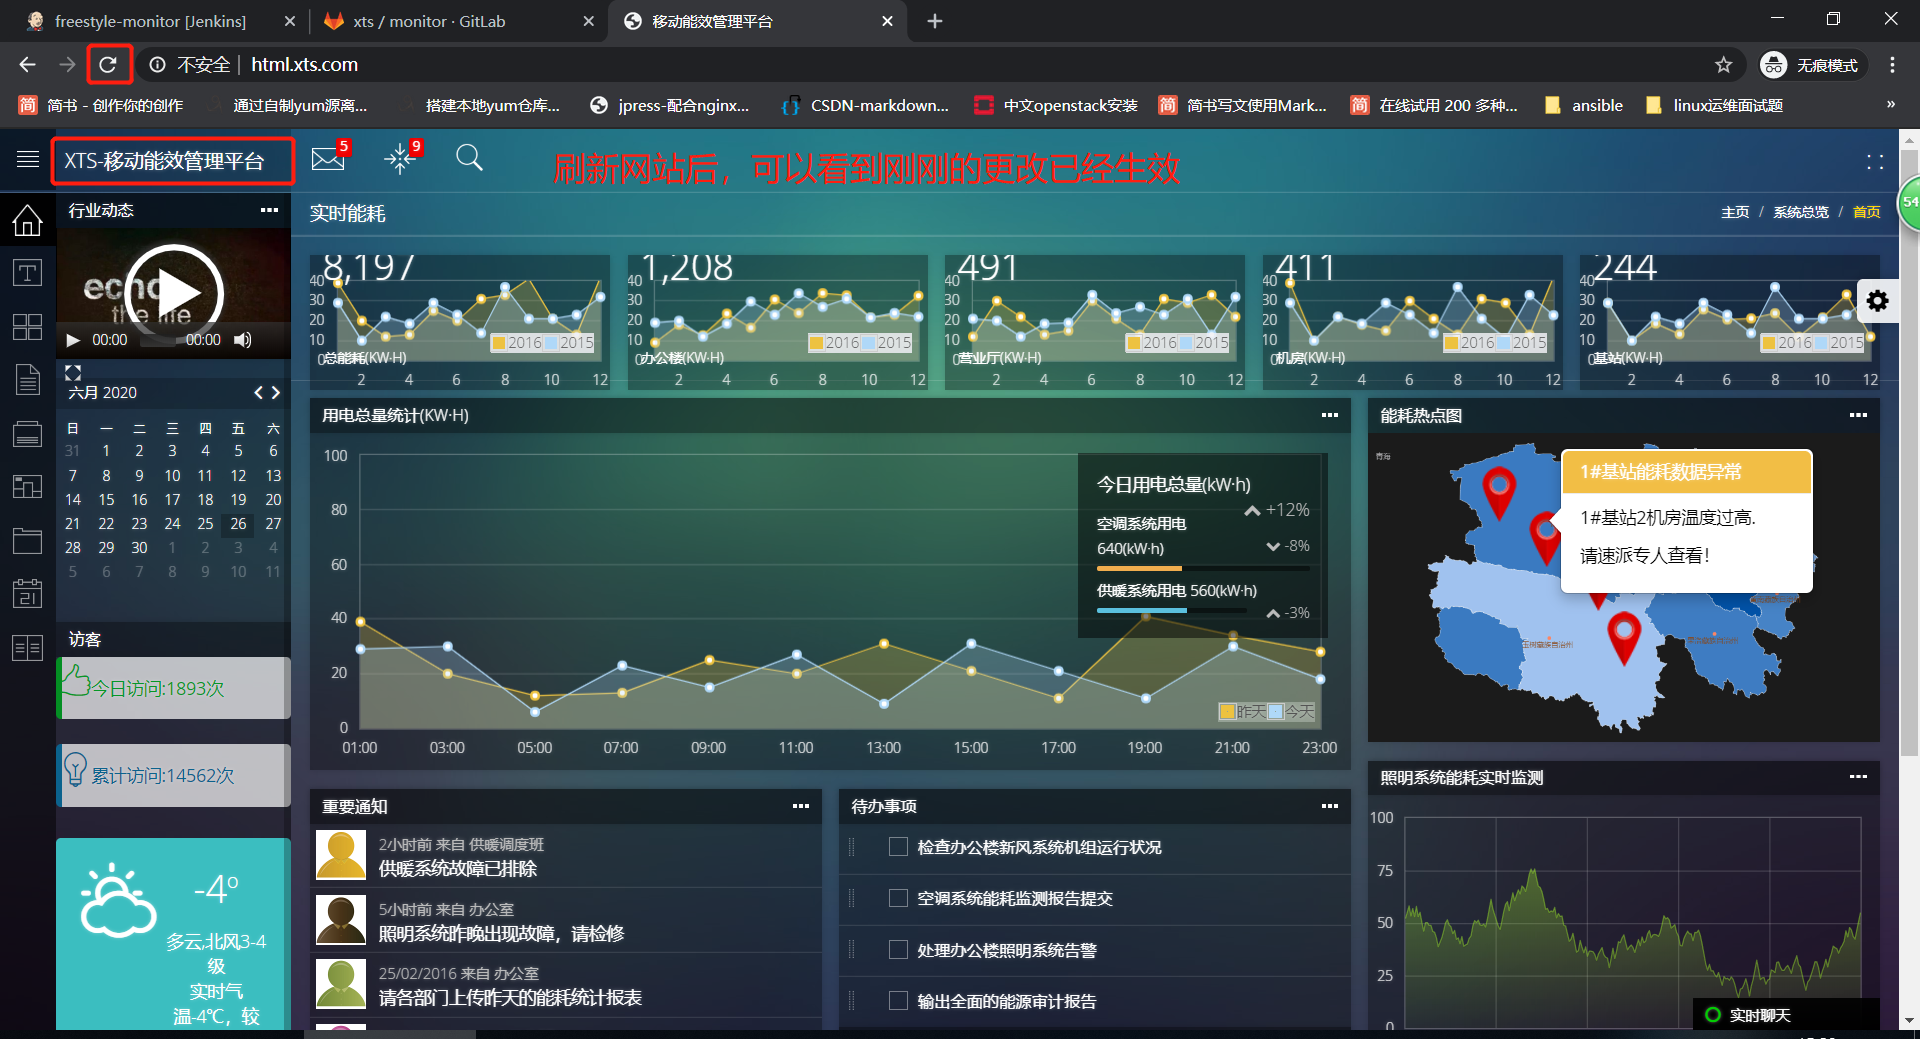
修改网站代码上传,再次验证


 浙公网安备 33010602011771号