centos7.9安装harbor仓库
安装
1、关闭防火墙和内核
[root@localhost ~]# systemctl stop firewalld
[root@localhost ~]# systemctl disable firewalld
[root@localhost ~]# setenforce 0
[root@localhost ~]# sed -i 's/SELINUX=enforcing/SELINUX=disabled/g' /etc/selinux/config
2、安装docker
[root@localhost ~]# yum -y install yum-utils device-mapper-persistent-data lvm2
[root@localhost ~]# yum-config-manager --add-repo https://download.docker.com/linux/centos/docker-ce.repo
[root@localhost ~]# yum -y install docker-ce docker-ce-cli containerd.io

#编辑daemon.json
[root@localhost harbor]# vim /etc/docker/daemon.json
#添加以下内容,将IP地址更换为你所用的IP地址
{
 "exec-opts": ["native.cgroupdriver=systemd"],
 "insecure-registries": ["192.168.8.181"]
}

#启动docker服务
[root@localhost ~]# systemctl daemon-reload          #重载配置文件
[root@localhost ~]# systemctl start docker
[root@localhost ~]# systemctl enable docker
3、上传docker-compose和harbor-offline-installer-v2.2.1.tgz
链接:https://pan.baidu.com/s/1tGQ-kumUF3gopCWFONJvAw?pwd=fbnr
提取码:fbnr
[root@localhost ~]# chmod +x docker-compose
[root@localhost ~]# mv docker-compose   /usr/bin

#解压harbor-offline-installer-v2.2.1.tgz
[root@localhost ~]# tar zxvf harbor-offline-installer-v2.2.1.tgz -C /usr/local/
[root@localhost ~]# cd /usr/local/harbor

#将harbor.yml.tmpl复制一份名为 harbor.yml
[root@localhost harbor]# cp harbor.yml.tmpl  harbor.yml
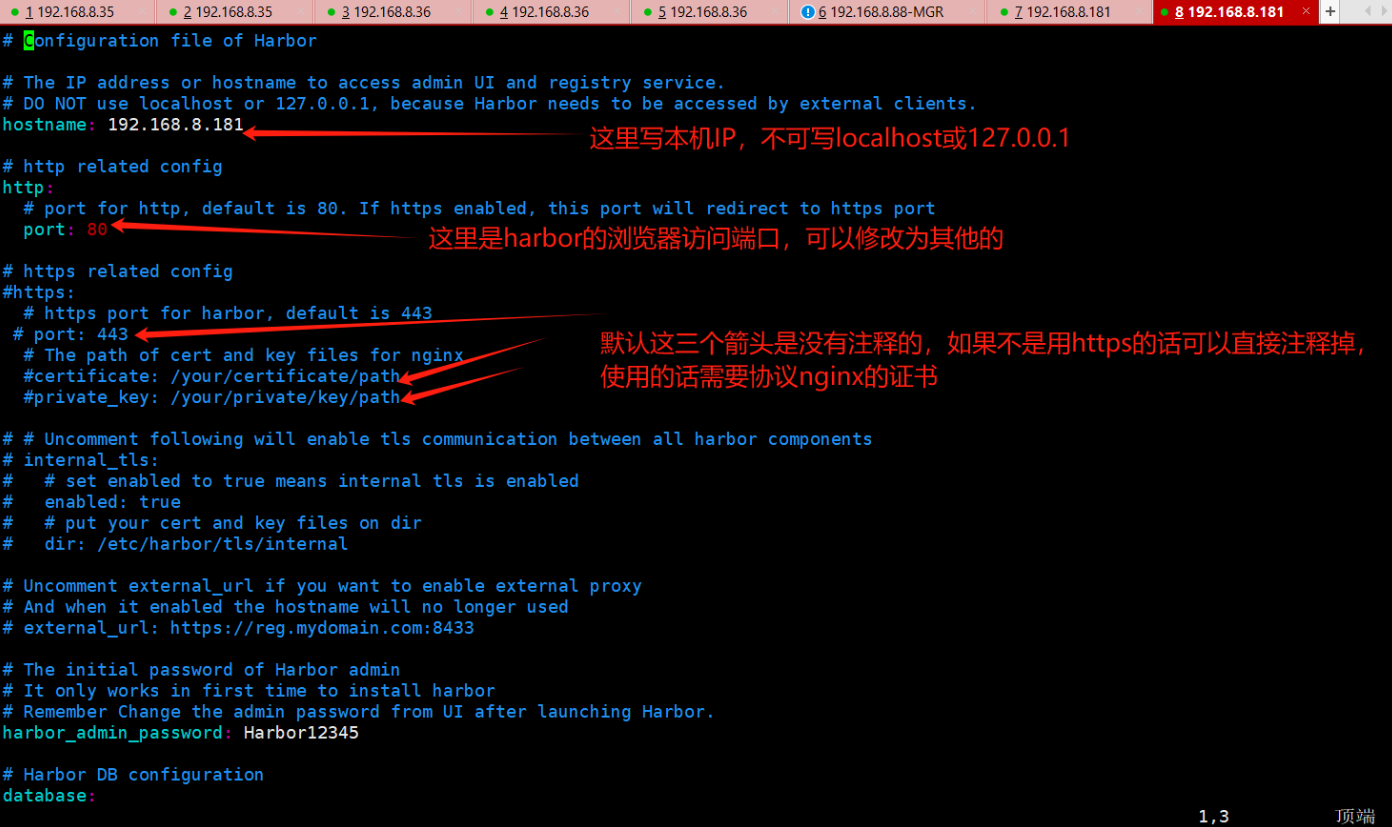
4、编辑 harbor.yml文件
[root@localhost harbor]# vim harbor.yml
5、准备
[root@localhost ~]# cd /usr/local/harbor
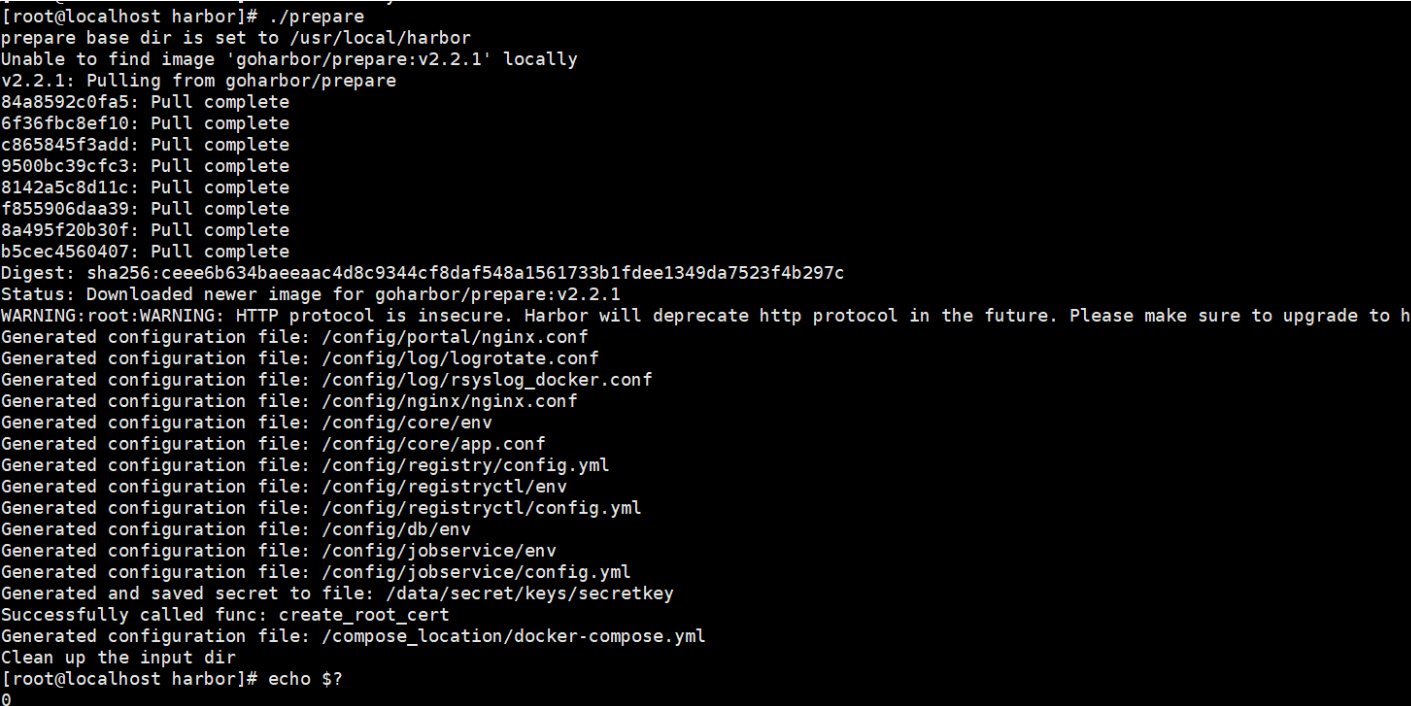
[root@localhost harbor]# ./prepare
#执行完成后
[root@localhost harbor]# echo $?
0
若为0那执行./prepare的过程就没报错,若为1就报错了
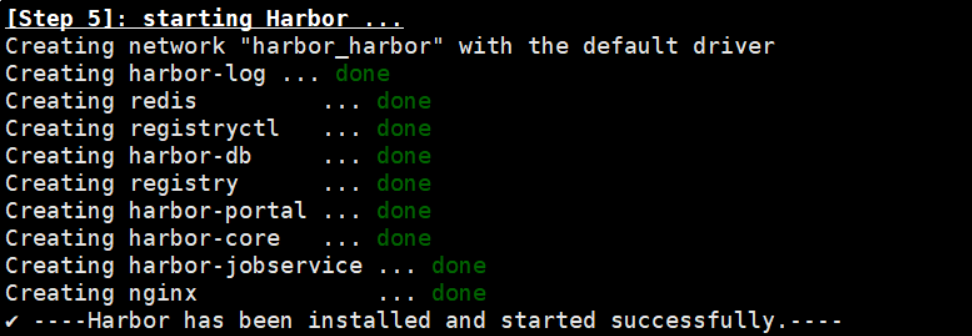
[root@localhost harbor]# ./install.sh #大约要等3-4分钟
#结尾全为绿色done即可,如下图
[root@localhost harbor]# docker-compose ps

[root@localhost harbor]# docker images

6、访问
http://192.168.8.181:80
用户名:admin
密码:Harbor12345
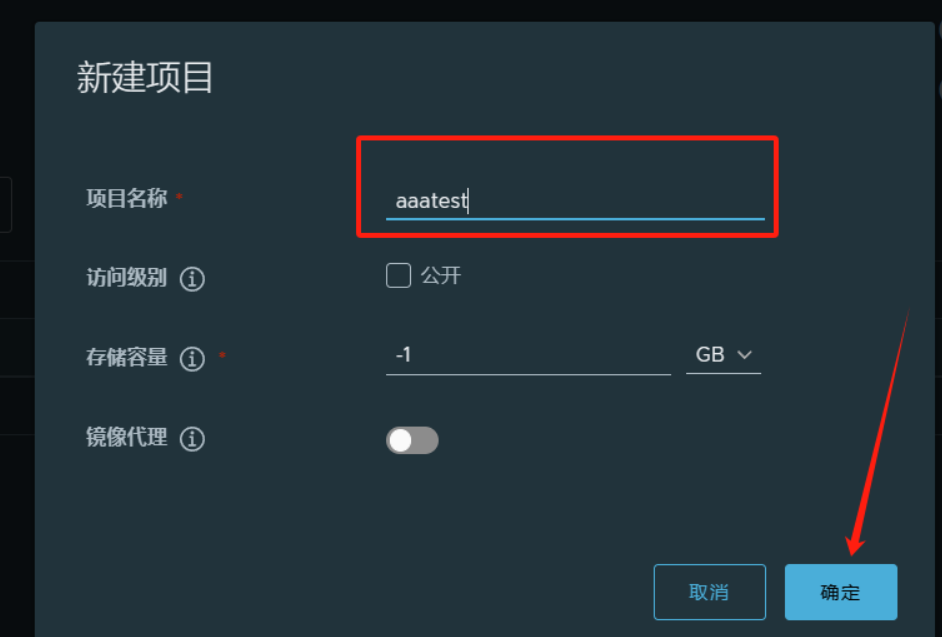
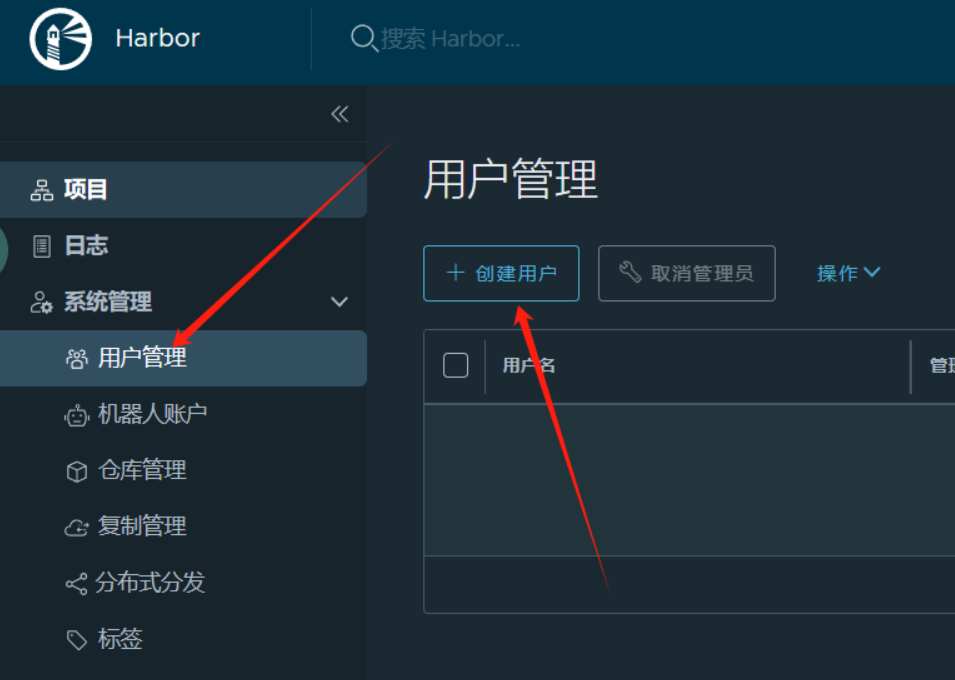
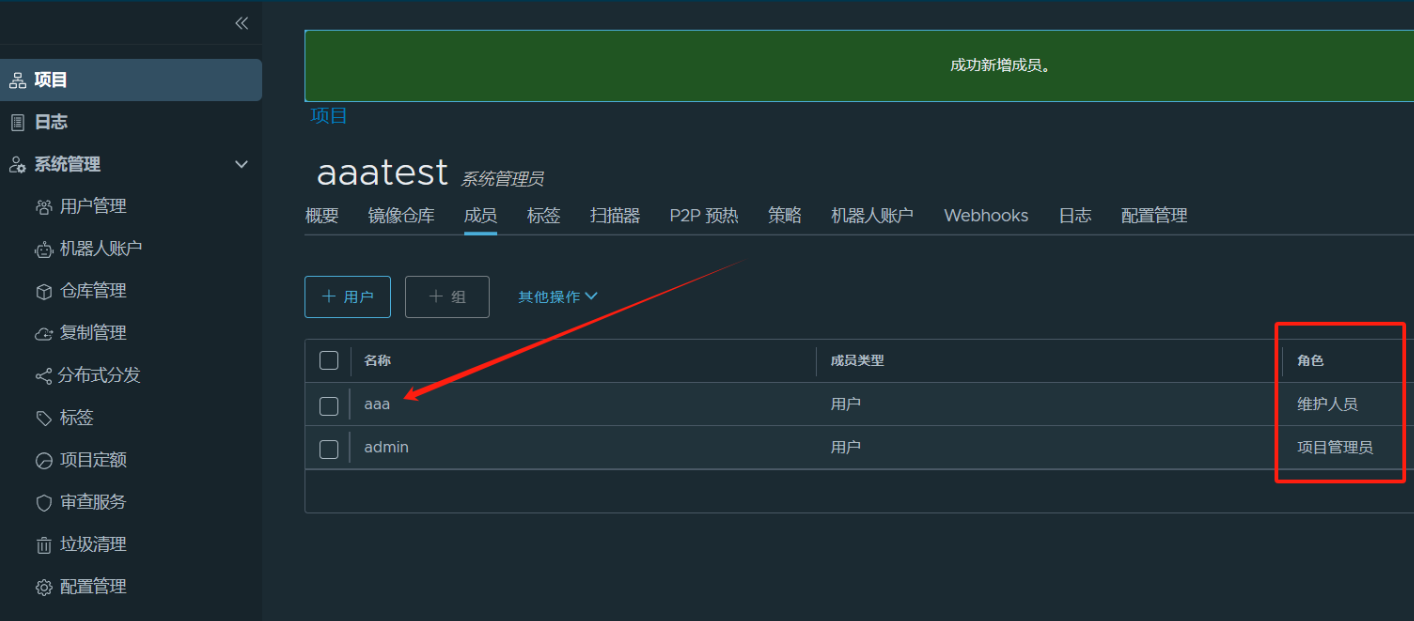
7、新建项目
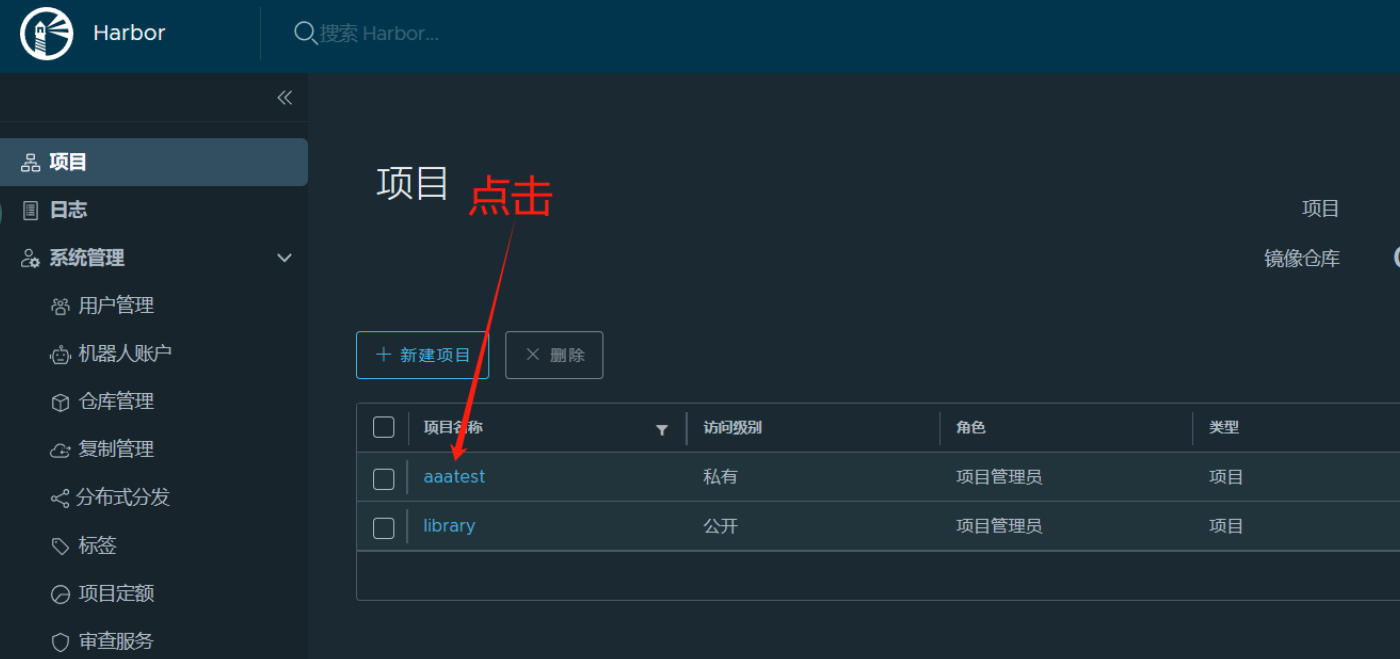
新建名为aaatest的项目

新建名为aaa的用户

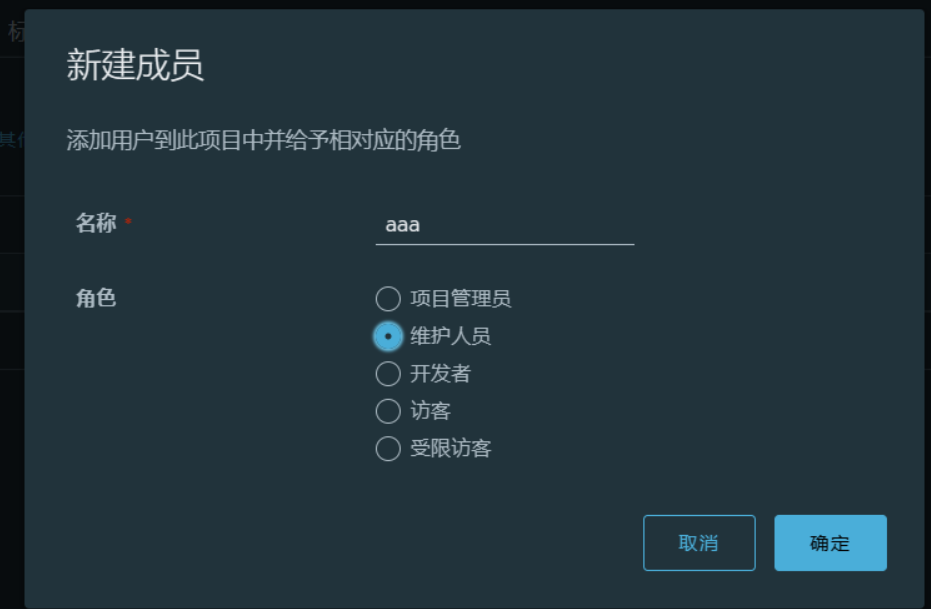
在aaatest项目里添加aaa用户为”维护人员“
注意:如果不添加的话,用aaa用户登录是看不懂aaatest项目的,,如下图
注意:登录aaa账户是添加不了的,得登录admin账户才能添加


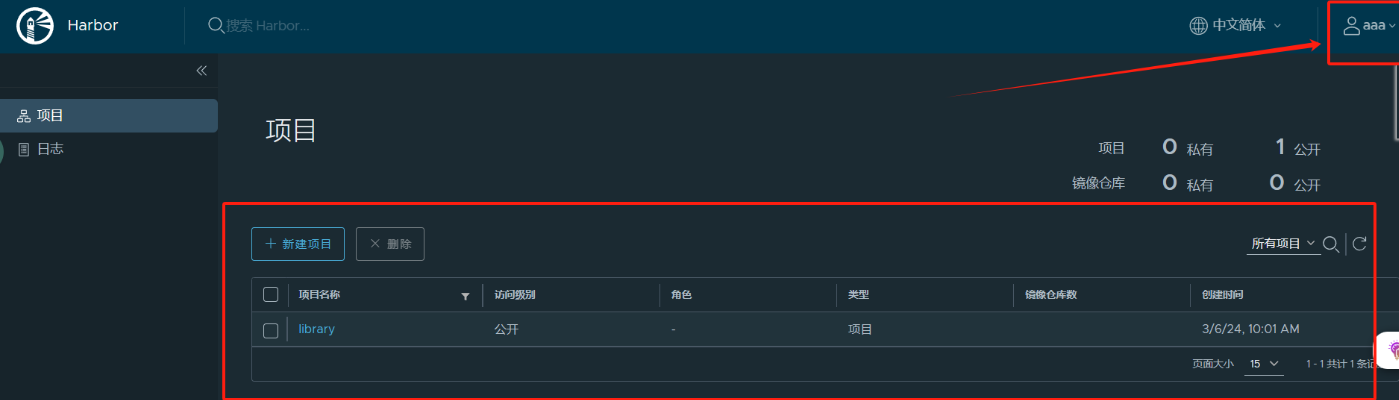
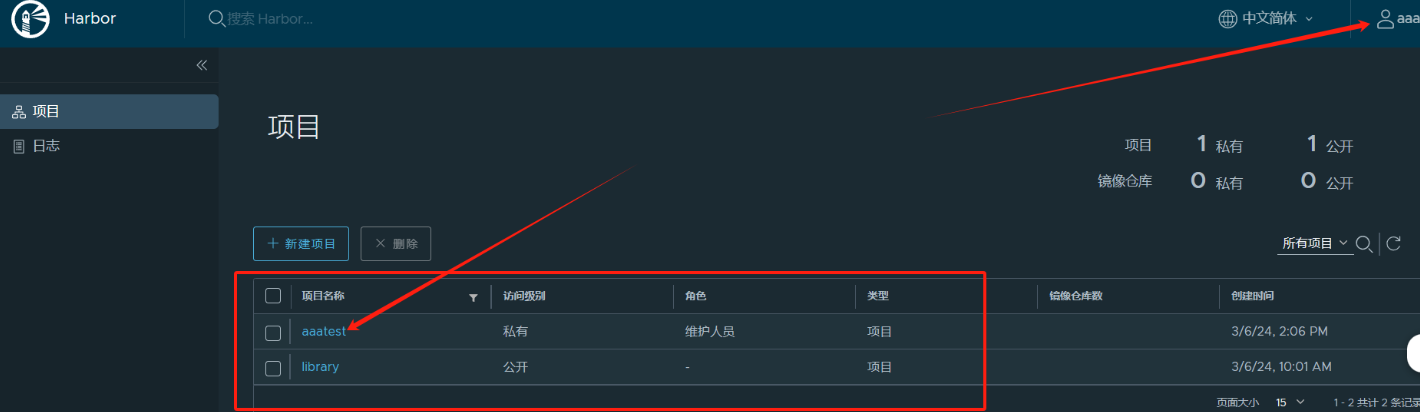
这时退出admin账户切换到aaa账户查看项目
harbor的使用
例1:
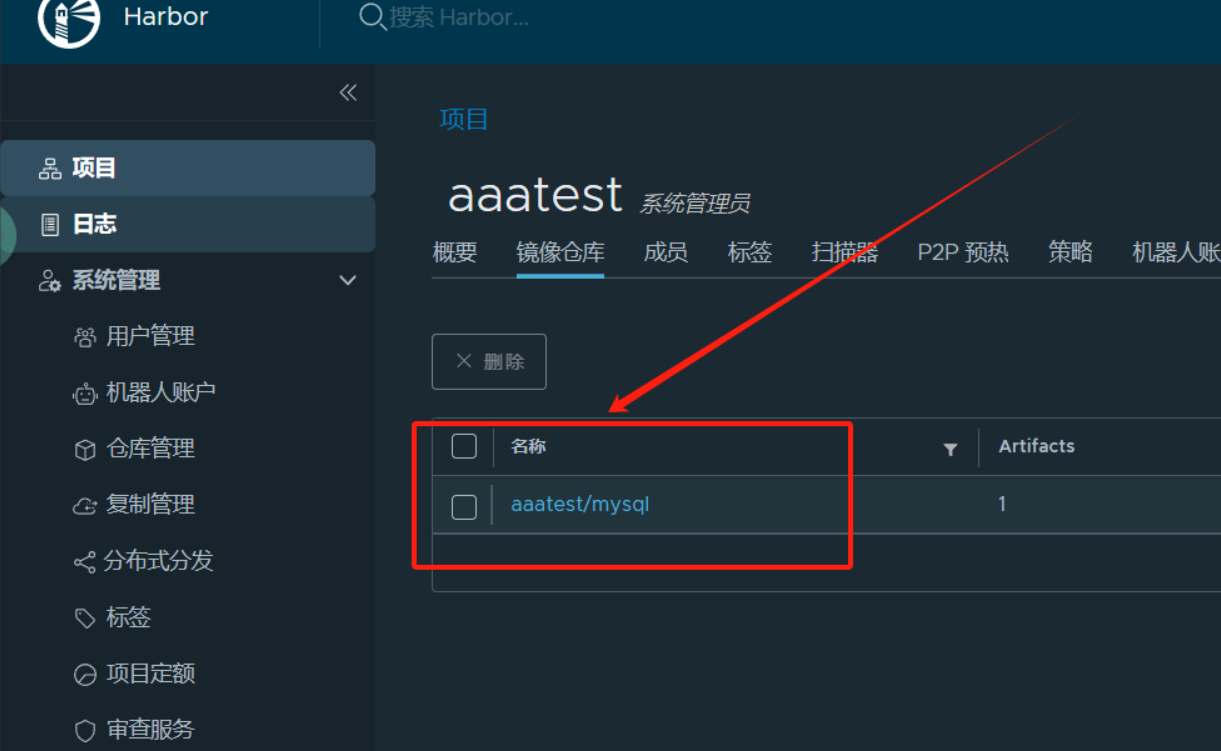
使用docker将mysql镜像推送到Harbor仓库
第一步:修改和登录
修改镜像tag,将镜像mysql推送到harbor
1.拉取镜像
[root@localhost harbor]# docker pull mysql

2.修改镜像tag
[root@localhost harbor]# docker tag mysql:latest 192.168.8.181:80/aaatest/mysql:8.0.27
[root@localhost harbor]# docker images
REPOSITORY                            TAG       IMAGE ID       CREATED        SIZE
192.168.8.181:80/aaatest/mysql        8.0.27    a88c3e85e887   6 weeks ago    632MB
mysql                                 latest    a88c3e85e887   6 weeks ago    632MB
.........................................................................................以下省略
3.登录用户
[root@localhost harbor]# docker login -u aaa -p Admin123 192.168.8.181
下面是退出
docker logout


4.将192.168.8.181:80/aaatest/mysql 镜像推送到harbor
[root@localhost harbor]#  docker push 192.168.8.181/aaatest/mysql

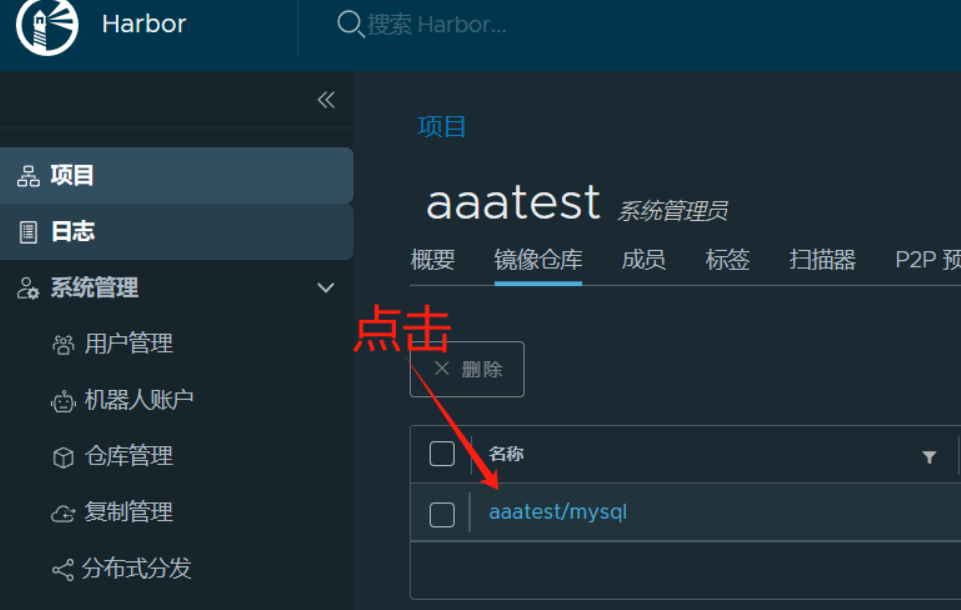
第二步:查看
此时我们把镜像删除掉
[root@localhost harbor]# docker images
REPOSITORY                             TAG       IMAGE ID       CREATED       SIZE
192.168.8.181/aaatest/mysql            latest    65f3f983cb08   13 days ago   632MB
mysql                                  latest    65f3f983cb08   13 days ago   632MB
[root@localhost harbor]# docker rmi -f 65f3f983cb08
删掉后发现,仓库上的镜像依然保存,这说明我们可以把所需的镜像上传至仓库,用来保存镜像。
下载仓库镜像
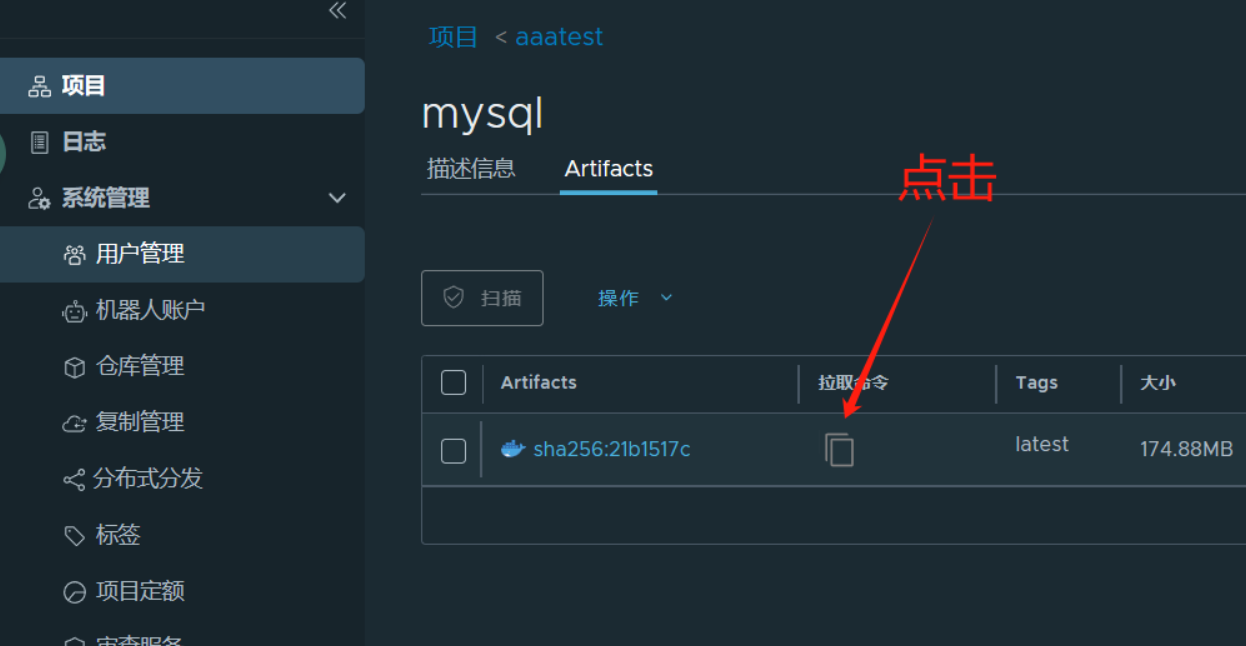
复制之后,去命令行执行命令
docker pull 192.168.8.181/aaatest/mysql@sha256:21b1517c999bcbc53c59b325b7ee8be0b2fb9be1a6b63849fa100054fc48a3d2

查看镜像
[root@localhost harbor]# docker images
REPOSITORY                             TAG       IMAGE ID       CREATED       SIZE
192.168.8.181/aaatest/mysql            <none>    65f3f983cb08   13 days ago   632MB
至此Harbor安装结束


 浙公网安备 33010602011771号