

nginx安装和使用
最近做了一个前后端分离的项目,前端使用angular,后端本来用的spring boot, 后来修改成asp.net core,通过nginx部署在linux上。这边通过实际案例来分享下nginx的部署和使用
安装(适用于ReaHat和Centos, 包管理器为yum)
提供一个靠谱的链接:https://www.cnblogs.com/xxoome/p/5866475.html
ubuntu包管理器为apt,安装链接:https://blog.csdn.net/qq_23832313/article/details/83578836
1.安装相应的工具gcc、pcre-devel、zlib-devel、openssl-devel
yum -y install gcc pcre-devel zlib-devel openssl openssl-devel
2. nginx下载地址:http://nginx.org/en/download.html
下载“nginx-1.19.9.tar.gz”,移动到/usr/local/下。
## 解压
tar -zxvf nginx-1.19.9.tar.gz

##进入nginx目录
cd nginx-1.9.9
## 配置
./configure --prefix=/usr/local/nginx
# 执行make
make
make install
3. 执行make、make install命令
测试是否安装成功
# cd到刚才配置的安装目录/usr/local/nginx/
./sbin/nginx -t
成功执行结果如下

4. 启动nginx
cd /usr/local/nginx/sbin
./nginx //启动nginx
5. 验证80端口是否通
firewall-cmd --query-port=80/tcp

no表示不通
下面我们开启80端口:
firewall-cmd --add-port=80/tcp --permanent
#重启防火墙
systemctl restart firewalld
--permanent #永久生效,没有此参数重启后失效

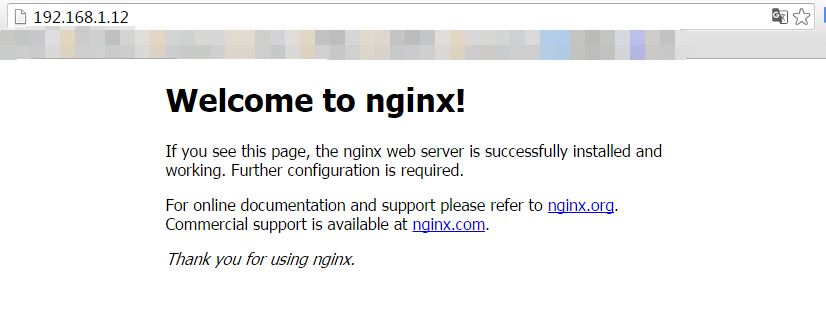
刷新浏览器
6. 配置nginx开机自启动
vi /etc/rc.d/rc.local
添加一行
/usr/local/nginx/sbin/nginx
Angular,asp.net core配置
第一版:运行成功
# For more information on configuration, see:
#   * Official English Documentation: http://nginx.org/en/docs/
#   * Official Russian Documentation: http://nginx.org/ru/docs/

user nginx;
worker_processes auto;
error_log /var/log/nginx/error.log;
pid /run/nginx.pid;

# Load dynamic modules. See /usr/share/doc/nginx/README.dynamic.
include /usr/share/nginx/modules/*.conf;

events {
    worker_connections 1024;
}

http {
    log_format  main  '$remote_addr - $remote_user [$time_local] "$request" '
                      '$status $body_bytes_sent "$http_referer" '
                      '"$http_user_agent" "$http_x_forwarded_for"';

    access_log  /var/log/nginx/access.log  main;

    sendfile            on;
    tcp_nopush          on;
    tcp_nodelay         on;
    keepalive_timeout   65;
    types_hash_max_size 2048;

    include             /etc/nginx/mime.types;
    default_type        application/octet-stream;

    # Load modular configuration files from the /etc/nginx/conf.d directory.
    # See http://nginx.org/en/docs/ngx_core_module.html#include
    # for more information.
    include /etc/nginx/conf.d/*.conf;

    server {
        listen       80 default_server;
        listen       [::]:80 default_server;
        server_name  _;
        root         /usr/share/nginx/html;

        # Load configuration files for the default server block.
        include /etc/nginx/default.d/*.conf;

        location / {
        }

        location /egg {
            root /etc/nginx/webroot/;
		index index.html;
        }

        error_page 404 /404.html;
            location = /40x.html {
        }

        error_page 500 502 503 504 /50x.html;
            location = /50x.html {
        }

  	location /egg/api {
	    proxy_pass http://127.0.0.1:8451/api;
	}
    }

# Settings for a TLS enabled server.
#
#    server {
#        listen       443 ssl http2 default_server;
#        listen       [::]:443 ssl http2 default_server;
#        server_name  _;
#        root         /usr/share/nginx/html;
#
#        ssl_certificate "/etc/pki/nginx/server.crt";
#        ssl_certificate_key "/etc/pki/nginx/private/server.key";
#        ssl_session_cache shared:SSL:1m;
#        ssl_session_timeout  10m;
#        ssl_ciphers PROFILE=SYSTEM;
#        ssl_prefer_server_ciphers on;
#
#        # Load configuration files for the default server block.
#        include /etc/nginx/default.d/*.conf;
#
#        location / {
#        }
#
#        error_page 404 /404.html;
#            location = /40x.html {
#        }
#
#        error_page 500 502 503 504 /50x.html;
#            location = /50x.html {
#        }
#    }

}
很多地方不用看,主要看location的地方
location /egg代表了前端的代码,它是存放在了/etc/nginx/webroot/egg下
location /egg/api代表了后端的代码,它是存放在了/etc/nginx/webroot/service下
详细的安装步骤如下
1.    ng build –prod 编译angular代码,得到dist
2.    编译java后台代码得到jar文件
3.    将dist里面得文件拷贝到/etc/nginx/webroot/egg里面,将jar放到/etc/nginx/webroot/server文件夹里面
4.    修改index.html, 将<base href ="./">改成<base href ="/egg/">
5.    配置好nginx.conf,因为前端,后端,数据库都是在一起,确保angular中“proxy.conf.json”里面得后台IP是127.0.0.1,nginx.conf里面得java程序IP是127.0.0.1,后台程序中得mangodb得IP是127.0.0.1。
  Mongo 配置成自动启动(目前已配置好),启动后台程序。
6.    修改前后端程序时,杀掉java进程,然后把jar放到webroot得server里面,把dist放到teamzone里面
  后台终止jar包程序,输入:ps -ef | grep java,查看使用java命令的进程,再输入:kill pid 即可终止运行
  后台运行jar包程序,输入:nohup java -jar /路径/程序.jar &
7.    重启nginx,nginx –s reload
本来proxy_pass中配置的是后台的ip地址,后来因为加载比较慢,改成了127.0.0.1
当输入网址http://ip(配置的ip)/egg,nginx会解析该网址,根据egg定位到/etc/nginx/webroot/egg下面的index.html,因为index.html里面base href是/egg/, 然后跳转到登录页面,所以最终的ip呈现为ip/egg/login.
当输入用户名和密码,因为后台已经启动,发送http请求给后台就相当于本地通讯。
改良版:
该链接详细说明了前端路由以及nginx路由
1. 前端路由:在angular中的app.module.ts里面的providers里面添加如下的REFRESH_PROVIDERS.
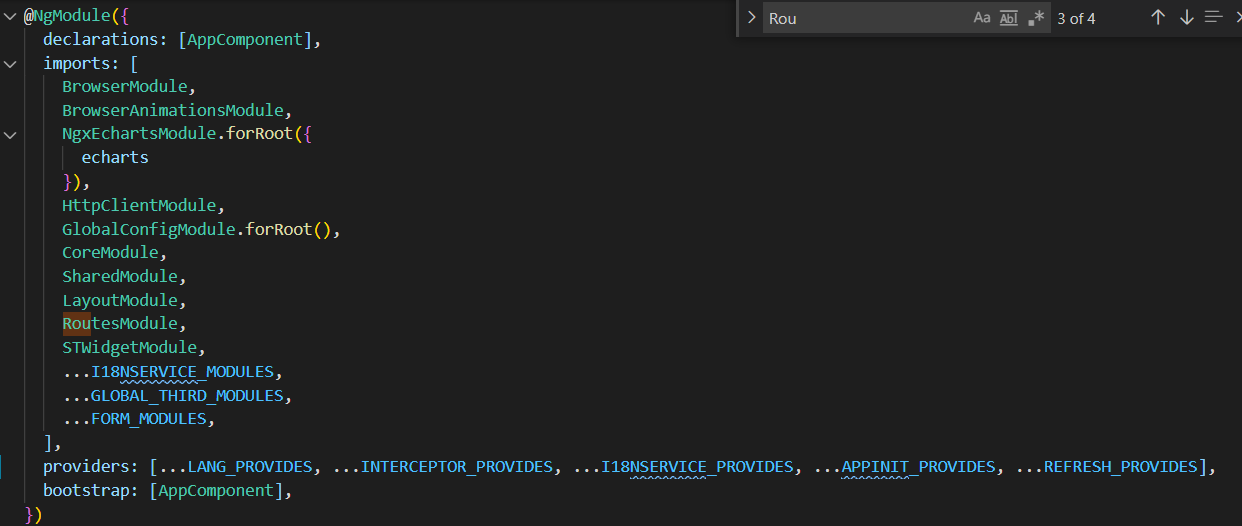

这样很方便,执行和刷新没什么问题,但是使用时页面会多一个#,非常烦
2. nginx路由配置
我们需要的是,直接输入一个网址,每个页面对应一个url,可以刷新。
1. 前面那个app.module.ts千万不要加
2. 打包angular的代码,起个你想要的名字,放到你想要的文件夹,比如我这边名字起的teamzone,然后放到了/usr/local/nginx/html下面。
切记,一定要起teamzone这个名字,否则nginx死活不跳转
index.html里面的这个标签切记是 <base href="/">
看下我的目录结构,angular代码放在html里面,名字叫teamzone,nginx所有的配置都在这边

3. asp.net core代码随便放在哪里,通过nohup dotnet xxx.dll &来后台启动
4 接下来就是最重要的nginx的配置


worker_processes  1;

events {
    worker_connections  1024;
}


http {
    include       mime.types;
    default_type  application/octet-stream;

    sendfile        on;
    keepalive_timeout  65;

# GZIP
    gzip on;
    gzip_disable "msie6";
    gzip_static on;
    gzip_vary on;
    gzip_proxied any;
    gzip_comp_level 6;
    gzip_buffers 16 8k;
    gzip_http_version 1.1;
    gzip_types text/plain text/css application/json application/x-javascript text/xml application/xml application/xml+rss text/javascript;


    server {
        listen       80;
        server_name  localhost;


    location / {
            root  /usr/local/nginx/html/teamzone;
            index  index.html index.htm;
            try_files $uri $uri/ /index.html =404;

            }

        error_page   500 502 503 504  /50x.html;
        location = /50x.html {
            root   html;
        }

    location /api/ {
        proxy_pass http://127.0.0.1:8451;
      }
    }

}
Note:
try_files $uri $uri/ /index.html =404;这句话是用来刷新的
只需要输入ip地址,直接就能跳转到angular的login界面,刷新也不会有问题
我原来把angular所有的文件全放在html文件夹里面,死活加载不了,后来加了个teamzone文件夹就好了。
问题
通过nginx配置开启解压缩静态文件gzip_static on后,启动nginx会提示nginx: [emerg] unknown directive "gzip_static" in,访问页面会发现有些js找不到,在目录下查找文件时发现是已gz结尾的,系统没有自动识别解压。
此时可用在nginx的安装目录的sbin中使用./nginx -V查看当前nginx的配置信息,看有没有配置--with-http_gzip_static_module
通过以上信息中的configure arguments看出我们没有配置该信息。这时需要我们进入原来的nginx解压的目录中,进行配置并重新安装。

## 配置
./configure --prefix=/usr/local/nginx --with-http_gzip_static_module
## 重新安装
make && make install
完成后通过./nginx -s reload重新加载nginx即可
原文链接:https://blog.csdn.net/github_38924695/article/details/108773173
asp .net core 环境安装
sudo dnf install aspnetcore-runtime-3.1
sudo apt-get install -y dotnet-sdk-5.0(ubuntu)
链接:https://docs.microsoft.com/en-us/dotnet/core/install/linux-ubuntu
假如不行就安装sdk
运行程序报错:
Unhandled Exception: System.InvalidOperationException: Unable to configure HTTPS endpoint.
解决办法:安装开发者证书
- dotnet dev-certs https --clean
- dotnet dev-certs https -t
Linux下相关操作
查看linux操作系统信息:cat /proc/version
没有创建文件夹等权限:在命令前面加sudo, 比如sudo mkdir /usr/local/nginx
使用shell拉本地文件到服务器permission denied:修改文件夹权限,sudo chmod -R 777 /usr/local/nginx
配置完成后,前端页面点击成功,然后登录时发现502错误:后台debug的端口是9001,但是release的是8000

 浙公网安备 33010602011771号