import freetype
from PIL import Image, ImageDraw
def _convert_bitmap_to_bytes(bitmap) -> bytes:
"""将FreeType位图转换为字节数据(1bpp格式)"""
if bitmap.width == 0 or bitmap.rows == 0:
return b''
bytes_per_line = (bitmap.width + 7) // 8
result = bytearray()
for y in range(bitmap.rows):
for x in range(0, bitmap.width, 8):
byte_val = 0
for bit in range(8):
if x + bit < bitmap.width:
pixel_x = x + bit
byte_index = y * bitmap.pitch + pixel_x // 8
bit_mask = 0x80 >> (pixel_x % 8)
if byte_index < len(bitmap.buffer):
if bitmap.buffer[byte_index] & bit_mask:
byte_val |= (1 << (7 - bit))
result.append(byte_val)
return bytes(result)
def draw_bitmap_to_canvas(bitmap_data, width, height, left, top, output_path="char.png"):
"""将位图数据绘制到画布上"""
# 创建白色背景画布(RGB模式)
canvas_width = width + 20
canvas_height = height + 20
img = Image.new("RGB", (canvas_width, canvas_height), "white")
draw = ImageDraw.Draw(img)
baseline_y=(canvas_height)//2
baseline_x=(canvas_width-width)//2
# 绘制黑色像素点(1bpp数据)
for y in range(height):
for x in range(width):
byte_pos = y * ((width + 7) // 8) + x // 8
bit_pos = 7 - (x % 8)
if byte_pos < len(bitmap_data):
if (bitmap_data[byte_pos] >> bit_pos) & 0x01:
# 正确的坐标计算:
# x坐标:原点 + 水平偏移 + 当前x
# y坐标:基线 - 垂直偏移 + 当前y(FreeType坐标系转PIL坐标系)
pixel_x =baseline_x+ left + x
pixel_y = baseline_y - top + y # 这是关键修正!
if 0 <= pixel_x < canvas_width and 0 <= pixel_y < canvas_height:
draw.point((pixel_x, pixel_y), fill="black")
# 考虑位图偏移 (left, top)
# draw.point((left + x + 10, 10 + top - y), fill="black") # 调整基线
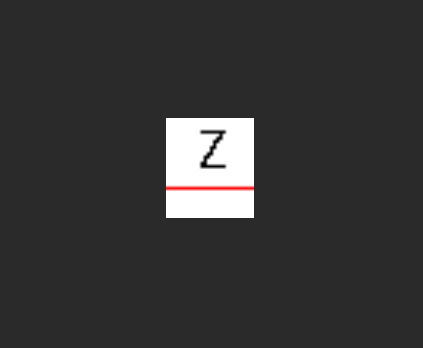
# 标记参考线(基线)
draw.line([(0, 10 + top), (width + 20, 10 + top)], fill="red", width=1)
img.save(output_path)
print(f"字符已保存到 {output_path}")
img.show()
# 初始化FreeType
face = freetype.Face('Roboto-Regular.ttf') # 替换为你的字体文件路径
face.set_char_size(16 * 64) # 16像素高度(26.6格式)
# 加载并渲染字符'0'(Unicode 0x30)
char_code = 'Z'
face.load_char(char_code, freetype.FT_LOAD_RENDER | freetype.FT_LOAD_TARGET_MONO)
bitmap = face.glyph.bitmap
glyph = face.glyph
# 生成点阵数据
char_bitmap = _convert_bitmap_to_bytes(bitmap)
# 打印信息
print("位图大小:", len(char_bitmap))
print("位图宽度:", bitmap.width)
print("位图高度:", bitmap.rows)
print("位图偏移X:", glyph.bitmap_left) # 水平偏移(从原点向右)
print("位图偏移Y:", glyph.bitmap_top) # 垂直偏移(从基线向上)
print("Advance:", glyph.advance.x >> 6, "像素") # 下一个字符的起始位置
# 绘制到画布
draw_bitmap_to_canvas(
char_bitmap,
width=bitmap.width,
height=bitmap.rows,
left=glyph.bitmap_left,
top=glyph.bitmap_top,
output_path="char_render.png"
)


 浙公网安备 33010602011771号