关于CoreData的理解和使用.
CoreData是苹果官方推出的一种方便的面向对象的存储方式,相信大家都已经对其有所了解,但是对于CoreData的概念大家都存在部分的误区.给大家推荐个网址是苹果的官方文档的翻译版(http://objccn.io/issue-4-1/)这里详细的解释了CoreData存在以及出现的意义.下面我就带大家来学习下如何使用CoreData.
今天我们先学习最基础的CoreData的操作(单表操作)
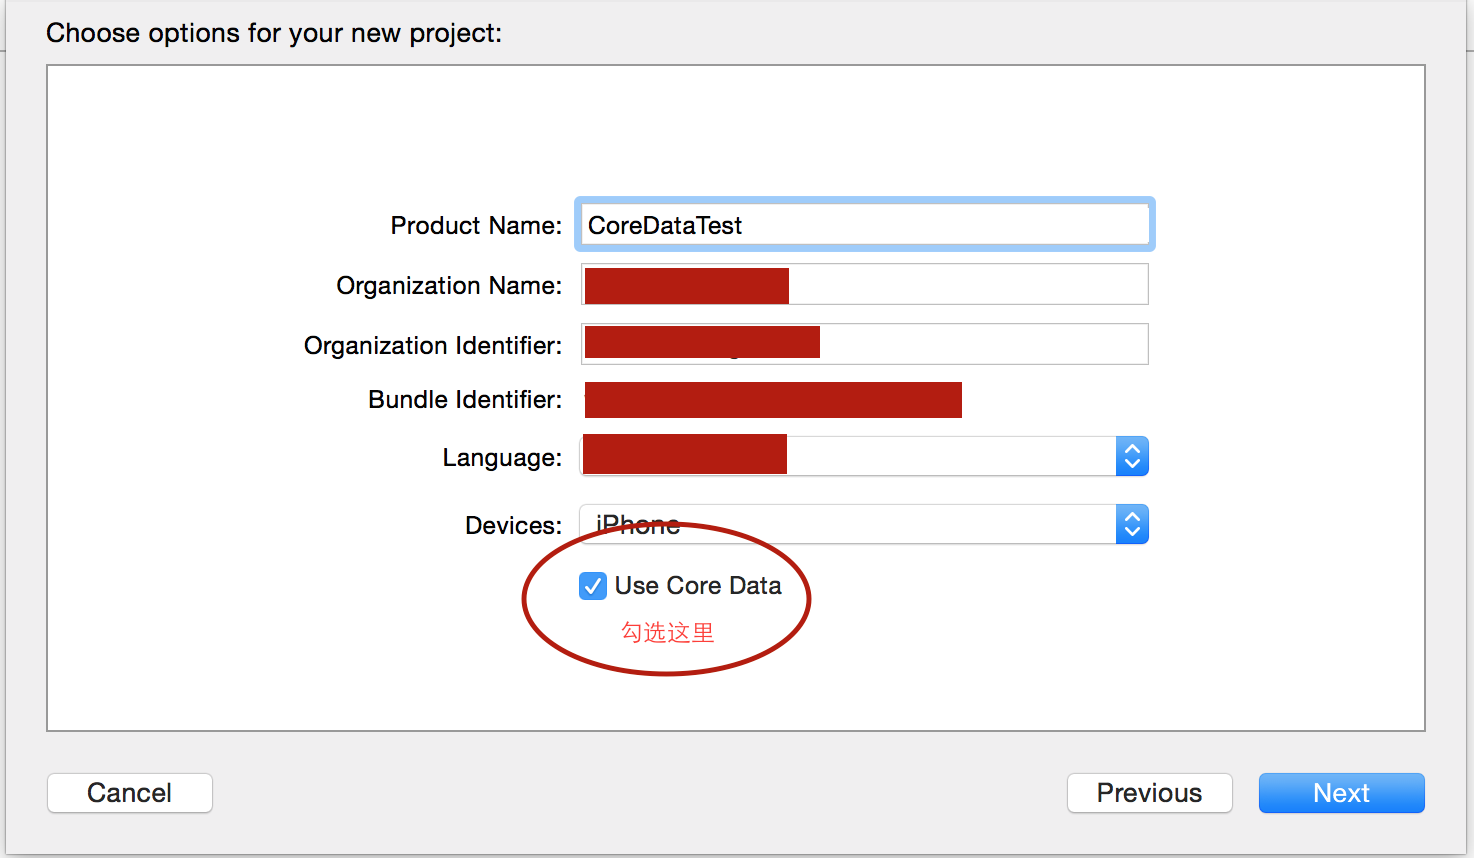
第一步 创建一个带有CoreData的工程.
创建完成带有CoreData的工程后我们可以看到我们工程左边列表里有一个名字叫做CoreDataTest.xcdatamodeld的文件在哪里就是我们创建我们Model类实体文件的地方.
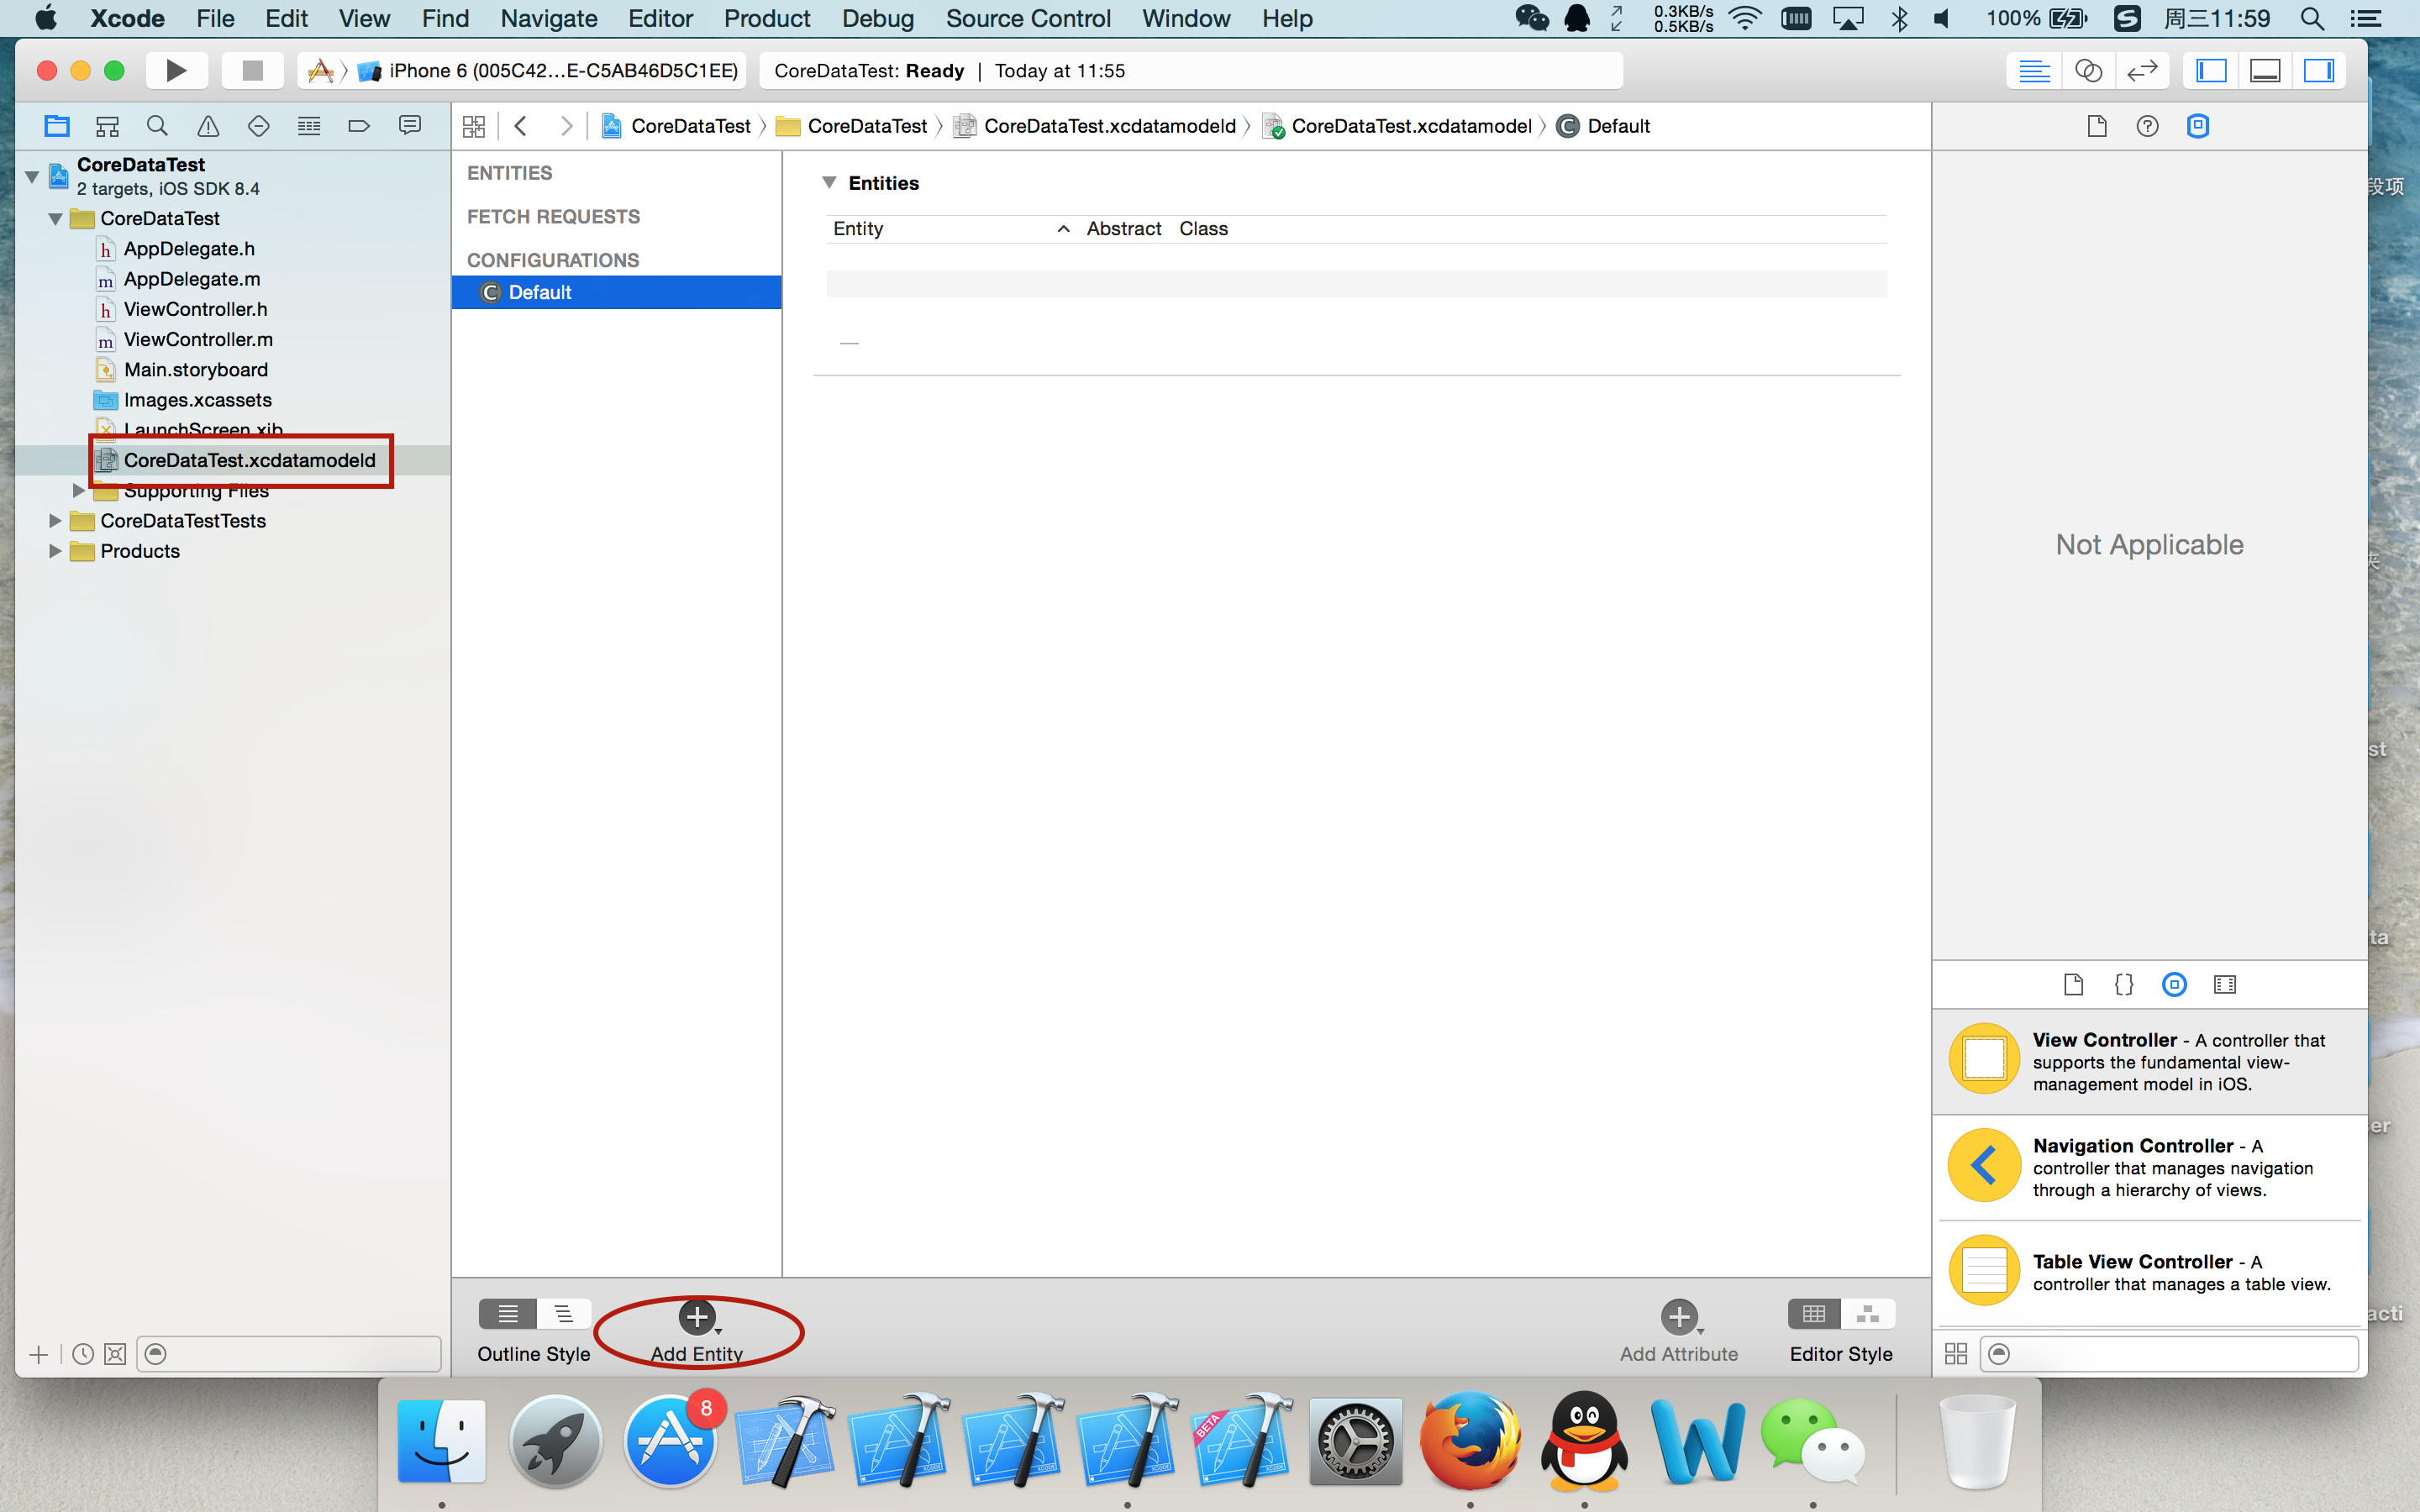
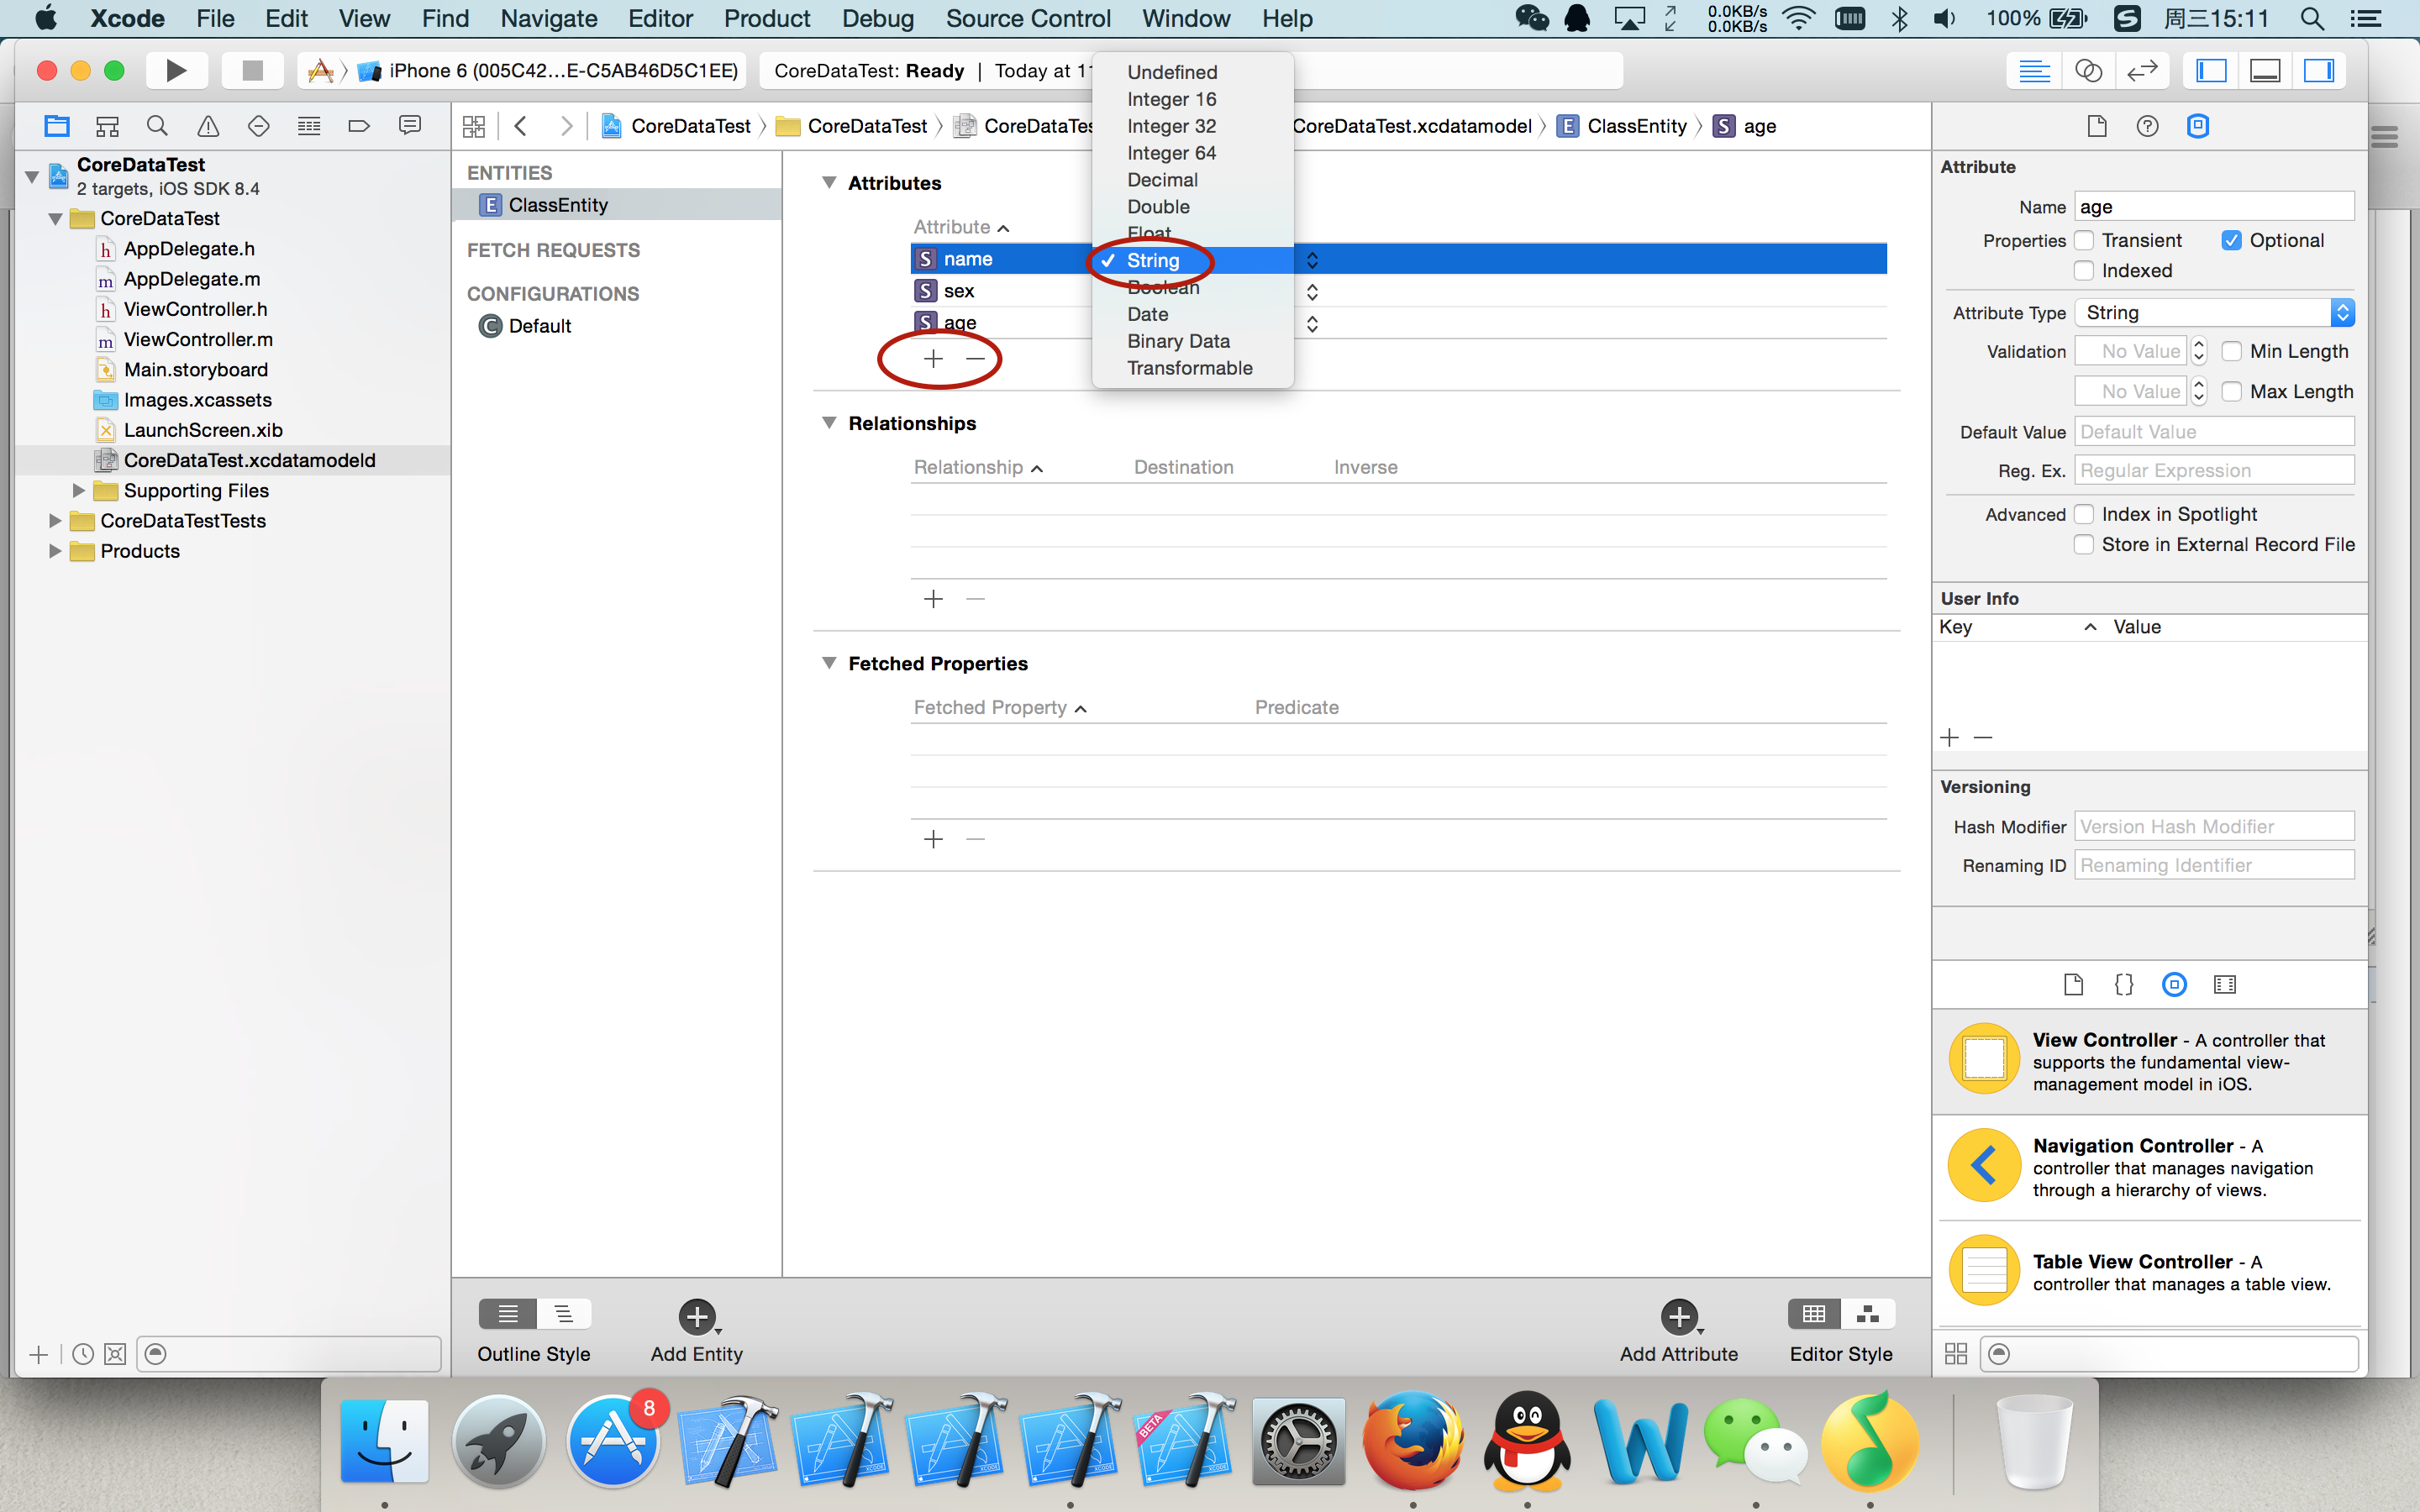
然后我们打开我们看到的那个文件,在里面我们创建一个叫做ClassEntity的实体名称.
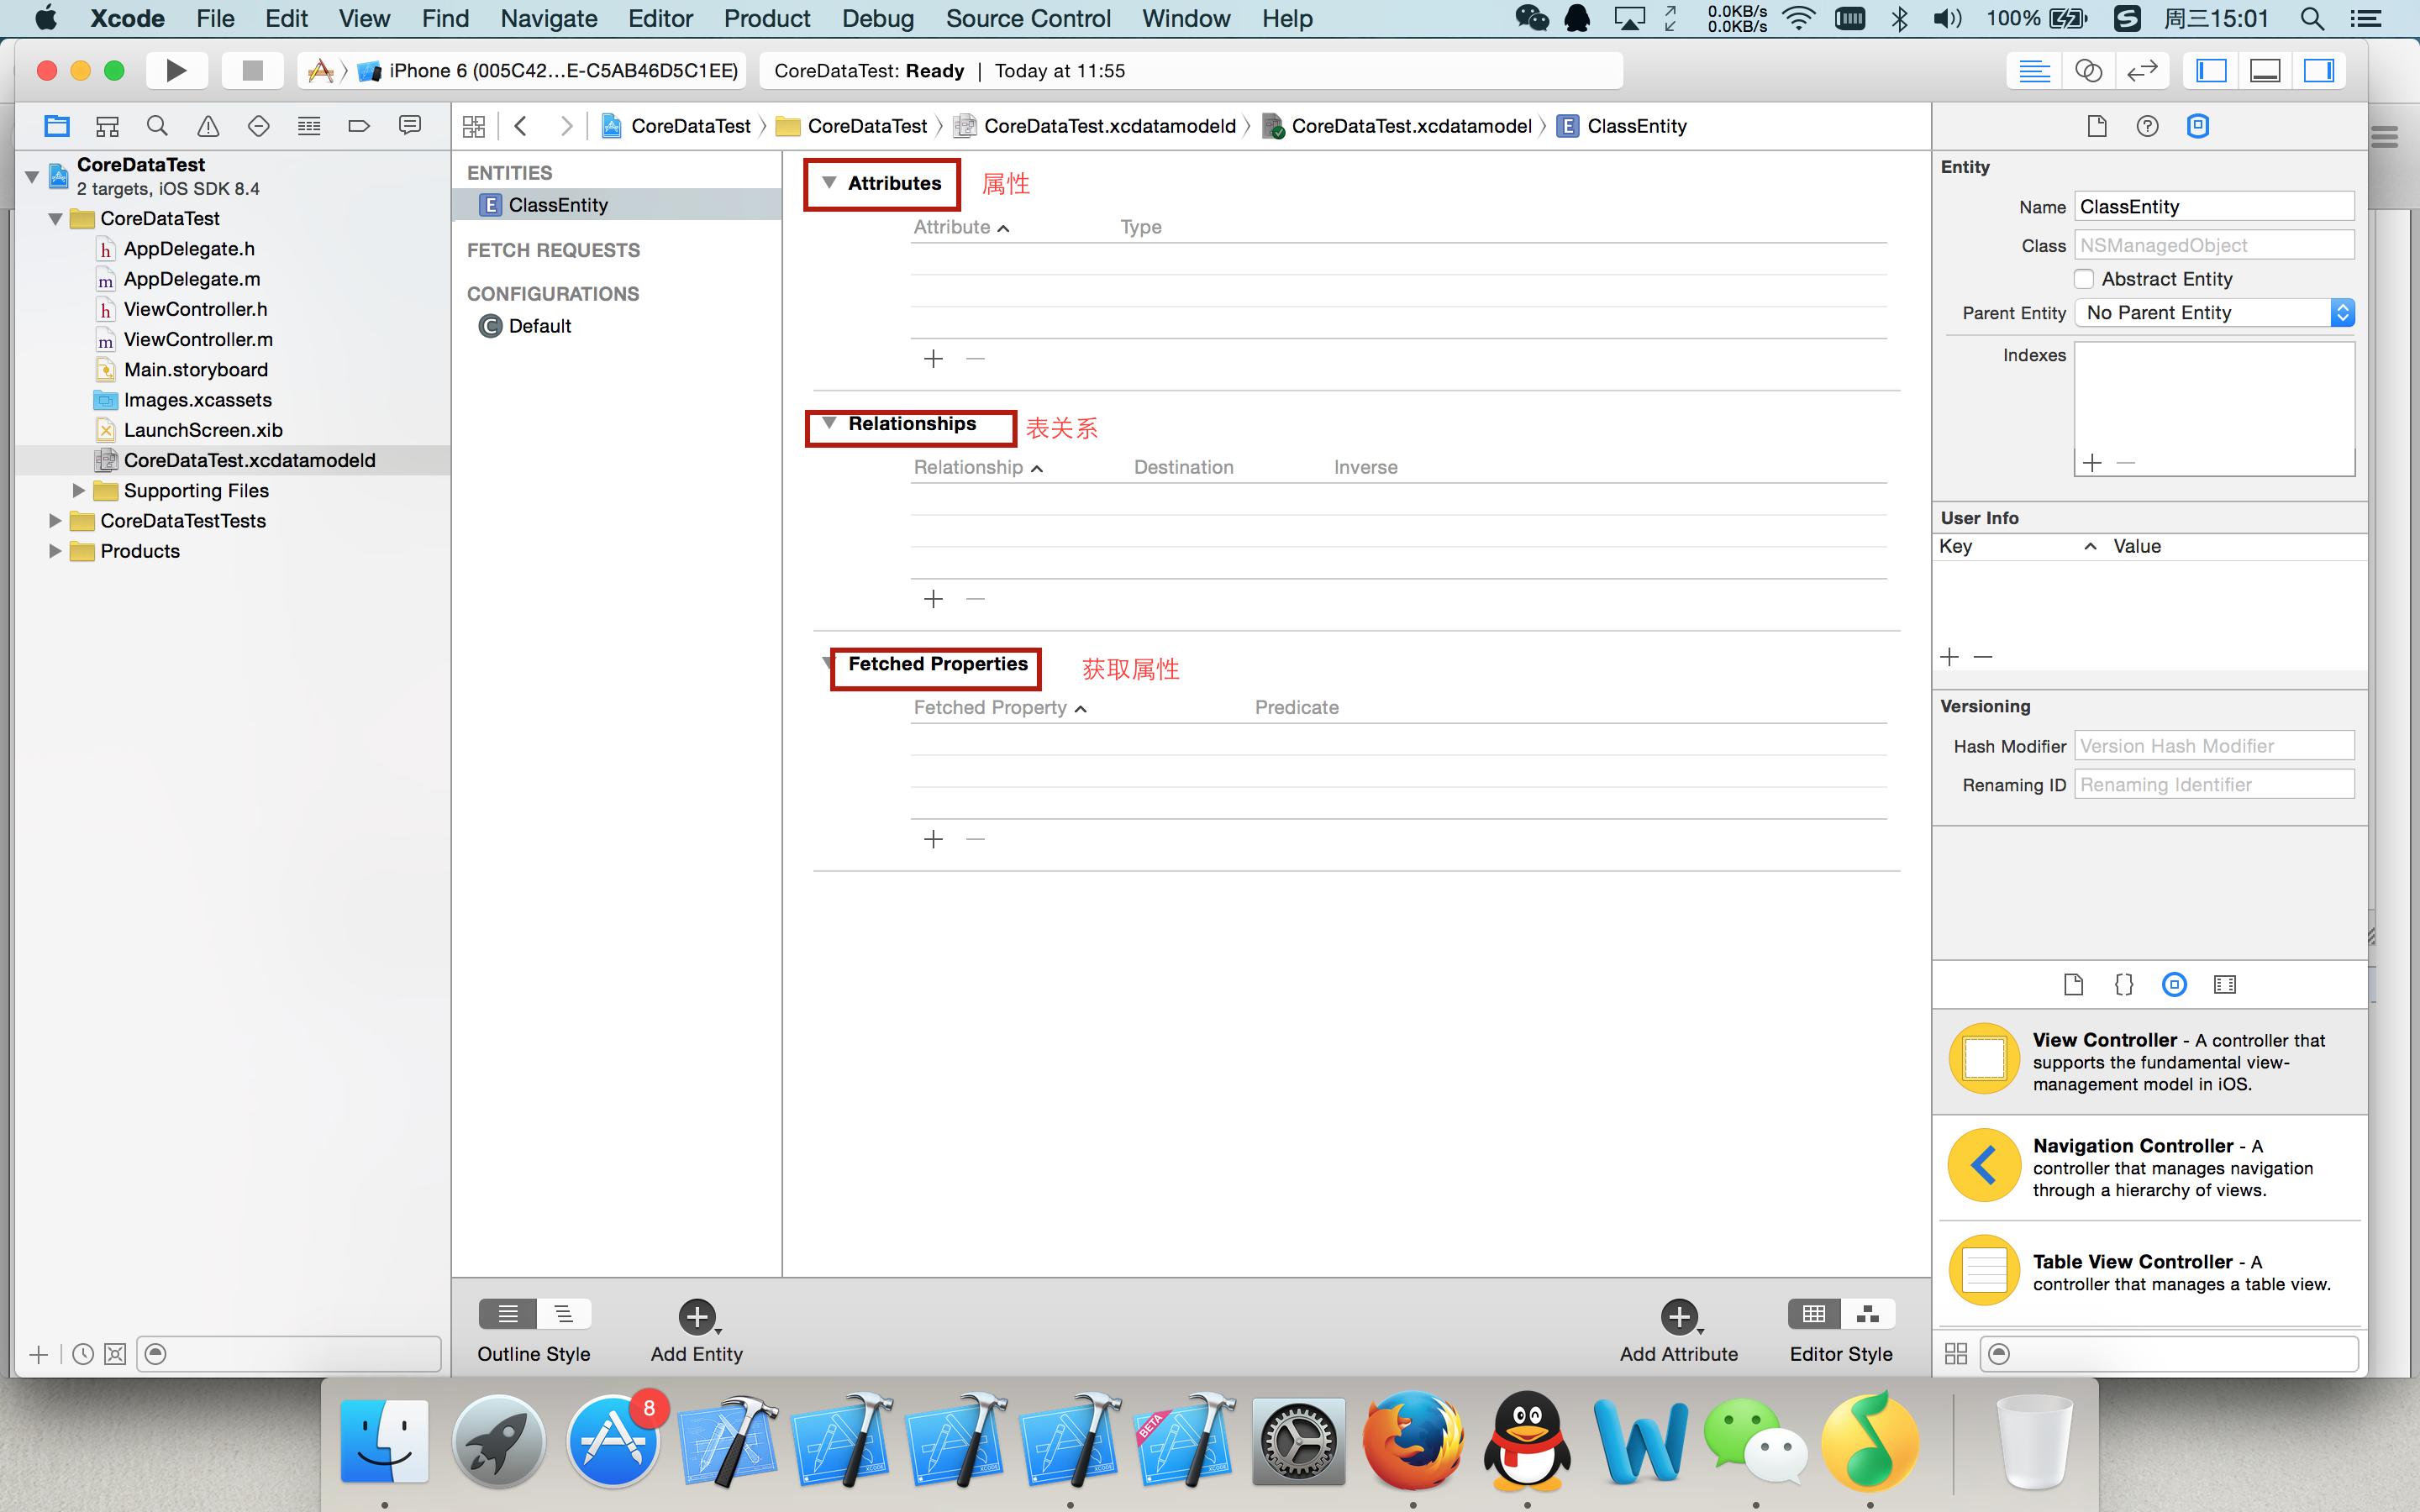
在我们创建完成那个实体文件以后我们看到我们的中间列表里面有一个添加实体属性的位置.在这里我们添加三条属性.名字分别为name sex age 类型全部选择是string
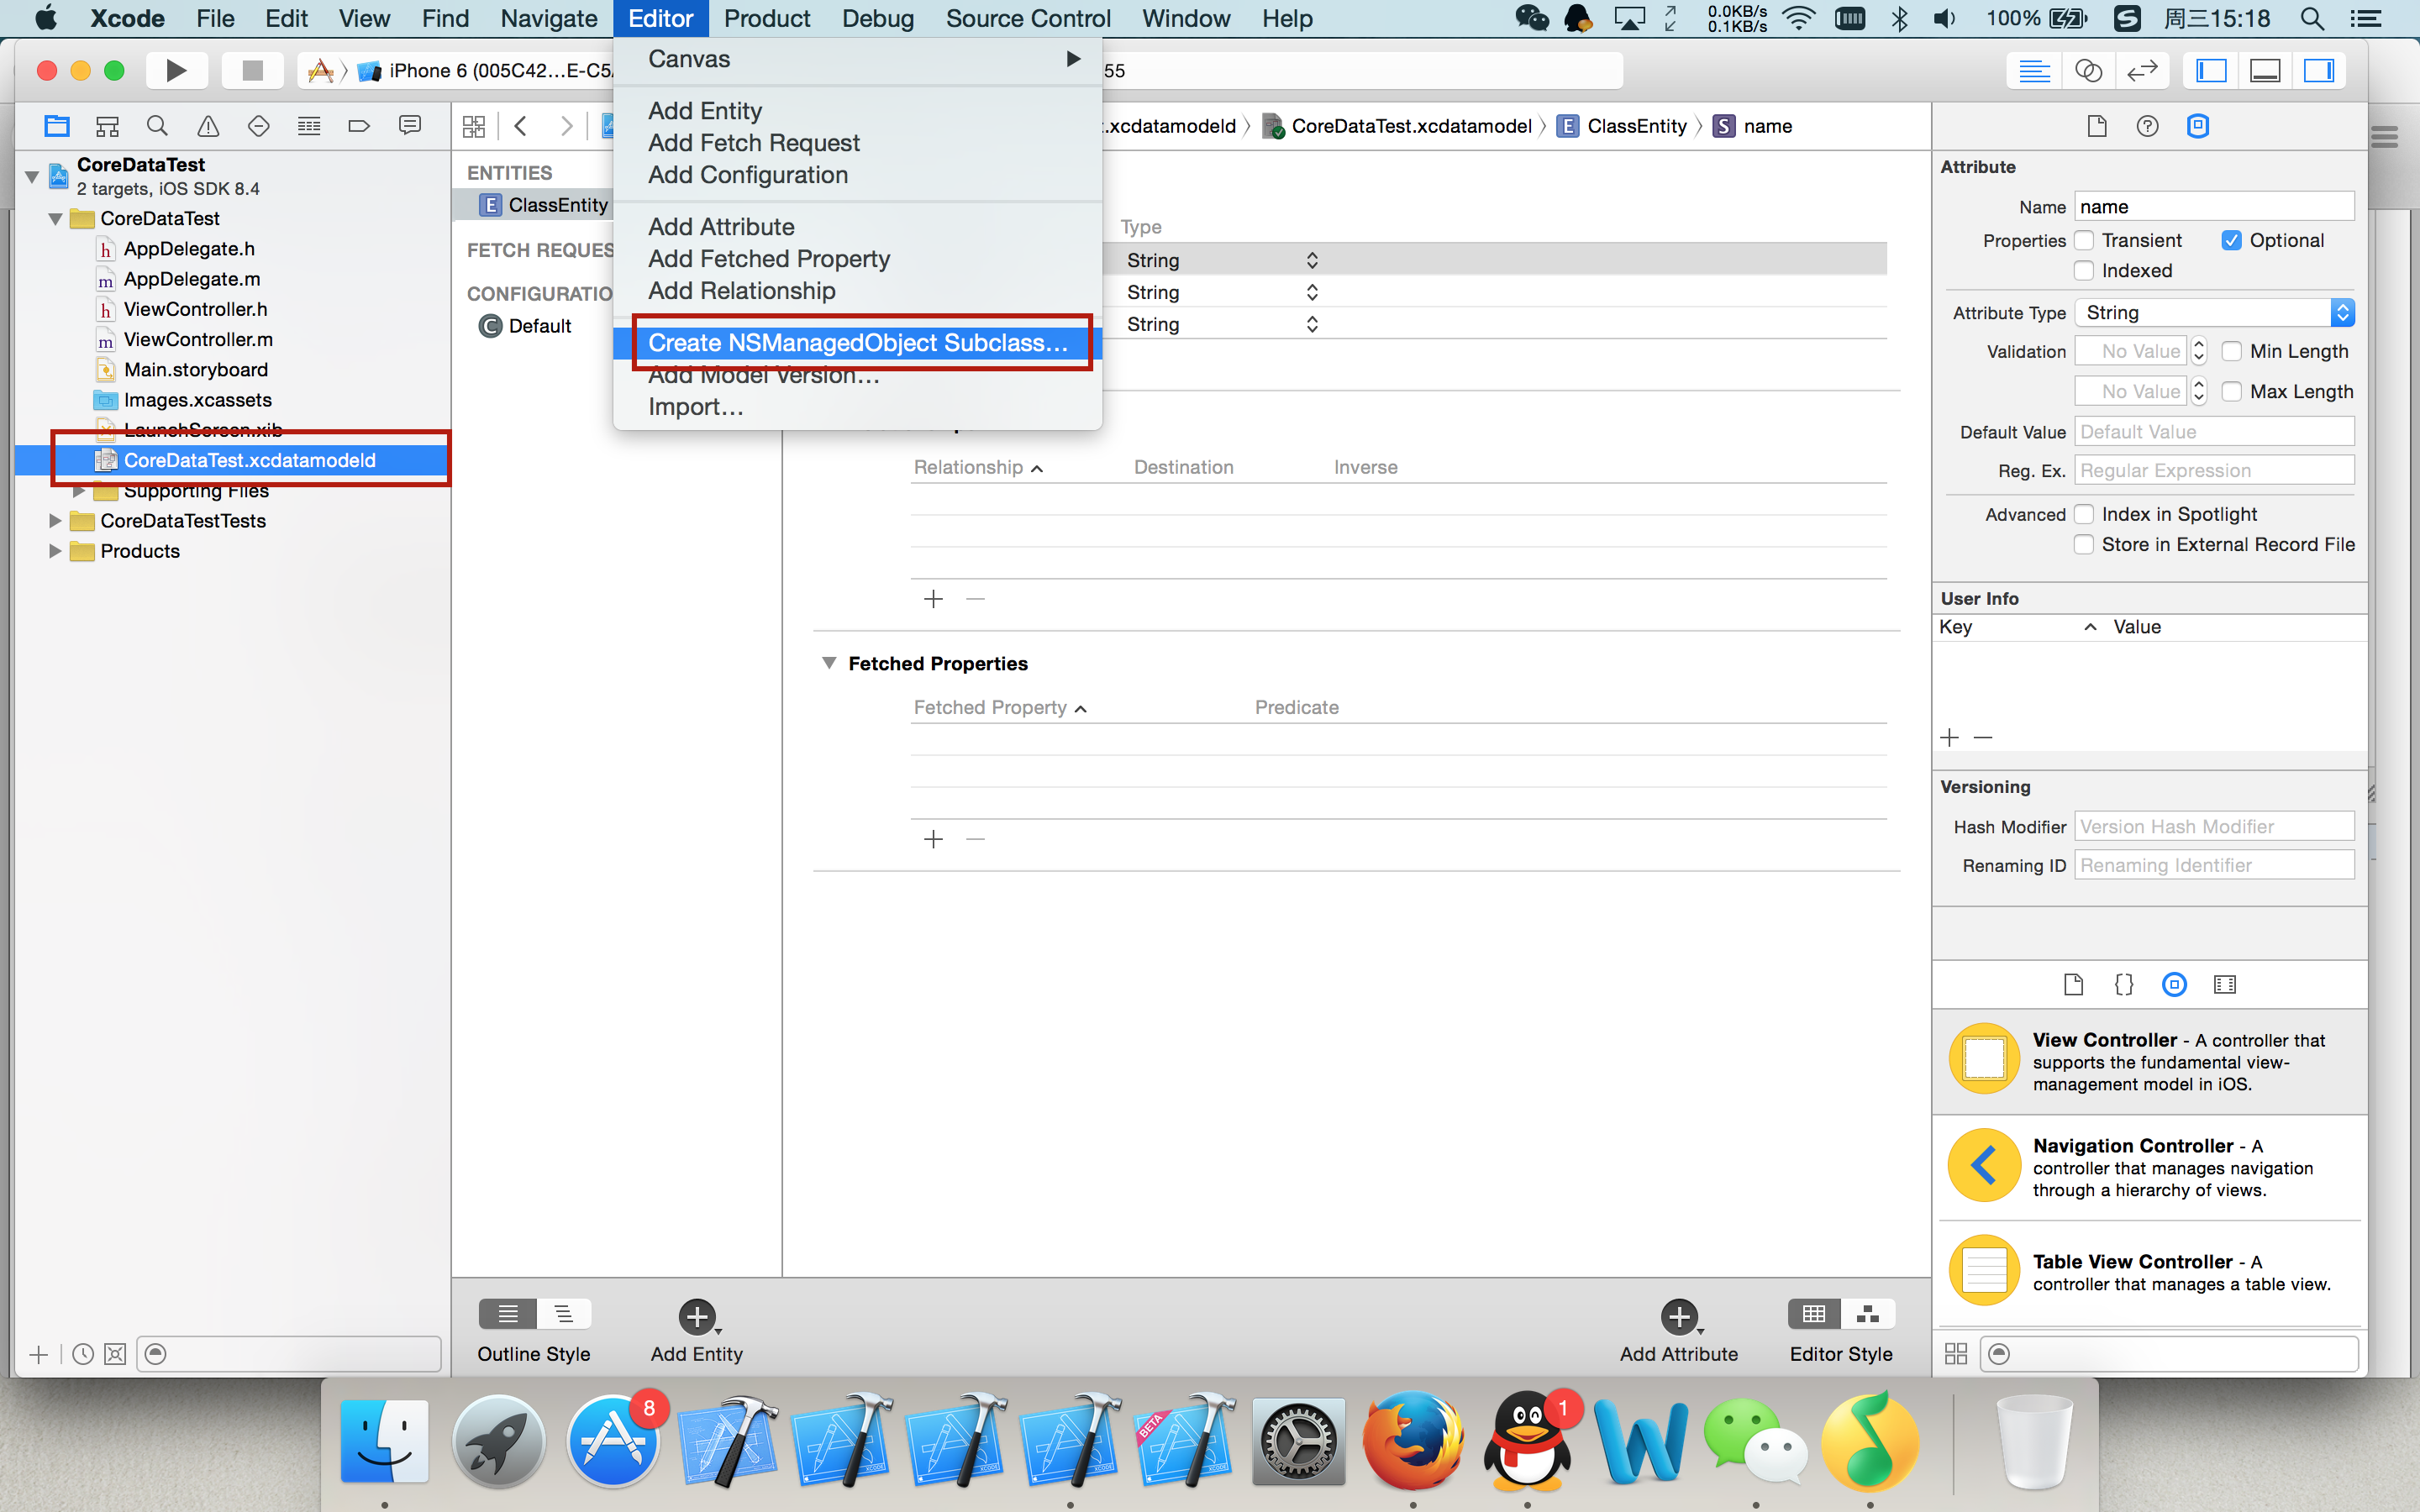
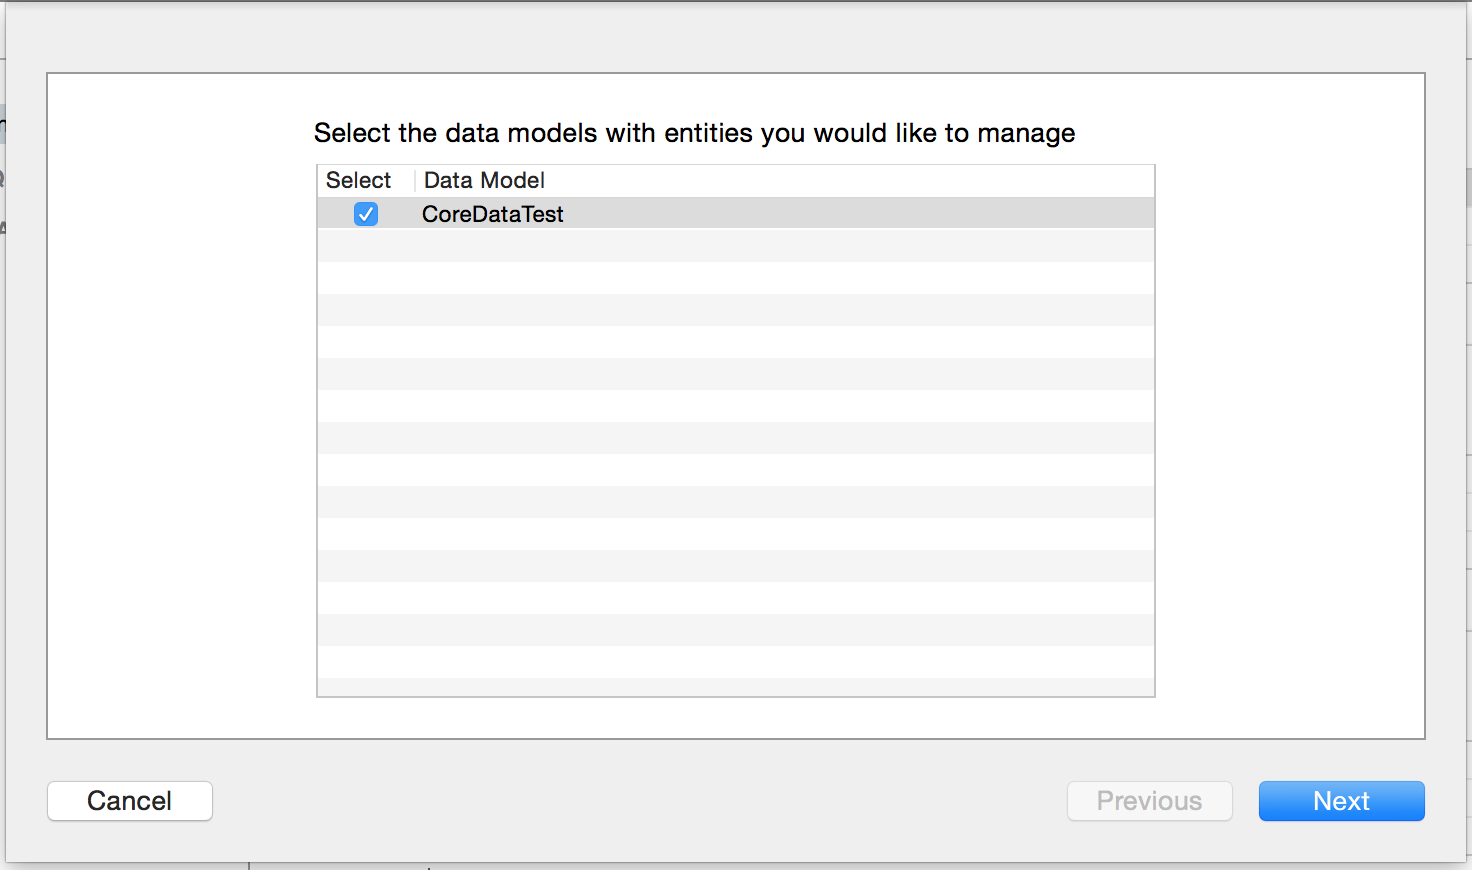
在属性添加完成后我们就可以去生成对应的实体类文件我们需要先选中CoreDataTest.xcdatamodeld这个文件然后选择菜单栏上的Editor选择Creat NSManagerObject Subclass...
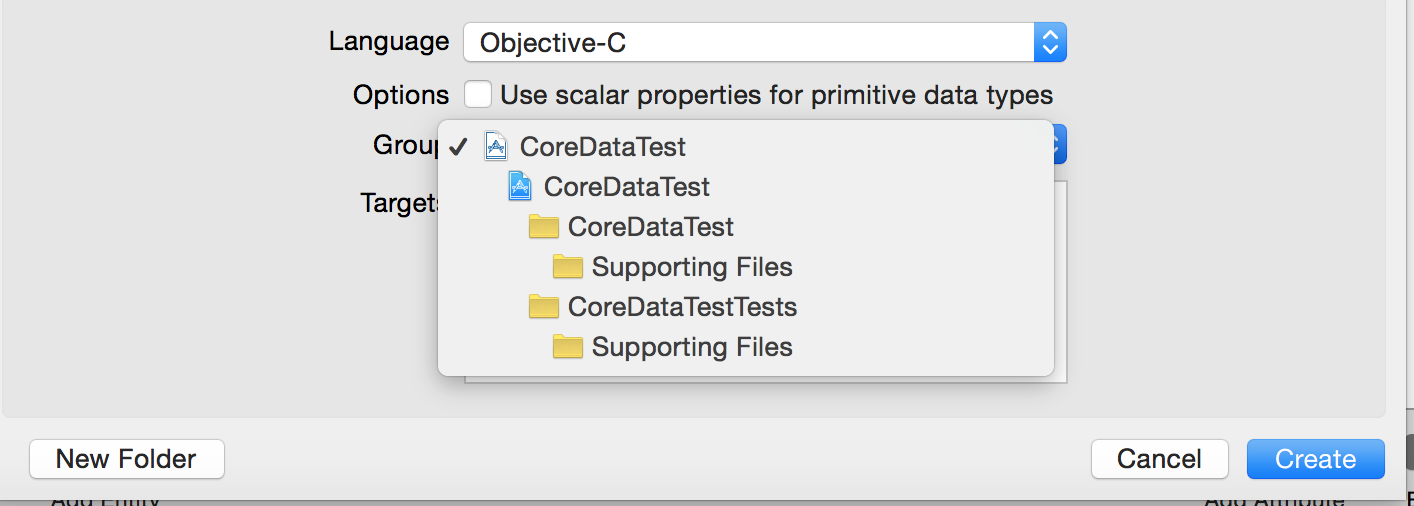
创建完成后我们可以看到两个叫做ClassEntity的文件被创建好了,然后我们再来看下其他不同于以往工程的地方.我们先来打开看下我们的AppDelegate.h文件,我们可以看到在AppDelegate.h文件中和以前我们创建的工程不同的地方.
#import <UIKit/UIKit.h>
#import <CoreData/CoreData.h>

@interface AppDelegate : UIResponder <UIApplicationDelegate>

@property (strong, nonatomic) UIWindow *window;

//被管理者对象上下文
@property (readonly, strong, nonatomic) NSManagedObjectContext *managedObjectContext;

//数据模型器管理类
@property (readonly, strong, nonatomic) NSManagedObjectModel *managedObjectModel;

//数据连接器工具类 (连接助理)
@property (readonly, strong, nonatomic) NSPersistentStoreCoordinator *persistentStoreCoordinator;

//通过对上下文的保存,将上下文管理的对象保存到实体数据库.
- (void)saveContext;

//获取数据库所在的路径
- (NSURL *)applicationDocumentsDirectory;


@end
看完AppDelegate.h中的不同后我们来看下AppDelegate.m中有什么不同.
#pragma mark - Core Data stack

@synthesize managedObjectContext = _managedObjectContext;
@synthesize managedObjectModel = _managedObjectModel;
@synthesize persistentStoreCoordinator = _persistentStoreCoordinator;

- (NSURL *)applicationDocumentsDirectory {
    // The directory the application uses to store the Core Data store file. This code uses a directory named "com.lanou.LessonCoreData" in the application's documents directory.
    NSLog(@"%@",[[[NSFileManager defaultManager] URLsForDirectory:NSDocumentDirectory inDomains:NSUserDomainMask] lastObject]);

    return [[[NSFileManager defaultManager] URLsForDirectory:NSDocumentDirectory inDomains:NSUserDomainMask] lastObject];
}

- (NSManagedObjectModel *)managedObjectModel {
    // The managed object model for the application. It is a fatal error for the application not to be able to find and load its model.
    if (_managedObjectModel != nil) {
        return _managedObjectModel;
    }

    //momd 去查询xcdatamodeld
    NSURL *modelURL = [[NSBundle mainBundle] URLForResource:@"LessonCoreData" withExtension:@"momd"];
    //创建数据器模型工具类.
    _managedObjectModel = [[NSManagedObjectModel alloc] initWithContentsOfURL:modelURL];
    return _managedObjectModel;
}

- (NSPersistentStoreCoordinator *)persistentStoreCoordinator {
    // The persistent store coordinator for the application. This implementation creates and return a coordinator, having added the store for the application to it.
    if (_persistentStoreCoordinator != nil) {
        return _persistentStoreCoordinator;
    }

    // Create the coordinator and store

    //使用数据模型器工具类实例化数据连接器工具类.
    _persistentStoreCoordinator = [[NSPersistentStoreCoordinator alloc] initWithManagedObjectModel:[self managedObjectModel]];
    //数据库的绝对路径.
    NSURL *storeURL = [[self applicationDocumentsDirectory] URLByAppendingPathComponent:@"LessonCoreData.sqlite"];
    NSError *error = nil;
    NSString *failureReason = @"There was an error creating or loading the application's saved data.";

    //创建数据库的过程.
    //1.数据持久化类型
    //2.设置信息
    //3.数据库的绝对路径.
    //4.配置SQL数据的选项
    //5.错误信息的赋值.
    if (![_persistentStoreCoordinator addPersistentStoreWithType:NSSQLiteStoreType configuration:nil URL:storeURL options:nil error:&error]) {
        // Report any error we got.
        NSMutableDictionary *dict = [NSMutableDictionary dictionary];
        dict[NSLocalizedDescriptionKey] = @"Failed to initialize the application's saved data";
        dict[NSLocalizedFailureReasonErrorKey] = failureReason;
        dict[NSUnderlyingErrorKey] = error;
        error = [NSError errorWithDomain:@"YOUR_ERROR_DOMAIN" code:9999 userInfo:dict];
        // Replace this with code to handle the error appropriately.
        // abort() causes the application to generate a crash log and terminate. You should not use this function in a shipping application, although it may be useful during development.
        NSLog(@"Unresolved error %@, %@", error, [error userInfo]);
        //程序中断
        abort();
    }

    return _persistentStoreCoordinator;
}


- (NSManagedObjectContext *)managedObjectContext {
    // Returns the managed object context for the application (which is already bound to the persistent store coordinator for the application.)
    if (_managedObjectContext != nil) {
        return _managedObjectContext;
    }

    //通过GET方法创建数据连接器工具类
    NSPersistentStoreCoordinator *coordinator = [self persistentStoreCoordinator];
    //判断数据器连接工具类是否为空
    if (!coordinator) {
        return nil;
    }
    //创建数据管理器工具类
    _managedObjectContext = [[NSManagedObjectContext alloc] init];
    //设置数据管理器工具类的数据连接器.
    [_managedObjectContext setPersistentStoreCoordinator:coordinator];
    return _managedObjectContext;
}

#pragma mark - Core Data Saving support
//保存你当前的操作到数据库中.
- (void)saveContext {
    NSManagedObjectContext *managedObjectContext = self.managedObjectContext;
    if (managedObjectContext != nil) {
        NSError *error = nil;
        if ([managedObjectContext hasChanges] && ![managedObjectContext save:&error]) {
            // Replace this implementation with code to handle the error appropriately.
            // abort() causes the application to generate a crash log and terminate. You should not use this function in a shipping application, although it may be useful during development.
            NSLog(@"Unresolved error %@, %@", error, [error userInfo]);
            abort();
        }
    }
}
这些就是我们在创建完成一个带有CoreData的工程和以前我们创建的工程的区别.然后我们来看下我们当前应该如何对我们当前创建的数据库来操作.首先进入到我们当前需要用到CoreData的类文件中创建AppDelegate的实例,然后再当前类的- (void)viewWillDidLoad方法中去实现对CoreData的操作.
#import "ViewController.h"
#import "AppDelegate.h"
#import "ClassEntity.h"

@interface ViewController ()

@end

@implementation ViewController

- (void)viewDidLoad {
    [super viewDidLoad];
    //获取当前的AppDelegate的实例.
    AppDelegate *appdelegate = [UIApplication sharedApplication].delegate;

    ////为数据库中增加数据

    //创建当前实体类的实体描述
    NSEntityDescription *entityDescription = [NSEntityDescription entityForName:@"ClassEntity" inManagedObjectContext:appdelegate.managedObjectContext];

    //通过实体描述文件来创建当前类的实例.
    ClassEntity *classEntity = [[ClassEntity alloc] initWithEntity:entityDescription insertIntoManagedObjectContext:appdelegate.managedObjectContext];

    //为实例的属性赋值.
    classEntity.name = @"张三";
    classEntity.sex = @"男";
    classEntity.age = @"21";

    //保存操作到真实的数据库内.
    [appdelegate saveContext];

    ////查询数据库内存放的实体内容.

    //创建查询语句
    NSFetchRequest *request = [[NSFetchRequest alloc] initWithEntityName:@"ClassEntity"];

    //通过AppDelegate来查询你想要的数据库.
    //注意返回值为数组.
    NSArray *arr = [appdelegate.managedObjectContext executeFetchRequest:request error:nil];

    //打印数组
    NSLog(@"%@",arr);

    ////删除数据库中存放的实体.

    //通过查询获取到你需要删除的表单中的所有内容.

    //通过返回值获取到的数组来查找你当前想要的实体位置.
    ClassEntity *classEntity1 = [arr objectAtIndex:0];

    //通过AppDelegate
    [appdelegate.managedObjectContext deleteObject:classEntity1];

    //通过AppDelegate来保存到你的真实数据库中.
    [appdelegate saveContext];


    // Do any additional setup after loading the view, typically from a nib.
}
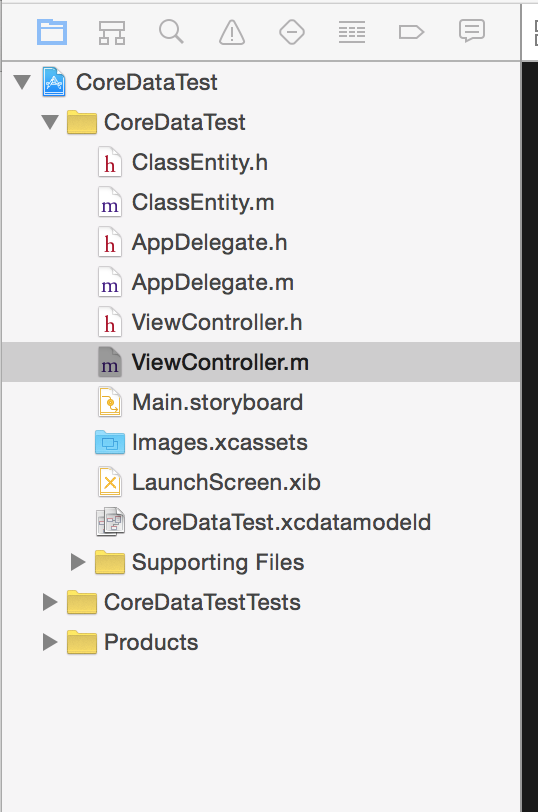
这些就是本次的CoreData是如何使用的.这次的内容也就到这里结束了.下次会和大家分享多表的CoreData的操作.最后附上我的文件列表截图
.