openEuler22.03系统安装Fastdfs
1.下载依赖包
离线状态下,先找一个可以连外网的机器,安装vmware,安装同版本的openEuler22.03系统后,下载依赖包
yum reinstall --downloadonly --downloaddir=/work g++
yum reinstall --downloadonly --downloaddir=/work zip unzip
yum reinstall --downloadonly --downloaddir=/work vim-enhanced
yum reinstall --downloadonly --downloaddir=/work pcre
yum reinstall --downloadonly --downloaddir=/work pcre-devel
yum reinstall --downloadonly --downloaddir=/work zlib
yum reinstall --downloadonly --downloaddir=/work zlib-devel
yum reinstall --downloadonly --downloaddir=/work libtool
2.安装依赖包
将/work里包拷到待部署的机器上
rpm -Uvh *.rpm --nodeps --force
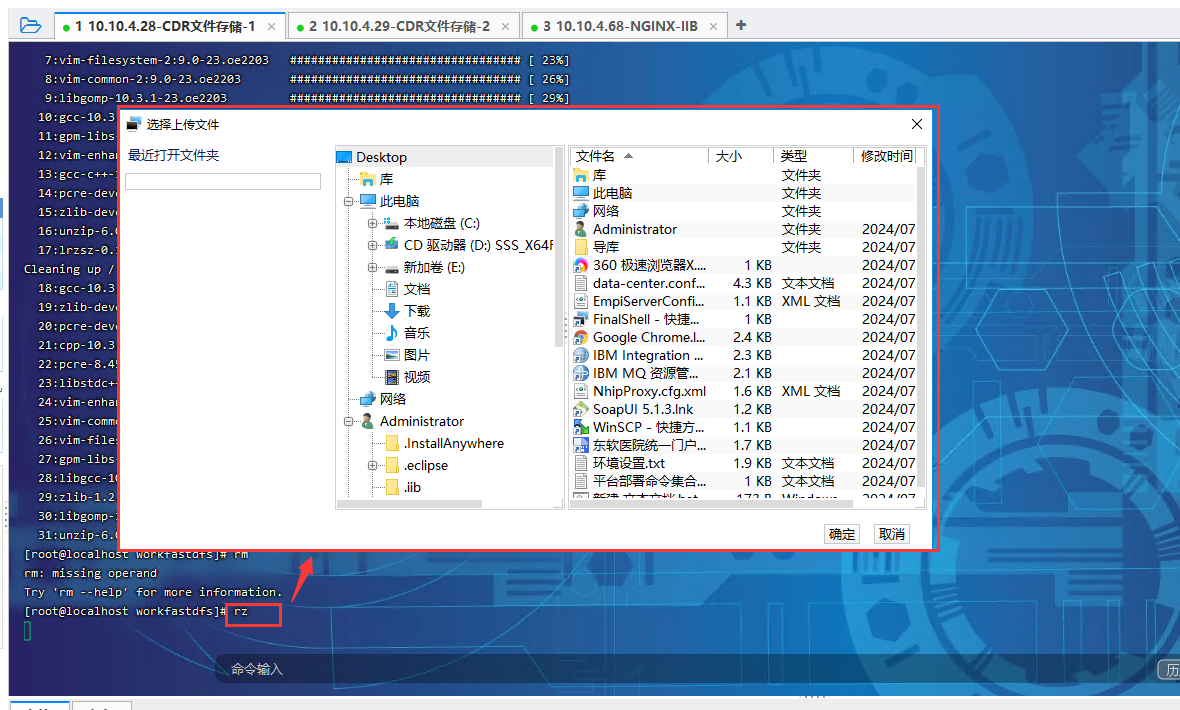
3.输入rz命令,验证lrzsz安装,弹出文件选择框为成功
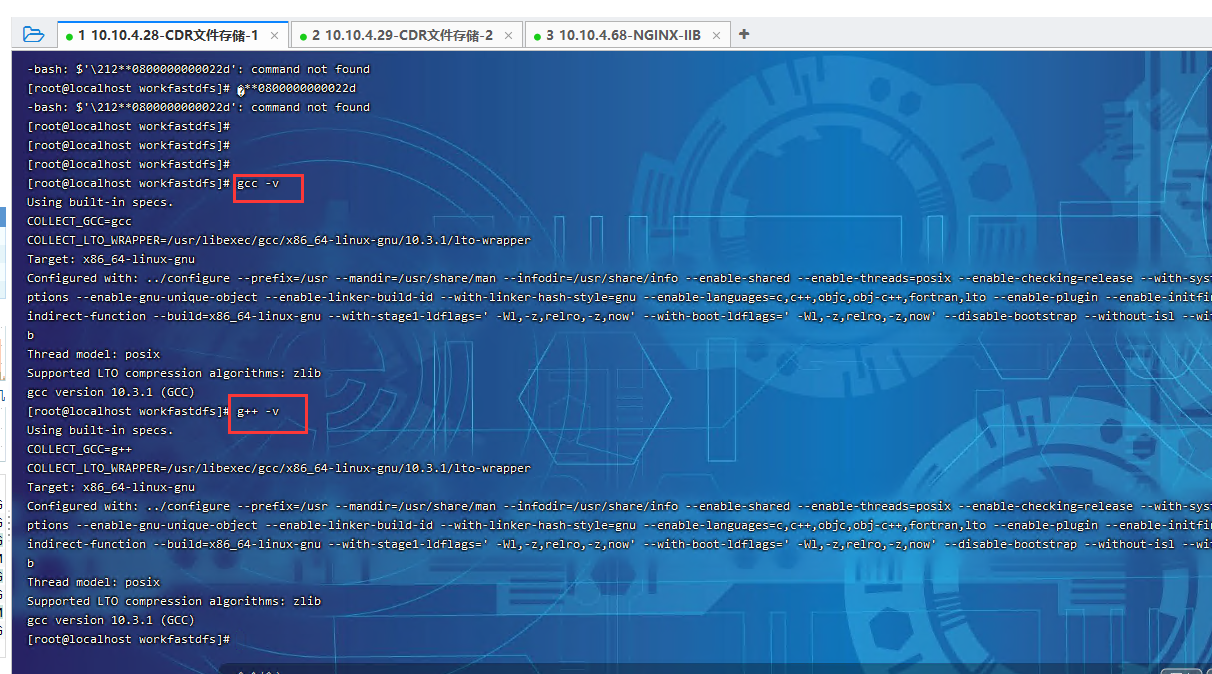
4.验证GCC/G++
gcc -v
g++ -v
开防火墙端口:
firewall-cmd --permanent --add-port={23000/tcp,22122/tcp,8888/tcp}
firewall-cmd --reload
firewall-cmd --list-all
基于以上环境,在A和B2台服务器上安装如下相关文件:
libfastcommon-1.0.7.zip
fastdfs-5.05.tar.gz
nginx-1.7.8.tar.gz
fastdfs-nginx-module_v1.15.tar.gz
安装libfastcommon(AB相同):
mkdir -p /usr/local/software/
cd /usr/local/software/
mkdir -p /usr/local/fast/
unzip libfastcommon-1.0.7.zip -d /usr/local/fast/
cd /usr/local/fast/libfastcommon-1.0.7/
./make.sh
./make.sh install

#创建软链接
ln -s /usr/lib64/libfastcommon.so /usr/local/lib/libfastcommon.so
ln -s /usr/lib64/libfastcommon.so /usr/lib/libfastcommon.so
ln -s /usr/lib64/libfdfsclient.so /usr/local/lib/libfdfsclient.so
ln -s /usr/lib64/libfdfsclient.so /usr/lib/libfdfsclient.so
安装FastDFS(AB相同):
cd /usr/local/software/
tar -zxvf fastdfs-5.05.tar.gz -C /usr/local/fast/

cd /usr/local/fast/fastdfs-5.05/
./make.sh
./make.sh install
修改公共部分的配置(AB相同):
vim /etc/init.d/fdfs_storaged
vim /etc/init.d/fdfs_trackerd
将/usr/local/bin替换成/usr/bin
生成tracker/storage/client配置文件(AB相同):
cd/etc/fdfs/
cp tracker.conf.sample tracker.conf
mkdir -p /home/nhip/fastdfs/tracker
cp storage.conf.sample storage.conf
mkdir -p /home/nhip/fastdfs/storage
cp client.conf.sample client.conf
配置tracker(AB相同):
#修改tracker.conf
vim /etc/fdfs/tracker.conf
#按以下内容修改
base_path=/home/nhip/fastdfs/tracker
store_lookup=0
配置storage:
vim /etc/fdfs/storage.conf

#按以下内容修改
group_name=group1 #A-group1 ,B-group2
base_path=/home/nhip/fastdfs/storage
store_path0=/home/nhip/fastdfs/storage
subdir_count_per_path=16
tracker_server=10.10.4.28:22122
tracker_server=10.10.4.29:22122
http.server_port=8888
启动tracker并查看状态:
/etc/init.d/fdfs_trackerd start
ps -ef | grep fdfs
启动storage并查看状态:
/etc/init.d/fdfs_storaged start
/home/nhip/fastdfs/storage看日志:

查看Storage和Tracker是否在通信
/usr/bin/fdfs_monitor /etc/fdfs/storage.conf
上传图片测试
修改client配置
vim /etc/fdfs/client.conf
#按以下内容修改
base_path=/home/nhip/fastdfs/tracker
tracker_server=10.10.4.28:22122
tracker_server=10.10.4.29:22122
连续上传按轮询策略:
/usr/bin/fdfs_upload_file /etc/fdfs/client.conf /usr/local/3.jpg

配置fastdfs-nginx-module
cd /usr/local/software
tar -zxvf fastdfs-nginx-module_v1.15.tar.gz -C /usr/local/fast/

vim /usr/local/fast/fastdfs-nginx-module/src/config
/usr/local/include改为/usr/include
安装nginx(使用nginx-1.14.2版本)
error: '%s' directive output may be truncated writing up to 254 bytes into a region of size between 111 and 127 [-Werror=format-truncation=]
解决办法:
修改/usr/local/fast/fastdfs-nginx-module/src/common.c 文件
文件里搜索:char file_id 把长度改成:char file_id[512];
tar -zxvf nginx-1.14.2.tar.gz -C /usr/local/
cd /usr/local/nginx-1.14.2/c
./configure --add-module=/usr/local/fast/fastdfs-nginx-module/src/
修改/usr/local/fast/fastdfs-nginx-module/src/common.c 文件
文件里搜索:char file_id 把长度改成:char file_id[512];
make
make install
修改mod_fastdfs.conf
cd /usr/local/fast/fastdfs-nginx-module/src/
cp mod_fastdfs.conf /etc/fdfs/
需要修改的地方如下:
connect_timeout=10
tracker_server=192.168.58.127:22122
tracker_server=192.168.58.128:22122
storage_server_port=23000
url_have_group_name=true
store_path0=/home/nhip/fastdfs/storage
group_name=group1
group_count=2
[group1]
group_name=group1
storage_server_port=23000
store_path_count=1
store_path0=/home/nhip/fastdfs/storage
[group2]
group_name=group2
storage_server_port=23000
store_path_count=1
store_path0=/home/nhip/fastdfs/storage
http.conf和mime.types 复制到/etc/fdfs/
cd /usr/local/fast/fastdfs-5.05/conf/
cp http.conf mime.types /etc/fdfs/
修改
vim nginx.conf
增加以下内容:
server {
listen 8888;
server_name localhost;
#charset koi8-r;
#access_log logs/host.access.log main;
#location / {
# root html;
# index index.html index.htm;
#}
location ~/group([0-9])/M00 {
ngx_fastdfs_module;
}
启动nginx
/usr/local/nginx/sbin/nginx
测试访问:

#设置group服务器
upstream fdfs_group1 {
server 192.168.180.43:8888 weight=1 max_fails=2 fail_timeout=30s;
}
upstream fdfs_group2 {
server 192.168.180.44:8888 weight=1 max_fails=2 fail_timeout=30s;
}
server {
listen 8888;
server_name fdfs8888;
charset utf-8;
#access_log /usr/local/nginx/logs/localhost.access.log main;
location /group1/M00 {
proxy_next_upstream http_502 http_504 error timeout invalid_header;
#proxy_cache http-cache;
#proxy_cache_valid 200 304 12h;
#proxy_cache_key $uri$is_args$args;
proxy_pass http://fdfs_group1;
expires 30d;
}
location /group2/M00 {
proxy_next_upstream http_502 http_504 error timeout invalid_header;
#proxy_cache http-cache;
#proxy_cache_valid 200 304 12h;
#proxy_cache_key $uri$is_args$args;
proxy_pass http://fdfs_group2;
expires 30d;
}
}


 浙公网安备 33010602011771号