
在WPF应用中,结合阿里矢量图标库使用Geometry图标
在我们的SqlSugar开发框架的WPF应端中,有时候我们需要在按钮或者其他界面元素上使用一些图标,框架中我们可以使用 lepoco/wpfui 项目的图标库,也可以使用Font-Awesome-WPF 图标库,另外我们如果喜欢阿里矢量图标库的,也可以通过使用Geometry图标来实现图标的展示,本篇随笔介绍在WPF应用中,结合阿里矢量图标库使用Geometry图标。
1、回顾lepoco/wpfui 项目的图标库,也可以使用Font-Awesome-WPF 图标库
在我们之前介绍过的随笔《循序渐进介绍基于CommunityToolkit.Mvvm 和HandyControl的WPF应用端开发(7) -- 图标列表展示和选择处理》,介绍了lepoco/wpfui 项目的图标库和Font-Awesome-WPF 图标库,两种都在集成在了菜单选择上的图标设置操作中,可以根据需要选择其中一种。
1)lepoco/wpfui 项目的图标库,列表选择界面
lepoco/wpfui 项目的图标库来源于Fluent System Icons,项目地址是:https://github.com/microsoft/fluentui-system-icons
这些图标映射到枚举对象 SymbolRegular 和 SymbolFilled,一个是常规的,一个是填充的图标。我们封装的选择图标界面如下所示。
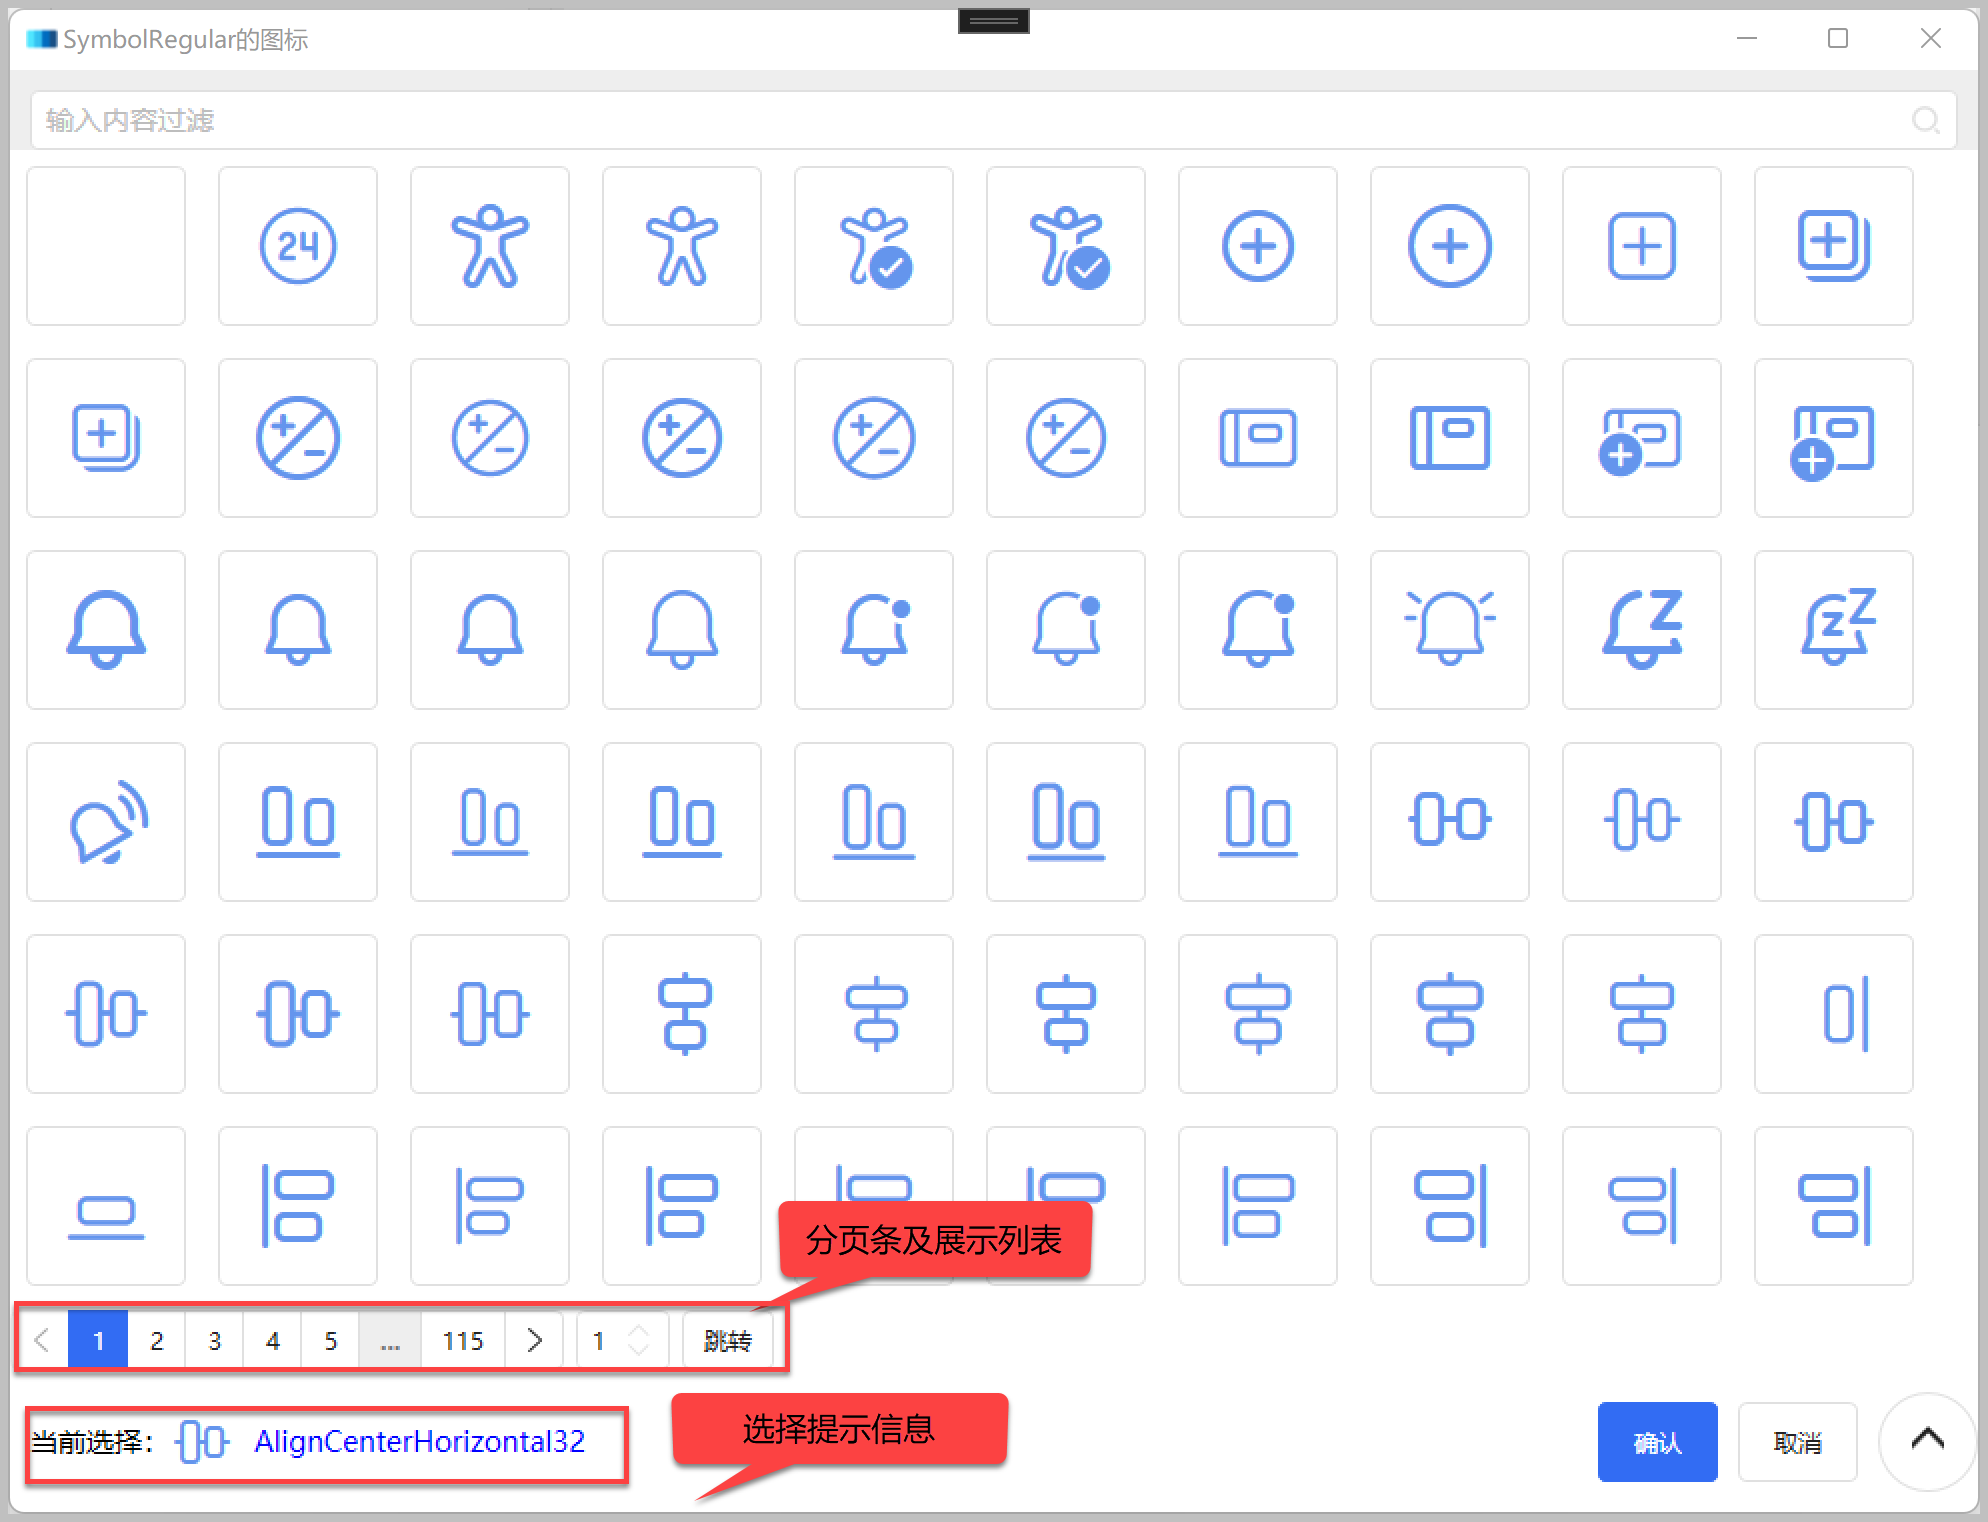
界面展示的图标代码如下所示。
<ui:SymbolIcon
    FontSize="48"
    Foreground="CornflowerBlue"
    Symbol="{Binding Text}"
    Tag="{Binding}"
    ToolTip="{Binding Text}" />
2)使用Font-Awesome-WPF 图标组件
在WPF中使用Font-Awesome-WPF 图标组件的很多,它的项目地址:https://github.com/charri/Font-Awesome-WPF/blob/master/README-WPF.md。
我们也可以用类似的方式来整合这个图标组件到项目中进行使用。图标选择界面运行效果如下所示,由于图标不是很多,所以一次性加载了(没有分页)。
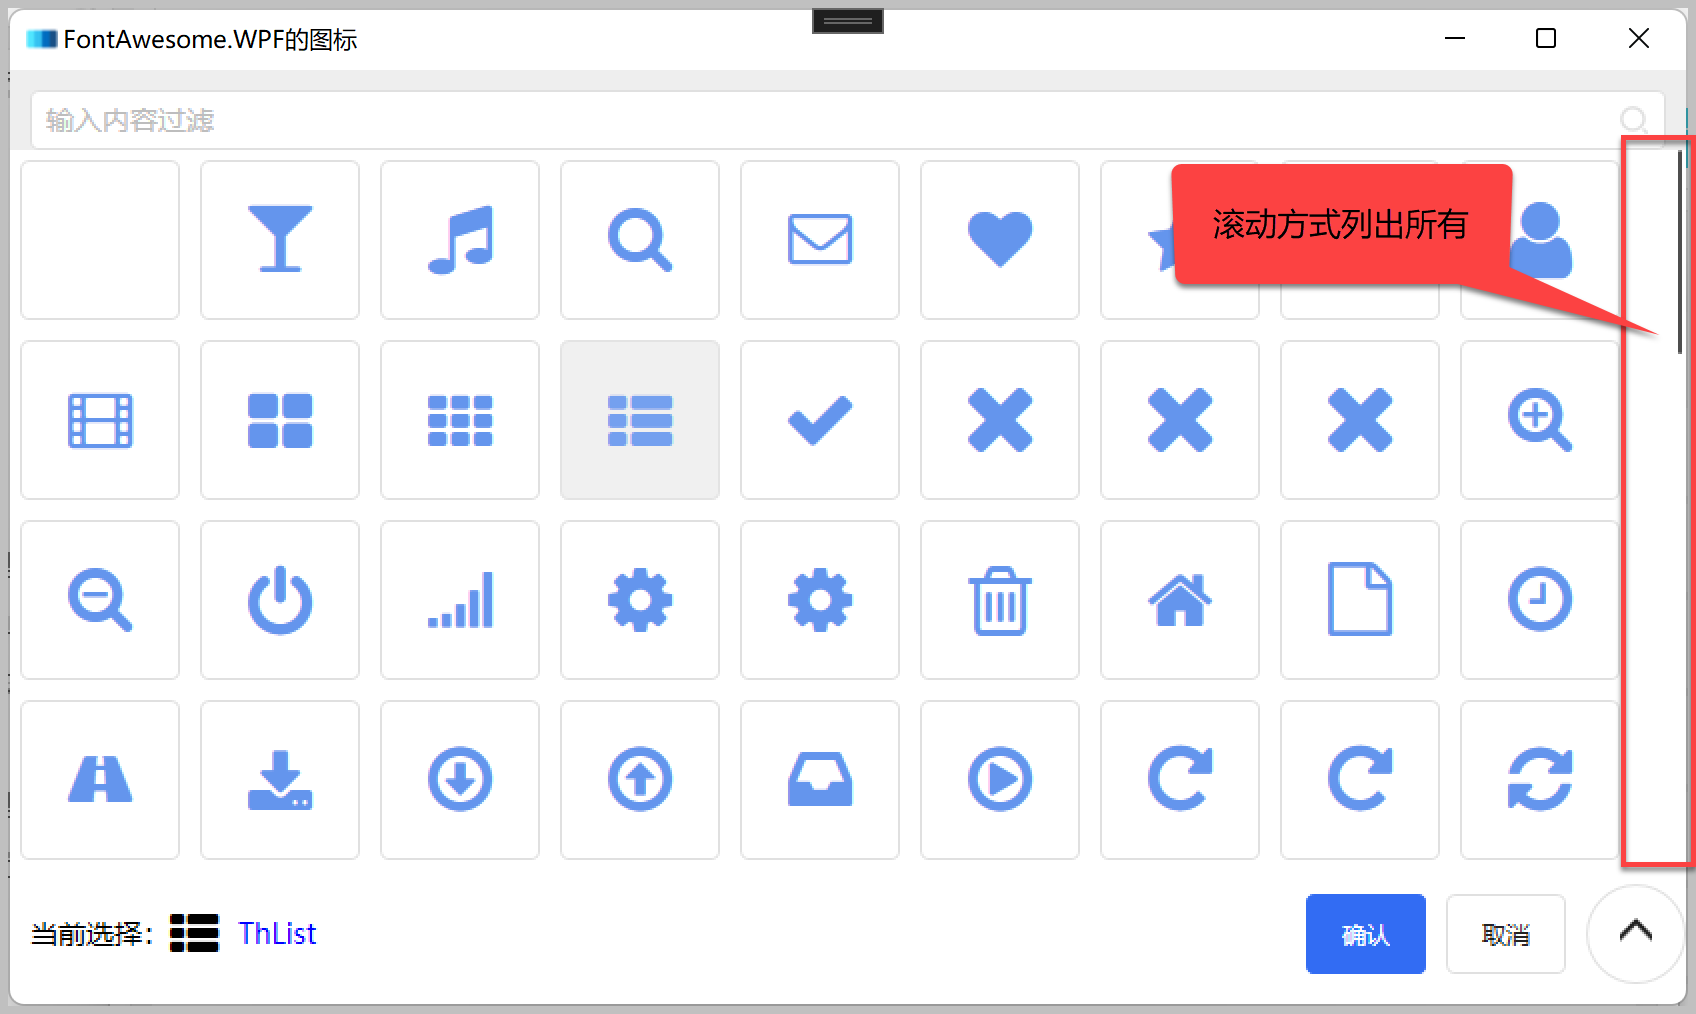
界面展示的图标,代码如下所示。
<fa:ImageAwesome
    Width="32"
    HorizontalAlignment="Center"
    VerticalAlignment="Center"
    Foreground="CornflowerBlue"
    Icon="{Binding Text}"
    Tag="{Binding}" />
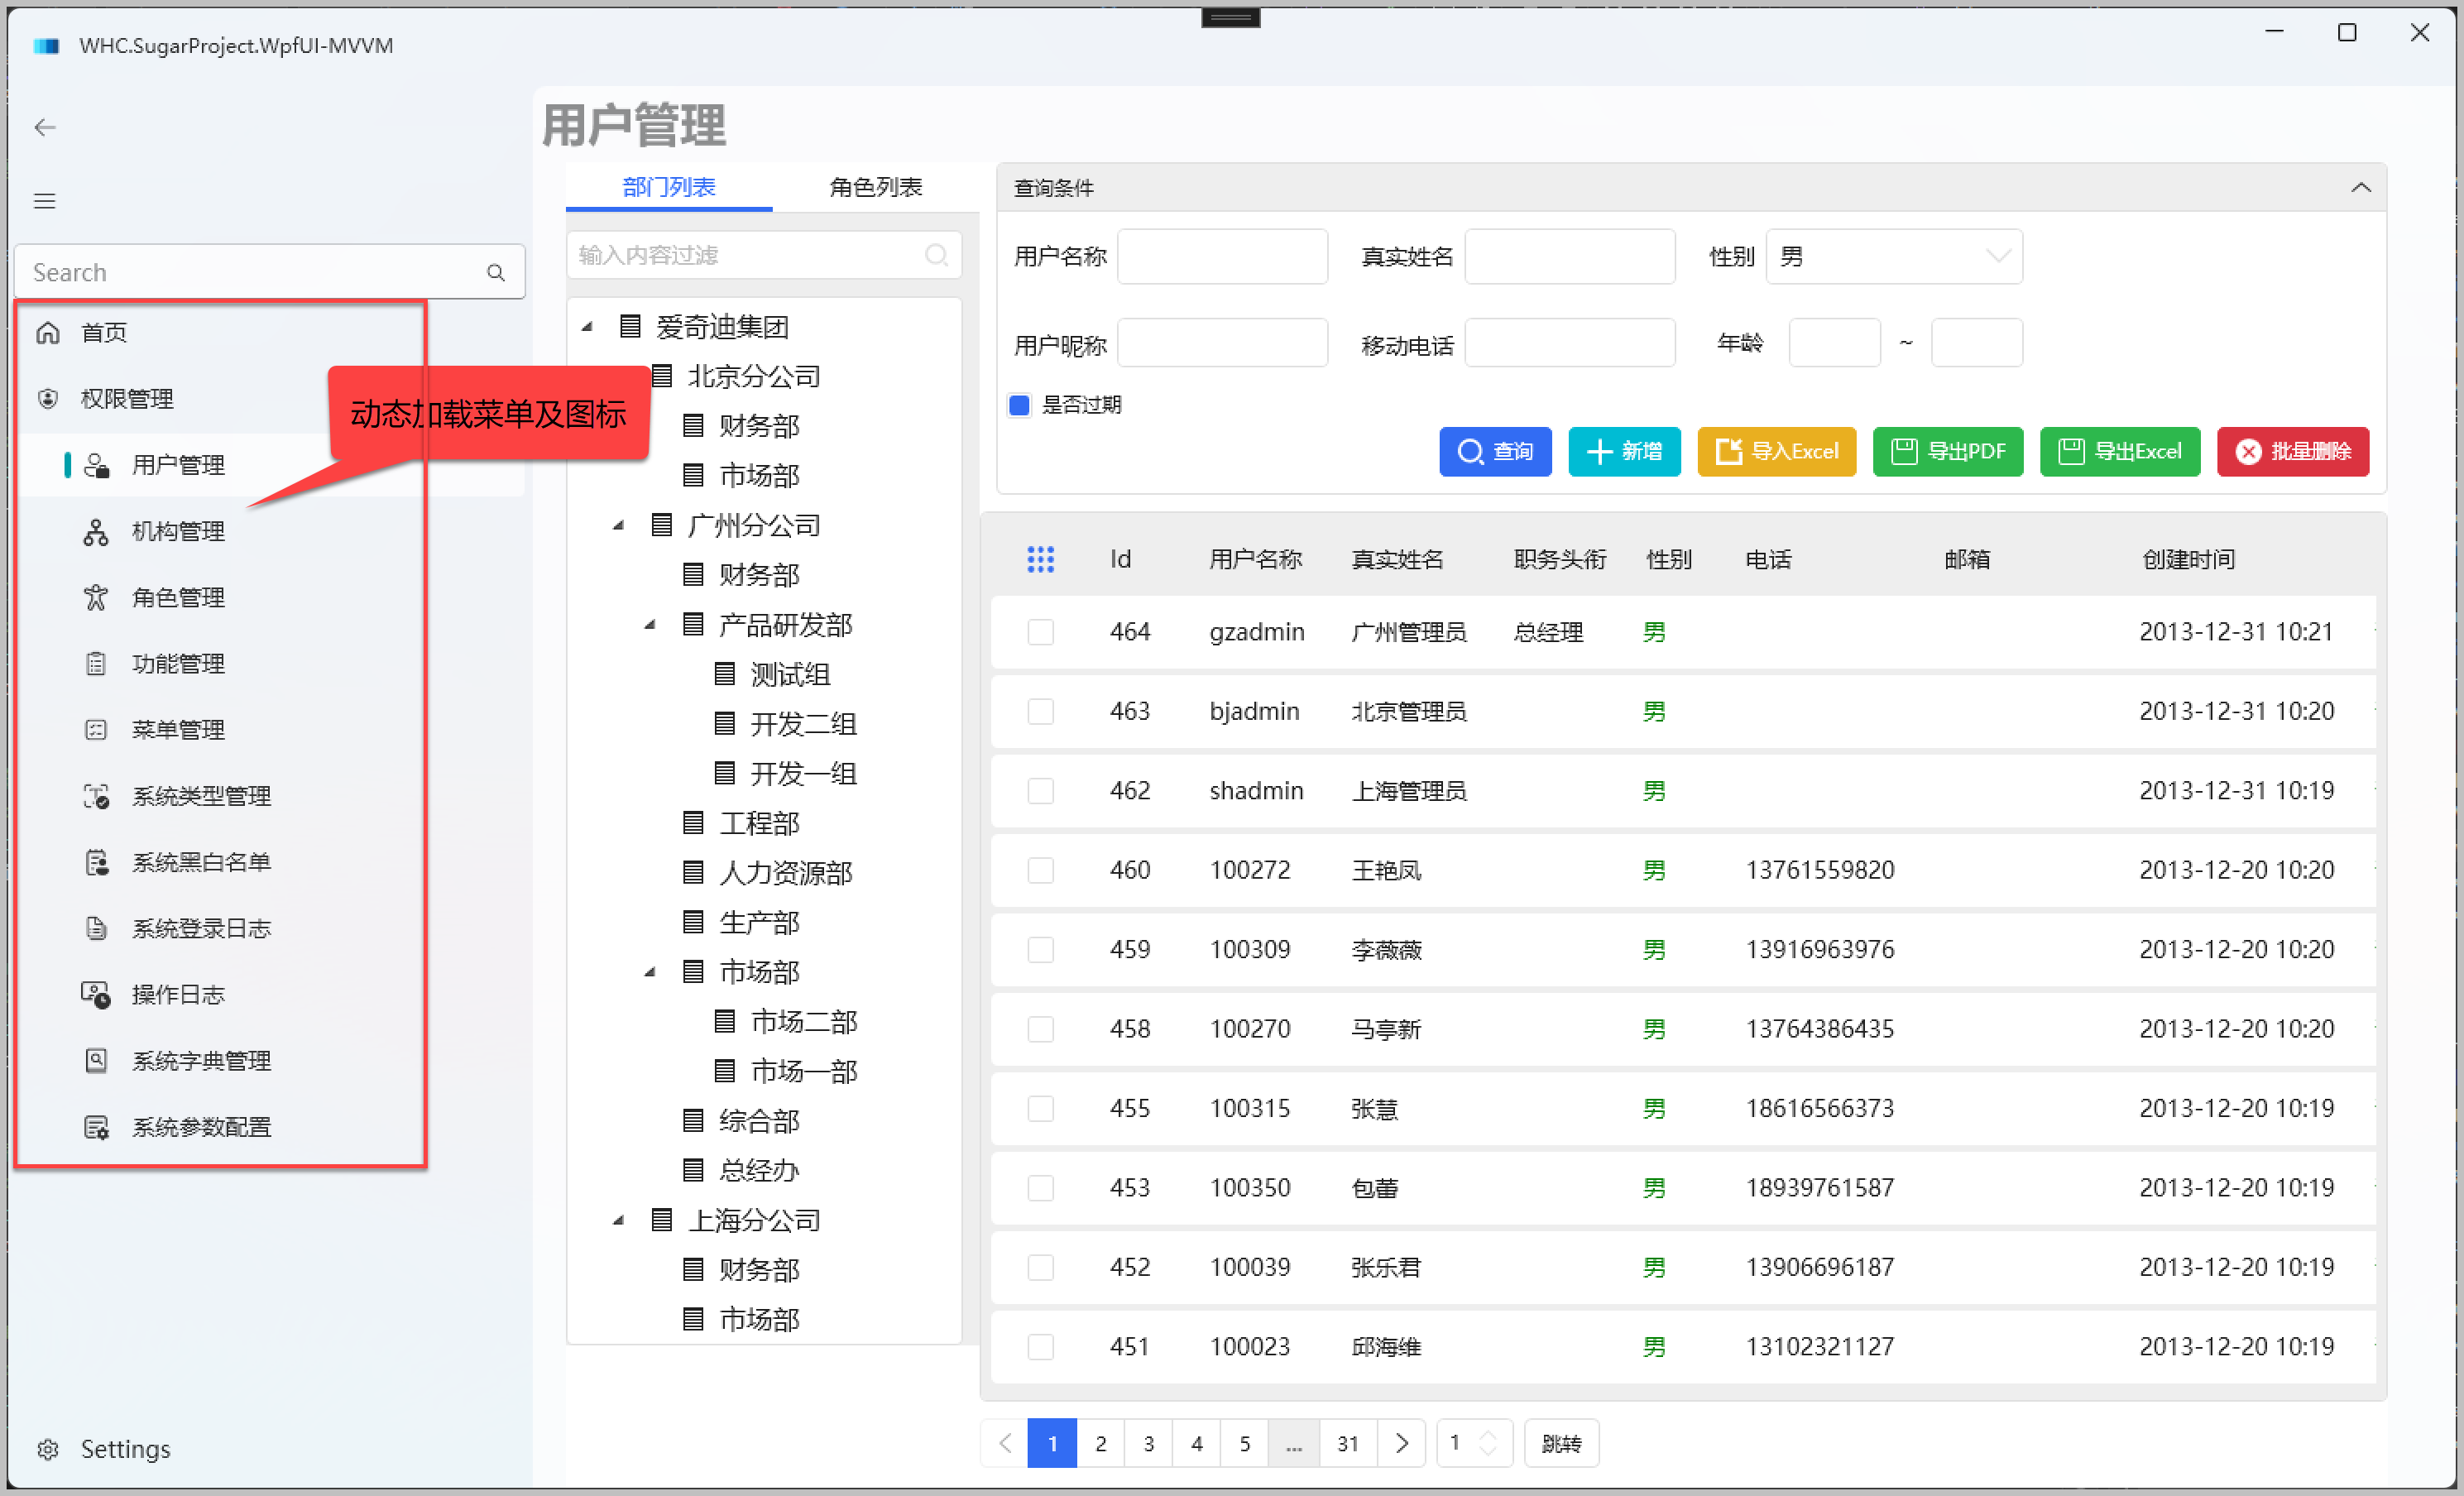
系统运行,动态从后端获取菜单及图标展示如下所示。
2、结合阿里矢量图标库使用Geometry图标
前面介绍了两种图标的应用方案,我们再来介绍一下Geometry图标的场景。
由于我们框架整合了HandyControl的一些组件的展示。HandyControl的控件 的
官方地址:https://github.com/HandyOrg/HandyControl
中文文档地址:https://handyorg.github.io/handycontrol/
通过它的控件扩展属性,我们可以很容易绑定按钮图标的展示。

部分按钮的定义如下所示。
 <Button
     Margin="5"
     hc:IconElement.Geometry="{StaticResource AddGeometry}"
     Command="{Binding EditCommand}"
     Content="新增"
     Style="{StaticResource ButtonInfo}" />
 <Button
     Margin="5"
     hc:IconElement.Geometry="{StaticResource t_import}"
     Command="{Binding ImportExcelCommand}"
     Content="导入Excel"
     Style="{StaticResource ButtonWarning}" />
通过 hc:IconElement.Geometry 的绑定,我们就可以自定义图标的展示,第一个AddGeometry 是HandyControl的内置Geometry,而第二个t_import 是我们用户扩展自定义导入的Geometry几何图形。
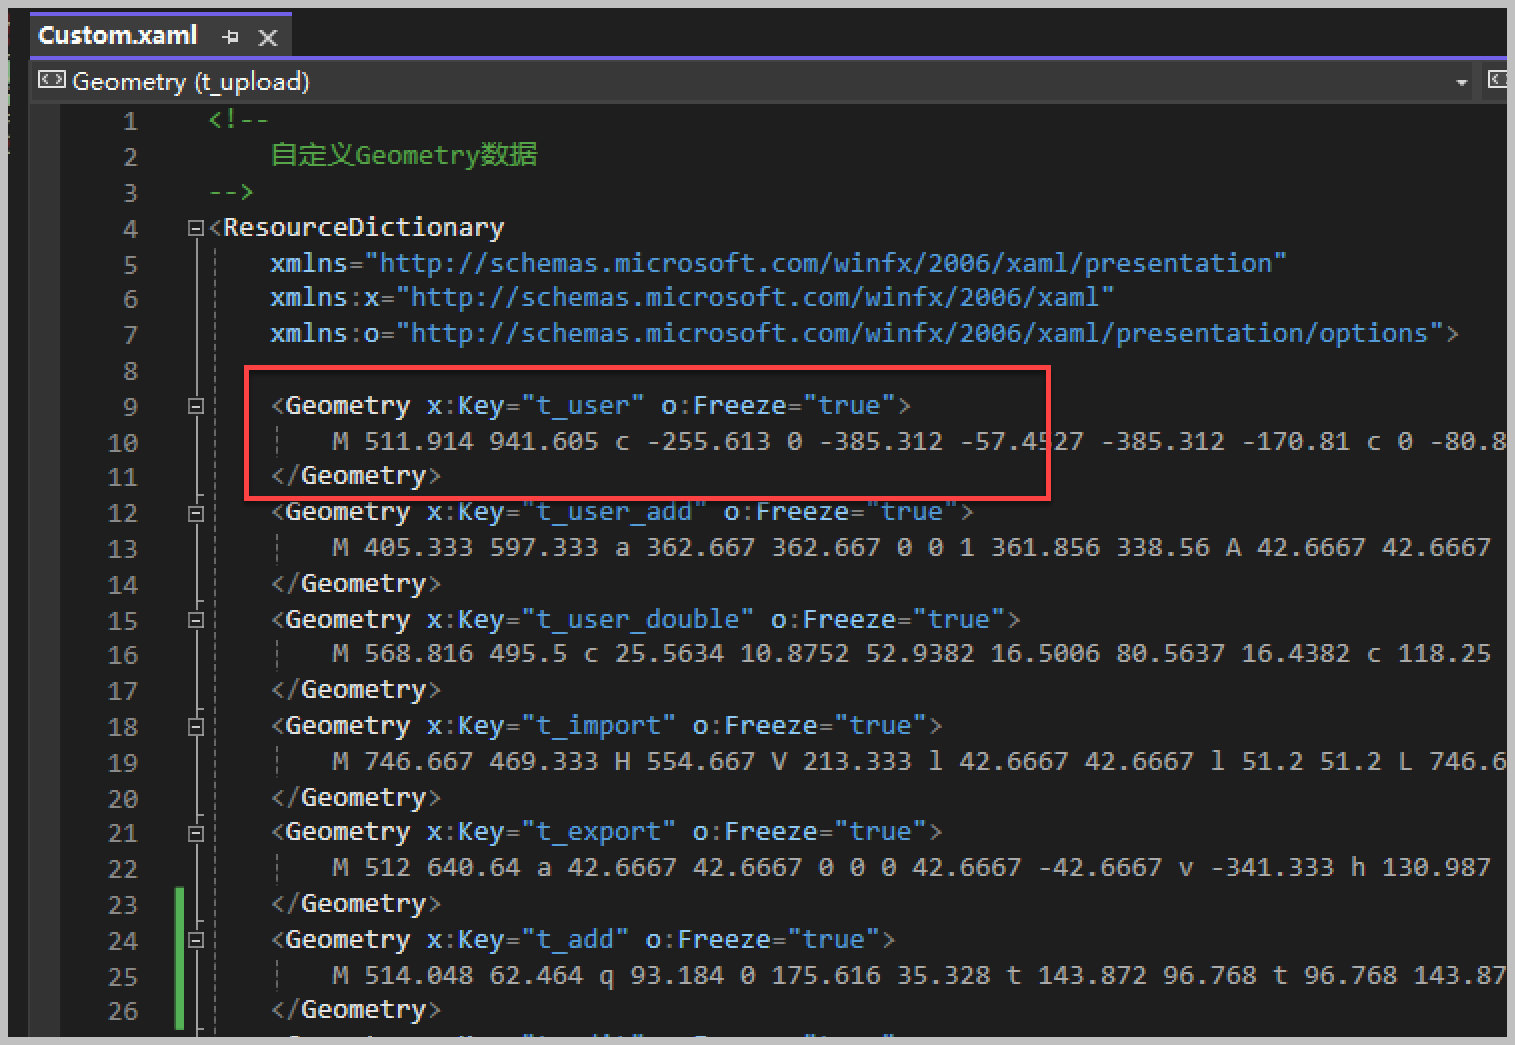
我们在项目定义一个 Geometries\Custom.xaml 文件,用来放置用户自定义的图标几何图形。
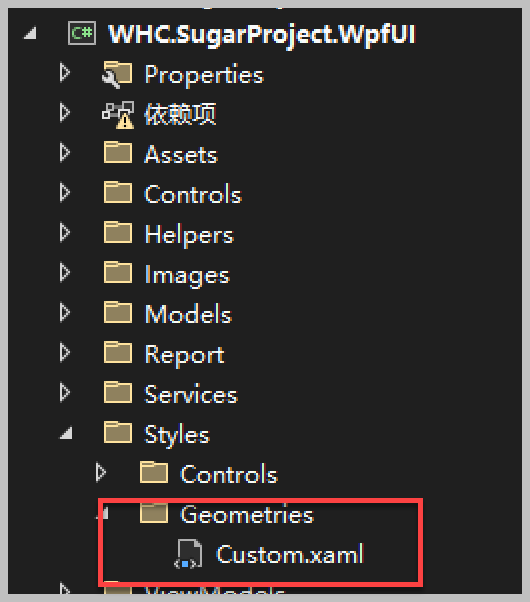
其中文件就是一个XML的文件定义。
该文件里面的集合图形,会在WPF应用的App中进行导入,如下代码所示。
<Application
    x:Class="WHC.SugarProject.WpfUI.App"
    xmlns="http://schemas.microsoft.com/winfx/2006/xaml/presentation"
    xmlns:x="http://schemas.microsoft.com/winfx/2006/xaml"
    xmlns:helpers="clr-namespace:WHC.SugarProject.WpfUI.Helpers"
    xmlns:ui="http://schemas.lepo.co/wpfui/2022/xaml"
    DispatcherUnhandledException="OnDispatcherUnhandledException"
    Exit="OnExit"
    Startup="OnStartup">
    <Application.Resources>
        <ResourceDictionary>
            <ResourceDictionary.MergedDictionaries>
                <ui:ThemesDictionary Theme="Dark" />
                <ui:ControlsDictionary />
                <!--  Geometries  -->
                <ResourceDictionary Source="/Styles/Geometries/Custom.xaml" />

                <!--  HandyControl  -->
                <ResourceDictionary Source="pack://application:,,,/HandyControl;component/Themes/SkinDefault.xaml" />
                <ResourceDictionary Source="pack://application:,,,/HandyControl;component/Themes/Theme.xaml" />
            </ResourceDictionary.MergedDictionaries>
        </ResourceDictionary>
    </Application.Resources>
</Application>
导入文件后,这些几何图形就可以在静态资源中使用了,类似上面的代码,其中的t_import就是我们声明的图形key。
 <Button
     Margin="5"
     hc:IconElement.Geometry="{StaticResource t_import}"
     Command="{Binding ImportExcelCommand}"
     Content="导入Excel"
     Style="{StaticResource ButtonWarning}" />
为了更加直观的展示我们所有的自定义几何图标集合,我们可以通过也列表页面进行加载进行展示。动态加载所有自定义的图标集合,如下逻辑代码所示。
            var appResourceDictionary = ((App)Application.Current).Resources;
            var mergedDictionaries = appResourceDictionary.MergedDictionaries;

            // 指定的 source
            var source = "/Styles/Geometries/Custom.xaml";
            var sourceUri = new Uri(source, UriKind.Relative);

            var specifiedDictionary = mergedDictionaries.FirstOrDefault(dictionary => dictionary.Source == sourceUri);
            if (specifiedDictionary != null)
            {
                var sortedList = ToSortedList(specifiedDictionary.Keys);
                foreach (string key in sortedList.Keys)
                {
                    if (specifiedDictionary[key] is Geometry geometry)
                    {
                        this.AllItems.Add(new CListItem<Geometry>(key, geometry));
                    }
                }
            }
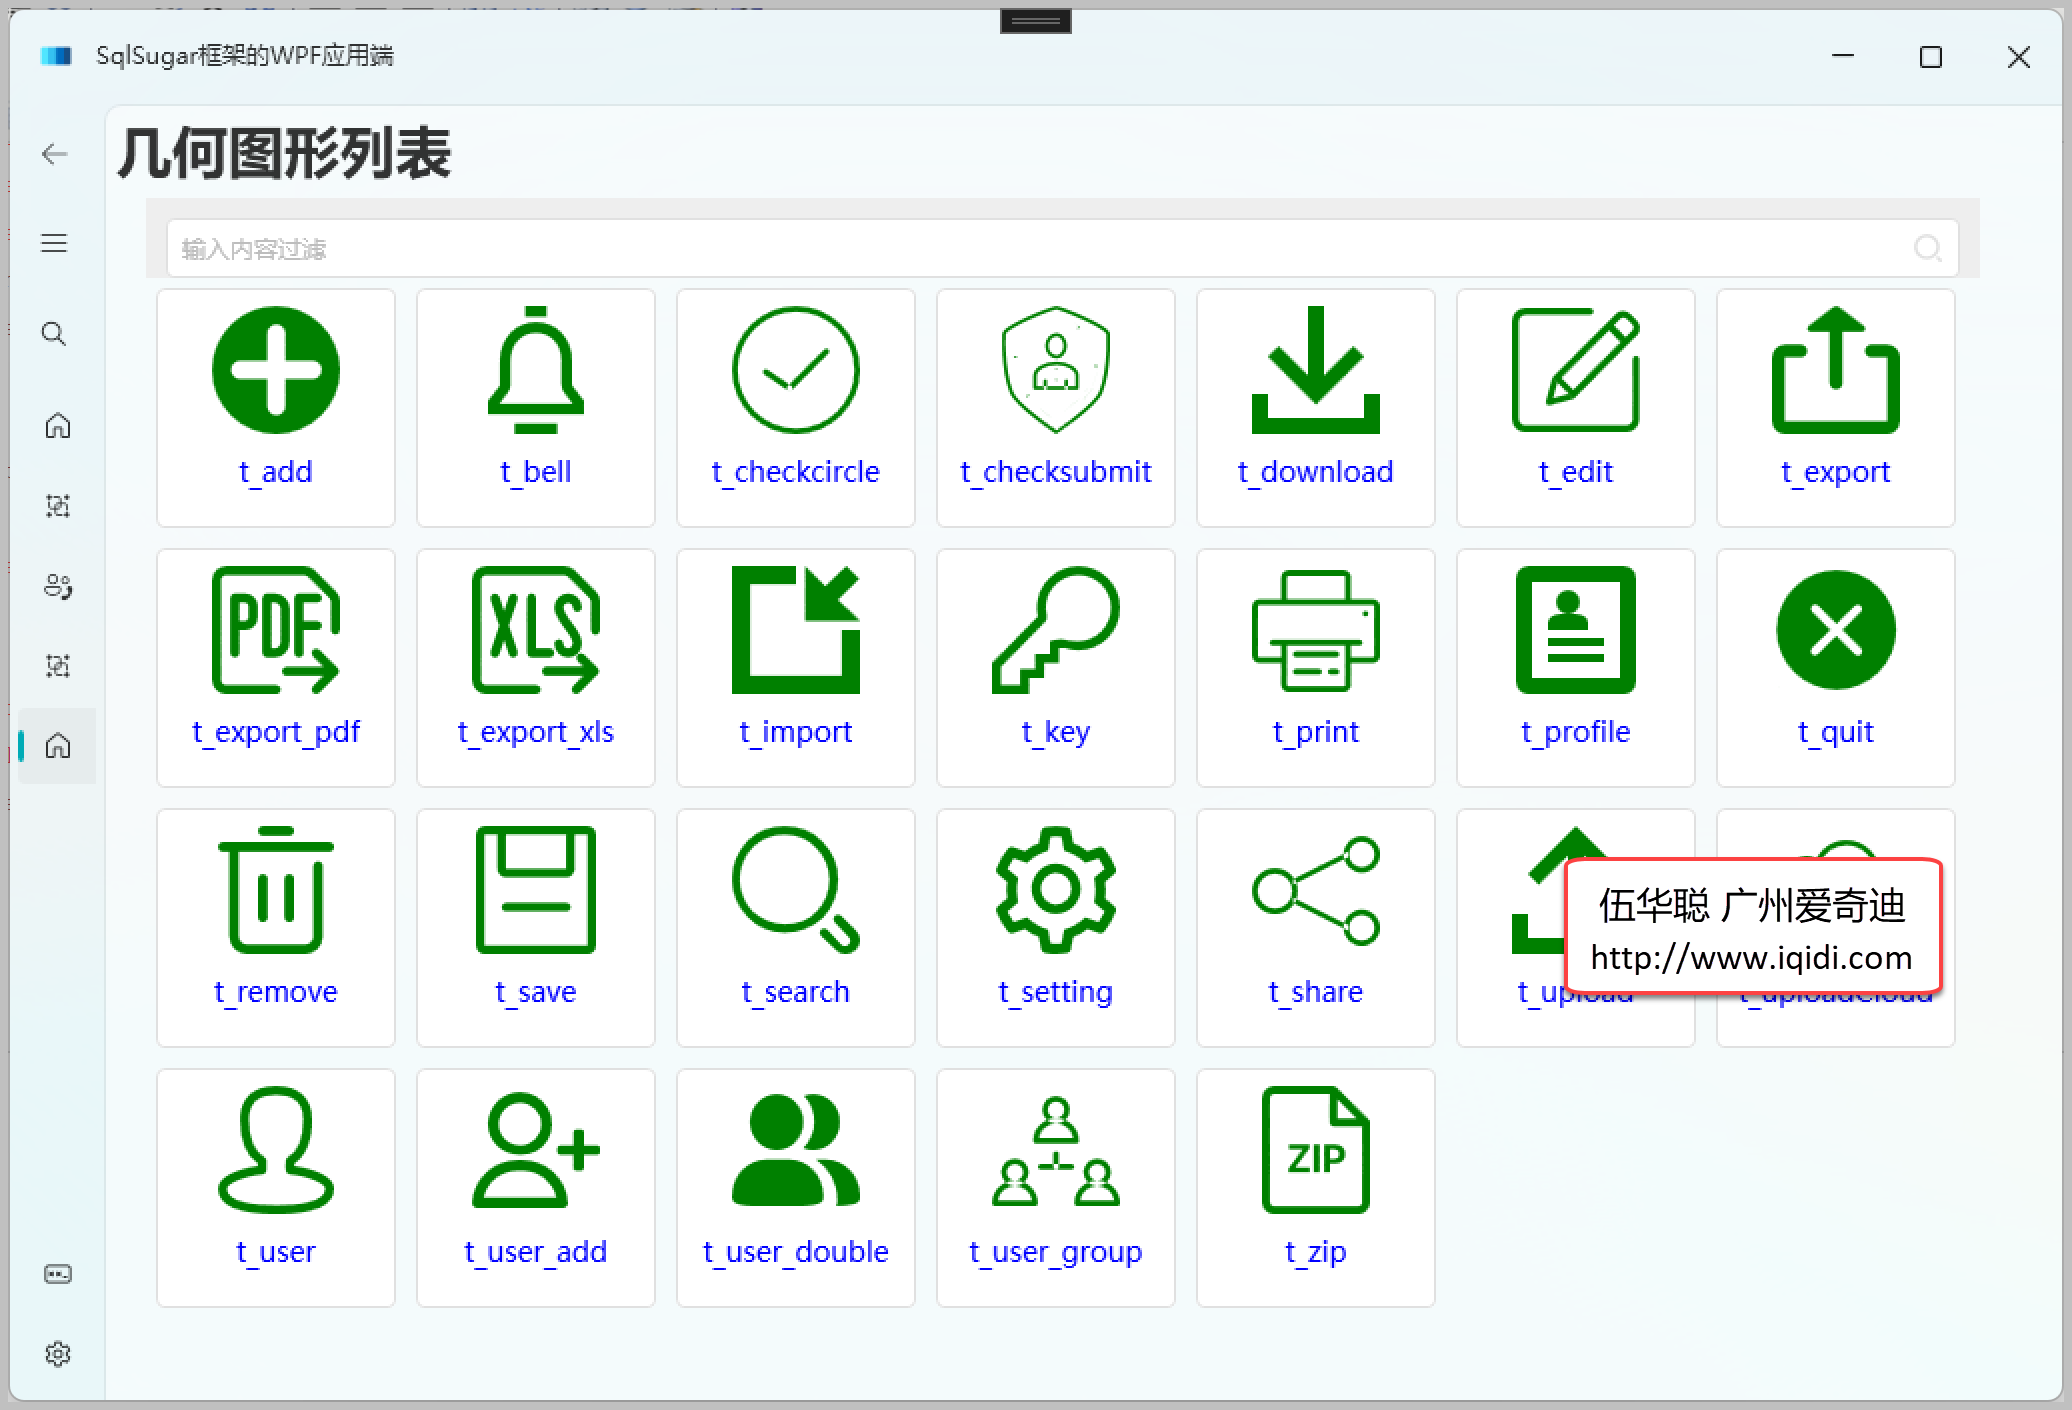
然后我们把它的数据整合到视图模型ViewModel中,并创建一个几何图形的显示列表界面,用来展示所有的图标显示,如下部分代码所示。
<ItemsControl
    x:Name="chkIcons"
    Grid.Row="1"
    Height="580"
    VerticalAlignment="Top"
    HorizontalContentAlignment="Left"
    VerticalContentAlignment="Top"
    ItemsSource="{Binding ViewModel.IconItems}"
    ScrollViewer.CanContentScroll="True"
    VirtualizingPanel.CacheLengthUnit="Item"
    VirtualizingStackPanel.IsVirtualizing="true"
    VirtualizingStackPanel.VirtualizationMode="Recycling">
    <ItemsControl.ItemsPanel>
        <ItemsPanelTemplate>
            <WrapPanel
                VerticalAlignment="Top"
                hc:ScrollViewer.IsInertiaEnabled="True"
                hc:ScrollViewerAttach.Orientation="Vertical"
                Orientation="Horizontal" />
        </ItemsPanelTemplate>
    </ItemsControl.ItemsPanel>
    <ItemsControl.ItemTemplate>
        <DataTemplate>
            <Button
                Width="120"
                Height="120"
                Margin="5"
                HorizontalAlignment="Stretch"
                VerticalAlignment="Stretch"
                Click="Button_Click"
                Tag="{Binding}"
                ToolTip="{Binding Text, Mode=OneTime}"
                ToolTipService.InitialShowDelay="240">
                <Button.Content>
                    <StackPanel>
                        <Path
                            Width="64"
                            Height="64"
                            Data="{Binding Value}"
                            Fill="Green"
                            Stretch="Uniform" />
                        <TextBlock
                            Margin="0,10,0,10"
                            FontSize="14"
                            FontWeight="Normal"
                            Foreground="Blue"
                            Text="{Binding Text}"
                            TextAlignment="Center" />
                    </StackPanel>
                </Button.Content>
            </Button>
        </DataTemplate>
    </ItemsControl.ItemTemplate>
    <ItemsControl.Template>
        <ControlTemplate TargetType="ItemsControl">
            <ScrollViewer
                Width="Auto"
                CanContentScroll="True"
                VerticalScrollBarVisibility="Visible">
                <ItemsPresenter />
            </ScrollViewer>
        </ControlTemplate>
    </ItemsControl.Template>
</ItemsControl>
最终我们可以获得下面的界面效果。
介绍了大致的加载和显示的界面代码,我们来看看如何增加 Geometry图标,我们前面介绍到可以结合阿里矢量图标库使用的,那么我们如何下载那些线上的图标库为我们所用呢。
阿里矢量图标库的地址:https://www.iconfont.cn/
我们打开官网,如下界面所示。
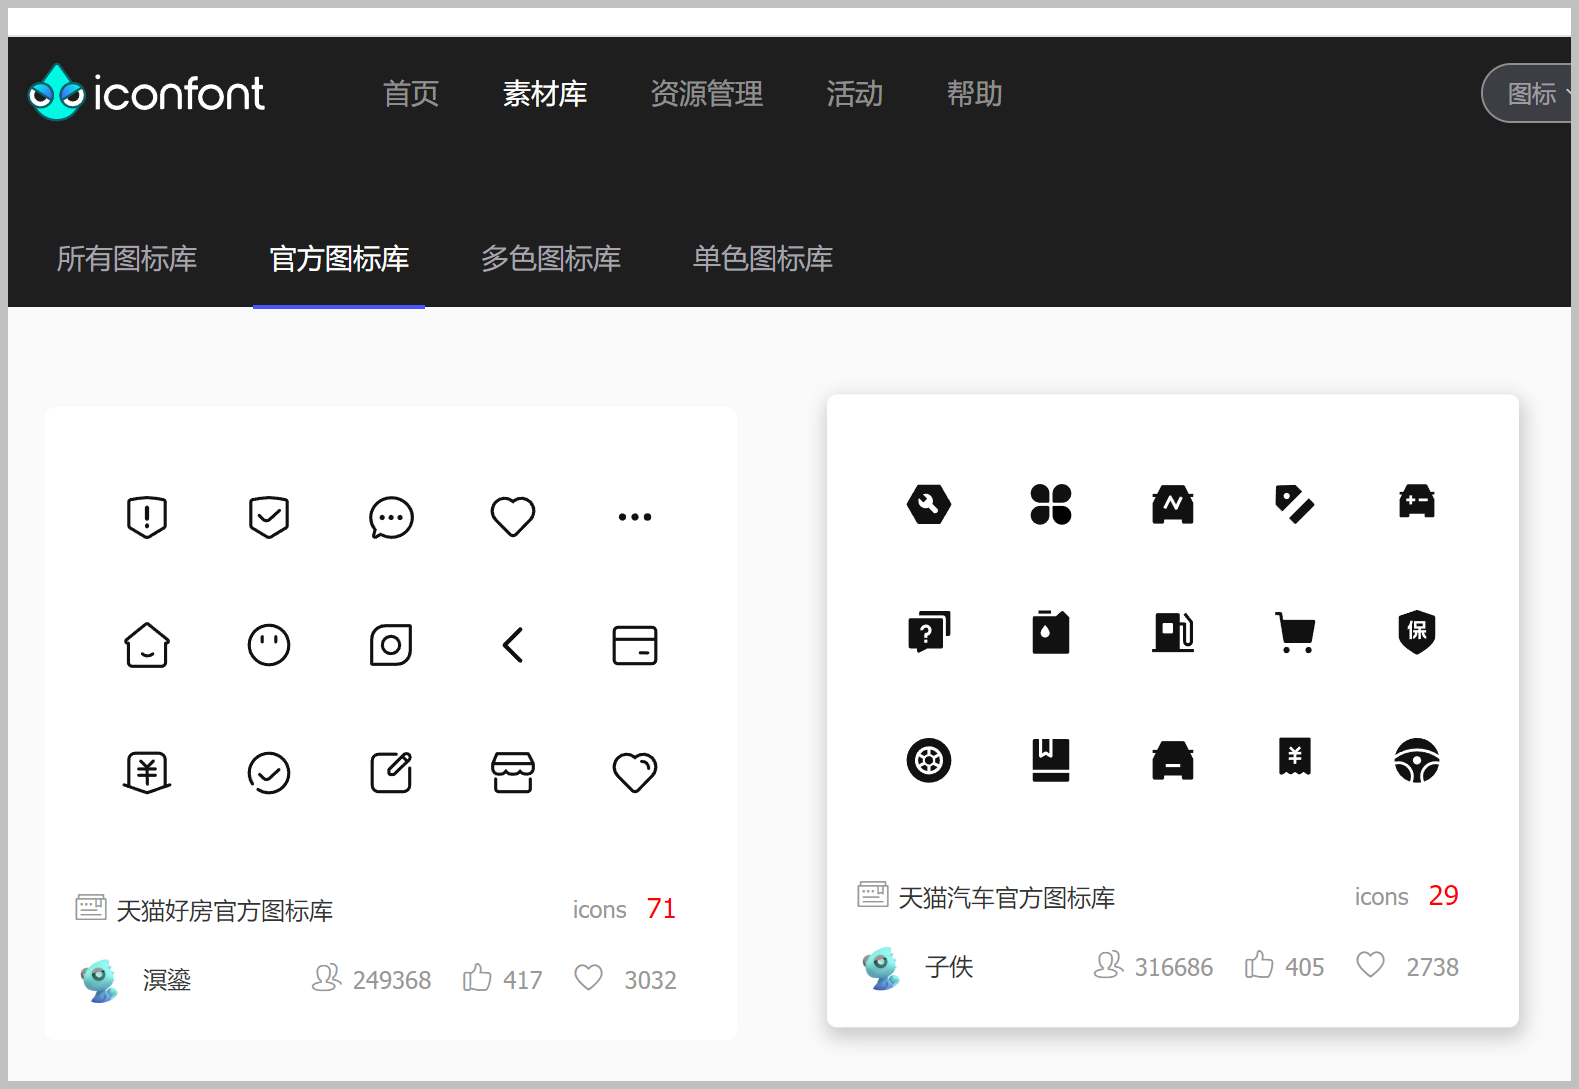
首页会列出一些新图标,我们也可以根据关键字查询指定的图表来定位处理。
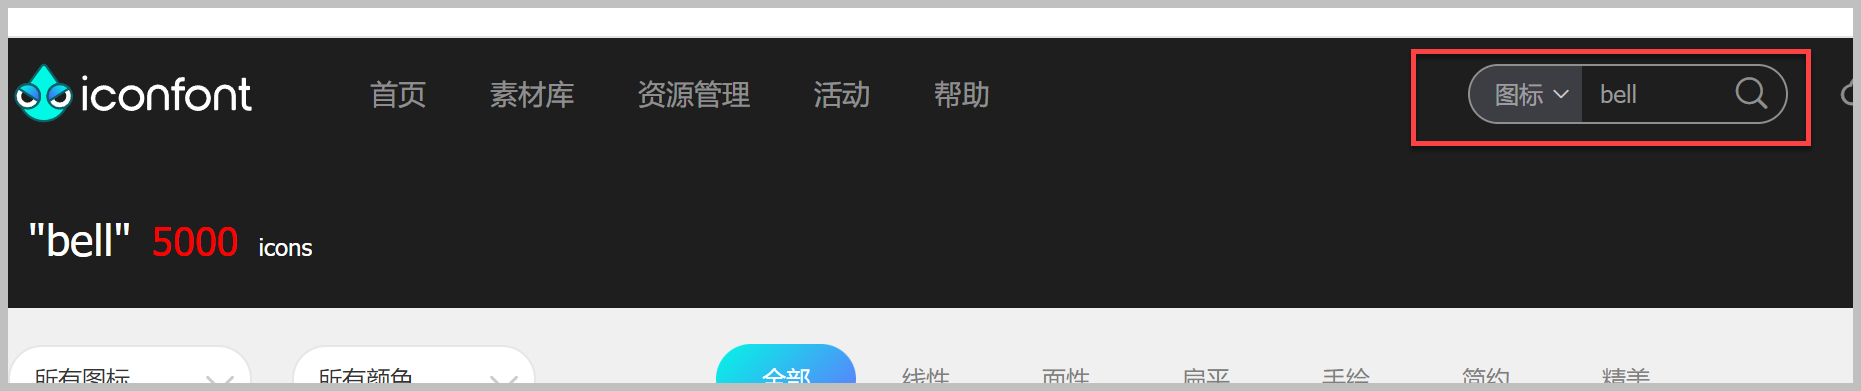
按住CTRL+ShIFT+I 键进入开发者模式,查看元素的定义,找到对应的图标位置,打开代码获得Path的内容,如下操作所示。
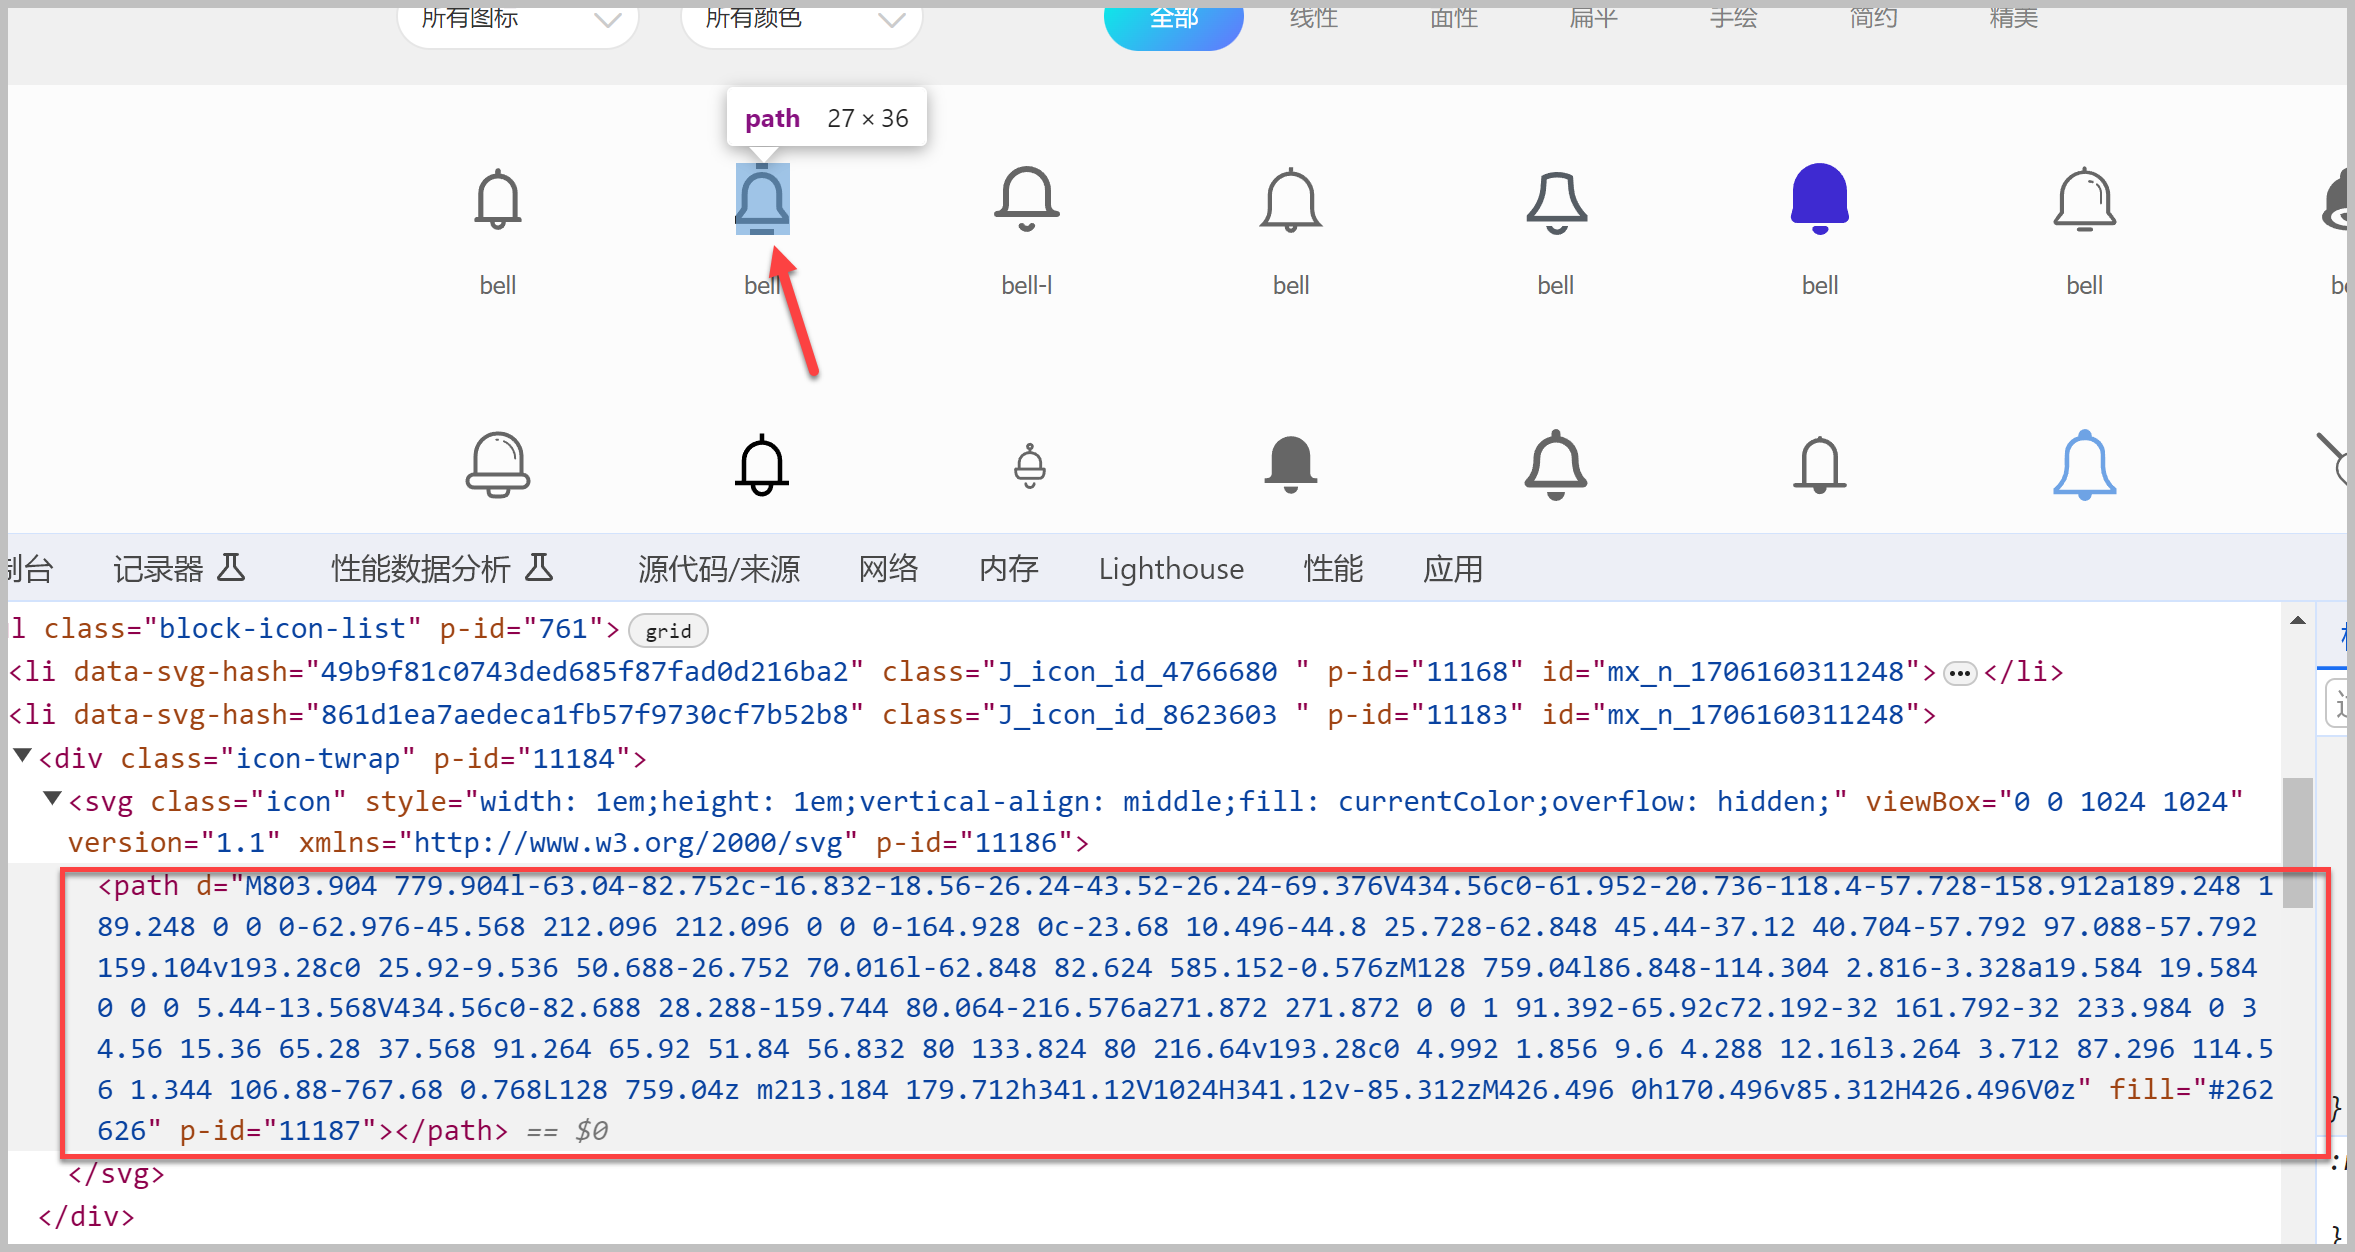
注意在元素代码中切换位置,同时在UI上获得具体的图标选中提示,通过提示确定Path的位置即可。
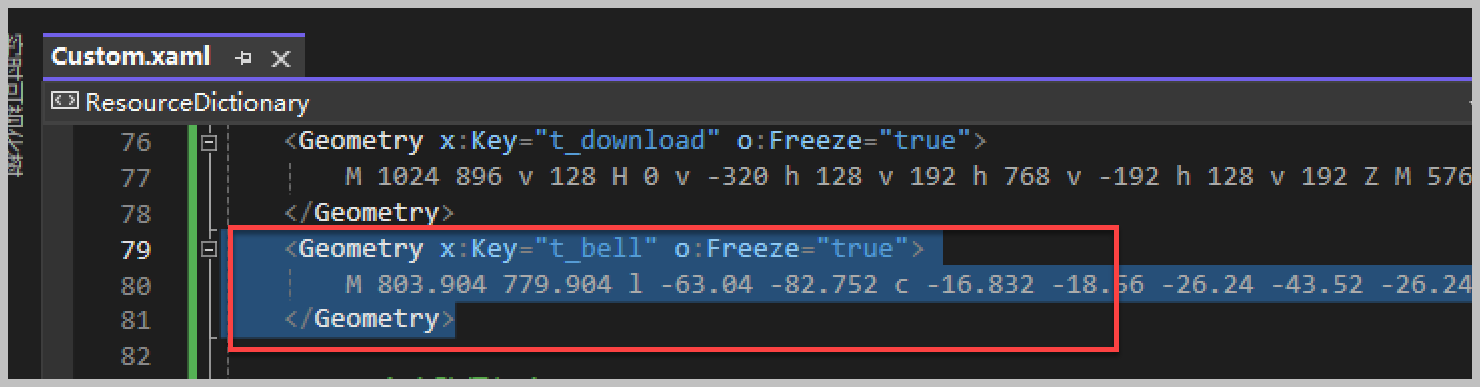
然后把这段Path的值复制到我们的 Geometries\Custom.xaml 文件中,如下所示。
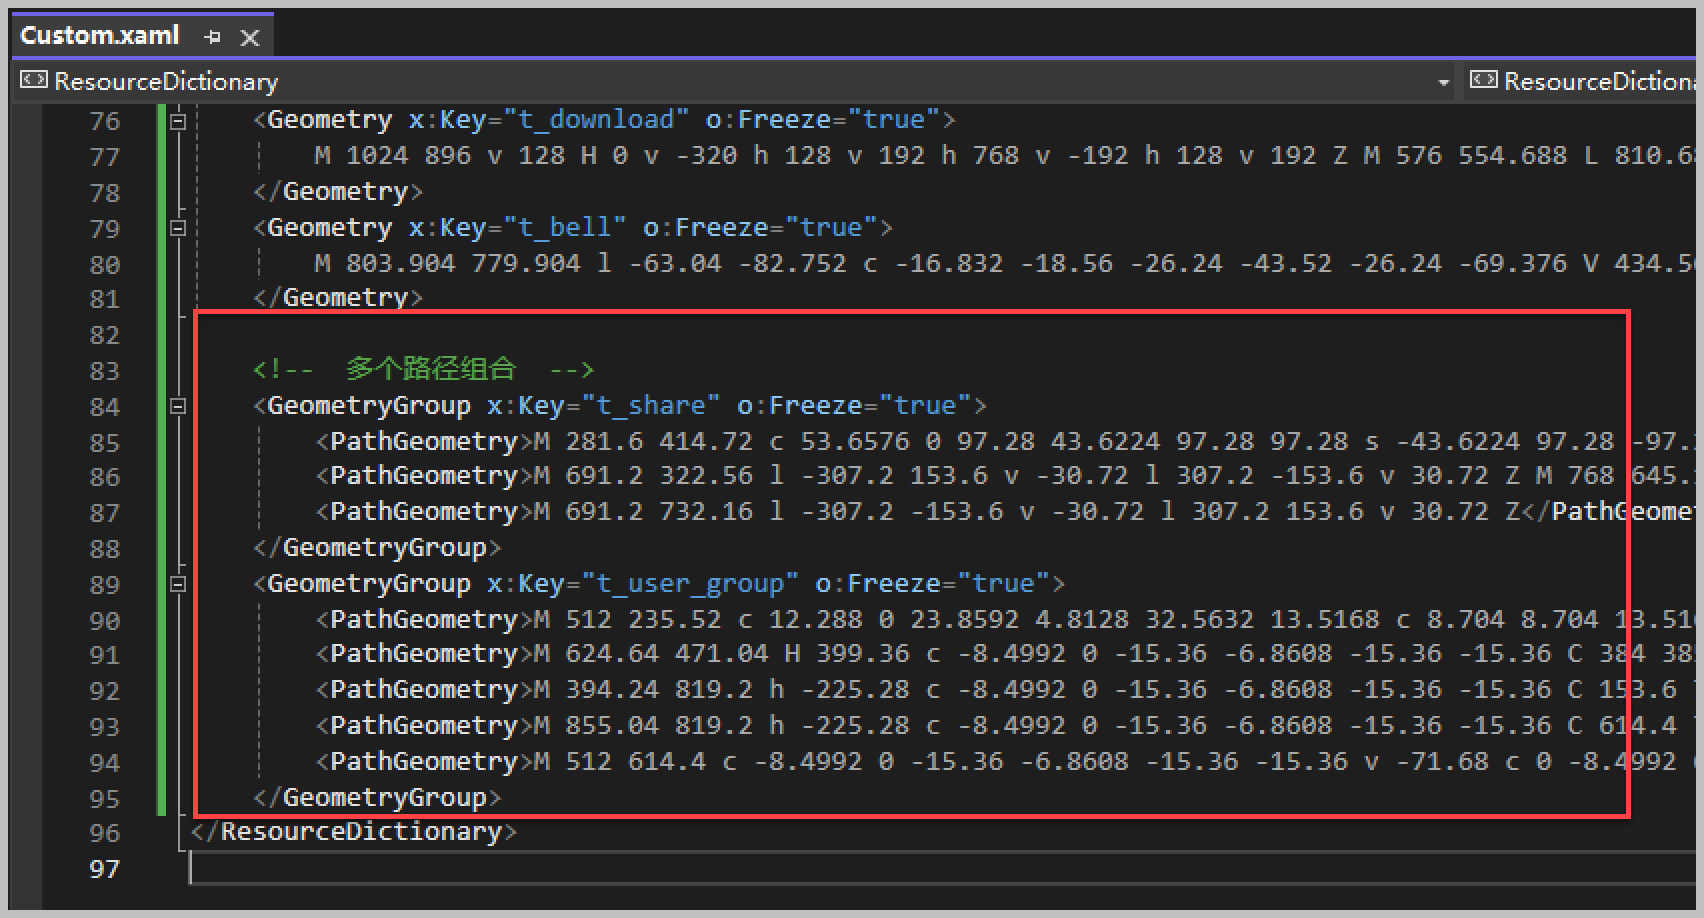
上面的图表Path只有一个,有时候 阿里矢量图标库使用Geometry图标有多个Path的组合,我们如果也要采用,那么定义稍微调整一下。
通过GeometryGroup来定义父级,然后添加多个PathGeometry集合即可,如下代码所示。
通过这样的添加,我们就可以运行UI,看到加载的Geometry图标集合了。
以上通过介绍lepoco/wpfui 项目的图标库、Font-Awesome-WPF 图标库以及阿里矢量图标库的几种方式,实现了不同场景下的图表显示和处理。
链接附注:
如对我们的代码生成工具有兴趣,可以到官网下载使用《代码生成工具Database2Sharp》。
如需了解我们官网对《SqlSugar开发框架》的介绍,可以参考《SqlSugar开发框架》了解。
如需阅读我们对于《SqlSugar开发框架》文章介绍,可以参考博客园的随笔标签《SqlSugar随笔 , WPF随笔》学习了解。
 专注于代码生成工具、.Net/Python 框架架构及软件开发,以及各种Vue.js的前端技术应用。著有Winform开发框架/混合式开发框架、微信开发框架、Bootstrap开发框架、ABP开发框架、SqlSugar开发框架、Python开发框架等框架产品。
转载请注明出处:撰写人:伍华聪 http://www.iqidi.com


 浙公网安备 33010602011771号