1、在文件/etc/selinux/config中配置SELINUX=disabled
重启系统。重启后确认命令getenforce返回为Disabled
2、配置数据库
我们这里使用MariaDB
以root用户执行下列的命令来安装MariaDB(或mysql):
yum -y install mariadb-server
修改默认设置以适用于OTRS。使用文本编辑器来创建一个新文件/etc/my.cnf.d/zotrs.cnf,包含如下内容:
[mysqld]
max_allowed_packet = 64M
query_cache_size = 32M
innodb_log_file_size = 256M
执行systemctl start mariadb来重启数据库服务器并激活刚才的修改内容。然后运行命令/usr/bin/mysql_secure_installation,并按照屏幕上的指令来设置数据库的root密码
NOTE: RUNNING ALL PARTS OF THIS SCRIPT IS RECOMMENDED FOR ALL MySQL
SERVERS IN PRODUCTION USE! PLEASE READ EACH STEP CAREFULLY!
In order to log into MySQL to secure it, we'll need the current
password for the root user. If you've just installed MySQL, and
you haven't set the root password yet, the password will be blank,
so you should just press enter here.
Enter current password for root (enter for none):<–初次运行直接回车
OK, successfully used password, moving on…
Setting the root password ensures that nobody can log into the MySQL
root user without the proper authorisation.
Set root password? [Y/n] <– 是否设置root用户密码,输入y并回车或直接回车
New password: <– 设置root用户的密码
Re-enter new password: <– 再输入一次你设置的密码
Password updated successfully!
Reloading privilege tables..
… Success!
By default, a MySQL installation has an anonymous user, allowing anyone
to log into MySQL without having to have a user account created for
them. This is intended only for testing, and to make the installation
go a bit smoother. You should remove them before moving into a
production environment.
Remove anonymous users? [Y/n] <– 是否删除匿名用户,生产环境建议删除,所以直接回车
… Success!
Normally, root should only be allowed to connect from 'localhost'. This
ensures that someone cannot guess at the root password from the network.
Disallow root login remotely? [Y/n] <–是否禁止root远程登录,根据自己的需求选择Y/n并回车,建议禁止
… Success!
By default, MySQL comes with a database named 'test' that anyone can
access. This is also intended only for testing, and should be removed
before moving into a production environment.
Remove test database and access to it? [Y/n] <– 是否删除test数据库,直接回车
- Dropping test database…
… Success!
- Removing privileges on test database
… Success!
Reloading the privilege tables will ensure that all changes made so far
will take effect immediately
Reload privilege tables now? [Y/n] <– 是否重新加载权限表,直接回车
… Success!
Cleaning up…
All done! If you've completed all of the above steps, your MySQL
installation should now be secure.
Thanks for using MySQL!
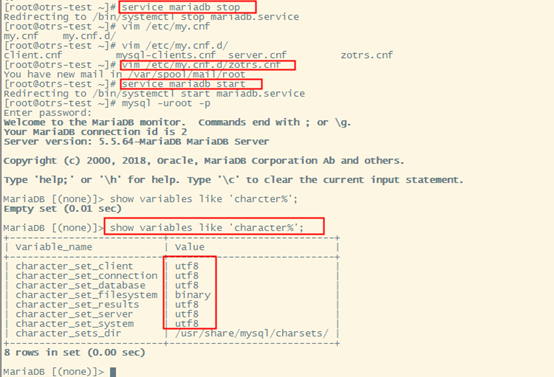
请注意,OTRS需要utf8作为数据库存储编码。
进入数据库进行查看

若不是utf8的话先关闭数据库,然后在配置文件里面增加以及配置
character_set_server=utf8
init_connect='SET NAMES utf8'

3、安装 OTRS
地址:http://ftp.otrs.org/pub/otrs/RPMS/fedora/26/
使用yum通过命令行来安装OTRS,会自动拉入一些依赖包如Apache WEB服务器和一些Perl模块
yum install --nogpgcheck otrs-6.0.25-01.noarch.rpm
安装完成之后 现在使用命令systemctl restart httpd.service重启Apache以载入为OTRS修改的配置。
4、安装额外的perl模块
除了通过RPM包安装的Perl模块外,OTRS还需要一些其它的Perl模块,你可以手动安装。通过执行位于目录/opt/otrs/bin/otrs.CheckModules.pl来检查缺失的模块。
yum -y install https://mirrors.tuna.tsinghua.edu.cn/epel/7/x86_64/Packages/e/release-7-12.noarch.rpm
然后可以通过像下面这样安装上面检测到的缺失的模块
yum -y install "perl(Text::CSV_XS)"

5、WEB安装器来配置OTRS
在安装完OTRS软件后,可以使用OTRS的WEB安装器来设置和配置OTRS数据库。WEB安装器是一个能通过浏览器访问的WEB页面。WEB安装器的地址是: http://10.10.15.133 /otrs/installer.pl

下一步
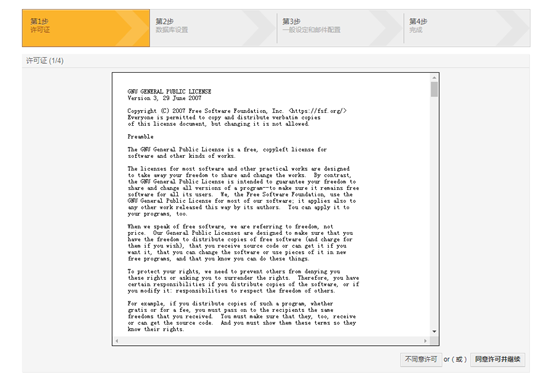
同意许可并继续

选择mysql(MariaDB)并创建一个新的数据库
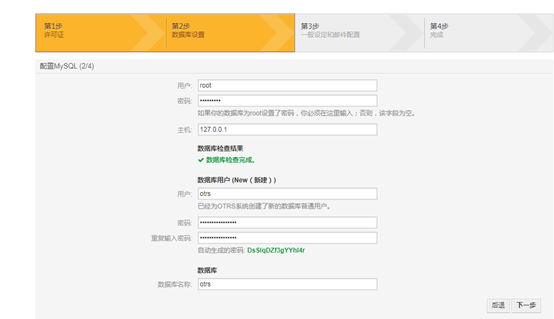
然后就会创建一个新库otrs,并生成密码,这个密码后面再修改,接着下一步

继续下一步配置系统配置,这里日志也可以直接建一个文件夹存放

下一步配置邮箱

检查邮件配置
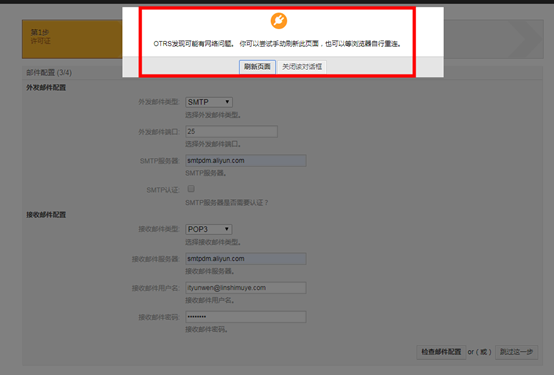
后面再解决了,先跳过这一步

安装完成,先记下密码,后面密码自行修改
登录下
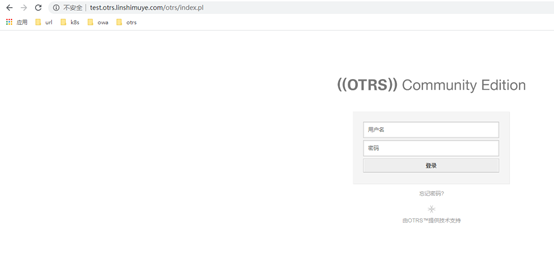
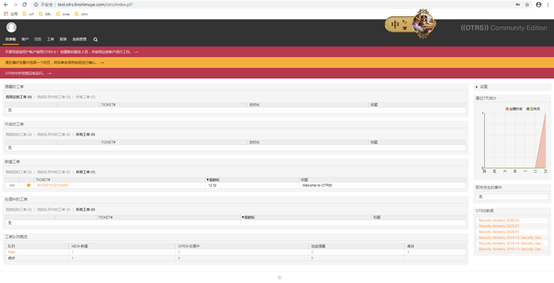
启动OTRS守护进程
首先切换到otrs用户 su otrs
启动OTRS守护进程并激活相应的监控此进程的cron任务(必须以otrs用户执行):
/opt/otrs/bin/otrs.Daemon.pl start
/opt/otrs/bin/Cron.sh start

添加开机启动
在/data/scripts/目录下编写脚本 vim daemon_otrs_protect.sh 如下:

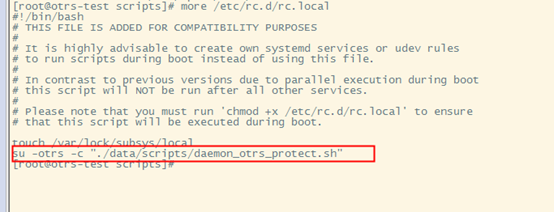
添加到开机启动任务:
vim /etc/rc.d/rc.local
su -otrs -c "./data/scripts/daemon_otrs_protect.sh"
赋权:chmod 755 /etc/rc.d/rc.local
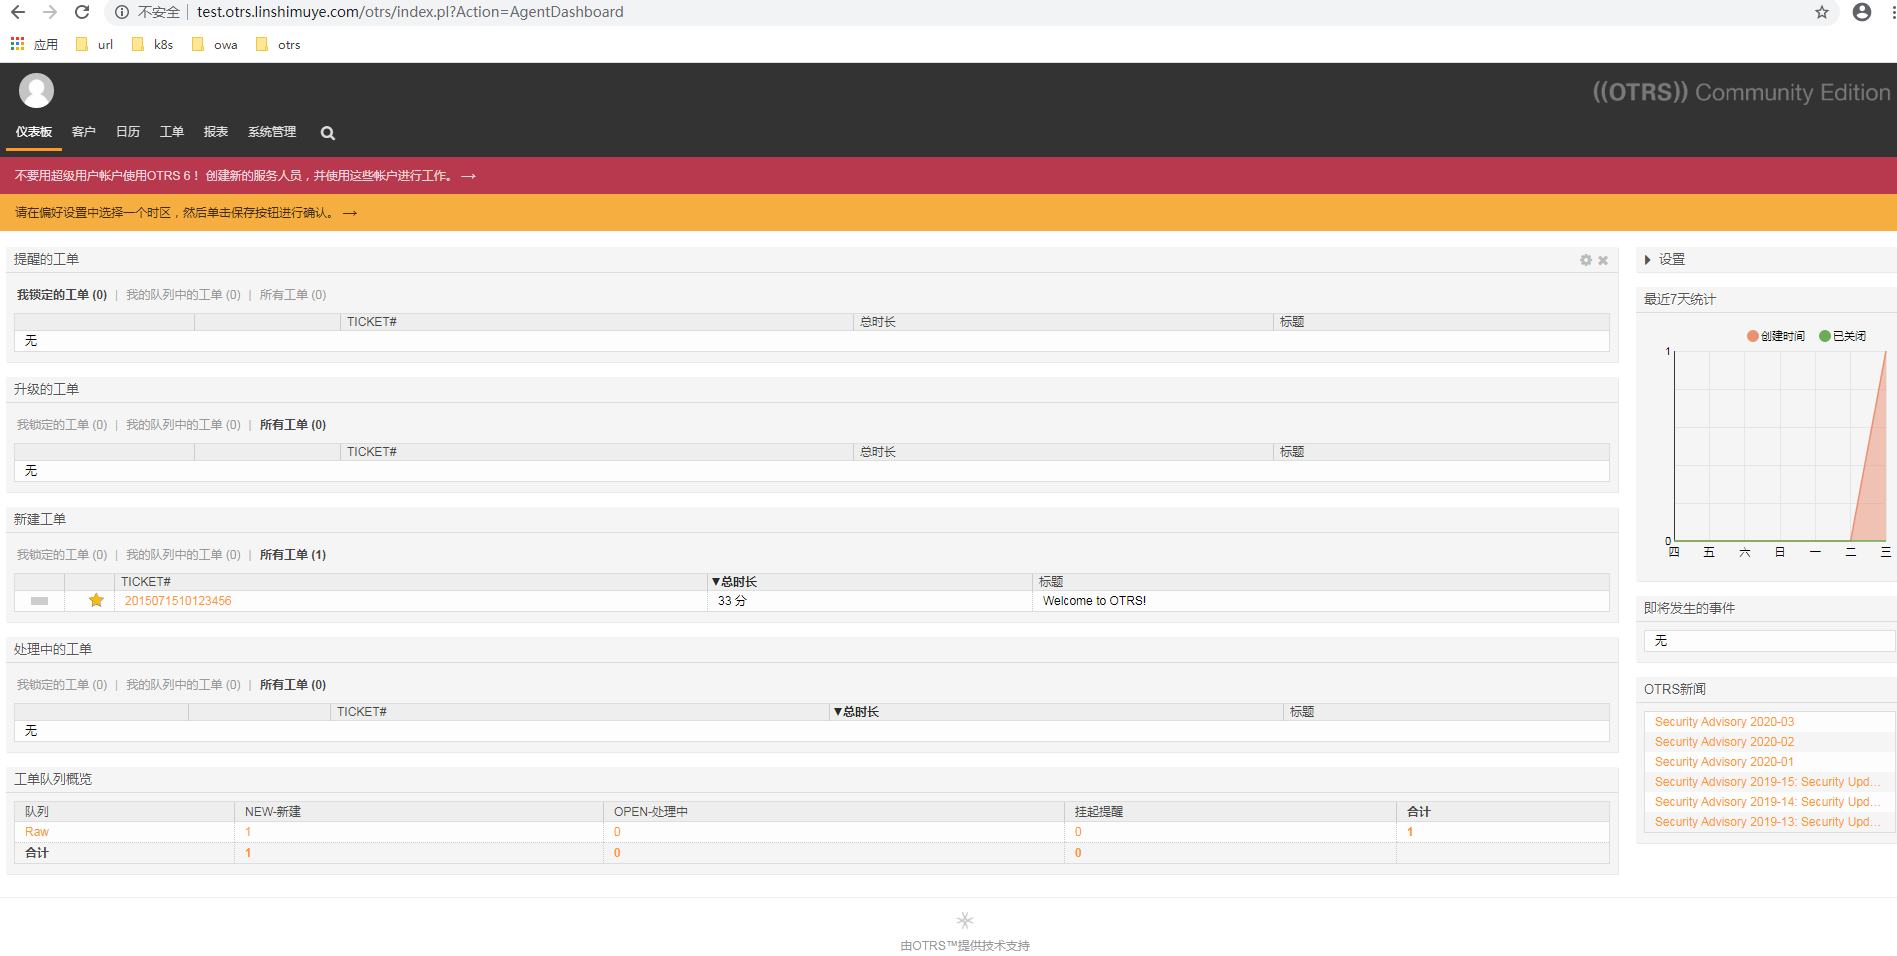
Otrs6就安装好了


 浙公网安备 33010602011771号