
EF多租户实例:演变为读写分离
前言
我又来写关于多租户的内容了,这个系列真够漫长的。
如无意外这篇随笔是最后一篇了。内容是讲关于如何利用我们的多租户库简单实现读写分离。
分析
对于读写分离,其实有很多种实现方式,但是总体可以分以下两类:
1. 通过不同的连接字符串分离读库和写库
2. 通过有多个连接实例,分别连接到读或写库
他们2种类型都有各自明显的优缺点。我下面会列举部分优缺点
第1种,如果一个请求 scope 内只有一个连接实例,那么就造成同一 scope 内就只能连接读或写库。
由于一个 scope 里只有一个连接实例,造成读写都只能在一个库,好处是在需要写的情况,数据一致性很高,但也造成对于一些需要长时间运行的请求,会降低整个读写框架的效率。
另一个好处是可以节省连接,一个 scope 只有一个连接,对连接的开销更加少。
第2种,同一个请求 scope 内有多个连接实例,可以同时对读和写库进行操作。
在同时对读库和写库操作时,必须要对数据的一致性问题小心处理,由于读库写库的同步是需要很长时间的(对比一个请求的花费时间)。
在这种情况下,一般我们要对绝大部分的写操作进行觅等处理,部分只增不改的数据简单处理就行(例如新增操作记录)
由于同一个 scope 下同时拥有读和写库的实例,可以非常优雅的自动对 insert,update 等指向写库, select 指向读库。而不需要在写代码阶段显式标注
上面的2种类型我都有在实际项目中使用过,我个人是更加偏向于第1种,因为在第2种类型的项目应用中,数据的一致性问题常常造成各种各样的问题,越来越多的接口后来都将2个连接实例转变成读或写实例操作。
但不得不说,第2种类型确实比第一种效率上更加高。因为即使在一个需要写的接口下,可能需要读4~5次库,才会进行1次写操作,所以这不是一个影响效率的小因素。
由于这篇随笔我只想讨论读写分离,数据一致性问题不想过多涉及,所以本文会使用第1种类型进行讲解。
实施
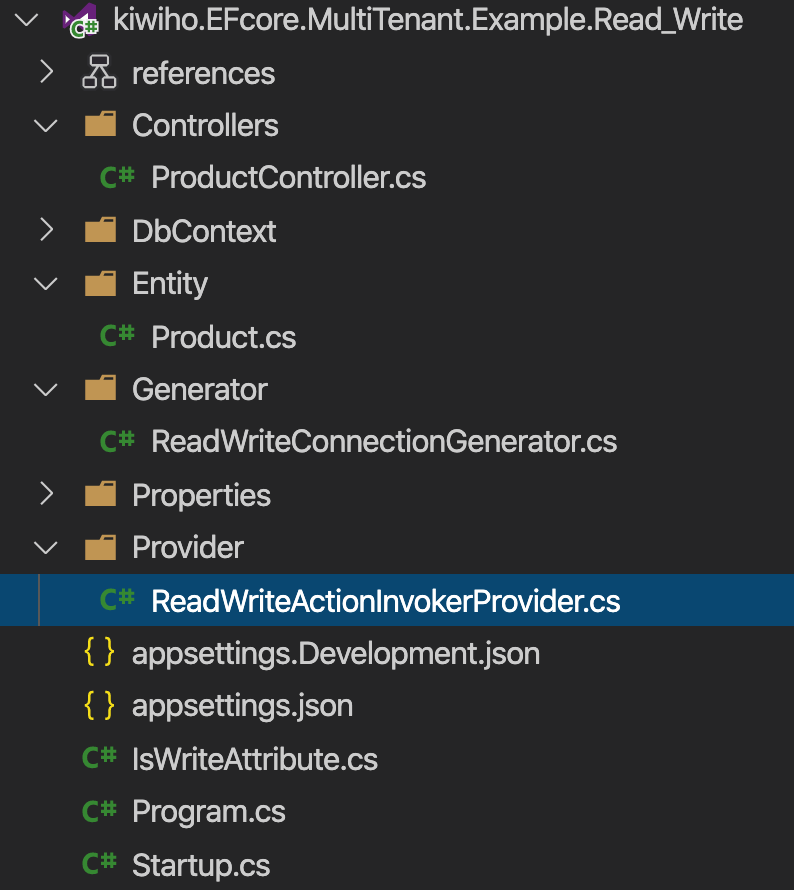
在具体的实施步骤前,我们先看看项目的结构。其中 Entity,DbContext,Controller 都是前文多次提及的,就不再强调他的代码实现了,有需要等朋友去github或者前面几篇文章参考。
读写是靠什么分离的
在我们的实例中,最大的难题是: 如何区分读和写?
对的,这就是我们全文的核心。从代码层面可以区分为 人为显式标明 和 代码自动识别数据库操作
人为显式标明很简单理解,就是我们在实现一个接口的时候,实际上已经知道它是否有需要写库。本文的实施方式
代码自动识别数据库,简单来说通过区分数据库的操作类型,从而自动指向不同的库。但由于我们本文的示例不具备很好的结构优势(上文提到的第1种类型),所以可操作性较低。
既然我们选择认为显示标明,那么大家很容易想到的是使用 C# 中备受推崇的注解方式 Attribute 。那么,我们很简单按照要求就创建了下面的这个类
这个 Attribute 看起来非常地简单,甚至连构造函数、属性和字段都没有。
有的只有第1行的 AttributeUsage 注解。这里的作用是规定他只能在方法上使用,并且不能同时存在多个和在继承时无效。
可能有朋友会提问为什么不用 ActionFilterAttribute 作为父类,其实这只是一个标识,没有任何逻辑在里面,自然也不需要用到强大的 ActionFilterAttribute 了
1 [AttributeUsage(AttributeTargets.Method, AllowMultiple = false, Inherited = false)]
2 public class IsWriteAttribute : Attribute
3 {
4 }
连接实例初始化
较为熟悉 asp.net core 的朋友或者有留意系列文章的朋友,应该不难发现 EF core 的连接实例 DbContext 是通过控制反转自动初始化的,在 Controller 产生之前,DbContext 已经初始化完成了。
那么我们是如何在 Controller 构造之前就标明这个DbContext 使用的是写库的连接还是读库的连接呢?
在这种情况下,我们就需要利用 asp.net core 的路由了,因为没有 asp.net core 的 Endpoint,我们是无法知道这个请求是到达哪一个 Controller 和方法的,这样就造成我们前文提到使用 Middleware 已经不再适用了。
通过苦苦地阅读了部分关于 Endpoint 的源码之后,我分析有2个较为合适的对象,分别是:IActionInvokerProvider 和 IControllerActivator。
最终我选定使用 IActionInvokerProvider ,理由暂不叙述,如果有机会我们展开源码讨论的时候再谈。
下面贴出 ReadWriteActionInvokerProvider 的代码。 OnProviderExecuted 就是执行后,OnProviderExecuting 就是执行前,这个很好理解。
第14行就是读出当前即将执行的接口方法有没有上文提到的使用 IsWriteAttribute 进行标注
剩下的代码的作用,主要就是对当前请求 scope 的 tenantInfo 进行赋值,用于区分当前请求是读还是写。
 1 public class ReadWriteActionInvokerProvider : IActionInvokerProvider
 2 {
 3     public int Order => 10;
 4
 5     public void OnProvidersExecuted(ActionInvokerProviderContext context)
 6     {
 7     }
 8
 9     public void OnProvidersExecuting(ActionInvokerProviderContext context)
10     {
11         if (context.ActionContext.ActionDescriptor is ControllerActionDescriptor descriptor)
12         {
13             var serviceProvider = context.ActionContext.HttpContext.RequestServices;
14             var isWrite = descriptor.MethodInfo.GetCustomAttributes(typeof(IsWriteAttribute), false)?.Length > 0;
15
16             var tenantInfo = serviceProvider.GetService(typeof(TenantInfo)) as TenantInfo;
17             tenantInfo.Name = isWrite ? "WRITE" : "READ";
18             (tenantInfo as dynamic).IsWrite = isWrite;
19         }
20     }
21 }
获取连接字符串
连接字符串这部分,由于我们已经跳出了多租户库规定的范畴了,所以我们需要自己实现一个可用于读写分离的 ConnectionGenerator
其中 TenantKey 属性和 MatchTenantKey 方法是 IConnectionGenerator 中必须的,主要是用来这个 Generator 是否匹配当前 DbContext
GetConection 中的逻辑,主要是通过 IsWrite 来判断是否是写库,从而获得唯一的写库连接字符串。其他的任何情况都通过随机数的取模,从2个读库的连接字符串中取一个。
 1 public class ReadWriteConnectionGenerator : IConnectionGenerator
 2 {
 3
 4     static Lazy<Random> random = new Lazy<Random>();
 5     private readonly IConfiguration configuration;
 6     public string TenantKey => "";
 7
 8     public ReadWriteConnectionGenerator(IConfiguration configuration)
 9     {
10         this.configuration = configuration;
11     }
12
13
14     public string GetConnection(TenantOption option, TenantInfo tenantInfo)
15     {
16         dynamic info = tenantInfo;
17         if (info?.IsWrite == true)
18         {
19             return configuration.GetConnectionString($"{option.ConnectionPrefix}write");
20         }
21         else
22         {
23             var mod = random.Value.Next(1000) % 2;
24             return configuration.GetConnectionString($"{option.ConnectionPrefix}read{(mod + 1)}");
25         }
26     }
27
28     public bool MatchTenantKey(string tenantKey)
29     {
30         return true;
31     }
32 }
注入配置
来到 asp.net core 的世界,怎么能缺少注入配置和管道配置呢。
首先是配置我们自定义的 IActionInvokerProvider 和 IConnectionGernerator .
然后是配置多租户。 这里利用 AddTenantedDatabase 这个基础方法,主要是为了表名它并不需要前文提到的mysql,sqlserver等的众多实现库。
 1 public class Startup
 2 {
 3     public Startup(IConfiguration configuration)
 4     {
 5         Configuration = configuration;
 6     }
 7
 8     public IConfiguration Configuration { get; }
 9
10     // This method gets called by the runtime. Use this method to add services to the container.
11     public void ConfigureServices(IServiceCollection services)
12     {
13         services.AddSingleton<IActionInvokerProvider, ReadWriteActionInvokerProvider>();
14         services.AddScoped<IConnectionGenerator, ReadWriteConnectionGenerator>();
15         services.AddTenantedDatabase<StoreDbContext>(null, setupDb);
16
17         services.AddControllers();
18     }
19
20     void setupDb(TenantSettings<StoreDbContext> settings)
21     {
22         settings.ConnectionPrefix = "mysql_";
23         settings.DbContextSetup = (serviceProvider, connectionString, optionsBuilder) =>
24         {
25             var tenant = serviceProvider.GetService<TenantInfo>();
26             optionsBuilder.UseMySql(connectionString, builder =>
27             {
28                 // not necessary, if you are not using the table or schema
29                 builder.TenantBuilderSetup(serviceProvider, settings, tenant);
30             });
31         };
32     }
33
34     // This method gets called by the runtime. Use this method to configure the HTTP request pipeline.
35     public void Configure(IApplicationBuilder app, IWebHostEnvironment env)
36     {
37         if (env.IsDevelopment())
38         {
39             app.UseDeveloperExceptionPage();
40         }
41
42         // app.UseHttpsRedirection();
43
44         app.UseRouting();
45
46         // app.UseAuthorization();
47
48         app.UseEndpoints(endpoints =>
49         {
50             endpoints.MapControllers();
51         });
52     }
53 }
其他
通过了上面的好几个关键步骤,我们已经将最关键的几个部分说明了。
剩下的是还有 StoreDbContext, Controller, Product, appsettings 等,请参考源码或者。
ProductionController 中有一个方法可以贴出来做为一个示例,标明我们怎么使用 IsWriteAttribute
 1 [HttpPost("")]
 2 [IsWriteAttribute]
 3 public async Task<ActionResult<Product>> Create(Product product)
 4 {
 5     var rct = await this.storeDbContext.Products.AddAsync(product);
 6
 7     await this.storeDbContext.SaveChangesAsync();
 8
 9     return rct?.Entity;
10
11 }
检验结果
其实这里我提供的例子,并不能从接口的响应如何区分是自动指向了读库或写库,所以效果就不截图了。
最后
这个系列终于要完成了。整整持续了2个月,主要是最近太忙了,即使在家办公,工作还是多得做不完。所以文章的产出非常的慢。
接下来做什么
这个系列的文章虽然完成了,但是开源的代码还是在继续的,我会开始完成github的Readme,以求让大家通过阅读github的介绍就能快速上手。
可能有朋友会有EF migration有需求,那请参阅我之前写的文章,其实套路都一样,没什么难度的。
之后会介绍什么知识点
其实我在写这个系列文章之前,就打算写缓存。可能有朋友会觉得缓存有什么可说的,不就是读一下,有就拿出来,没有就先写进去。
确实这是缓存的最基础操作,但是有没有一种优雅的方式,另我们不用不停重复写if else去读写缓存呢?
是有的,自从我读了Spring boot的部分源码,里面的缓存使用方式实在令我眼前一亮,后来我也在 asp.net core 项目中应用起来。
那优雅的方式,确实是每个程序员都愿意使用的。
那么我们可以期待我们自行实现的 Cacheable,CachePut,CacheEvict。
这里的难点是什么,C# 对比 Java 语法特色上最大区别是 asynchorize 的支持,所以 C# 对这种拦截器最大复杂度,就是在分别处理同步和异步。
有一些已经存在的类似的缓存库,往往需要使用反射进行对异步封装或异步解释,我将用更加优异的方式实现。
关于代码
请查看github : https://github.com/woailibain/kiwiho.EFcore.MultiTenant

 浙公网安备 33010602011771号