
利用CloudFlare自动DDNS
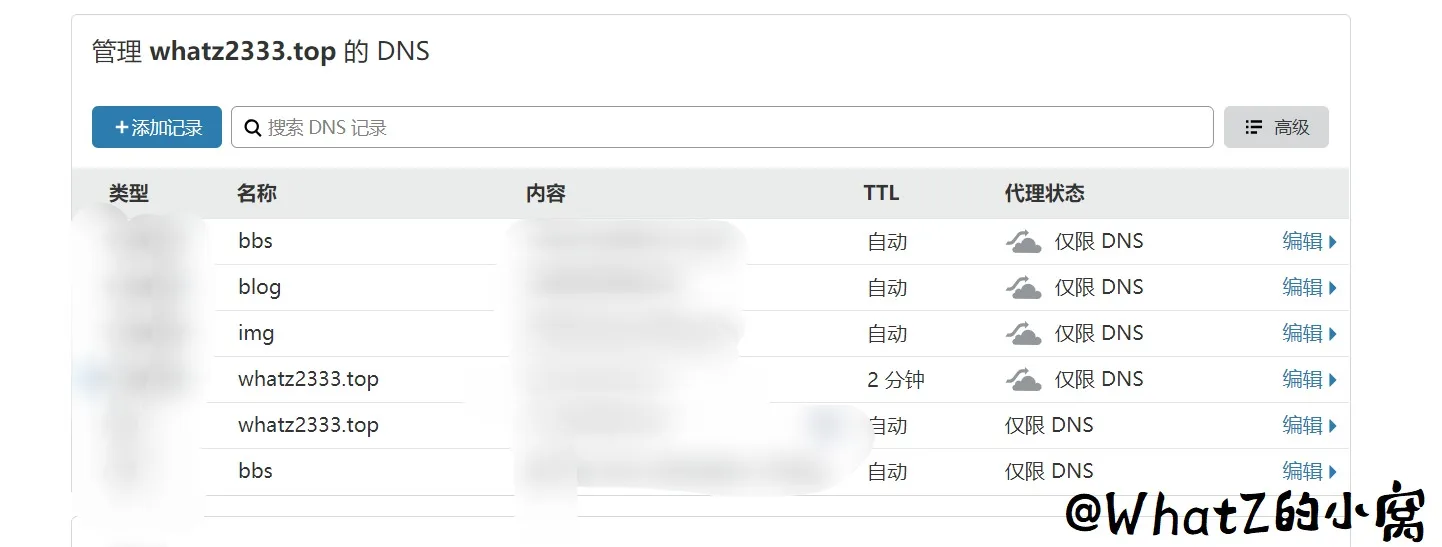
注意要 仅限 DNS
获取咱的Key https://dash.cloudflare.com/profile
先在控制面板找到咱的目前IP,然后到Cloudflare中新建一个A记录,如:ddns.yourdomain.com,指向咱的当前IP
下载脚本
1 wget https://raw.githubusercontent.com/yulewang/cloudflare-api-v4-ddns/master/cf-v4-ddns.sh
这里需要填写一个能返回咱的当前IP的网页地址,下面提供一些
1 $ curl ifconfig.me
2 $ curl icanhazip.com
3 $ curl ident.me
4 $ curl ipecho.net/plain
5 $ curl whatismyip.akamai.com
6 $ curl tnx.nl/ip
7 $ curl myip.dnsomatic.com
8 $ curl ip.appspot.com
9 $ curl -s checkip.dyndns.org | sed 's/.*IP Address: \([0-9\.]*\).*/\1/g'
修改脚本
# API key, see https://www.cloudflare.com/a/account/my-account,
# 上一步获取的CFKEY
CFKEY=
#输入你需要解析用来DDNS解析的根域名 eg: example.com
CFZONE=
# 暂时空着
CFID=
# 登陆CF的Username, eg: user@example.com
CFUSER=
# 填写用来DDNS解析的二级域名,与上面设置的要一致, eg: ddns.yourdomain.com
CFHOST=
# Cloudflare TTL for record, between 120 and 86400 seconds
CFTTL=3600
# Get domain ID from Cloudflare using awk/sed and python json.tool
GETID=true
# Ignore local file, update ip anyway
FORCE=false
# 填写上一步能正确返回咱的当前IP的网址, other examples are: bot.whatismyipaddress.com, https://api.ipify.org/ ...
WANIPSITE="myip.dnsomatic.com"
运行脚本
1 chmod +x cf-ddns.sh
2 ./cf-ddns.sh
第一次运行后,会显示咱用于DDNS解析的二级域名的CFID,记录下来

将CFID填入到配置文件中的CFID处
再次运行
1 ./cf-ddns.sh
设置自动运行
1 crontab -e
2 #不知道这样写对不对xD
3 0 * * * * /root/cf-ddns.sh >/dev/null 2>&1

 浙公网安备 33010602011771号