ssh整合之四单独搭建struts的运行环境
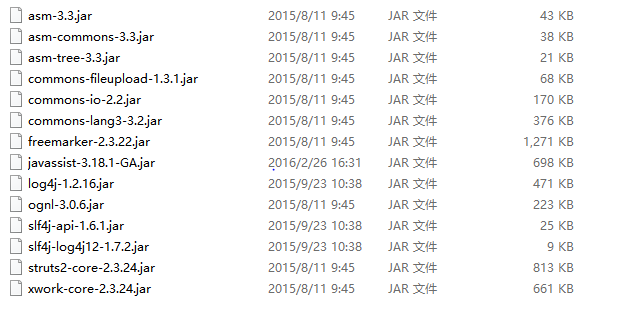
1.导入struts的基本jar包
2.在web.xml中配置我们struts的核心控制器StrutsPrepareAndExecuteFilter
<?xml version="1.0" encoding="UTF-8"?>
  <web-app xmlns:xsi="http://www.w3.org/2001/XMLSchema-instance" xmlns="http://java.sun.com/xml/ns/javaee" xsi:schemaLocation="http://java.sun.com/xml/ns/javaee   http://java.sun.com/xml/ns/javaee/web-app_2_5.xsd" id="WebApp_ID" version="2.5">
    <display-name>ssh_spring</display-name>
    <filter>
      <filter-name>ssh</filter-name>
      <filter-class>org.apache.struts2.dispatcher.ng.filter.StrutsPrepareAndExecuteFilter</filter-class>
    </filter>
    <filter-mapping>
      <filter-name>ssh</filter-name>
      <url-pattern>/*</url-pattern>
    </filter-mapping>
    <welcome-file-list>
      <welcome-file>index.html</welcome-file>
      <welcome-file>index.htm</welcome-file>
      <welcome-file>index.jsp</welcome-file>
      <welcome-file>default.html</welcome-file>
      <welcome-file>default.htm</welcome-file>
      <welcome-file>default.jsp</welcome-file>
    </welcome-file-list>
  </web-app>
3.编写我们的CustomerAction
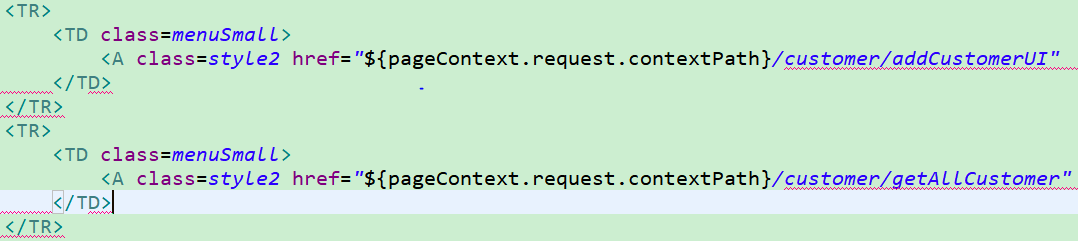
package com.itheima.action;

import com.itheima.entity.Customer;
import com.opensymphony.xwork2.ActionSupport;
import com.opensymphony.xwork2.ModelDriven;

public class CustomerAction extends ActionSupport implements ModelDriven<Customer> {
    private Customer customer = new Customer();

    public Customer getModel() {
        return customer;
    }

    //进入添加页面
    public String addCustomerUI(){
        return this.SUCCESS;
    }
    //进入列表页面
    public String getAllCustomer(){
        return this.SUCCESS;
    }
}
4.编写我们的struts的核心配置文件struts.xml
<!DOCTYPE struts PUBLIC
"-//Apache Software Foundation//DTD Struts Configuration 2.3//EN"
"http://struts.apache.org/dtds/struts-2.3.dtd">
<struts>
  <package name="customer" extends="struts-default" namespace="/customer">
  <!--
  1.class: 全限定类名
  反射的请示创建动作类对象
  class:需要修改为容器中动作类的bean的唯一标识
  -->
    <action name="addCustomerUI" class="com.itheima.action.CustomerAction" method="addCustomerUI">
      <result name="success">/jsp/customer/add.jsp</result>
    </action>
    <action name="getAllCustomer" class="com.itheima.action.CustomerAction" method="getAllCustomer">
      <result name="success">/jsp/customer/list.jsp</result>
    </action>
  </package>
</struts>
5.导入我们的jsp页面,并对我们的jsp页面中内容进行修改
完了我们把我们的项目部署到tomcat上,然后访问地址 http://localhost:8080/ssh_spring/

这样的话,我们的struts的单独运行环境就搭建好了,每天进步一点点!

 浙公网安备 33010602011771号