
搭建 RedHat OpenStack
OpenStack
2010年成立,是个开源的云操作系统(内核)
既是一个社区,也是一个项目和一个开源软件,提供了一个部署云的操作平台
可以将虚拟化资源进行整合(池化资源)
通过虚拟化技术,使物理服务器具备虚拟化能力,在物理服务器上创建许多虚拟机
VMWare、KVM、华为云、腾讯云都是基于OpenStack二次开发的,阿里云飞天系统是自己研发
搭建 RedHat OpenStack
可以用以下方式
1、PackStack工具,一键式搭建
2、Tripple O (华为的FusionCloudDeploy 加载配置表,一键式安装):
先安装迷你版的OpenStack 在使用heat编排,安装完整的OpenStack
3、ansible 工具
一 环境规划
系统及源版本:
rhel-server-7.1-x86_64-dvd.iso (因为 搭建 特定红帽版本,所以镜像不能替代)
RHEL7OSP-6.0-2015-02-23.2-x86_64.iso
controller 和 compute 必须开启虚拟化引擎
| 主机名 | IP | 网关/DNS | CPU/内存 | 硬盘 | 角色 |
|---|---|---|---|---|---|
| controller | 192.168.10.10 | 192.168.10.254 | 4 核 8G | 100G | 控制节点 |
| compute | 192.168.10.11 | 192.168.10.254 | 4 核 4G | 100G | 计算节点 |
| ntp | 192.168.10.12 | 192.168.10.254 | 4 核 2G | 50G | NTP时钟源 |
二 环境配置
2.1 配置主机名和IP
# 192.168.10.10
[root@localhost ~]# hostnamectl set-hostname controller
[root@localhost ~]# bash
[root@controller ~]# vi /etc/sysconfig/network-scripts/ifcfg-eno16777736
#修改以下部分
BOOTPROTO=none
ONBOOT=yes

#添加以下部分
IPADDR=192.168.10.10
PREFIX=24
GATEWAY=192.168.10.254
DNS1=192.168.10.254
[root@controller ~]# systemctl restart network


# 192.168.10.11
[root@localhost ~]# hostnamectl set-hostname compute
[root@localhost ~]# bash
[root@compute ~]# vi /etc/sysconfig/network-scripts/ifcfg-eno16777736
#修改以下部分
BOOTPROTO=none
ONBOOT=yes

#添加以下部分
IPADDR=192.168.10.11
PREFIX=24
GATEWAY=192.168.10.254
DNS1=192.168.10.254
[root@compute ~]# systemctl restart network

# 192.168.10.12
[root@localhost ~]# hostnamectl set-hostname ntp
[root@localhost ~]# bash
[root@ntp ~]# vi /etc/sysconfig/network-scripts/ifcfg-eno16777736
#修改以下部分
BOOTPROTO=none
ONBOOT=yes

#添加以下部分
IPADDR=192.168.10.12
PREFIX=24
GATEWAY=192.168.10.254
DNS1=192.168.10.254
[root@ntp ~]# systemctl restart network
2.2 关闭DNS反向解析
实验测试环境建议关闭主机名的反向解析,加速三方工具连接
#controller / compute / ntp 分别执行

[root@controller ~]# vi /etc/ssh/sshd_config
[root@compute ~]# vi /etc/ssh/sshd_config
[root@ntp ~]# vi /etc/ssh/sshd_config
#开启选项 UseDNS no

[root@controller ~]# systemctl restart sshd
[root@compute ~]# systemctl restart sshd
[root@ntp ~]# systemctl restart sshd
2.3 配置yum源
controller 控制节点
[root@controller ~]# mount /dev/cdrom /media

[root@controller ~]# vi /etc/yum.repos.d/local.repo

[rhel]
name=rhel
baseurl=file:///media
enabled=1
gpgcheck=0

[root@controller ~]# yum clean all
[root@controller ~]# yum repolist
compute 计算节点
[root@compute ~]# mount /dev/cdrom /media

[root@compute ~]# vi /etc/yum.repos.d/local.repo

[rhel]
name=rhel
baseurl=file:///media
enabled=1
gpgcheck=0

[root@compute ~]# yum clean all
[root@compute ~]# yum repolist
ntp 时钟源节点
[root@ntp ~]# mount /dev/cdrom /media

[root@ntp ~]# vi /etc/yum.repos.d/local.repo

[rhel]
name=rhel
baseurl=file:///media
enabled=1
gpgcheck=0

[root@ntp ~]# yum clean all
[root@ntp ~]# yum repolist
2.4 安装所需要的包
controller / compute / ntp 三台节点都执行
yum -y install  lrzsz \
vim \
bash-completion \
net-tools \
openssl \
openssl-devel \
chrony.x86_64 \
zip \
unzip \
ntpdate \
telnet
2.5 DNS反向解析
[root@controller ~]# echo '192.168.10.10 controller' >> /etc/hosts
[root@controller ~]# echo '192.168.10.11 compute' >> /etc/hosts
[root@controller ~]# echo '192.168.10.12 ntp' >> /etc/hosts

#拷贝到compute 和 ntp 节点上
[root@controller ~]# scp /etc/hosts root@compute:/etc
[root@controller ~]# scp /etc/hosts root@ntp:/etc
2.6 关闭防火墙
# controller / compute / ntp  三台节点都执行
[root@controller ~]# systemctl stop firewalld.service
[root@controller ~]# systemctl disable firewalld.service

[root@compute ~]# systemctl stop firewalld.service
[root@compute ~]# systemctl disable firewalld.service

[root@ntp ~]# systemctl stop firewalld.service
[root@ntp ~]# systemctl disable firewalld.service
2.7 关闭Selinux
# controller / compute / ntp  三台节点都执行
[root@controller ~]# setenforce 0
[root@controller ~]# vim /etc/selinux/config
# 修改 SELINUX=disabled

[root@compute ~]# setenforce 0
[root@compute ~]# vim /etc/selinux/config
# 修改 SELINUX=disabled

[root@ntp ~]# setenforce 0
[root@ntp ~]# vim /etc/selinux/config
# 修改 SELINUX=disabled
2.8 关闭NetworkManager服务
[root@controller ~]# systemctl stop NetworkManager.service
[root@controller ~]# systemctl disable NetworkManager.service

[root@compute ~]# systemctl stop NetworkManager.service
[root@compute ~]# systemctl disable NetworkManager.service

[root@ntp ~]# systemctl stop NetworkManager.service
[root@ntp ~]# systemctl disable NetworkManager.service
2.9 NTP节点配置 OpenStack Yum源
利用NTP做在线的yum源,把NTP做成一个web服务器
把NTP做成web服务
#上传两个镜像
[root@ntp ~]# mkdir /iso
[root@ntp ~]# ls /iso
RHEL7OSP-6.0-2015-02-23.2-x86_64.iso  rhel-server-7.1-x86_64-dvd.iso

#安装httpd并开机自启
[root@ntp ~]# yum -y install httpd
[root@ntp ~]# systemctl restart httpd
[root@ntp ~]# systemctl enable httpd

#创建目录挂载镜像
[root@ntp ~]# cd /var/www/html
[root@ntp html]# mkdir dvd
[root@ntp html]# mkdir openstack
[root@ntp html]# vim /etc/fstab

#添加两行
/iso/RHEL7OSP-6.0-2015-02-23.2-x86_64.iso  /var/www/html/openstack iso9660 defaults 0 0
/iso/rhel-server-7.1-x86_64-dvd.iso        /var/www/html/dvd       iso9660 defaults 0 0

[root@ntp html]# mount -a
[root@ntp html]# ls dvd/
addons  EFI  EULA  GPL  images  isolinux  LiveOS  media.repo  Packages  release-notes  repodata  RPM-GPG-KEY-redhat-beta  RPM-GPG-KEY-redhat-release  TRANS.TBL

[root@ntp html]# ls openstack/
RH7-RHOS-6.0  RH7-RHOS-6.0-Installer  RHEL7-Errata  RHEL-7-RHSCL-1.2  version.txt
配置OpenStack yum 源
[root@ntp ~]# rm -rf /etc/yum.repos.d/*
[root@ntp ~]# vim /etc/yum.repos.d/cloud.repo

[localdvd]
name=localdvd
baseurl=http://192.168.10.12/dvd/
enabled=1
gpgcheck=0

[RH7-RHOS-6.0]
name=RH7-RHOS-6.0
baseurl=http://192.168.10.12/openstack/RH7-RHOS-6.0
enabled=1
gpgcheck=0

[RH7-RHOS-6.0-Installer]
name=RH7-RHOS-6.0-Installer
baseurl=http://192.168.10.12/openstack/RH7-RHOS-6.0-Installer
enabled=1
gpgcheck=0

[RHEL7-Errata]
name=RHEL7-Errata
baseurl=http://192.168.10.12/openstack/RHEL7-Errata
enabled=1
gpgcheck=0

[RHEL-7-RHSCL-1.2]
name=RHEL-7-RHSCL-1.2
baseurl=http://192.168.10.12/openstack/RHEL-7-RHSCL-1.2
enabled=1
gpgcheck=0

[root@ntp ~]# yum clan all
[root@ntp ~]# yum repolist

#拷贝到controller 和 compute 节点上
[root@ntp ~]# scp /etc/repos.d/cloud.repo root@controller:/etc/yum.repos.d/
[root@ntp ~]# scp /etc/repos.d/cloud.repo root@compute:/etc/yum.repos.d/
3.0配置NTP服务
配置NTP服务端
[root@ntp ~]# systemctl restart chronyd.service
[root@ntp ~]# vim /etc/chrony.conf

#不打算向外同步时间
#server 0.rhel.pool.ntp.org iburst
#server 1.rhel.pool.ntp.org iburst
#server 2.rhel.pool.ntp.org iburst

#allow 192.168/16
allow 192.168.10/24

local stratum 10   ##意味着用本地做NTP服务端
[root@ntp ~]# systemctl restart chronyd.service
配置NTP客户端
# controller 和 compute 节点配置
[root@controller ~]# vim /etc/chrony.conf

#server 0.rhel.pool.ntp.org iburst
#server 1.rhel.pool.ntp.org iburst
#server 2.rhel.pool.ntp.org iburst
server ntp iburst

#每隔5分钟进行一次时间同步
[root@controller ~]# systemctl restart chronyd.service
[root@controller ~]# chronyc sources  #可以查看同步信息


[root@compute ~]# vim /etc/chrony.conf

#server 0.rhel.pool.ntp.org iburst
#server 1.rhel.pool.ntp.org iburst
#server 2.rhel.pool.ntp.org iburst
server ntp iburst

[root@compute ~]# systemctl restart chronyd.service

#手工同步测试
[root@controller ~]# ntpdate ntp
3.1安装配置
只在控制节点安装 PackStack
[root@controller ~]# yum -y install openstack-packstack

#当前目录生成模板文件
[root@controller ~]# packstack --gen-answer-file=cloud.txt
[root@controller ~]# vim cloud.txt

#编辑模板文件
CONFIG_NTP_SERVERS=192.168.10.12
CONFIG_CONTROLLER_HOST=192.168.10.10
CONFIG_COMPUTE_HOSTS=192.168.10.10,192.168.10.11
CONFIG_KEYSTONE_REGION=WuHan
CONFIG_KEYSTONE_ADMIN_PW=redhat     #(网页登录密码)
CONFIG_HORIZON_SSL=y                #(使用https安全登录)
CONFIG_PROVISION_DEMO=n             #(不创建DEMO实例环境)
仅图形化(GUI)重装MariaDB
GUI自动安装mariadvb,因依赖关系会导致安装时出现错误,重新安装即可
[root@controller ~]# yum -y remove mariadb
[root@controller ~]# yum -y install mariadb mariadb-server
执行模板文件进行安装
#可以反复执行,直到执行成功
[root@controller ~]# packstack --answer-file=cloud.txt
Welcome to the Packstack setup utility

The installation log file is available at: /var/tmp/packstack/20230113-171110-kH4IFF/openstack-setup.log

Installing:
Clean Up                                             [ DONE ]
Setting up ssh keys                                  [ DONE ]
Discovering hosts' details                           [ DONE ]
Adding pre install manifest entries                  [ DONE ]
Installing time synchronization via NTP              [ DONE ]
Preparing servers                                    [ DONE ]
Adding AMQP manifest entries                         [ DONE ]
Adding MariaDB manifest entries                      [ DONE ]
Adding Keystone manifest entries                     [ DONE ]
Adding Glance Keystone manifest entries              [ DONE ]
Adding Glance manifest entries                       [ DONE ]
Adding Cinder Keystone manifest entries              [ DONE ]
Checking if the Cinder server has a cinder-volumes vg[ DONE ]
Adding Cinder manifest entries                       [ DONE ]
Adding Nova API manifest entries                     [ DONE ]
Adding Nova Keystone manifest entries                [ DONE ]
Adding Nova Cert manifest entries                    [ DONE ]
Adding Nova Conductor manifest entries               [ DONE ]
Creating ssh keys for Nova migration                 [ DONE ]
Gathering ssh host keys for Nova migration           [ DONE ]
Adding Nova Compute manifest entries                 [ DONE ]
Adding Nova Scheduler manifest entries               [ DONE ]
Adding Nova VNC Proxy manifest entries               [ DONE ]
Adding OpenStack Network-related Nova manifest entries[ DONE ]
Adding Nova Common manifest entries                  [ DONE ]
Adding Neutron API manifest entries                  [ DONE ]
Adding Neutron Keystone manifest entries             [ DONE ]
Adding Neutron L3 manifest entries                   [ DONE ]
Adding Neutron L2 Agent manifest entries             [ DONE ]
Adding Neutron DHCP Agent manifest entries           [ DONE ]
Adding Neutron LBaaS Agent manifest entries          [ DONE ]
Adding Neutron Metering Agent manifest entries       [ DONE ]
Adding Neutron Metadata Agent manifest entries       [ DONE ]
Checking if NetworkManager is enabled and running    [ DONE ]
Adding OpenStack Client manifest entries             [ DONE ]
Adding Horizon manifest entries                      [ DONE ]
Adding Swift Keystone manifest entries               [ DONE ]
Adding Swift builder manifest entries                [ DONE ]
Adding Swift proxy manifest entries                  [ DONE ]
Adding Swift storage manifest entries                [ DONE ]
Adding Swift common manifest entries                 [ DONE ]
Adding MongoDB manifest entries                      [ DONE ]
Adding Redis manifest entries                        [ DONE ]
Adding Ceilometer manifest entries                   [ DONE ]
Adding Ceilometer Keystone manifest entries          [ DONE ]
Adding Nagios server manifest entries                [ DONE ]
Adding Nagios host manifest entries                  [ DONE ]
Adding post install manifest entries                 [ DONE ]
Installing Dependencies                              [ DONE ]
Copying Puppet modules and manifests                 [ DONE ]
Applying 192.168.10.10_prescript.pp
Applying 192.168.10.11_prescript.pp
192.168.10.10_prescript.pp:                          [ DONE ]
192.168.10.11_prescript.pp:                          [ DONE ]
Applying 192.168.10.10_chrony.pp
Applying 192.168.10.11_chrony.pp
192.168.10.10_chrony.pp:                             [ DONE ]
192.168.10.11_chrony.pp:                             [ DONE ]
Applying 192.168.10.10_amqp.pp
Applying 192.168.10.10_mariadb.pp
192.168.10.10_amqp.pp:                               [ DONE ]
192.168.10.10_mariadb.pp:                            [ DONE ]
Applying 192.168.10.10_keystone.pp
Applying 192.168.10.10_glance.pp
Applying 192.168.10.10_cinder.pp
192.168.10.10_keystone.pp:                           [ DONE ]
192.168.10.10_cinder.pp:                             [ DONE ]
192.168.10.10_glance.pp:                             [ DONE ]
Applying 192.168.10.10_api_nova.pp
192.168.10.10_api_nova.pp:                           [ DONE ]
Applying 192.168.10.10_nova.pp
Applying 192.168.10.11_nova.pp
192.168.10.10_nova.pp:                               [ DONE ]
192.168.10.11_nova.pp:                               [ DONE ]
Applying 192.168.10.10_neutron.pp
Applying 192.168.10.11_neutron.pp
192.168.10.11_neutron.pp:                            [ DONE ]
192.168.10.10_neutron.pp:                            [ DONE ]
Applying 192.168.10.10_osclient.pp
Applying 192.168.10.10_horizon.pp
192.168.10.10_osclient.pp:                           [ DONE ]
192.168.10.10_horizon.pp:                            [ DONE ]
Applying 192.168.10.10_ring_swift.pp
192.168.10.10_ring_swift.pp:                         [ DONE ]
Applying 192.168.10.10_swift.pp
192.168.10.10_swift.pp:                              [ DONE ]
Applying 192.168.10.10_mongodb.pp
Applying 192.168.10.10_redis.pp
192.168.10.10_mongodb.pp:                            [ DONE ]
192.168.10.10_redis.pp:                              [ DONE ]
Applying 192.168.10.10_ceilometer.pp
192.168.10.10_ceilometer.pp:                         [ DONE ]
Applying 192.168.10.10_nagios.pp
Applying 192.168.10.10_nagios_nrpe.pp
Applying 192.168.10.11_nagios_nrpe.pp
192.168.10.11_nagios_nrpe.pp:                        [ DONE ]
192.168.10.10_nagios.pp:                             [ DONE ]
192.168.10.10_nagios_nrpe.pp:                        [ DONE ]
Applying 192.168.10.10_postscript.pp
Applying 192.168.10.11_postscript.pp
192.168.10.10_postscript.pp:                         [ DONE ]
192.168.10.11_postscript.pp:                         [ DONE ]
Applying Puppet manifests                            [ DONE ]
Finalizing                                           [ DONE ]

 **** Installation completed successfully ******


Additional information:
 * File /root/keystonerc_admin has been created on OpenStack client host 192.168.10.10. To use the command line tools you need to source the file.
 * NOTE : A certificate was generated to be used for ssl, You should change the ssl certificate configured in /etc/httpd/conf.d/ssl.conf on 192.168.10.10 to use a CA signed cert.
 * To access the OpenStack Dashboard browse to https://192.168.10.10/dashboard .
Please, find your login credentials stored in the keystonerc_admin in your home directory.
 * To use Nagios, browse to http://192.168.10.10/nagios username: nagiosadmin, password: fbf2c6739fc546c4
 * The installation log file is available at: /var/tmp/packstack/20230113-171110-kH4IFF/openstack-setup.log
 * The generated manifests are available at: /var/tmp/packstack/20230113-171110-kH4IFF/manifests
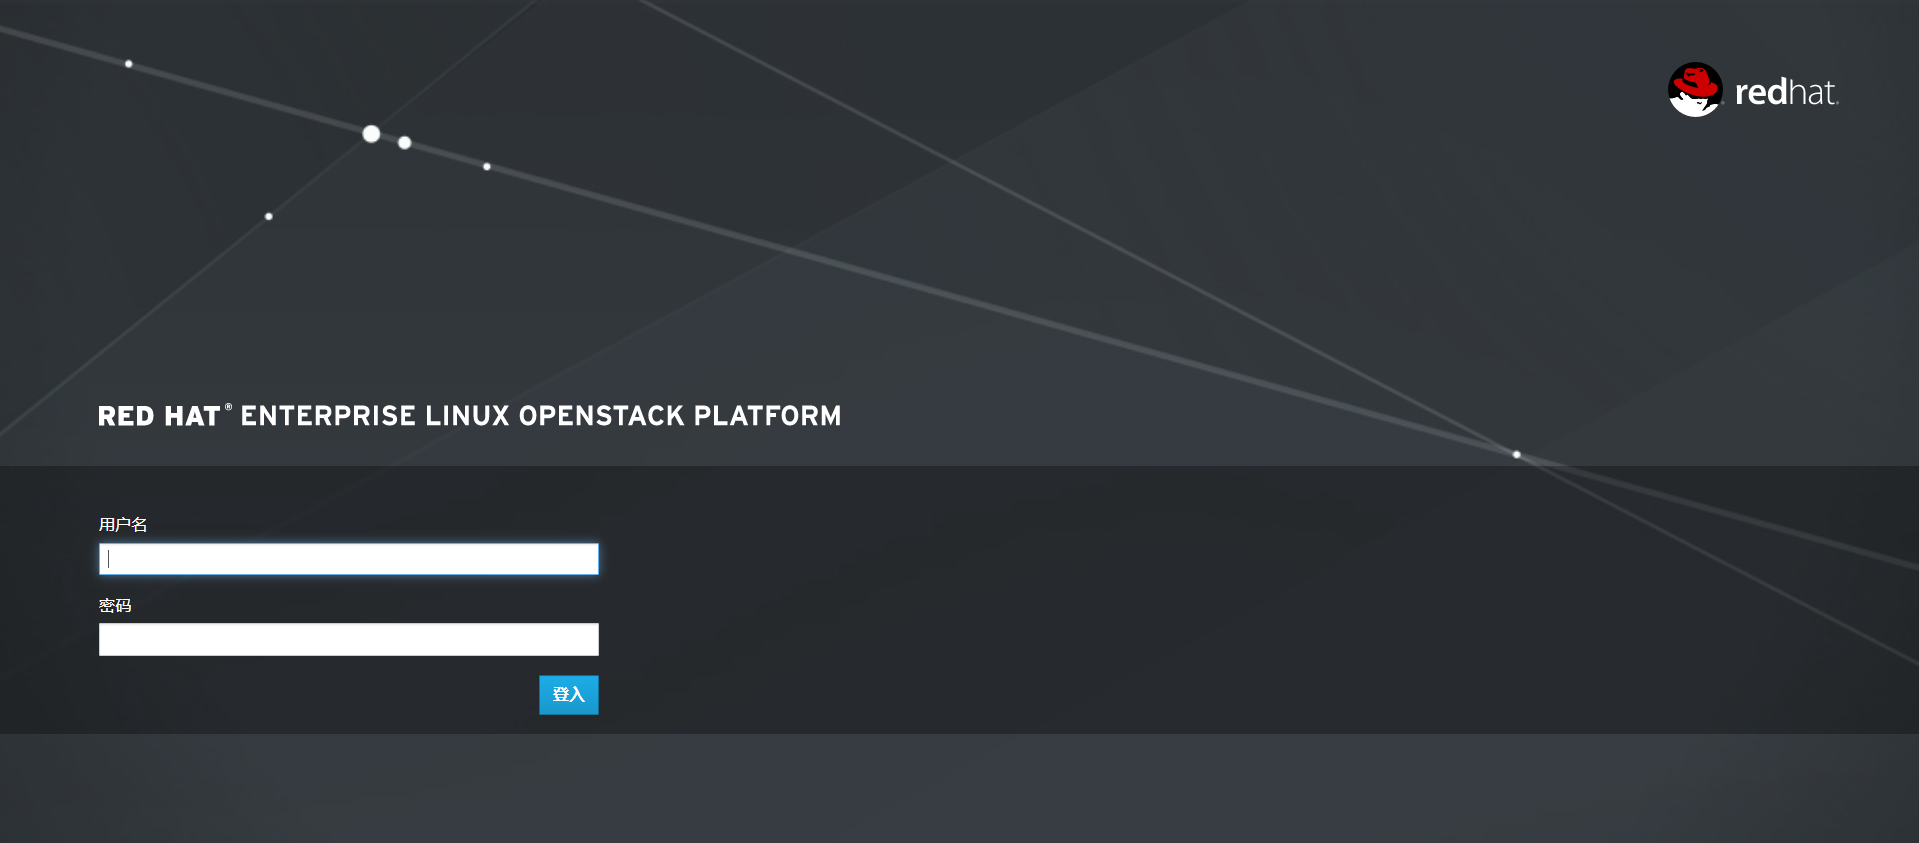
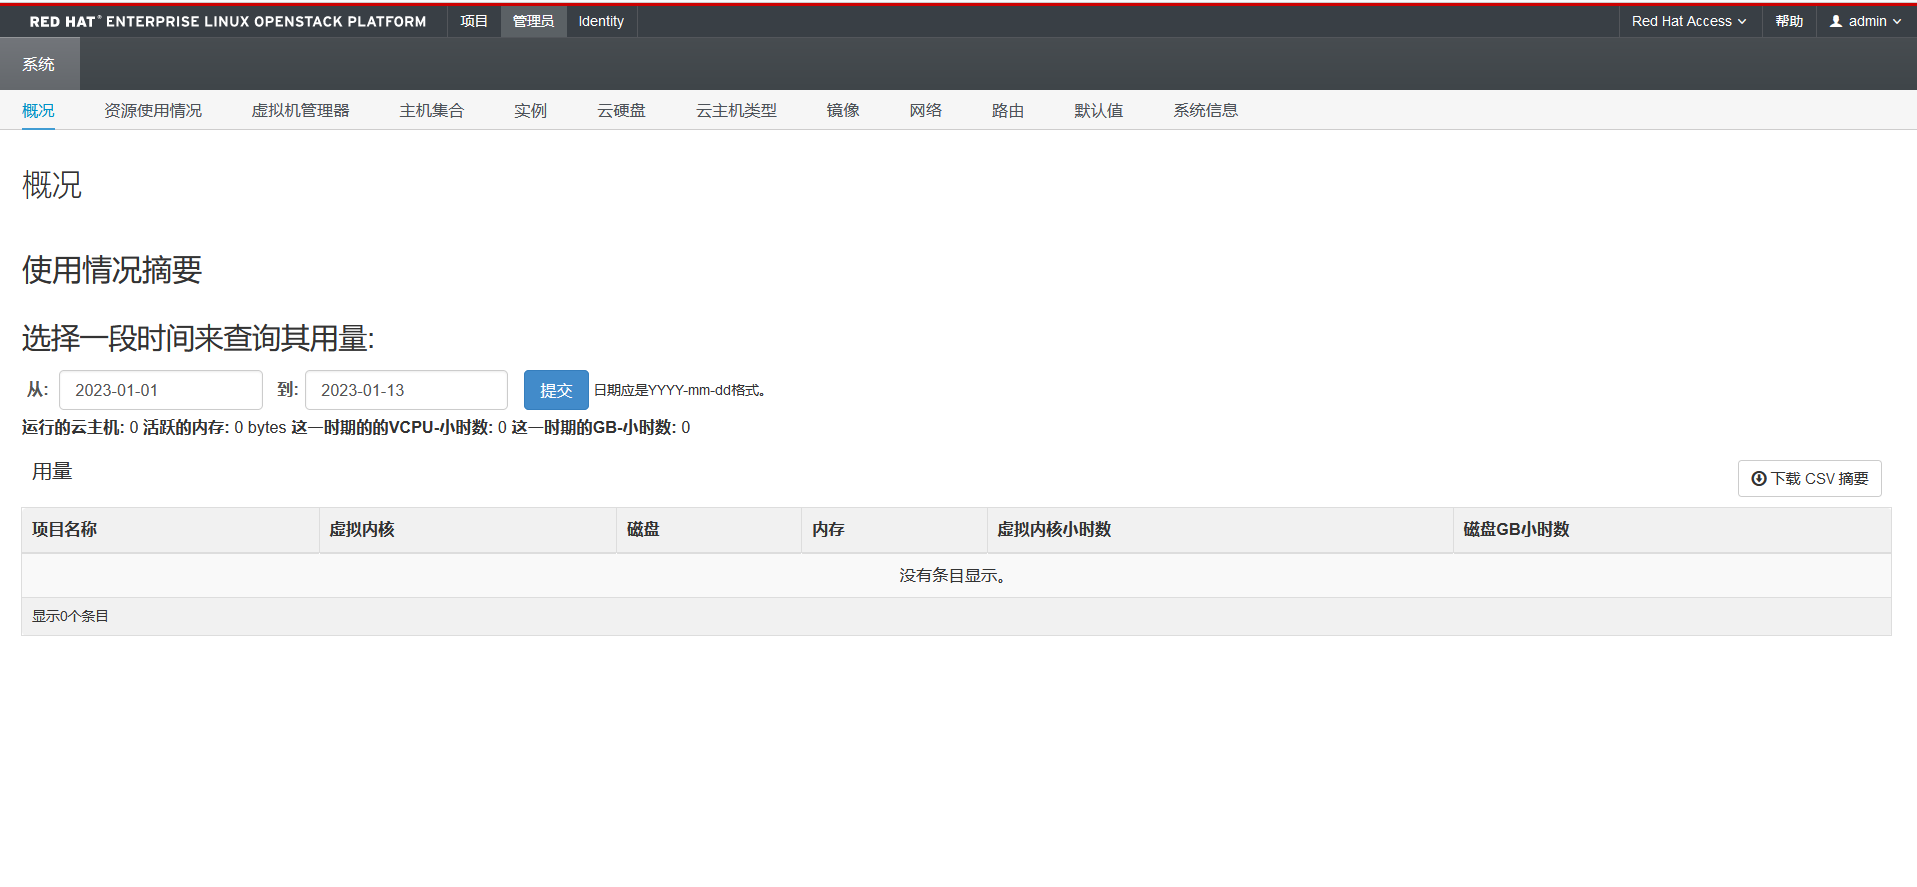
3.2访问网页
#https://控制节点IP/dashboard

https://192.168.10.10/dashboard

账号:admin
密码:redhat
配置OVS桥接
ovs在集中管理和控制方面有更多功能,多用于云平台
Linux Bridge具有良好的稳定性,适用于大规模网络部署
br-ex:外部的,特指internet
改br-ex 它是 OVS类型的交换机
通过br-ex连通外网
流量上外网方向
VM1——DVS——上行链路——物理网口——物理交换机——网络节点的服务器端口——上行链路——虚拟交换机——vrouter——br-ex——出去外网
[root@controller ~]# cd /etc/sysconfig/network-scripts/
[root@controller network-scripts]# cp ifcfg-eno16777736  ifcfg-eno16777736.bak

[root@controller network-scripts]# cp ifcfg-eno16777736 ifcfg-br-ex #必须命名为“br-ex”
[root@controller network-scripts]# vim ifcfg-eno16777736
# IPV4 和 IPV6 删掉
Type=OVSPort
BOOTPROTO=none
DEFROUTE=yes
NAME=eno16777736
DEVICE=eno16777736

DEVICETYPE=ovs
OVS_BRIDGE=br-ex
ONBOOT=yes

[root@controller network-scripts]#  vim ifcfg-br-ex
Type=OVSBridge
BOOTPROTO=none

DEFROUTE=yes
NAME=br-ex
DEVICE=br-ex
DEVICETYPE=ovs
ONBOOT=yes

IPADDR=192.168.10.10
PREFIX=24
DNS1=192.168.10.254

[root@controller network-scripts]# systemctl restart netwrok
云计算是一种服务模型,通过网络的方式,获取资源(计算,存储,网络)

 浙公网安备 33010602011771号