

spring-Security《二》
接着一讲:
PasswordEncoder我们看过了,我们怎么使用呢,怎么登录就会走springsecurity的框架呢,猜测和webFilter有类似的过滤器,拦截器配置什么的
于是我们研究下怎么适配请求的,
WebSecurityConfigurerAdapter
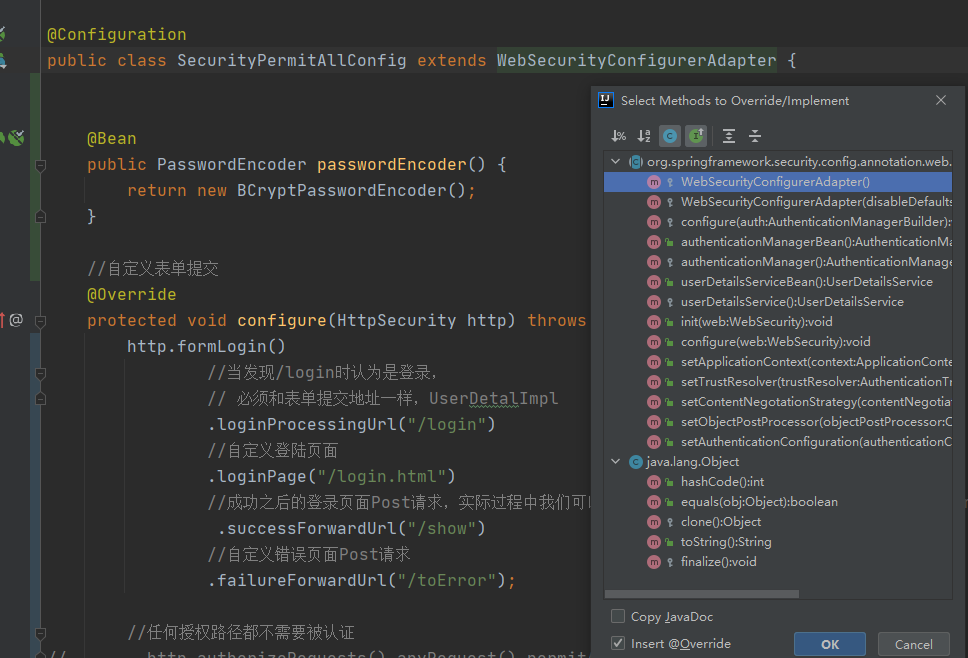
@Configuration
public class SecurityPermitAllConfig extends WebSecurityConfigurerAdapter {
@Bean
public PasswordEncoder passwordEncoder() {
return new BCryptPasswordEncoder();
}
//自定义表单提交
@Override
protected void configure(HttpSecurity http) throws Exception {
http.formLogin()
//当发现/login时认为是登录,
// 必须和表单提交地址一样,UserDetalImpl
.loginProcessingUrl("/login")
//自定义登陆页面
.loginPage("/login.html")
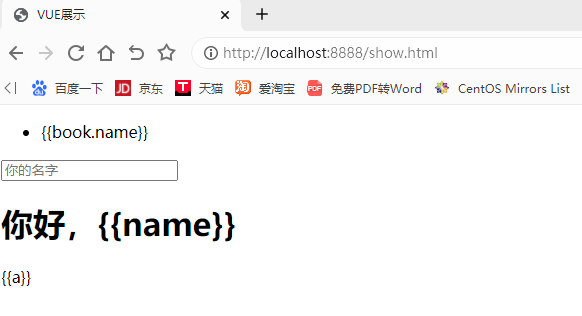
//成功之后的登录页面Post请求,实际过程中我们可以登陆后跳转到首页,这里我就不写了去首页的Controller的逻辑了
.successForwardUrl("/show")
//自定义错误页面Post请求
.failureForwardUrl("/toError");
//任何授权路径都不需要被认证
// http.authorizeRequests().anyRequest().permitAll()
http.authorizeRequests().
//login.html不需被认证
antMatchers("/login.html").permitAll()
//error.html
.antMatchers("/error.html").permitAll()
//所有请求都不许被认证请求,登陆后才可访问呢
.anyRequest().authenticated()
//csrf被禁止
.and().csrf().disable();
}
}
上面这个类有没有觉得眼熟,没错,shiro和Filter的影子都在里面,这里只是自定义实现了它默认的登录页面,路径和错误显示。
好自定义一个页面试试
<form action="/login" method="post">
  用户名:  <input type="text" name="username" />
  密码:  <input type="password" name="password" />
    <input  type="submit" value="登录"/>
</form>
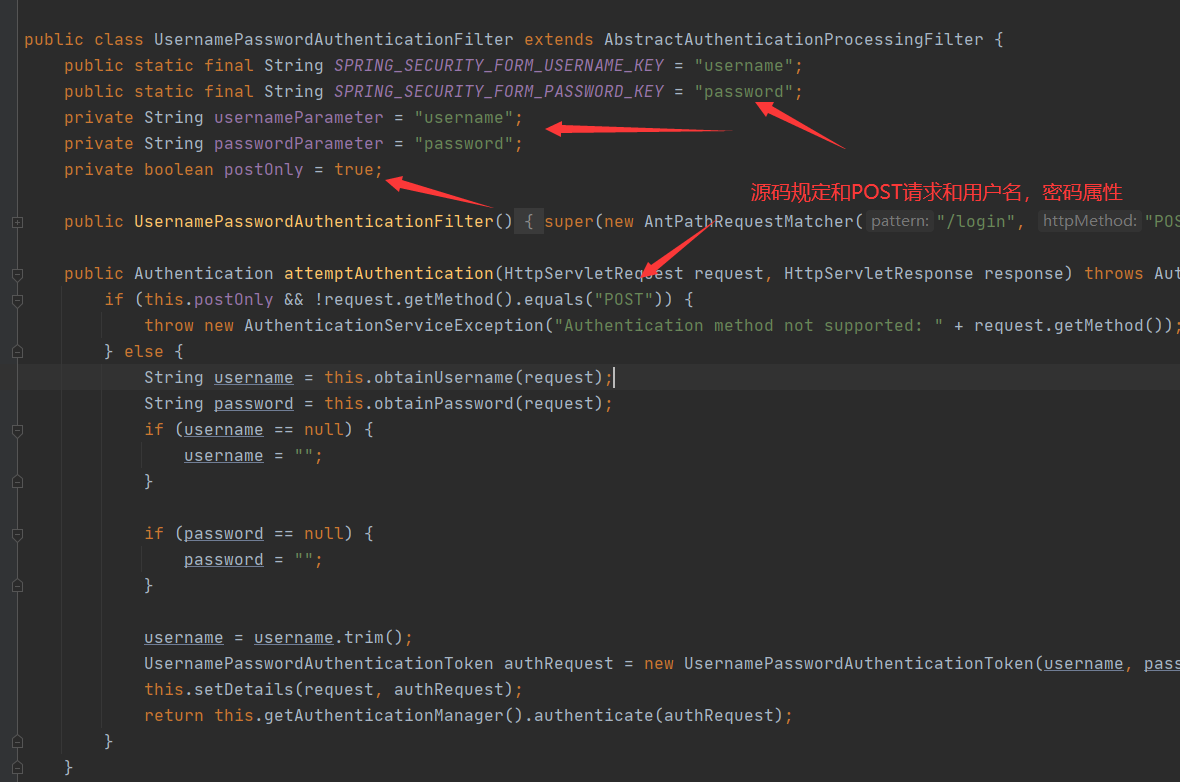
这里看到没和shiro框架的拦截很像,也是页面自定义请求,使用固定用户名和密码属性
有老六就问了,我就不用自定义的属性,当然了也可以自定义,在刚才的配置类里面自定义就可以了
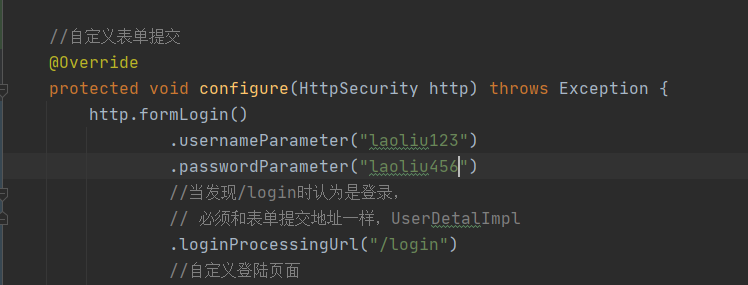
页面也要保持一致才行
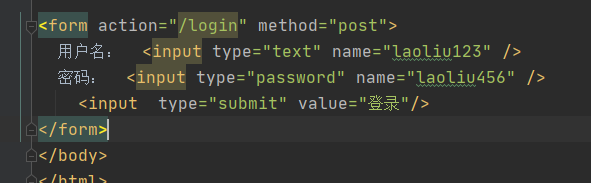
试一试;
现实是我想登陆后去别的页面怎么搞?我们再看下,其实也不难,看下面
  //成功之后的登录页面Post请求,实际过程中我们可以登陆后跳转到首页,这里我就不写了去首页的Controller的逻辑了
                 .successForwardUrl("/show")
继续点击去看源码:
/**
* Forward Authentication Success Handler
*
* @param forwardUrl the target URL in case of success
* @return the {@link FormLoginConfigurer} for additional customization
*/
public FormLoginConfigurer<H> successForwardUrl(String forwardUrl) {
successHandler(new ForwardAuthenticationSuccessHandler(forwardUrl));
return this;
}
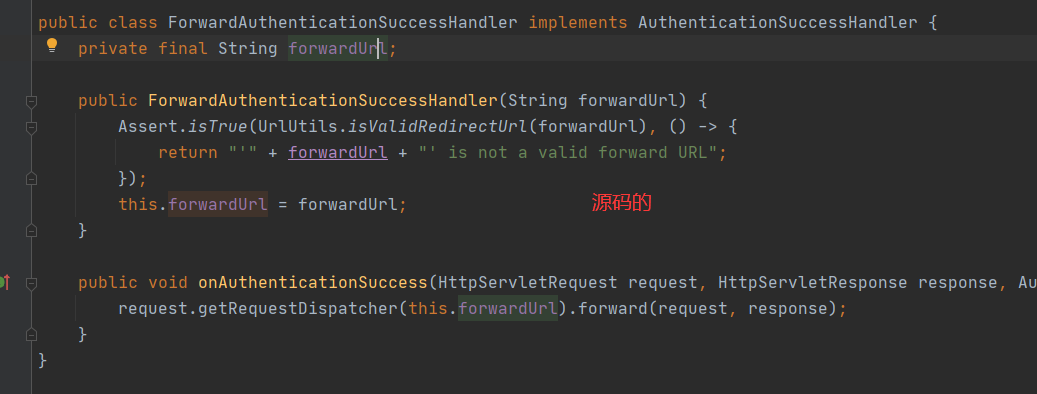
public class ForwardAuthenticationSuccessHandler implements AuthenticationSuccessHandler {
private final String forwardUrl;
public ForwardAuthenticationSuccessHandler(String forwardUrl) {
//里面拿到url赋值
Assert.isTrue(UrlUtils.isValidRedirectUrl(forwardUrl), () -> {
return "'" + forwardUrl + "' is not a valid forward URL";
});
this.forwardUrl = forwardUrl;
}
public void onAuthenticationSuccess(HttpServletRequest request, HttpServletResponse response, Authentication authentication) throws IOException, ServletException {
//拿到复制的url进行转发,卧槽这不是servlet嘛,没错,这下知道基础的重要性 了吧
request.getRequestDispatcher(this.forwardUrl).forward(request, response);
}
}
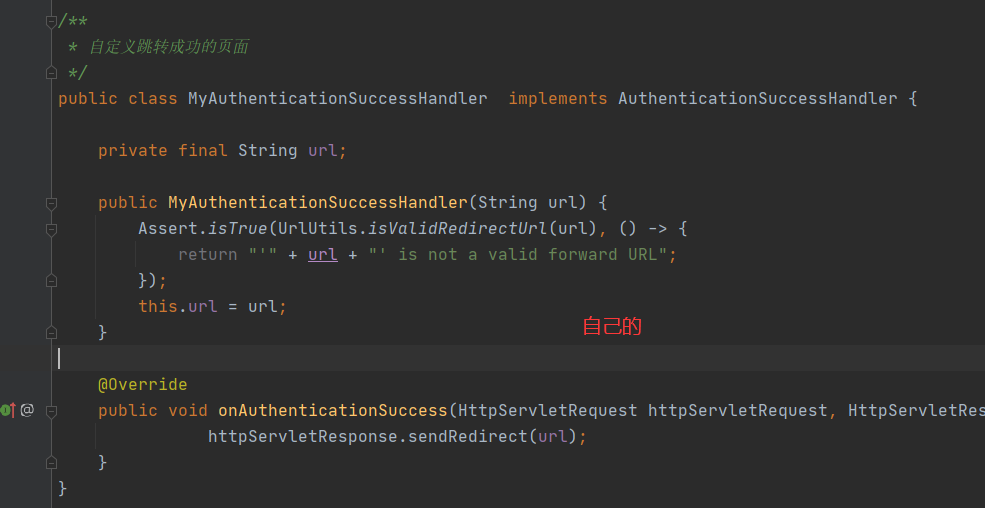
接下来我要自定义登录成功去某个页面了:
看下默认权限控制:
public final class ExpressionUrlAuthorizationConfigurer<H extends HttpSecurityBuilder<H>>
		extends
		AbstractInterceptUrlConfigurer<ExpressionUrlAuthorizationConfigurer<H>, H> {
	static final String permitAll = "permitAll"; 都可以访问
	private static final String denyAll = "denyAll";拒绝所有
	private static final String anonymous = "anonymous";匿名
	private static final String authenticated = "authenticated";认证
	private static final String fullyAuthenticated = "fullyAuthenticated"; 全部授权
	private static final String rememberMe = "rememberMe";、记住我


fullyAuthenticated+rememberMe:一步一步访问
本文来自博客园,作者:余生请多指教ANT,转载请注明原文链接:https://www.cnblogs.com/wangbiaohistory/p/16245785.html

 浙公网安备 33010602011771号