asterisk搭建goip
利用asterisk来搭建goip使用,步骤如下:
第一步:先需要搭建centos服务器并优化
搭建centos服务器就省略;
优化centos服务器,进行如下步骤:
关闭防火墙:systemctl stop firewalld,systemctl disable firewalld
关闭selinux: sed -i 's#(^SELINUX=).#\SELINUX=disabled#' /etc/selinux/config; setenforce 0
搭建yum源和第三方源
curl -o /etc/yum.repos.d/CentOS-Base.repo http://mirrors.aliyun.com/repo/Centos-7.repo
curl -o /etc/yum.repos.d/epel.repo http://mirrors.aliyun.com/repo/epel-7.repo
安装系统所需的小软件:
yum -y install wget vim lrzsz bash-completion telnet nmap nc net-tools tree
这样centos系统优化就完成了
第二步:进行asterisk软件安装
1、增加asterisk用户: useradd astrisk -s /sbin/nologin
2、使用80端口通过防火墙:firewall-cmd --zone=public --add-port=80/tcp --permanent
3、安装astrisk所需要的补丁:
yum -y install lynx tftp-server unixODBC mysql-connector-odbc mariadb-server mariadb httpd ncurses-devel sendmail sendmail-cf sox newt-devel libxml2-devel libtiff-devel audiofile-devel gtk2-devel subversion kernel-devel git crontabs cronie cronie-anacron wget vim uuid-devel sqlite-devel net-tools gnutls-devel python-devel texinfo libuuid-devel
4、安装php服务:
yum install php56w php56w-pdo php56w-mysql php56w-mbstring php56w-pear php56w-process php56w-xml php56w-opcache php56w-ldap php56w-intl php56w-soap
5、安装nodejs :yum install -y nodejs
6、启动mariadb服务:systemctl start mariadb; systemctl enable mariadb
7、进入mariadb(mysql),并设置root无密码:mysql_secure_installation
8、下载jansson: wget -O jansson.tar.gz https://github.com/akheron/jansson/archive/v2.11.tar.gz
并安装jansson控件:cd /server/tools
tar xf jansson.tar.gz
cd jansson-2.11 && autoreconf -i
./configure --libdir=/usr/lib64
make && make install
9、下载asterisk软件: wget http://downloads.asterisk.org/pub/telephony/asterisk/asterisk-16-current.tar.gz
安装asterisk软件:tar xf asterisk-16-current.tar.gz && cd asterisk-16.5.0/
contrib/scripts/install_prereq install
./configure --libdir=/usr/lib64 --with-pjproject-bundled --with-jansson-bundled
make menuselect (并选择app_macro)
make && make install
make config && make samples
ldconfig && chkconfig asterisk off
chown asterisk /var/run/astrisk
chown -R asterisk. /etc/asterisk
chown -R asterisk. /var/{lib,log,spool}/asterisk
chown -R asterisk. /usr/lib/64/asterisk
chown -R asterisk. /var/www
sed -i 's/(^upload_max_filesize = )./\120M/' /etc/php.ini
sed -i 's/^(User|Group).*/\1 asterisk/' /etc/httpd/conf/httpd.conf
sed -i 's/AllowOverride None/AllowOverride All/' /etc/httpd/conf/httpd.conf
systemctl restart httpd.service
cd /server/tools
wget http://mirror.freepbx.org/modules/packages/freepbx/freepbx-14.0-latest.tgz
tar xfz freepbx-14.0-latest.tgz
rm -f freepbx-14.0-latest.tgz
cd freepbx
./start_asterisk start
./install -n
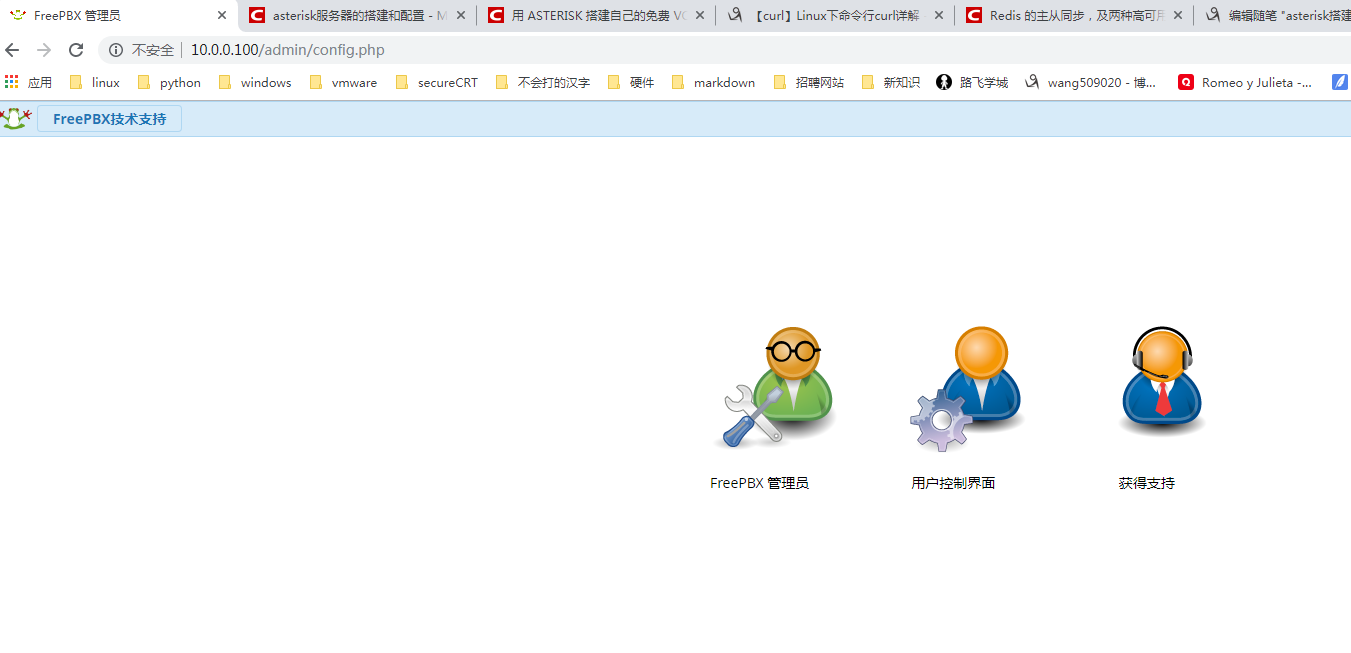
第三步:查看安装好的asterisk
#ifconfig eth0
eth0: flags=4163<UP,BROADCAST,RUNNING,MULTICAST> mtu 1500
inet 10.0.0.100 netmask 255.255.255.0 broadcast 10.0.0.255
inet6 fe80::5041:4e89:2600:f96e prefixlen 64 scopeid 0x20
ether 00:0c:29:0b:6a:a3 txqueuelen 1000 (Ethernet)
RX packets 487409 bytes 630322073 (601.1 MiB)
RX errors 0 dropped 0 overruns 0 frame 0
TX packets 173734 bytes 95408541 (90.9 MiB)
TX errors 0 dropped 0 overruns 0 carrier 0 collisions 0
在浏览器中输入:10.0.0.100就可以直接访问