Archlinux下i3wm与urxvt的配置
前段时间学习了GitHub的两位前辈:Airblader和wlh320。他们的相关教程在https://github.com/Airblader/i3和https://github.com/wlh320。本篇博客则是根据他们的教程总结出来的,当然大部分是直接扒的配置。这篇博客将告诉你如何配置一个漂亮的i3wm界面以及支持透明的urxvt。当然我这个透明是在i3wm下的,应该还会有别的通用方法,如果各位知道,请发到我的邮箱,感激不尽!
1 urxvt的基本配置
1.1 安装及配置文件
urxvt是一个轻量级的终端,功能不是很多,但是用着很舒服。在Archlinux下安装它的命令为:
#pacman -S urxvt
它的配置文件在$HOME/.Xresources这个文件中。
1.2 配置文件代码


 1 !!$HOME/.Xresources
 2 URxvt.preeditType:Root
 3 !!调整此处设置输入法
 4 URxvt.inputMethod:fcitx
 5 !!颜色设置
 6 URxvt.depth:32
 7 !!中括号内数表示透明度
 8 URxvt.inheritPixmap:true
 9 URxvt.background:#000000
10 URxvt.foreground:#ffffff
11 URxvt.colorBD:Gray95
12 URxvt.colorUL:Green
13 URxvt.color1:Red2
14 URxvt.color4:RoyalBlue
15 URxvt.color5:Magenta2
16 URxvt.color8:Gray50
17 URxvt.color10:Green2
18 URxvt.color12:DodgerBlue
19 URxvt.color14:Cyan2
20 URxvt.color15:Gray95
21 !!URL操作
22 URxvt.urlLauncher:chromium
23 URxvt.matcher.button:1
24 Urxvt.perl-ext-common:matcher
25 !!滚动条设置
26 URxvt.scrollBar:False
27 URxvt.scrollBar_floating:False
28 URxvt.scrollstyle:plain
29 !!滚屏设置
30 URxvt.mouseWheelScrollPage:True
31 URxvt.scrollTtyOutput:False
32 URxvt.scrollWithBuffer:True
33 URxvt.scrollTtyKeypress:True
34 !!光标闪烁
35 URxvt.cursorBlink:True
36 URxvt.saveLines:3000
37 !!边框
38 URxvt.borderLess:False
39 !!字体设置
40 Xft.dpi:96
41 URxvt.font:xft:Source Code Pro:antialias=True:pixelsize=18,xft:WenQuanYi Zen Hei:pixelsize=18
42 URxvt.boldfont:xft:Source Code Pro:antialias=True:pixelsize=18,xft:WenQuanYi Zen Hei:pixelsize=18
1.3 终端提示符配置
写完.Xresources文件后,urxvt的终端提示符是黑白的,如何将提示符变成彩色的呢?详情参考我的另一篇博客:终端提示符的配置
我的设置如下($HOME/.bashrc):
PS1='\[\033[31m\]\h\[\033[34m\]@\u:\[\033[0;32m\]\w\[\033[33m\]>>> \[\033[0m\]'
1.4 生效
改完了以上的内容,还缺少一步,让这个设置生效。我是直接把这个命令写进i3wm的启动配置文件$HOME/.xinitrc里了:
xrdb -load ~/.Xresources
现在除了透明,其他都不错的。
2 i3wm的配置
2.1 安装及配置文件
i3wm是一个平铺式桌面管理器,Archlinux下载如下:
#pacman -S i3wm
它的配置文件是$HOME/.config/i3/config。它的语法规则可以查看i3wm官方手册。
2.2 配置文件代码
如果你没有找到这个config文件,则把/etc/i3/config这个文件复制过去,或者是直接运行命令
#i3-config-wizard
这时候$HOME/.config/i3/config文件里的配置是比较基本的,这里介绍一下我添加的一些功能,或者是美化的部分。
首先要清楚的是i3wm的特色是可以绑定各种快捷键,当然大部分是与mod有关,mod键可以由用户设定,可以是alt(Mod1)或者是win(Mod4)。
介绍几种实用的改进:
•设置win键为mod键,在配置文件里添加:
set $mod Mod4
•win+enter键启动urxvt,透明启动哦!
这里如果要想urxvt透明,先得安装compton,并且在配置文件里设置自启,安装如下
#pacman -S compton
透明启动urxvt,在配置文件里添加:
exec --no-startup-id compton -b #开机自启
bindsym $mod+Return exec urxvt -sh 40 #透明参数0-100
•设置壁纸,首先安装feh,同样的pacman,这里不再赘述,安装完成后添加:
exec_always --no-startup-id feh --bg-scale "/path/xxx.jpg"
•按键盘上的print键全屏截图,按win+print键用户自选区域截图,需要安装shutter,pacman搞定,然后添加:
bindsym Print exec shutter -f -e -o ~/Pictures/shot/%Y-%m-%d-%T.png
bindsym $mod+Print exec shutter -s -e -o ~/Pictures/shot/%Y-%m-%d-%T.png
这里表示将截图保存在~/Picture/shot/文件夹里,名字为年-月-日-时间.png格式,当然了这些自己随便设定。
•黑屏时间设定,即多久用户无操作黑屏i3wm的黑屏和屏保是一个意思,但是都得设置,如下:
先把屏保功能关了:
exec --no-startup-id xset s 0
然后黑屏、睡眠、断电时间分别设为6000s,8000s,9000s,也可以只写前一个,不必三个都写
exec --no-startup-id xset dpms 6000 8000 9000
•win+shift+减号实现隐藏一个窗口,win+减号重新打开
bindsym $mod+Shift+minus move scratchpad
bindsym $mod+minus scratchpad show
还有很多基本的功能,请参照i3wm官网手册来自己写。下面介绍三处较大改进的地方。
2.3 工作区的配置
下面的代码可以实现将我比较常用的软件在用户设定的工作区打开,下面是代码:
 1 #打开URxvt的同时切换到tab模式
 2 for_window [class="URxvt"] layout tabbed
 3
 4 #打开软件时自动移至相应工作区
 5 assign [class="URxvt"] $WS1
 6 assign [class="Thunar"] $WS1
 7 assign [class="Firefox"] $WS2
 8 assign [class="Zathura"] $WS3
 9 assign [class="Gvim"] $WS4
10 assign [class="Ise"] $WS5
11 assign [class="VirtualBox"] $WS6
2.4 电源管理
win+c可以调出选项,你可以选择锁屏(L),注销(O),重启(R),关机(S),退出选项(Esc)。
 1 #*********************************************电源管理*************************************
 2 set $mode_system  lock(L) logout(O) reboot(R) shutdown(S) exit(Esc)
 3 bindsym $mod+c mode "$mode_system"
 4 mode "$mode_system" {
 5     bindsym l exec --no-startup-id i3lock -c '#000000', mode "default"
 6     bindsym o exec --no-startup-id i3-msg exit, mode "default"
 7     bindsym r exec --no-startup-id systemctl reboot, mode "default"
 8     bindsym s exec --no-startup-id systemctl poweroff, mode "default"
 9     bindsym Escape mode "default"
10 }
2.5 主题设置
将i3bar美化,这里要用到脚本文件jconky以及i3bar美化文件conkyrc,后面我会贴下载地址,当然也可以按照下面的代码写一份。文件需要移至$HOME/.config/i3/下。
注意:这里需要安装ttf-font-awesome字体(点击下载),AUR里有。且这里要安装conky
jconky:
 1 #!/bin/sh
 2
 3 # Send the header so that i3bar knows we want to use JSON:
 4 echo '{"version":1}'
 5
 6 # Begin the endless array.
 7 echo '['
 8
 9 # We send an empty first array of blocks to make the loop simpler:
10 echo '[],'
11
12 # Now send blocks with information forever:
13 exec conky -c ~/.config/i3/conkyrc
conkyrc
1 out_to_x no 2 out_to_console yes 3 background no 4 double_buffer no 5 update_interval 1 6 total_run_times 0 7 override_utf8_locale no 8 short_units yes 9 if_up_strictness address 10 cpu_avg_samples 2 11 12 TEXT 13 [ 14 #{ "full_text" : "", "color": "\#BADA55"}, 15 #{ "full_text": " ${exec curl icanhazip.com}"}, 16 { "full_text" : ${if_up eno1}" ${upspeed eno1}/s ${downspeed eno1}/s"${else}""${endif}, "color" : "\#94F397" }, 17 { "full_text" : ${if_up wlo1}" ${upspeed wlo1}/s ${downspeed wlo1}/s"${else}""${endif}, "color" : "\#94F397" }, 18 { "full_text" : " ${cpu cpu0}%" , "color" : "\#8BC3E7" }, 19 { "full_text" : " ${mem}" , "color" : "\#B987D9" }, 20 { "full_text" : " ${fs_used_perc /}%" , "color" : "\#FF9D17" }, 21 { "full_text" : " ${battery_percent}%" , "color" : "\#A4DC6A" }, 22 { "full_text" : " ${time %Y/%m/%d %a}" , "color" : "\#ff797b" }, 23 { "full_text" : " ${time %H:%M}" , "color" : "\#8BADF9" } 24 ],
config代码
1 #**************************************************主题设置********************************************* 2 # 窗口颜色 边框 背景 文字 提示 3 client.focused #333333 #333333 #FFFFFF #333333 4 client.focused_inactive #999999 #999999 #FFFFFF #3399FF 5 client.unfocused #999999 #999999 #FFFFFF #3399FF 6 client.urgent #990000 #990000 #FFFFFF #990000 7 client.placeholder #000000 #000000 #FFFFFF #000000 8 client.background #FFFFFF 9 10 #i3bar设置 11 bar { 12 i3bar_command i3bar -t 13 height 28 14 #禁止systemtray 15 tray_output none 16 # i3bar调用 17 status_command ~/.config/i3/jconky 18 # 显示位置top/bottom 19 position bottom 20 # 是否隐藏 21 #mode hide 22 # 拆解工作区名(隐藏前面的1:2:3:……) 23 strip_workspace_numbers yes 24 # 定义分隔符∥ 25 separator_symbol " " 26 27 colors { 28 background #10101000 29 statusline #FFFFFF 30 separator #3399FF 31 # 工作区颜色 边框 背景 文字 32 focused_workspace #3297FD #11111100 #FFFFFF 33 active_workspace #FFFFFF #FFFFFF00 #FFFFFF 34 inactive_workspace #111111 #11111100 #FFFFFF 35 urgent_workspace #990000 #11111100 #FFFFFF 36 binding_mode #990000 #99000000 #FFFFFF 37 } 38 }
注:i3bar_command i3bar -t的-t参数实现i3bar的透明,前提是安装了i3gap,没有则不用-t。
2.6 i3gaps
可以透明化i3bar,也可以在使窗口之间设定透明间隔,安装和编译可以参考https://github.com/Airblader/i3。
安装具体如下:
•首先在github下载文件,在bash中执行
#git clone https://github.com/Airblader/i3 ~/i3-gaps --将文件下载到~/i3-gaps文件夹中
•进入i3-gaps目录,进行编译,执行:
#make && make install
安装完成后,贴下config设置:
 1 #********************************************i3-gaps*********************************
 2 for_window [class="^.*"] border pixel 0
 3 gaps inner 8
 4 gaps outer 6
 5 set $mode_gaps Gaps: (o) outer, (i) inner
 6 set $mode_gaps_outer Outer Gaps: +|-|0 (local), Shift + +|-|0 (global)
 7 set $mode_gaps_inner Inner Gaps: +|-|0 (local), Shift + +|-|0 (global)
 8 bindsym $mod+Shift+g mode "$mode_gaps"
 9
10 mode "$mode_gaps" {
11         bindsym o      mode "$mode_gaps_outer"
12         bindsym i      mode "$mode_gaps_inner"
13         bindsym Return mode "default"
14         bindsym Escape mode "default"
15 }
16
17 mode "$mode_gaps_inner" {
18         bindsym plus  gaps inner current plus 5
19         bindsym minus gaps inner current minus 5
20         bindsym 0     gaps inner current set 0
21
22         bindsym Shift+plus  gaps inner all plus 5
23         bindsym Shift+minus gaps inner all minus 5
24         bindsym Shift+0     gaps inner all set 0
25
26         bindsym Return mode "default"
27         bindsym Escape mode "default"
28 }
29 mode "$mode_gaps_outer" {
30         bindsym plus  gaps outer current plus 5
31         bindsym minus gaps outer current minus 5
32         bindsym 0     gaps outer current set 0
33
34         bindsym Shift+plus  gaps outer all plus 5
35         bindsym Shift+minus gaps outer all minus 5
36         bindsym Shift+0     gaps outer all set 0
37
38         bindsym Return mode "default"
39         bindsym Escape mode "default"
40 }
3 效果图
说了这么多,终于到了秀桌面的时候了么,这些都是shutter截的图哦!
各个工作区截图:
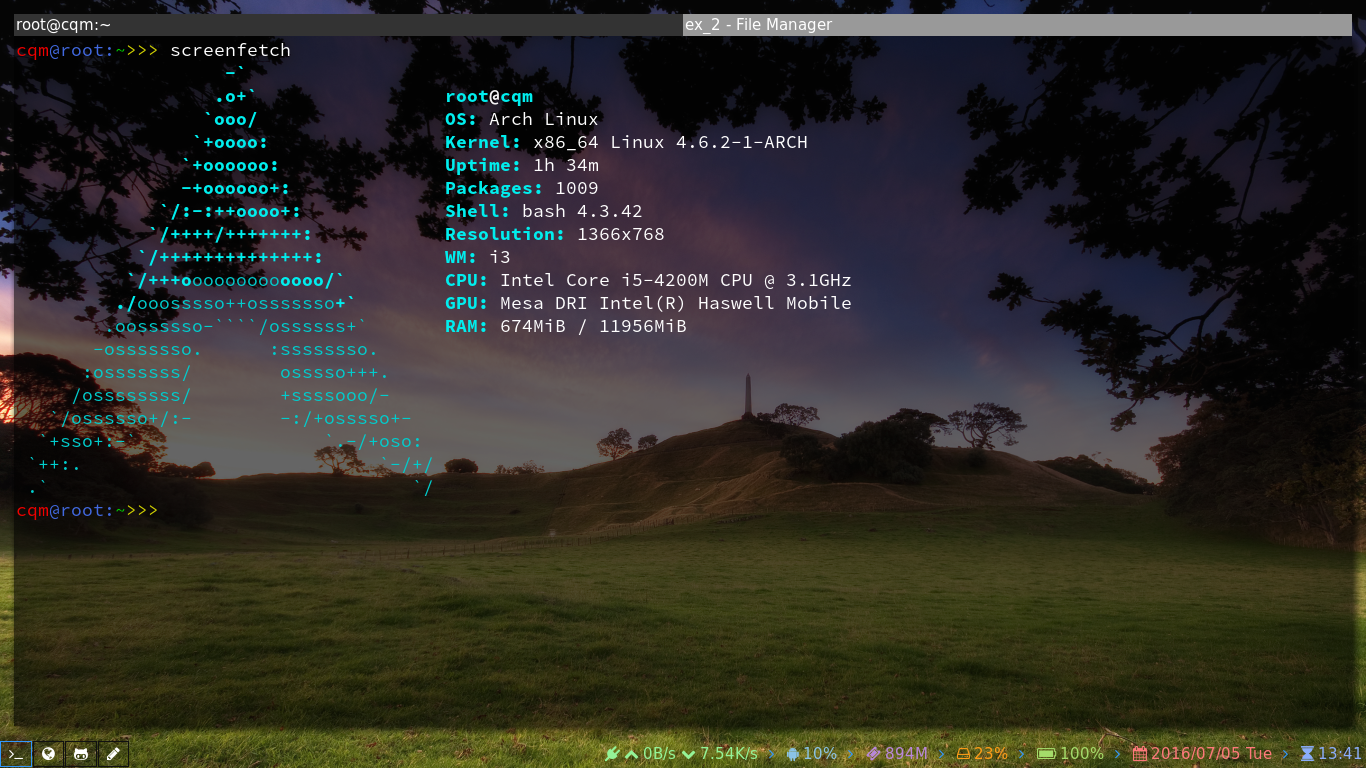
工作区1,urxvt和thunar
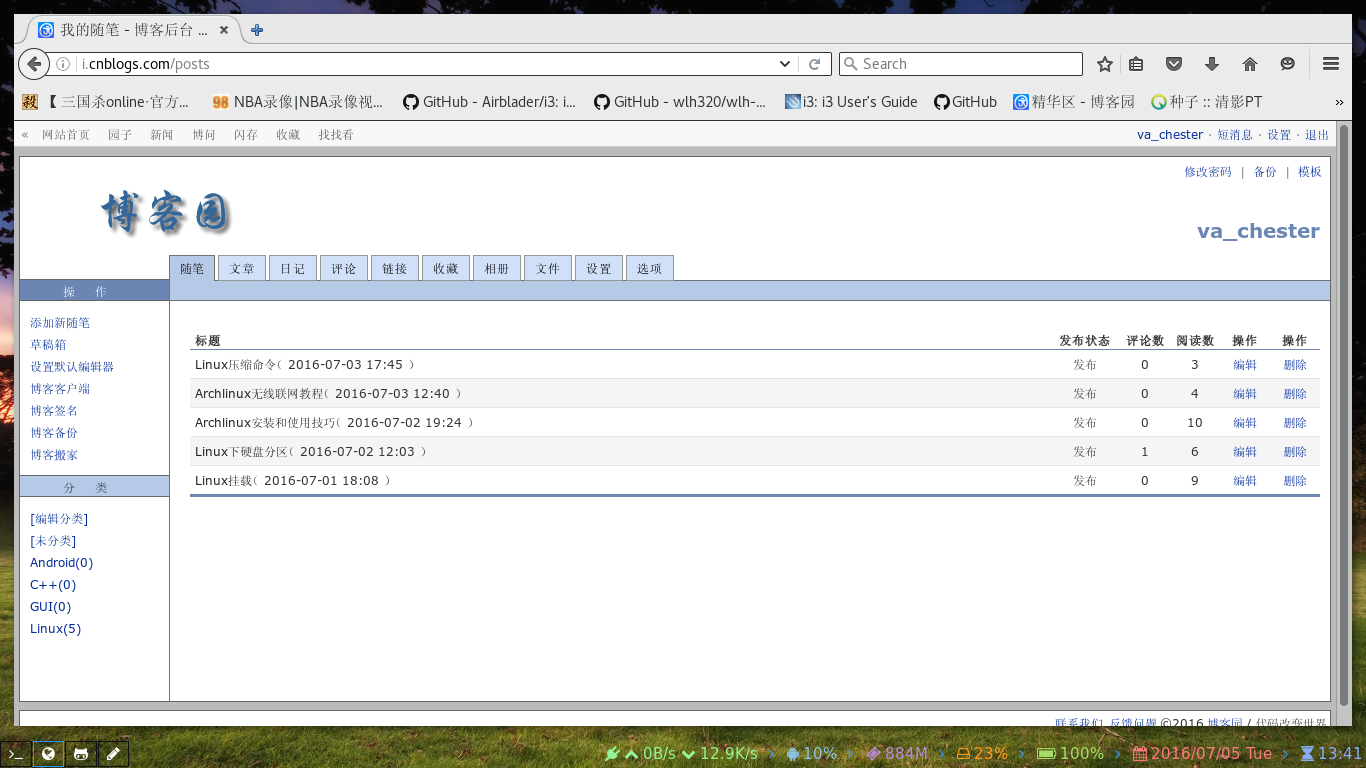
工作区2,firefox
工作区3,Zathura,一个pdf阅读器,用法有着vim的特色

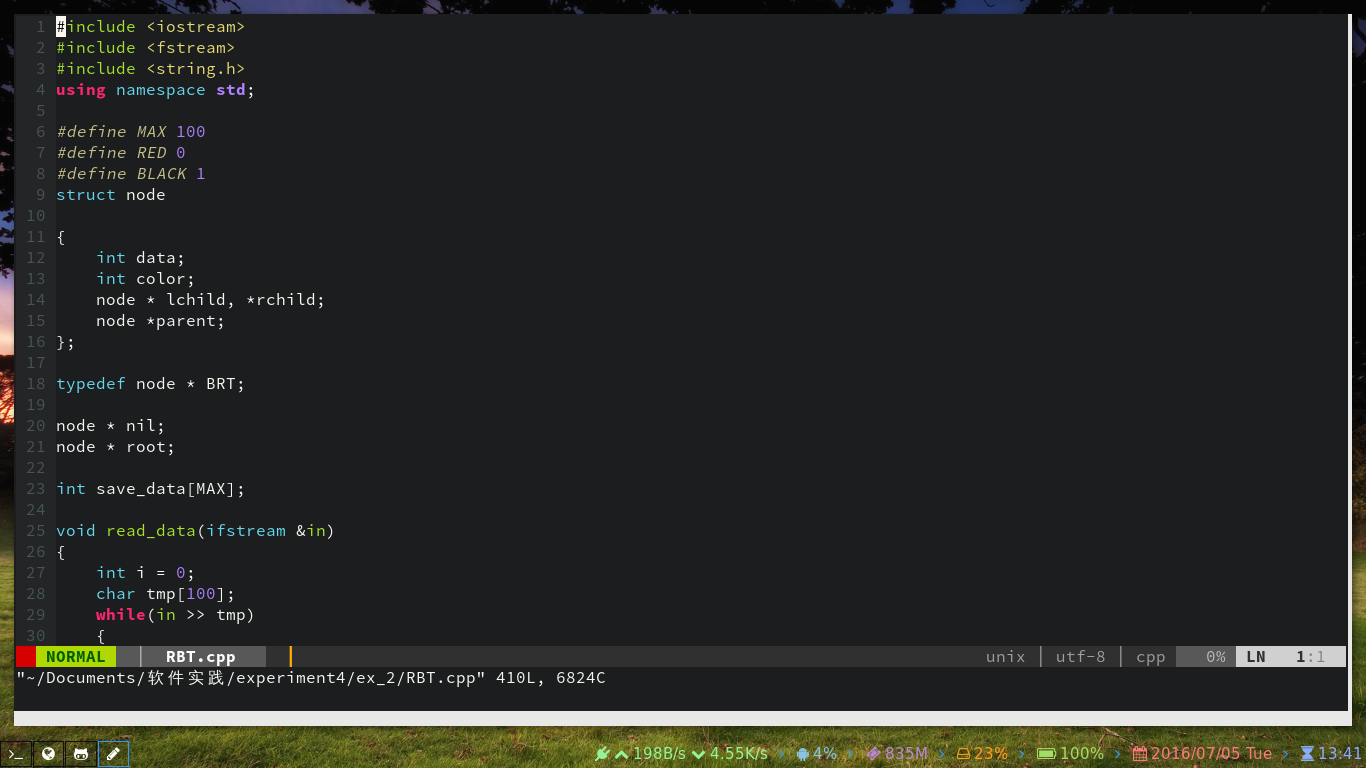
工作区4,gvim
..........
4 相关文件下载
•font-awesome:开源的图标字体,可通过简单地复制粘贴使用,具体查看http://fontawesome.io/cheatsheet/。
•urxvt配置文件下载:click here
•i3wm相关配置文件下载:click here
完...
作者: vachester
出处:http://www.cnblogs.com/vachester/
邮箱:xcchester@gmail.com
本文版权归作者和博客园共有,欢迎转载,但未经作者同意必须保留此段声明,且在文章页面明显位置给出原文链接,否则保留追究法律责任的权利。

 浙公网安备 33010602011771号