- 下载nginx和tomcat的镜像信息
docker pull nginx
docker pull tomcat
- 创建nginx和tomcat需要挂载的目录
mkdir -p /bigdata/install/nginx/www /bigdata/install/nginx/conf/ /bigdata/install/nginx/logs
mkdir -p /bigdata/install/tomcat/webapps1/ROOT \
	 /bigdata/install/tomcat/webapps2/ROOT \
         /bigdata/install/tomcat/logs/log1 \
         /bigdata/install/tomcat/logs/log2
- 启动2台tomcat 作负载均衡
docker run --name tomcat1 \
-v /bigdata/install/tomcat/webapps1:/usr/local/tomcat/webapps \
-v /bigdata/install/tomcat/logs/log1:/usr/local/tomcat/logs \
-d tomcat
docker run --name tomcat2 \
-v /bigdata/install/tomcat/webapps2/:/usr/local/tomcat/webapps \
-v /bigdata/install/tomcat/logs/log2:/usr/local/tomcat/logs \
-d tomcat
- 获取tomcat容器的ip信息
docker inspect tomcat1|grep "IPAddress"
docker inspect tomcat2|grep "IPAddress"
- 配置nginx.conf
cd /bigdata/install/nginx/conf
vi nginx.conf

##复制如下内容到文件中去
user  nginx;
worker_processes  1;

error_log  /var/log/nginx/error.log warn;
pid        /var/run/nginx.pid;


events {
    worker_connections  1024;
}


http {
    include       /etc/nginx/mime.types;
    default_type  application/octet-stream;

    log_format  main  '$remote_addr - $remote_user [$time_local] "$request" '
                      '$status $body_bytes_sent "$http_referer" '
                      '"$http_user_agent" "$http_x_forwarded_for" "$upstream_addr"';

    access_log  /var/log/nginx/access.log  main;

    sendfile        on;
    #tcp_nopush     on;

    keepalive_timeout  65;

    #gzip  on;

    upstream tomcat {
        server 172.17.0.2:8080;##上一步查到的IP和端口
        server 172.17.0.3:8080;##上一步查到的IP和端口
    }

    server {
        listen 80;
        server_name localhost;

        location / {
            proxy_pass http://tomcat/;
            proxy_redirect off;
            index index.html index.htm;
            proxy_set_header Host $host;
            proxy_set_header X-Real-IP $remote_addr;
            proxy_set_header X-Real-Port $remote_port;
            proxy_set_header X-Forwarded-For $proxy_add_x_forwarded_for;
        }
    }
    include /etc/nginx/conf.d/*.conf;
}
- 启动nginx
docker run -p 80:80 --name nginx \
-v /bigdata/install/nginx/www:/usr/share/nginx/html \
-v /bigdata/install/nginx/conf/nginx.conf:/etc/nginx/nginx.conf \
-v /bigdata/install/nginx/logs:/var/log/nginx \
-d nginx
- 添加静态页面,区分不同的tomcat
cd /bigdata/install/tomcat/webapps1/ROOT
vi index.html
##复制以下内容,贴入文件
<!DOCTYPE html>
<html>
<head>
<meta charset="UTF-8">
<title>docker deployment</title>
</head>
<body>
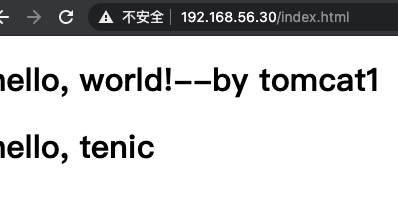
<h1>hello, world!--by tomcat1</h1>
<h1>hello, tenic</h1>
</body>
</html>
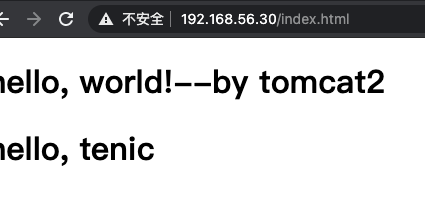
tomcat2的配置页面同理,只是将tomcat1修改为tomcat2
- 访问页面,可以看到有2个页面在替换
![]()
![]()

 浙公网安备 33010602011771号