Windwos服务之定时发送邮件(一)
Windwos服务如何创建与发布,此处不再做详解,网上能搜到的一大堆:https://jingyan.baidu.com/article/495ba84147629578b20ede55.html
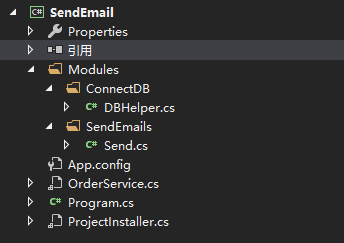
这是我的结构树:
1、在App.config配置数据库连接
<?xml version="1.0" encoding="utf-8"?>
<configuration>
    <startup>
        <supportedRuntime version="vxxx" sku=".NETFramework,Version=vxxx"/>
    </startup>
  <connectionStrings>
    <add name="ConnString" connectionString="Data Source=xxx;Initial Catalog=xxx;User ID=xxx;Password=xxx" providerName="xxx"/>
  </connectionStrings>
</configuration>
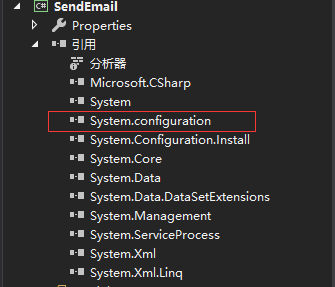
2、添加 System.Configuration 引用
3、通过 ConfigurationManager.ConnectionStrings["ConnString"].ConnectionString 获取连接字符串,之后自行封装
4、进入OrderServer.cs,设置运行逻辑
using SendEmail.Modules.SendEmails;
using System.ServiceProcess;
using System.Timers;

namespace SendEmail
{
    public partial class OrderService : ServiceBase
    {
        Send email = new Send();
        Timer time = new Timer(5000);

        public OrderService()
        {
            InitializeComponent();
        }

        protected override void OnStart(string[] args)
        {
       #region 服务开始,设置定时轮询

            //时间间隔(毫秒)
            //Timer time = new Timer(5000);
            //保持持续执行
            time.AutoReset = true;
            time.Elapsed += new System.Timers.ElapsedEventHandler(KeepRunEvent);
            time.Start();

       #endregion

        }
        private void KeepRunEvent(object sender, System.Timers.ElapsedEventArgs e)
        {
            #region 避免上次任务尚未完成,下一次任务又开始了

            time.Enabled = false;
            email.SendService();
            time.Enabled = true;

        #endregion
        }
        protected override void OnStop()
        {
         #region 服务停止
        #endregon
        }
    }
}
5、发送邮件方法
using SendEmail.Modules.ConnectDB;
using System;
using System.Data;
using System.Net.Mail;
using System.Text;

namespace SendEmail.Modules.SendEmails
{
    public class Send
    {
        DBHelper bll = new DBHelper();
        public void SendService()
        {
            string sql = "";//查找未删除,未发送,未锁定数据
            DataTable dt = bll.Select("select * from xxx where xxx=0 and xxx=0 and xx=0");
            if (dt.Rows.Count > 0)
            {
                for (int i = 0; i < dt.Rows.Count; i++)
                {
                    //接收人
                    string accepter = dt.Rows[i]["xxx"].ToString();
                    //邮件内容
                    string content = dt.Rows[i]["xxx"].ToString();
                    if (!string.IsNullOrEmpty(accepter) && !string.IsNullOrEmpty(content))
                    {

                        MailMessage msg = new MailMessage();
                        msg.To.Add(accepter);//收件人地址
                        msg.From = new MailAddress("xxx", "个人网站");//发件人邮箱,名称
                        msg.Subject = "来自个人网站的邮件";//邮件标题
                        msg.SubjectEncoding = Encoding.UTF8;//标题格式为UTF8
                        msg.Body = content;//邮件内容
                        msg.BodyEncoding = Encoding.UTF8;//内容格式为UTF8

                        SmtpClient client = new SmtpClient();
                        client.Host = "smtp.qq.com";//SMTP服务器地址
                        client.Port = 587;//SMTP端口,QQ邮箱填写587

              /**********下面顺序不要反**********/
              client.EnableSsl = true;//启用SSL加密
                        client.UseDefaultCredentials = false;
                        //发件人邮箱账号,授权码
                        client.Credentials = new System.Net.NetworkCredential("xxx", "xxx");

                        try
                        {
                            client.Send(msg);//发送邮件
                            sql = "update xxx set xxx=1,xxx='success',xxx='发送成功' where xxx=" + dt.Rows[i]["xxx"].ToString();
                            bll.RunSql(sql);
                        }
                        catch (Exception e)
                        {
                            //return false;
                            sql = "update xxx set xxx=1,xxx='error',xxx='发送失败," + e.Message + "' where xxx=" + dt.Rows[i]["xxx"].ToString();
                            bll.RunSql(sql);
                        }
                    }
                    else
                    {
                        sql = "update xxx set xxx=1,xxx='accident',xxx='接收人或发送内容为空' where xxx=" + dt.Rows[i]["xxx"].ToString();
                        bll.RunSql(sql);
                    }
                }
            }
        }
    }
}
6、以管理员身份运行cmd,进入到对应版本.NET Framework版本路径,我的是在:C:\Windows\Microsoft.NET\Framework\v4.0.30319

7、通过:InstallUtil.exe D:\WEB\SendEmail\SendEmail\bin\Debug\SendEmail.exe(你的服务程序路径)安装服务
8、通过:InstallUtil.exe /u D:\WEB\SendEmail\SendEmail\bin\Debug\SendEmail.exe(你的服务程序路径)卸载服务
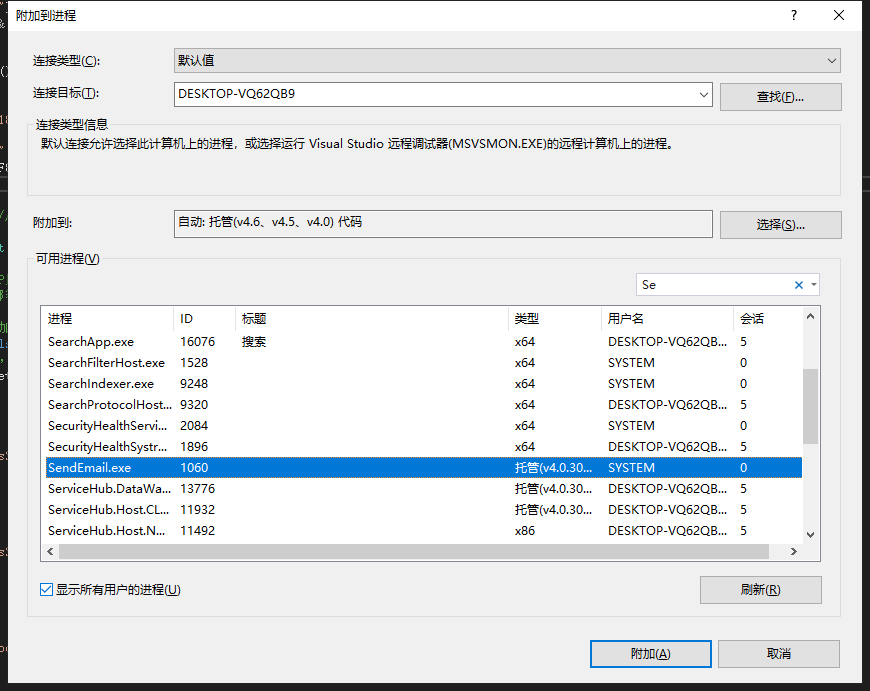
9、服务安装后方可进行调试
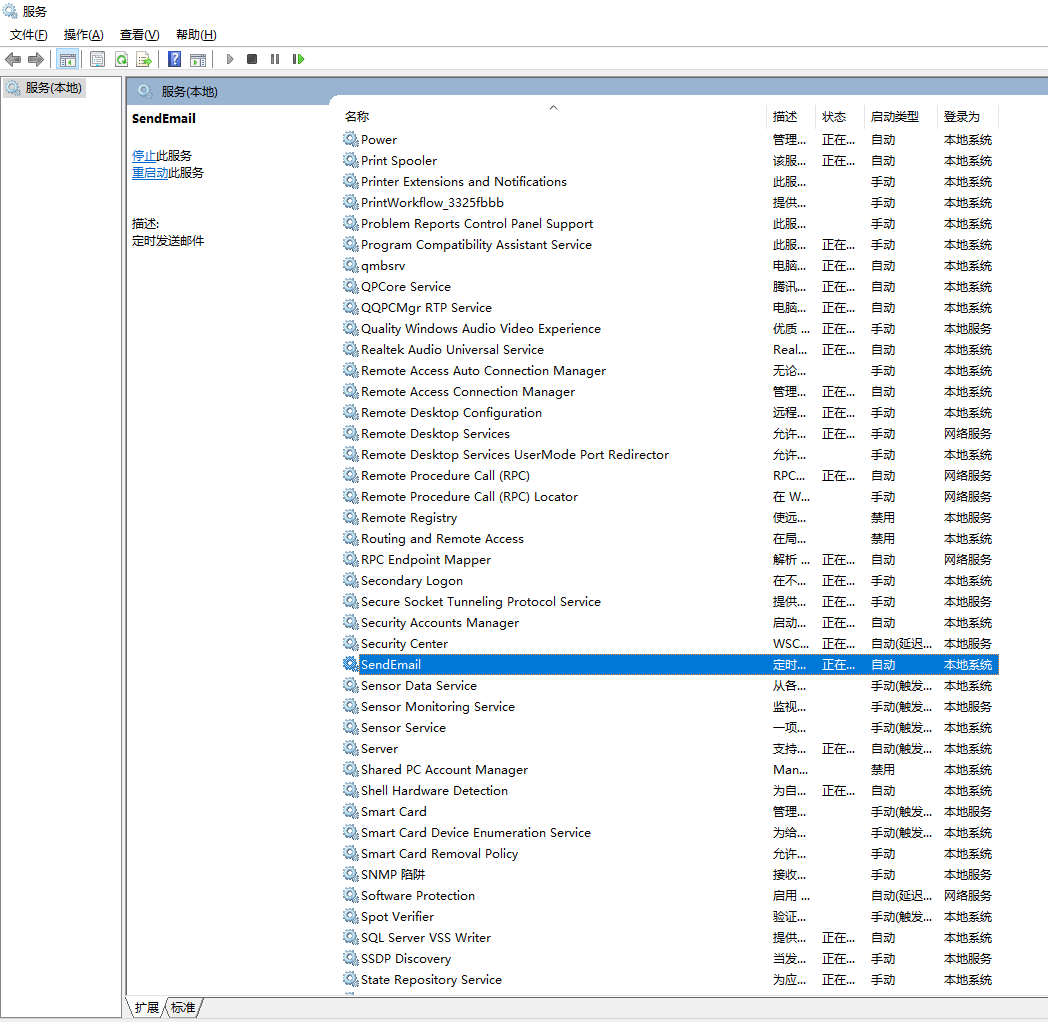
10、通过 services.msc 进入服务管理,查看服务状态

 浙公网安备 33010602011771号