


NET CORE在Linux下部署并且用Nginx 做负载均衡(主要说明CentOS)
1、安装.NET Core Runtime
2、上传.net core文件
3、守护进程
4、安装Nginx
5、配置Nginx
1、安装.NET Core Runtime
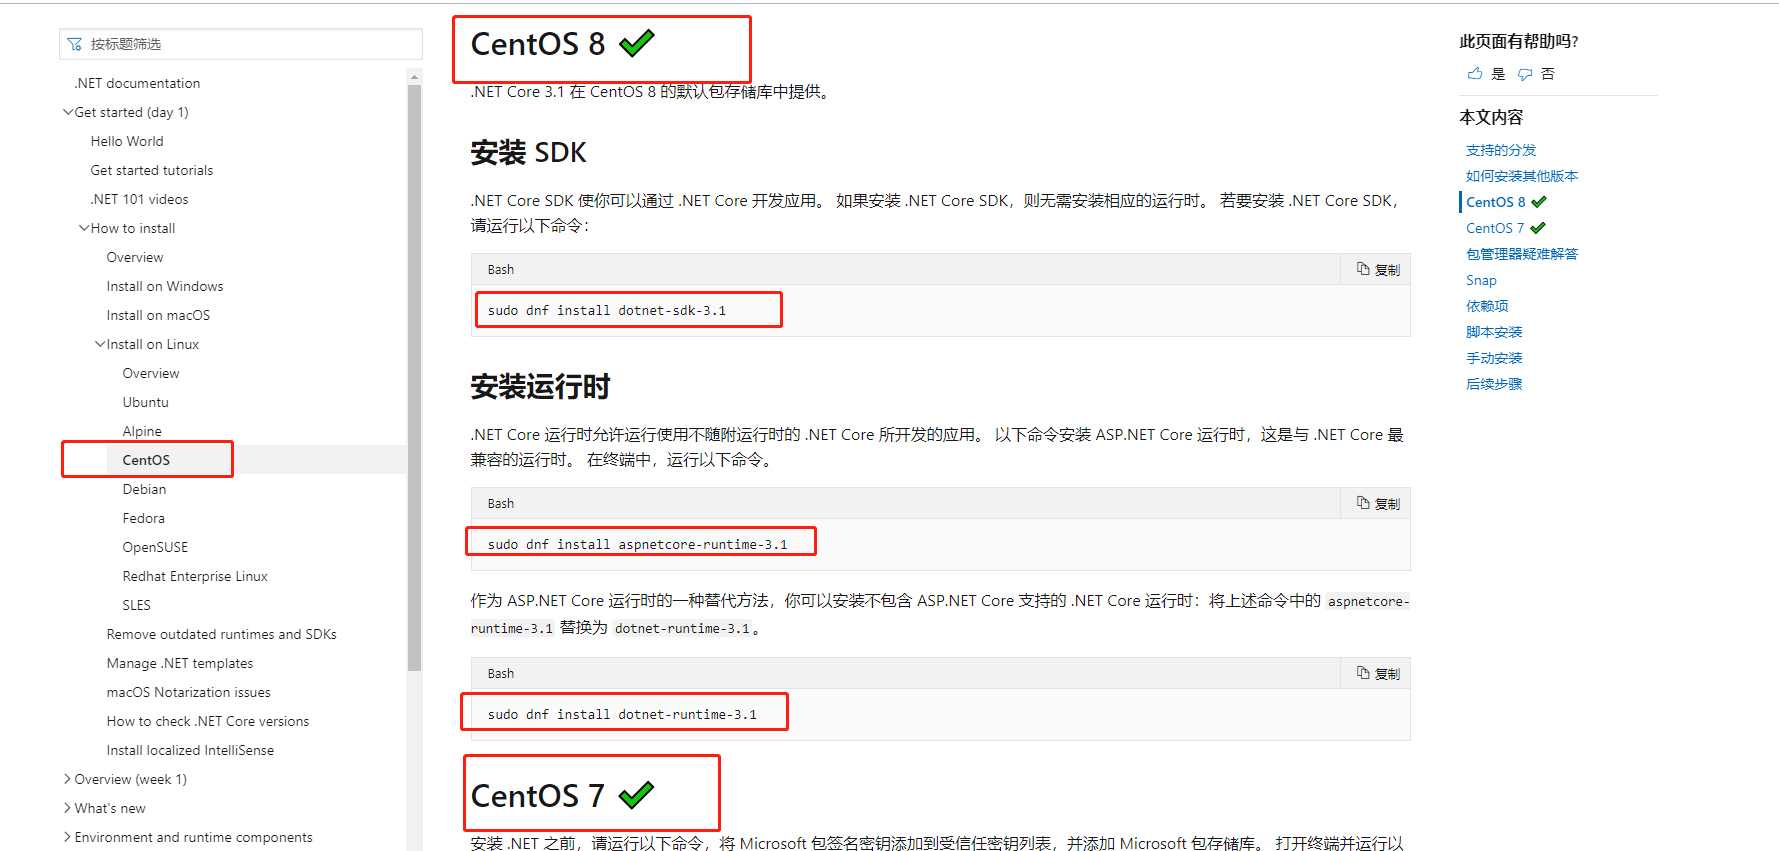
首先需要安装.NET Core Runtime: https://dotnet.microsoft.com/download/linux-package-manager/centos/runtime-current
进入上面网站,然后选择CentOS,之后再右面可以看到CentOS 8 和CentOS 7的安装命令,根据自己的CentOS版本选择,如下图:
2、上传.net core文件
把编译好的.net core 文件拷贝到CentOS服务器中(上传工具很多,比如WinSCP,MobaXterm,文件路径和上传工具根据自己喜好选择创建)
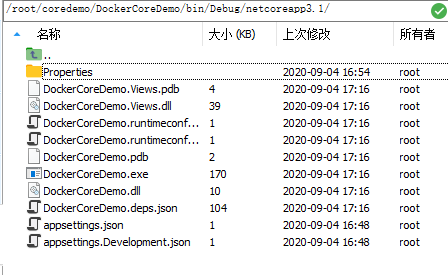
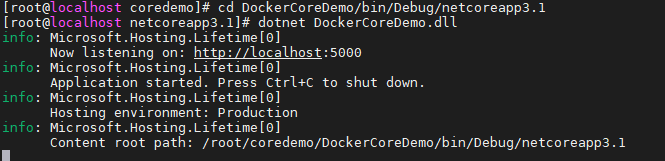
上传成功后,进入对应目录,可以使用 dotnet DockerCoreDemo.dll,运行程序,成功界面如下:
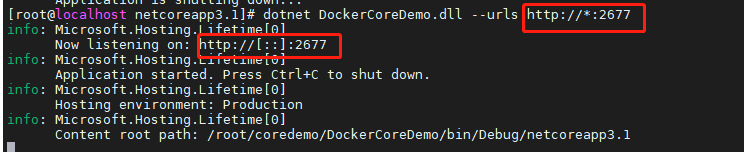
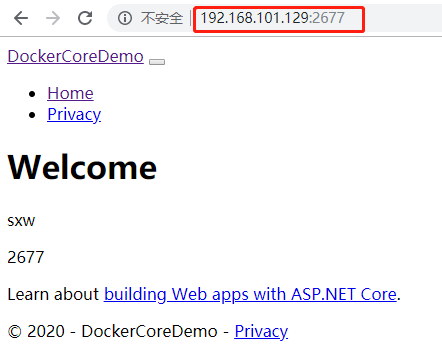
也可以指定端口号启动,比如执行命令:dotnet DockerCoreDemo.dll --urls http://*:2677 运行程序,成功界面如下:
到这里我们的程序已经可以运行,并且同个网段的电脑也是可以访问的,如下图:(页面比较简单,大家知道怎么用就行了)
我们已经学会在Linux下部署asp .net core 程序了是不是很有自豪感;有同学会说了,这个启动没用的,远程断了,起的服务也就断了,所以我们要做守护进程
3、守护进程
下面我们看下如何做守护进程:
首先在/etc/systemd/system 下新建文件(可以使用WinSCP,MobaXterm),文件名以.service结尾,配置内容为(注意:中文注释需要删掉,否则部分 Linux 服务器会报错):

[Unit]
Description=dockercoredemo   #服务描述,随便填就好

[Service]
WorkingDirectory=/root/coredemo/DockerCoreDemo/bin/Debug/netcoreapp3.1   #工作目录,填你应用的绝对路径
ExecStart=/usr/bin/dotnet /root/coredemo/DockerCoreDemo/bin/Debug/netcoreapp3.1/DockerCoreDemo.dll --urls http://*:2677    #启动:前半截是你dotnet的位置(一般都在这个位置),后半部分是你程序入口的dll,中间用空格隔开 注意:--urls http://*:2677是配置端口号
Restart=always
RestartSec=25 #如果服务出现问题会在25秒后重启,数值可自己设置
SyslogIdentifier=dockercoredemo  #设置日志标识,此行可以没有
User=root   #配置服务用户,越高越好
Environment=ASPNETCORE_ENVIRONMENT=Production
[Install]
WantedBy=multi-user.target
写完配置文件后保存,输入指令确认服务:
systemctl enable (你的服务名).service
例如:systemctl enable dockercoredemo.service;
然后启动服务 systemctl start dockercoredemo.service
然后查看一下服务状态:systemctl status dockercoredemo 出现状态说明服务运行正常。
当然这只是基础,服务我们肯定是要做负载均衡,才能保证程序的健壮性,下面我们看怎么做负载均衡:
4、安装Nginx
安装Nginx:
sudo yum install nginx
安装完成后,启用并启动Nginx服务:
sudo systemctl enable nginx
sudo systemctl start nginx
启动成功后,直接浏览器访问你的 IP 地址,如果看到如下效果说明安装成功:
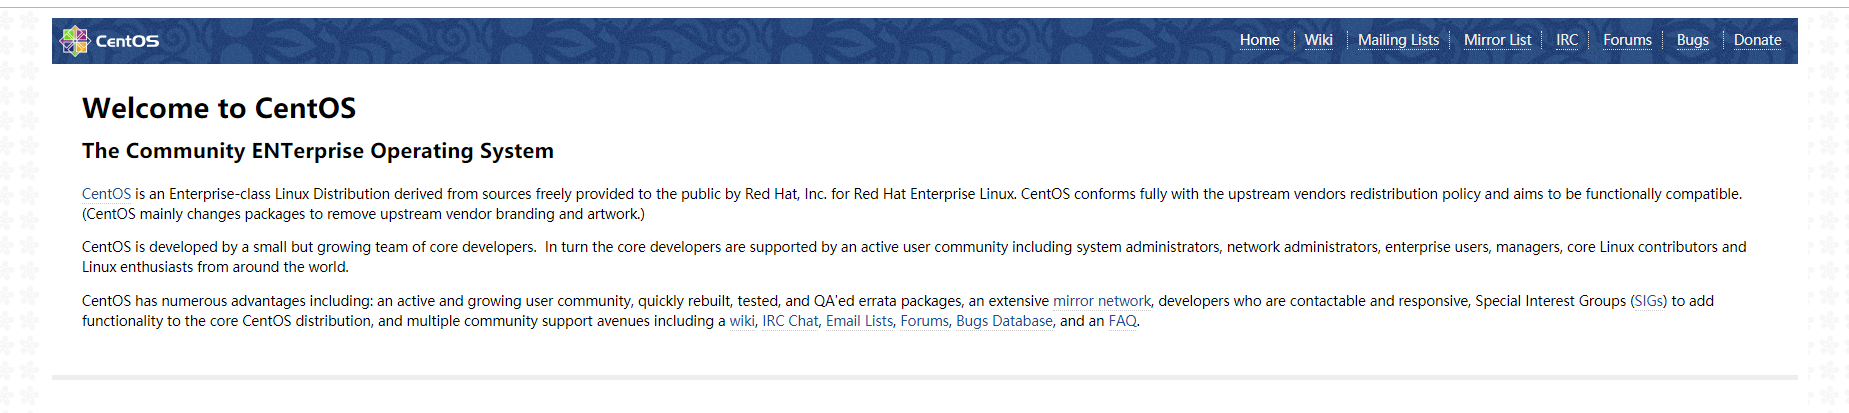
Centos 7下安装nginx,使用yum install nginx,提示没有可用的软件包,可以看这里:https://www.cnblogs.com/sxw117886/p/13625897.html
5、配置Nginx
修改 nginx.conf 配置代理:
然后我们再回来配置Nginx,进入 /etc/nginx,然后 vi 修改nginx.conf ,保存
    upstream dotnetblogserver1 {
            server 127.0.0.1:2677;
            server 127.0.0.1:2678;
    }

    server {
       listen   8881;
       server_name core.idotnet5.com;

        location /{
            proxy_pass   http://dotnetblogserver1;
            index  index.html index.htm;
        }

        location = /50x.html {
            root   html;
        }
    }
完整nginx.conf为


# For more information on configuration, see:
#   * Official English Documentation: http://nginx.org/en/docs/
#   * Official Russian Documentation: http://nginx.org/ru/docs/

user nginx;
worker_processes auto;
error_log /var/log/nginx/error.log;
pid /run/nginx.pid;

# Load dynamic modules. See /usr/share/doc/nginx/README.dynamic.
include /usr/share/nginx/modules/*.conf;

events {
    worker_connections 1024;
}

http {
    log_format  main  '$remote_addr - $remote_user [$time_local] "$request" '
                      '$status $body_bytes_sent "$http_referer" '
                      '"$http_user_agent" "$http_x_forwarded_for"';

    access_log  /var/log/nginx/access.log  main;

    sendfile            on;
    tcp_nopush          on;
    tcp_nodelay         on;
    keepalive_timeout   65;
    types_hash_max_size 2048;

    include             /etc/nginx/mime.types;
    default_type        application/octet-stream;

    # Load modular configuration files from the /etc/nginx/conf.d directory.
    # See http://nginx.org/en/docs/ngx_core_module.html#include
    # for more information.
    include /etc/nginx/conf.d/*.conf;

    upstream dotnetblogserver1 {
            server 127.0.0.1:2677;
            server 127.0.0.1:2678;
    }

    server {
       listen   8881;
       server_name core.idotnet5.com;

        location /{
            proxy_pass   http://dotnetblogserver1;
            index  index.html index.htm;
        }

        location = /50x.html {
            root   html;
        }
    }

# Settings for a TLS enabled server.
#
#    server {
#        listen       443 ssl http2 default_server;
#        listen       [::]:443 ssl http2 default_server;
#        server_name  _;
#        root         /usr/share/nginx/html;
#
#        ssl_certificate "/etc/pki/nginx/server.crt";
#        ssl_certificate_key "/etc/pki/nginx/private/server.key";
#        ssl_session_cache shared:SSL:1m;
#        ssl_session_timeout  10m;
#        ssl_ciphers HIGH:!aNULL:!MD5;
#        ssl_prefer_server_ciphers on;
#
#        # Load configuration files for the default server block.
#        include /etc/nginx/default.d/*.conf;
#
#        location / {
#        }
#
#        error_page 404 /404.html;
#            location = /40x.html {
#        }
#
#        error_page 500 502 503 504 /50x.html;
#            location = /50x.html {
#        }
#    }

}
修改后,重启 nginx:
然后执行sudo nginx -s reload 来重启nginx。
从配置文件中可以看出,我们配置了两个服务地址,分别是
            server 127.0.0.1:2677;
            server 127.0.0.1:2678;
这就是说明Nginx监听这本服务2677和2678这两个端口号,而nginx自身的端口号是8881;
然后我们按照步骤3的守护进程,起两个对应端口的服务;
然后在其他机器上访问你的服务地址:8881,如192.168.101.129:8881 查看效果,如下图:

至此,我们已经学会在linux CentOS下部署Asp .Net Core并且也可以用Nginx做负载均衡了。
Ubutu下安装时一样的道理,大家可以模仿操作。

 浙公网安备 33010602011771号