
App自动化九宫格手势解锁,你get了吗
在做APP自动化的过程中,常常会涉及到不同方式的登录验证,九宫格解锁就是其中比较常见的一种,今天就来使用自动化来实现九宫格解锁功能。
通过uiautomatorviewer工具截图可以发现,整个九宫格其实是一个元素,那如何在九宫格里准确的绘制图案呢?常用的元素定位方式肯定无法实现,经过分析,这里可不可以获取九宫格的宽高,计算出每个按压点的坐标,然后通过链式调用完成解锁功能呢?事不宜迟,我们马上试试:
首先定位到九宫格元素,
ele = driver.find_element_by_id('jiugongge')
获取九宫格的起点坐标和宽高,
x = ele.rect['x']
y = ele.rect['y']
width = ele.rect['width']
height = ele.rect['height']
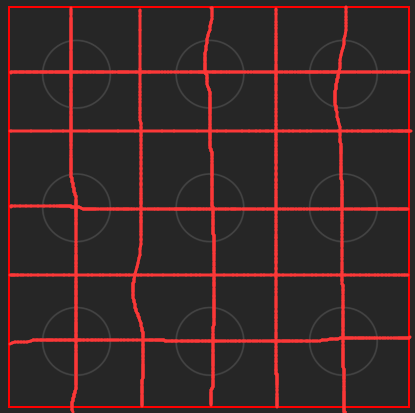
如图下图所示,我们将九宫格拆分成6*6的网格,并给每个按压点编号:
1 2 3
4 5 6
7 8 9
然后使用上面的数据计算出每个按压点的准确坐标:
point1 = (x+width/6, y+height/6)
point2 = (x+width*3/6, y+height/6)
point3 = (x+width*5/6, y+height/6)
point4 = (x+width/6, y+height*3/6)
point5 = (x+width*3/6, y+height*3/6)
point6 = (x+width*5/6, y+height*3/6)
point7 = (x+width/6, y+height*5/6)
point8 = (x+width*3/6, y+height*5/6)
point9 = (x+width*5/6, y+height*5/6)
假设手势是U型的,那么依次滑过对应1478963的位置,代码如下,
action = TouchAction(driver)
action.press(*point1).wait(200).\
    move_to(*point4).wait(200).\
    move_to(*point7).wait(200).\
    move_to(*point8).wait(200).\
    move_to(*point9).wait(200).\
    move_to(*point6).wait(200).\
    move_to(*point3).wait(200).\
    release().perform()

 浙公网安备 33010602011771号