


#关闭防火墙和SELinux
[root@localhost ~]# systemctl stop firewalld.service
[root@localhost ~]# systemctl disable firewalld.service
[root@localhost ~]# setenforce 0
[root@localhost ~]# getenforce
Permissive
[root@localhost ~]# vim /etc/sysconfig/selinux
###############################################
SELINUX=disabled
###############################################
#创建zabbix仓库(这里使用的是阿里云的zabbix 4.0版本的镜像地址)
[root@localhost ~]# rpm -ivh https://mirrors.aliyun.com/zabbix/zabbix/4.0/rhel/7/x86_64/zabbix-release-4.0-2.el7.noarch.rpm
获取https://mirrors.aliyun.com/zabbix/zabbix/4.0/rhel/7/x86_64/zabbix-release-4.0-2.el7.noarch.rpm
警告:/var/tmp/rpm-tmp.Ypab1o: 头V4 RSA/SHA512 Signature, 密钥 ID a14fe591: NOKEY
准备中...                          ################################# [100%]
正在升级/安装...
   1:zabbix-release-4.0-2.el7         ################################# [100%]
#配置完成后可查看仓库列表
[root@localhost ~]# yum repolist
已加载插件:fastestmirror
zabbix                                                                                                                                              | 2.9 kB  00:00:00
zabbix-non-supported                                                                                                                                |  951 B  00:00:00
zabbix/x86_64/primary_db                                                                                                                            | 117 kB  00:00:00
zabbix-non-supported/x86_64/primary                                                                                                                 | 1.6 kB  00:00:00
Loading mirror speeds from cached hostfile
 * base: mirrors.tuna.tsinghua.edu.cn
 * extras: mirrors.tuna.tsinghua.edu.cn
 * updates: mirrors.huaweicloud.com
zabbix-non-supported                                                                                                                                                   4/4
源标识                                                                 源名称                                                                                        状态
base/7/x86_64                                                          CentOS-7 - Base                                                                               10,097
epel/x86_64                                                            Extra Packages for Enterprise Linux 7 - x86_64                                                13,473
extras/7/x86_64                                                        CentOS-7 - Extras                                                                                305
nginx-stable/7/x86_64                                                  nginx stable repo                                                                                170
updates/7/x86_64                                                       CentOS-7 - Updates                                                                               738
zabbix/x86_64                                                          Zabbix Official Repository - x86_64                                                              224
zabbix-non-supported/x86_64                                            Zabbix Official Repository non-supported - x86_64                                                  4
repolist: 25,011
#安装服务
[root@localhost ~]# yum -y install zabbix-server-mysql zabbix-web-mysql zabbix-agent mariadb-server
#zabbix-server-mysql 是zabbix的主服务
#zabbix-web-mysql    是zabbix的前端包
#zabbix-agent        是zabbix的代理包(客户端)
#mariadb-server      是数据库
#####################################################################################################
已安装:
  mariadb-server.x86_64 1:5.5.64-1.el7     zabbix-agent.x86_64 0:4.0.15-1.el7     zabbix-server-mysql.x86_64 0:4.0.15-1.el7     zabbix-web-mysql.noarch 0:4.0.15-1.el7

作为依赖被升级:
  mariadb-libs.x86_64 1:5.5.64-1.el7

完毕!
#启动数据库并将zabbix数据导入
#启动mariadb并加入开机自启
[root@localhost ~]# systemctl start mariadb.service
[root@localhost ~]# systemctl status mariadb.service
● mariadb.service - MariaDB database server
   Loaded: loaded (/usr/lib/systemd/system/mariadb.service; disabled; vendor preset: disabled)
   Active: active (running) since 二 2019-11-26 19:17:01 CST; 2s ago
  Process: 3218 ExecStartPost=/usr/libexec/mariadb-wait-ready $MAINPID (code=exited, status=0/SUCCESS)
  Process: 3128 ExecStartPre=/usr/libexec/mariadb-prepare-db-dir %n (code=exited, status=0/SUCCESS)
 Main PID: 3216 (mysqld_safe)
   CGroup: /system.slice/mariadb.service
           ├─3216 /bin/sh /usr/bin/mysqld_safe --basedir=/usr
           └─3378 /usr/libexec/mysqld --basedir=/usr --datadir=/var/lib/mysql --plugin-dir=/usr/lib64/mysql/plugin --log-error=/var/log/mariadb/mariadb.log --pid-file=/...
[root@localhost ~]# systemctl enable mariadb
Created symlink from /etc/systemd/system/multi-user.target.wants/mariadb.service to /usr/lib/systemd/system/mariadb.service.
[root@localhost ~]# systemctl list-unit-files | grep mariadb
mariadb.service                             enabled
#添加root密码并创建zabbix库和用户
[root@localhost ~]# mysqladmin -uroot password 'password'
[root@localhost ~]# mysql -u root -p
Enter password:
Welcome to the MariaDB monitor.  Commands end with ; or \g.
Your MariaDB connection id is 5
Server version: 5.5.64-MariaDB MariaDB Server

MariaDB [(none)]> create database zabbix character set utf8 collate utf8_bin;
Query OK, 1 row affected (0.00 sec)

MariaDB [(none)]> grant all privileges on zabbix.* to zabbix@localhost identified by 'zabbix';
Query OK, 0 rows affected (0.00 sec)

MariaDB [(none)]> flush privileges;
Query OK, 0 rows affected (0.00 sec)

MariaDB [(none)]> quit
Bye
#导入初始架构和数据
[root@localhost ~]# zcat /usr/share/doc/zabbix-server-mysql-4.0.15/create.sql.gz | mysql -uzabbix -p zabbix
Enter password:
[root@localhost ~]##服务器会停顿一段时间,此时是在往mariadb里写数据,具体跟服务器性能有关系
#修改zabbix_server.conf文件,配置连接数据库信息
[root@localhost ~]# vim /etc/zabbix/zabbix_server.conf
#如果自己没有做其他修改,前三个参数使文件默认的,只添加数据库密码
DBHost=localhost
DBName=zabbix
DBUser=zabbix
DBPassword=zabbix
#修改Apache的文件,配置正确的时区
[root@localhost ~]# vim /etc/httpd/conf.d/zabbix.conf
#修改date.timezone
    <IfModule mod_php5.c>
        php_value max_execution_time 300
        php_value memory_limit 128M
        php_value post_max_size 16M
        php_value upload_max_filesize 2M
        php_value max_input_time 300
        php_value max_input_vars 10000
        php_value always_populate_raw_post_data -1
        php_value date.timezone Asia/Shanghai
    </IfModule>
#启动zabbix和http服务并加入开机自启
[root@localhost ~]# systemctl start zabbix-server httpd
[root@localhost ~]# systemctl status zabbix-server httpd
● zabbix-server.service - Zabbix Server
   Loaded: loaded (/usr/lib/systemd/system/zabbix-server.service; disabled; vendor preset: disabled)
   Active: active (running) since 二 2019-11-26 19:55:46 CST; 5s ago
  Process: 3804 ExecStart=/usr/sbin/zabbix_server -c $CONFFILE (code=exited, status=0/SUCCESS)
 Main PID: 3807 (zabbix_server)
● httpd.service - The Apache HTTP Server
   Loaded: loaded (/usr/lib/systemd/system/httpd.service; disabled; vendor preset: disabled)
   Active: active (running) since 二 2019-11-26 19:55:46 CST; 5s ago
     Docs: man:httpd(8)
           man:apachectl(8)
 Main PID: 3805 (httpd)
[root@localhost ~]# systemctl enable zabbix-server httpd
Created symlink from /etc/systemd/system/multi-user.target.wants/zabbix-server.service to /usr/lib/systemd/system/zabbix-server.service.
Created symlink from /etc/systemd/system/multi-user.target.wants/httpd.service to /usr/lib/systemd/system/httpd.service.
#查看端口是否正常
[root@localhost ~]# netstat -lntp
Active Internet connections (only servers)
Proto Recv-Q Send-Q Local Address           Foreign Address         State       PID/Program name
tcp        0      0 0.0.0.0:3306            0.0.0.0:*               LISTEN      3378/mysqld
tcp        0      0 0.0.0.0:22              0.0.0.0:*               LISTEN      1134/sshd
tcp        0      0 127.0.0.1:25            0.0.0.0:*               LISTEN      1873/master
tcp        0      0 0.0.0.0:10051           0.0.0.0:*               LISTEN      3807/zabbix_server
tcp6       0      0 :::80                   :::*                    LISTEN      3805/httpd
tcp6       0      0 :::22                   :::*                    LISTEN      1134/sshd
tcp6       0      0 ::1:25                  :::*                    LISTEN      1873/master
tcp6       0      0 :::10051                :::*                    LISTEN      3807/zabbix_server
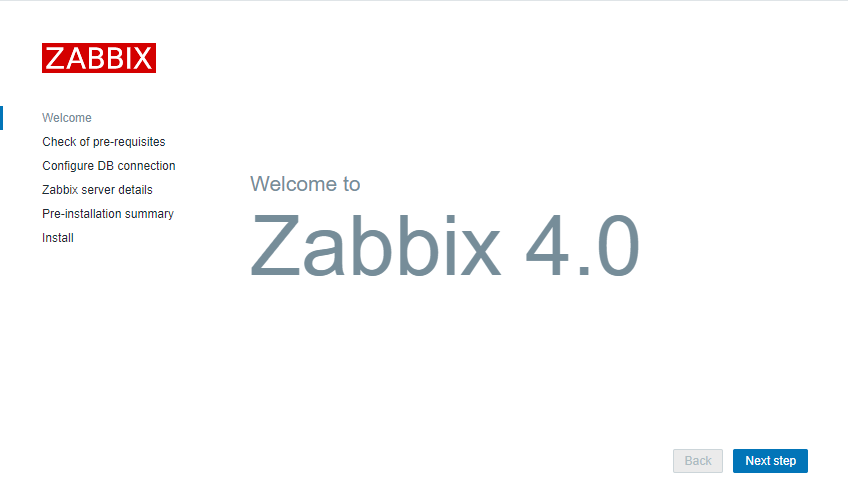
#配置Zabbix前端
#连接到新安装的Zabbix前端:http:// server_ip_or_name /zabbix;点击next step;
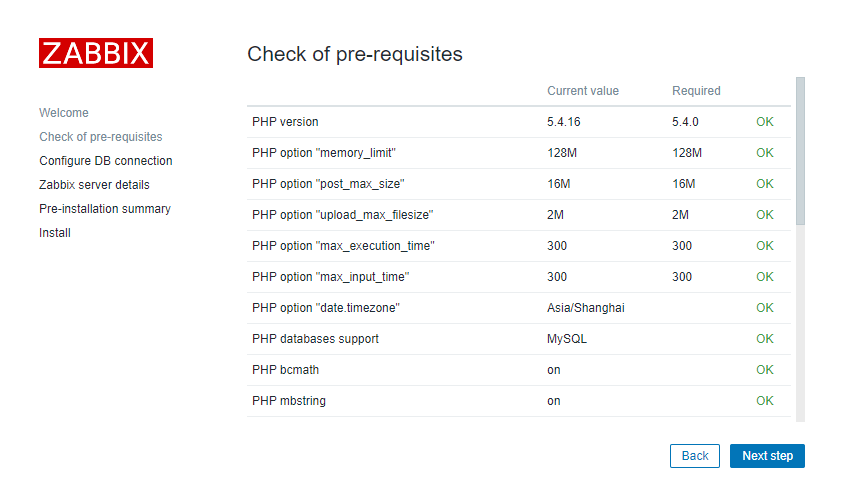
#检查是否有报错信息;没问题点击Next step
#填写DB密码,点击Next step

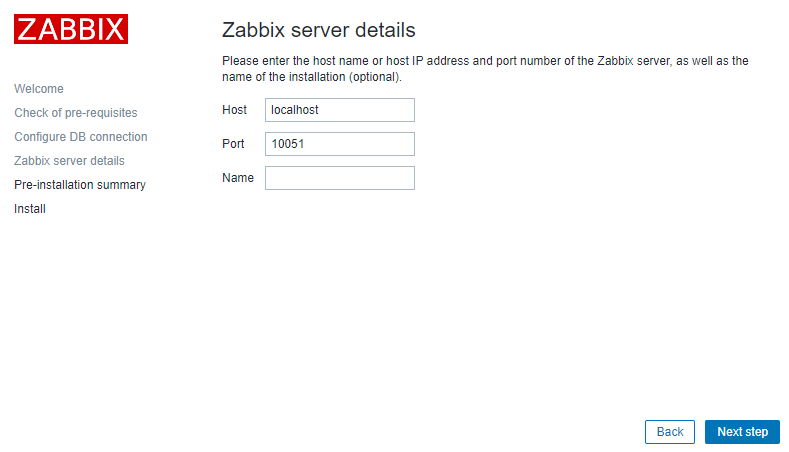
#可以根据自己情况添加站点名称,点击next step
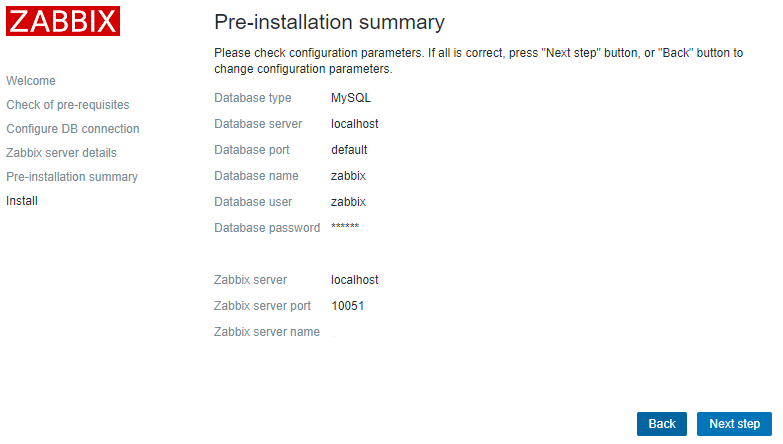
#核对下是否有异常,无误后点击Next step
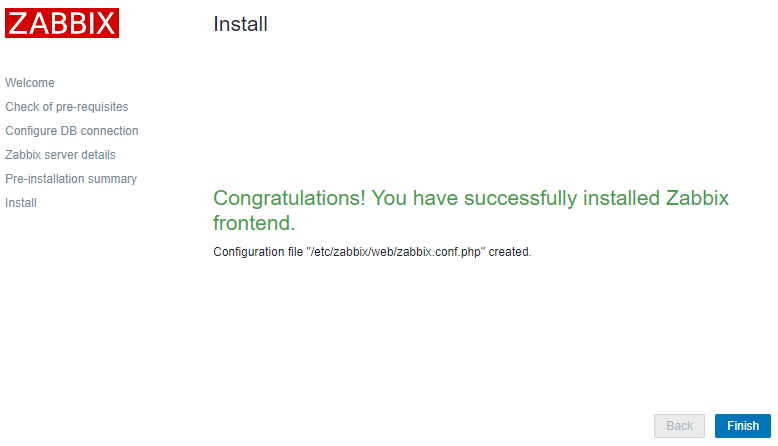
#配置完成,点击finish
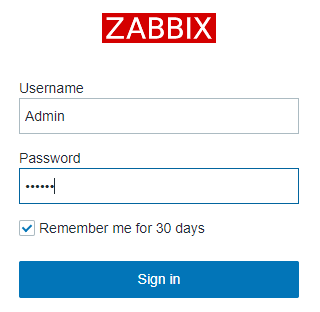
#输入用户名和密码进入系统 (默认user:Admin;password:zabbix)
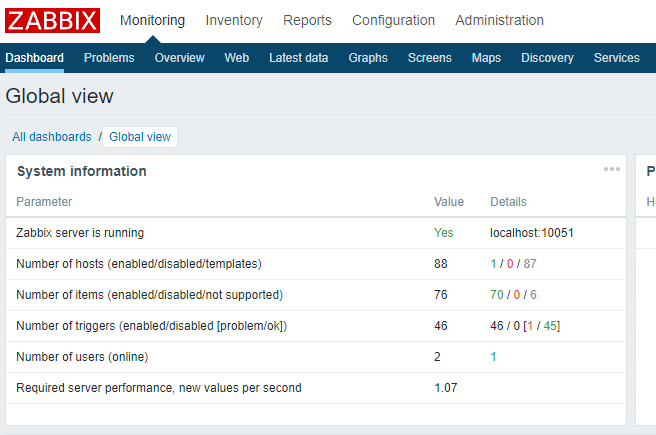
#如果报agent错误,启动agent即可;
[root@localhost ~]# systemctl start zabbix-agent.service
[root@localhost ~]# systemctl status zabbix-agent.service
● zabbix-agent.service - Zabbix Agent
   Loaded: loaded (/usr/lib/systemd/system/zabbix-agent.service; disabled; vendor preset: disabled)
   Active: active (running) since 二 2019-11-26 21:26:39 CST; 1s ago
  Process: 4022 ExecStart=/usr/sbin/zabbix_agentd -c $CONFFILE (code=exited, status=0/SUCCESS)
 Main PID: 4024 (zabbix_agentd)
* 参考oldboy视频整理

 浙公网安备 33010602011771号