1-创建线程
1 直接使用Thread
创建Thread的匿名子类,重写 run 方法:
public static void main(String[] args) throws ExecutionException,InterruptedException {
    // 创建线程对象,并给个别名
    Thread t1 = new Thread("t1") {
        @Override
        public void run() {
            int a = 0;
            a += 10;
        }
    };
    // 启动线程
    t1.start();
}
Thread 有另一个更简便的构造器,只需传入一个 Runnable 对象:

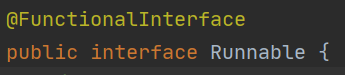
又因为 Runnable 是一个函数式接口:
所以就可以用 lambda 表达式简化写法:
public static void main(String[] args) throws ExecutionException,InterruptedException {
    // lambda表达式重写 run 方法,方法体即是线程的任务
    Thread t2 = new Thread(() -> {
        int a = 10;
        a += 10;
    }, "t2");
    t2.start();
}
2 使用 Runnable 配合 Thread
把 Runnable 对象抽出来:
public static void main(String[] args) throws ExecutionException,InterruptedException {

    // 创建任务对象
    Runnable task = () -> log.debug("hello");
    // 参数1 是任务对象; 参数2 是线程名字,推荐
    Thread t2 = new Thread(task, "t2");
    t2.start();
}
该方式将任务和线程分开了,这样写有两个优点:
- 使用 Runnable 让任务类脱离了 Thread 继承体系,更灵活
- 使用 Runnable 也更容易与线程池等高级 API 配合
3 FutureTask 配合 Thread
FutureTask 也是一个任务类,用法和 Runnable 相似,但是 FutureTask 具有返回值
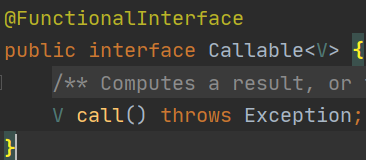
它的构造器会传入的是一个 Callable 对象:
可以在其他线程中使用 FutureTask对象.get 来等待返回值。
public static void main(String[] args) throws ExecutionException,InterruptedException {
    // 创建FutureTask对象,传入一个 Callable
    FutureTask<Integer> task = new FutureTask<>(() -> {
        log.debug("hello");
        return 100;
    });

    // 创建线程并启动
    new Thread(task, "t3").start();

    // 主线程调用 get 方法会阻塞等待 task 执行完毕的返会结果
    Integer result = task.get();
    log.debug("结果是:{}", result);
}

 浙公网安备 33010602011771号