ollama安装和运行llama3.1 8b
ollama安装和运行llama3.1 8b
conda create -n ollama python=3.11 -y
conda activate ollama
curl -fsSL https://ollama.com/install.sh | sh
ollama run songfy/llama3.1:8b
就这么简单就能运行起来了.
我们可以在命令行中与他交互.

当然我们也可以用接口访问:
curl http://localhost:11434/api/generate -d '{
  "model": "songfy/llama3.1:8b",
  "prompt":"Why is the sky blue?"
}'
curl http://localhost:11434/api/chat -d '{
  "model": "songfy/llama3.1:8b",
  "messages": [
    { "role": "user", "content": "why is the sky blue?" }
  ]
}'
安装open-webui
vim /etc/systemd/system/ollama.service, 增加Environment
vim /etc/systemd/system/ollama.service

########## 内容 ###########################################################
[Unit]
Description=Ollama Service
After=network-online.target

[Service]
Environment="OLLAMA_HOST=0.0.0.0:11434"
ExecStart=/usr/local/bin/ollama serve
User=ollama
Group=ollama
Restart=always
RestartSec=3
Environment="PATH=/root/anaconda3/envs/ollama/bin:/root/anaconda3/condabin:/usr/local/sbin:/usr/local/bin:/usr/sbin:/usr/bin:/root/bin"

[Install]
WantedBy=default.target
systemctl daemon-reload
systemctl enable ollama
systemctl restart ollama
docker run -d -p 8801:8080 --add-host=host.docker.internal:host-gateway -v open-webui:/app/backend/data --name open-webui --restart always ghcr.io/open-webui/open-webui:main
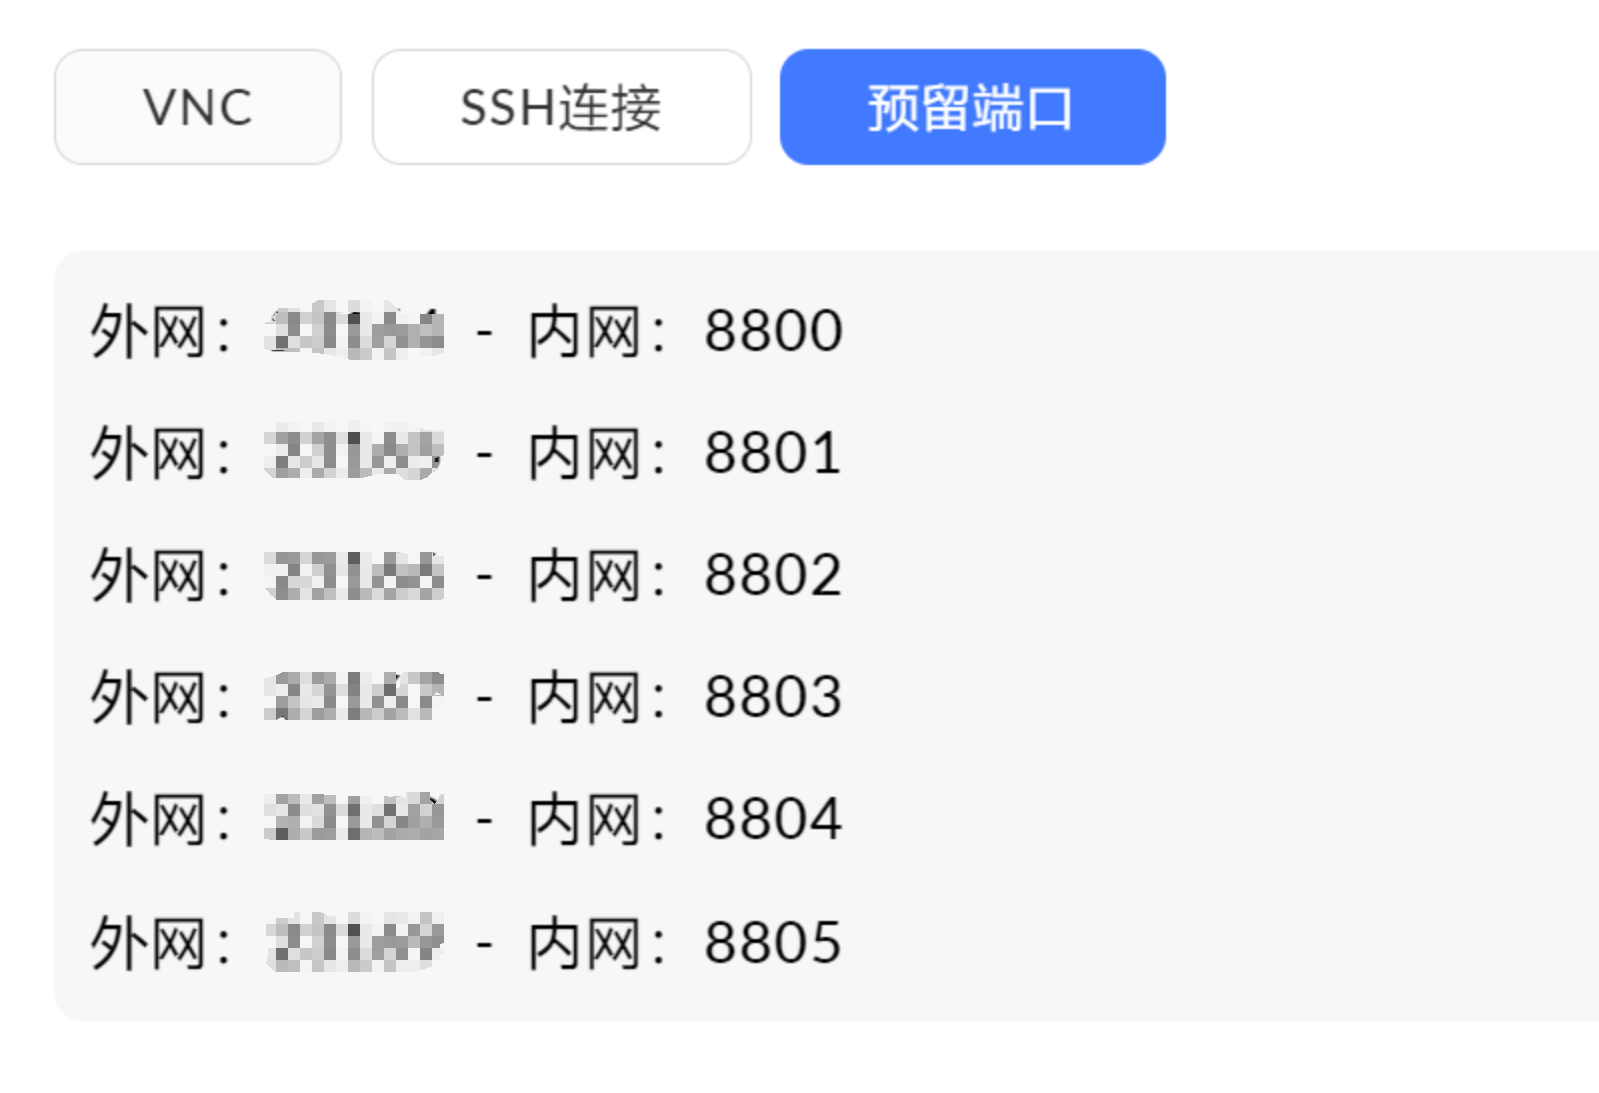
这个8801是我们开放的端口之一.

启动以后, 我们就可以用: ip: 对应外网端口访问.
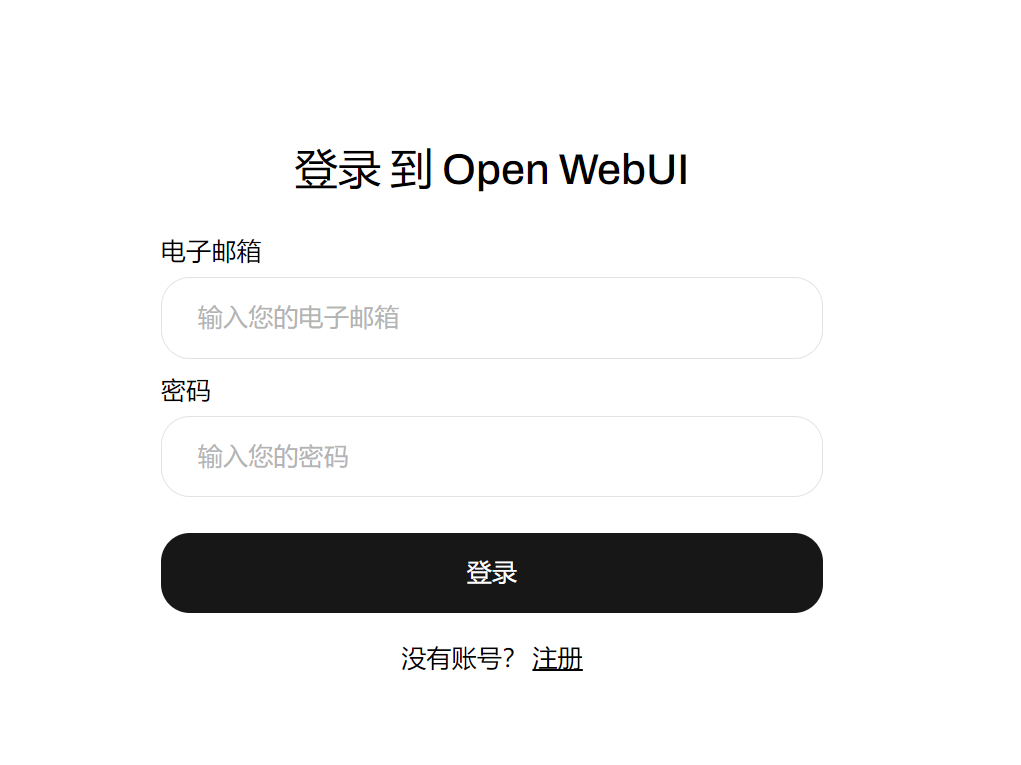
我们会看到一个注册页面:

因为是私服, 直接随便注册一个, 登录进去:

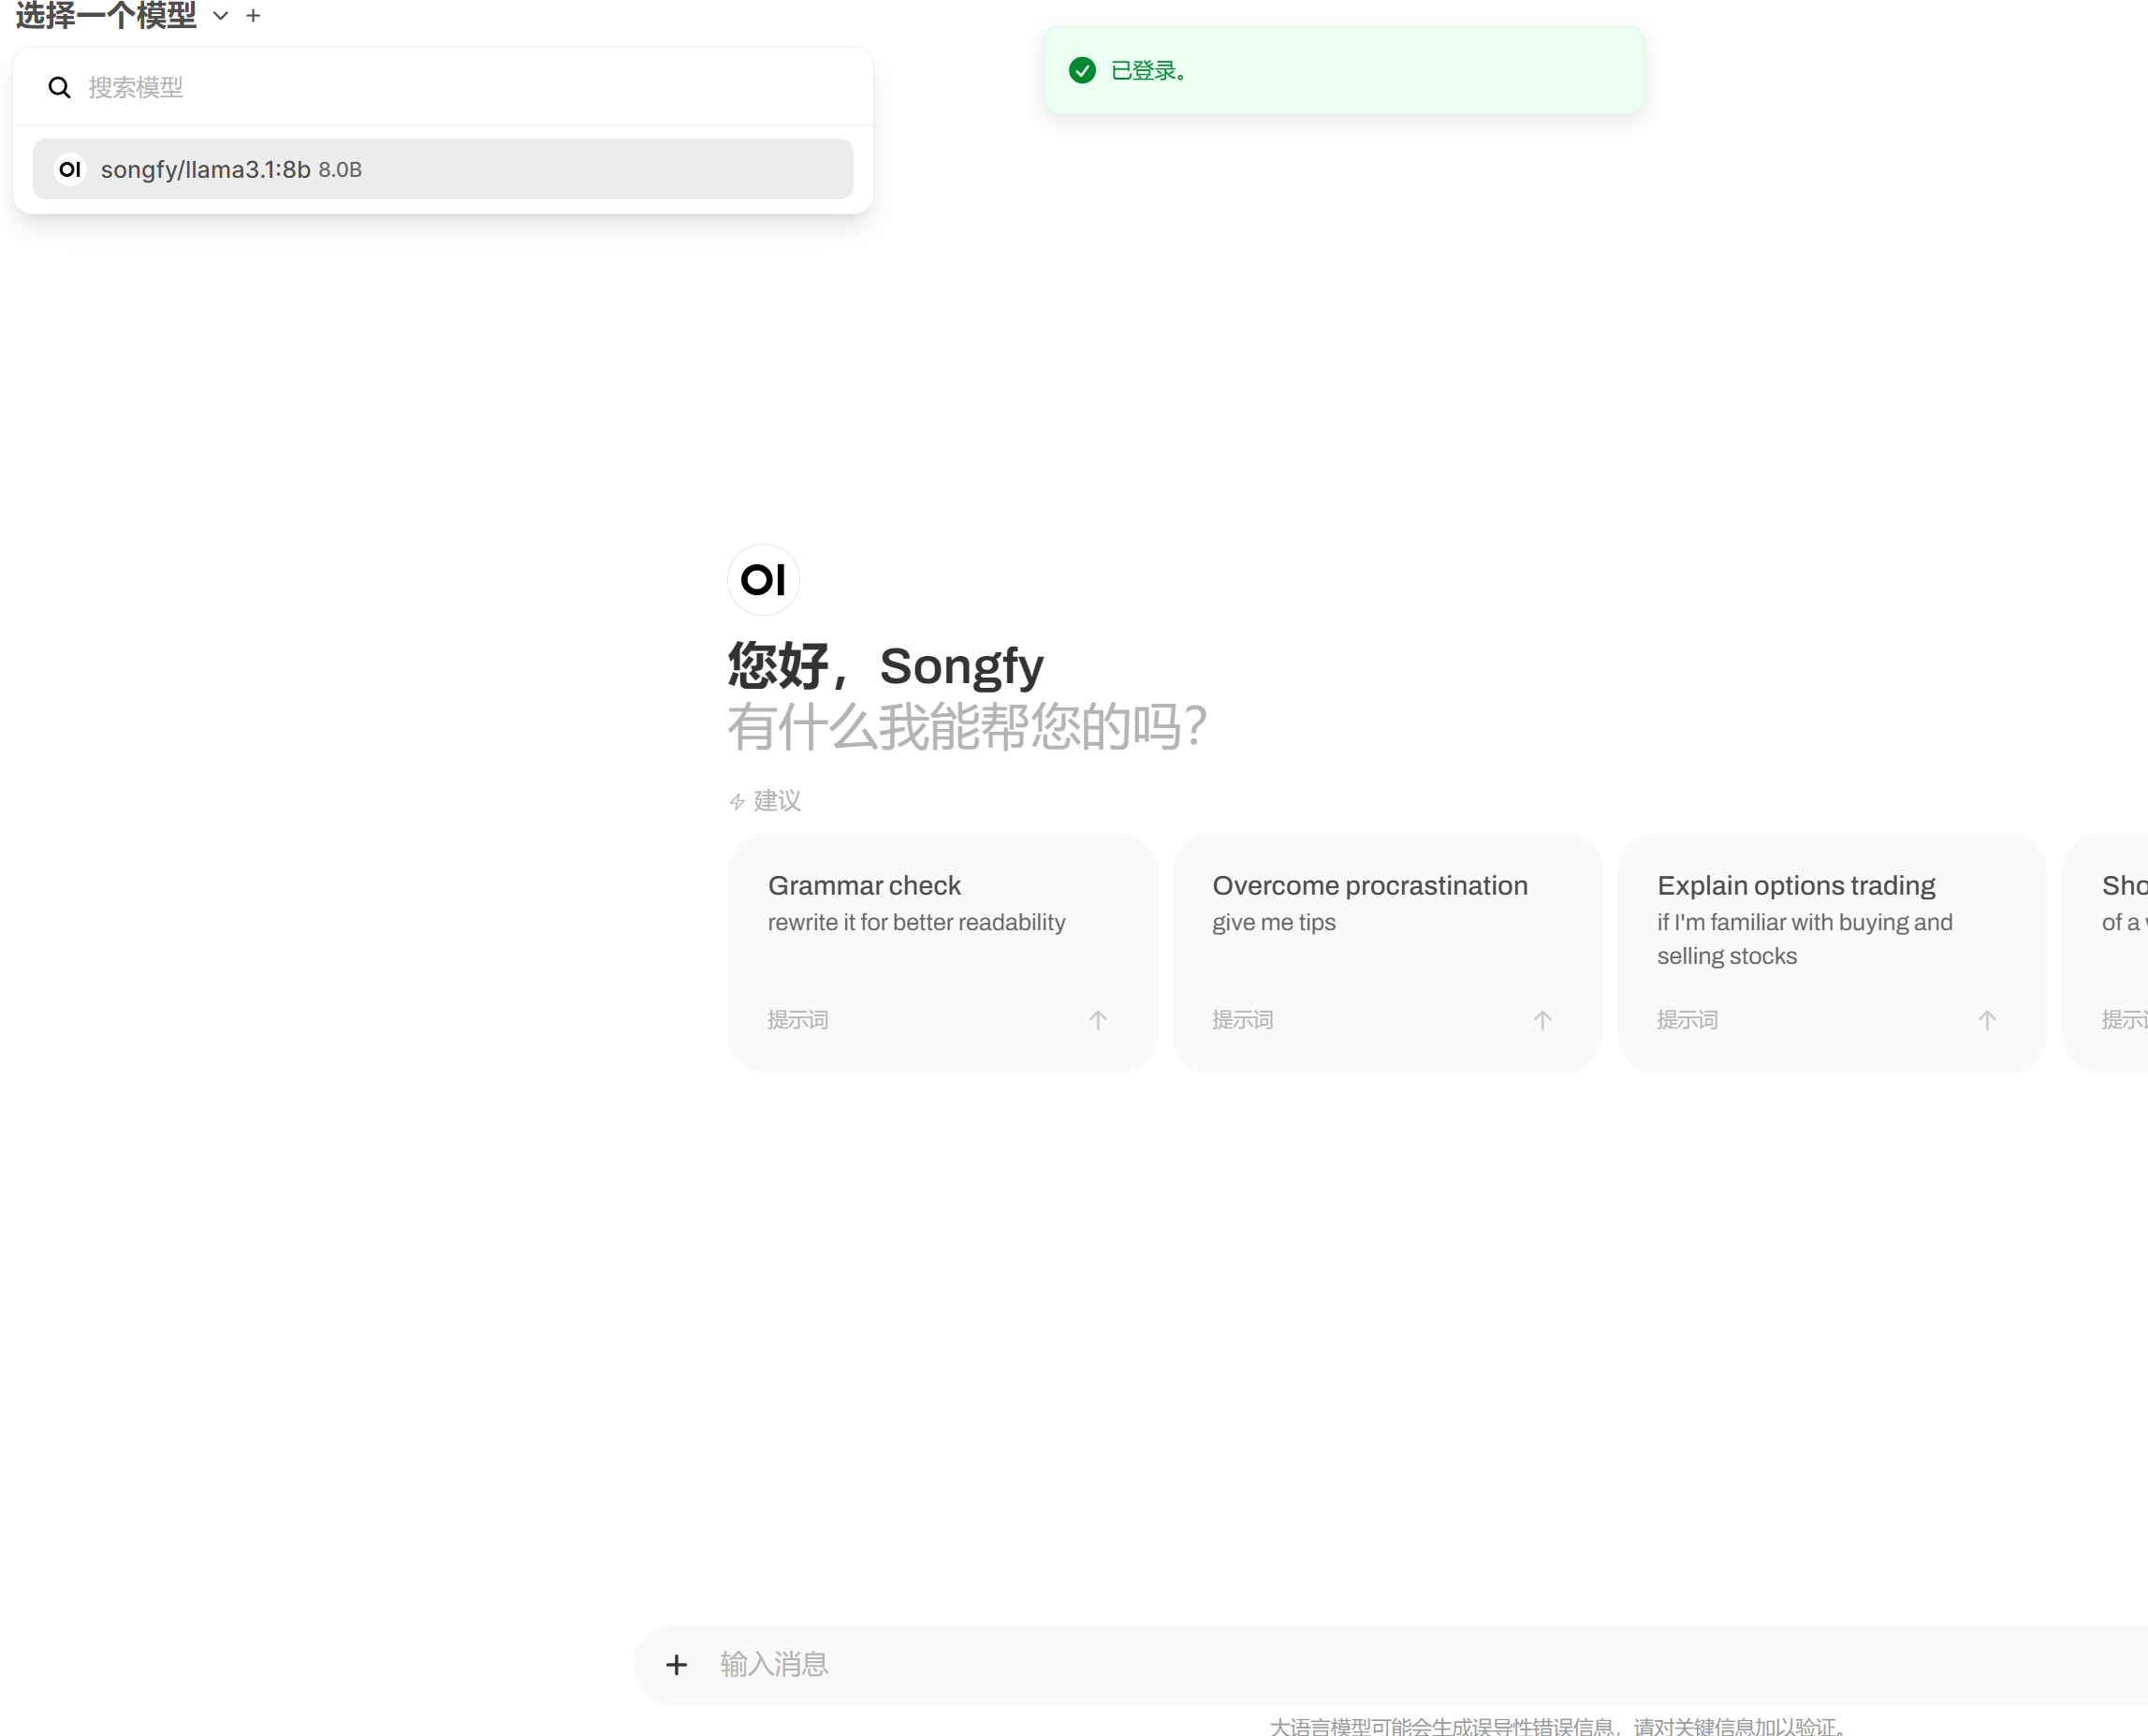
然后就可以使用了:

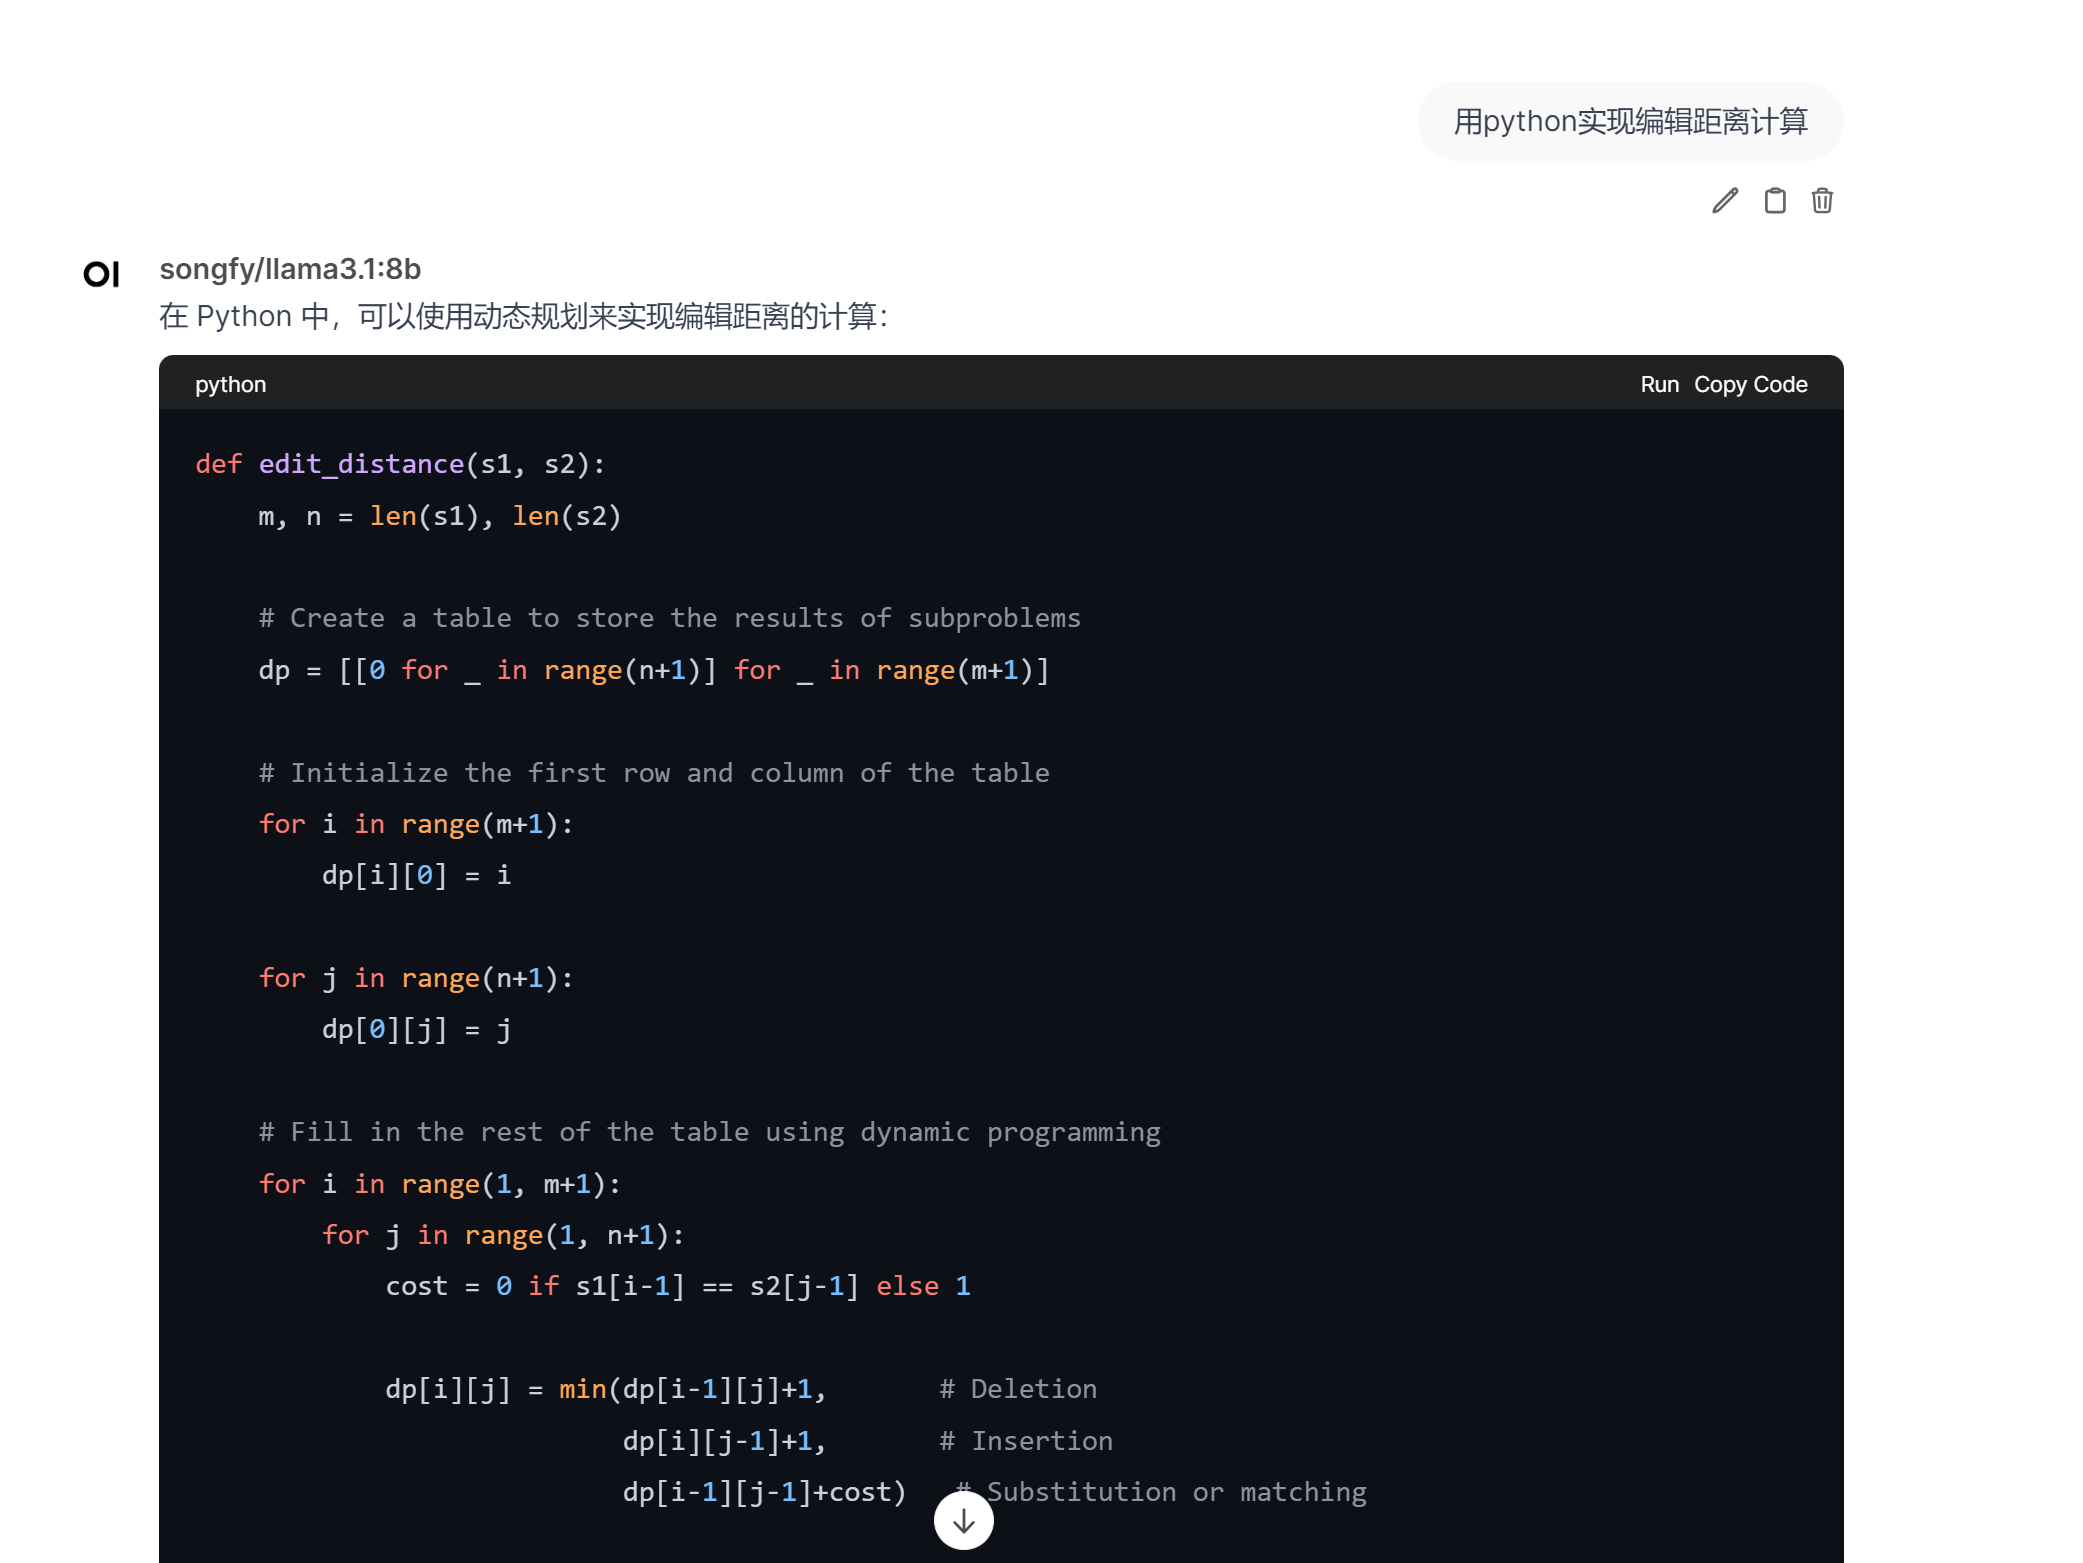
就这样, 也没啥大用.
生成openai兼容的api
端口转发:
cat > /etc/yum.repos.d/nux-misc.repo << EOF
[nux-misc]
name=Nux Misc
baseurl=http://li.nux.ro/download/nux/misc/el7/x86_64/
enabled=0
gpgcheck=1
gpgkey=http://li.nux.ro/download/nux/RPM-GPG-KEY-nux.ro
EOF
yum -y --enablerepo=nux-misc install redir

redir --lport=8802 --caddr=0.0.0.0 --cport=11434
这样就可以使用python进行调用
from openai import OpenAI

client = OpenAI(
    base_url='http://{ip}:{port}/v1/',
    api_key='ollama',  # 此处的api_key为必填项,但在ollama中会被忽略
)

completion = client.chat.completions.create(
model="songfy/llama3.1:8b",
messages=[
{"role": "user", "content": "写一个c++快速排序代码"}
])

print(completion.choices[0].message.content)
返回:
```cpp
#include <iostream>
void swap(int &a, int &b) {
int temp = a;
a = b;
b = temp;
}
void quickSort(int arr[], int left, int right) {
if (left < right) {
int pivotIndex = partition(arr, left, right);
// Recursively sort subarrays
quickSort(arr, left, pivotIndex - 1);
quickSort(arr, pivotIndex + 1, right);
}
}
int partition(int arr[], int left, int right) {
int pivot = arr[right];
int i = left - 1;
for (int j = left; j < right; j++) {
if (arr[j] <= pivot) {
i++;
swap(arr[i], arr[j]);
}
}
swap(arr[i + 1], arr[right]);
return i + 1;
}
void printArray(int arr[], int size) {
for (int i = 0; i < size; i++)
std::cout << arr[i] << " ";
std::cout << "\n";
}
// Example usage
int main() {
int arr[] = {5, 2, 8, 1, 9};
int n = sizeof(arr) / sizeof(arr[0]);
quickSort(arr, 0, n - 1);
printArray(arr, n);
return 0;
}
```
输出:
`1 2 5 8 9`
快速排序是基于两个下降数组 partitioned,然后递归地对每个子数组进行相似的操作的算法。`partition()`函数根据列表中最小或最大值来划分数据,并在每次重复时,将列表分割为左边较大的值和右边较小的值。


 浙公网安备 33010602011771号