
SAP UI5学习笔记之(五)Dialog and Fragment
接着上一篇的例子基础上做一个对话框的例子。
我们打算在Fragments里设计一个对话框,有两个按钮,
OK按钮按下把名字和公司添加到表格里,关闭对话框。
CANCEL按钮按下什么都不做,关闭对话框。
首先在view文件夹下新建一个AddDialog.fragment.xml。
 1 <core:FragmentDefinition xmlns="sap.m" xmlns:core="sap.ui.core">
 2 <Dialog id="addDialog" title="确认追加">
 3     <Label text="名字:{path: 'addModel>/Name'}" width="100%"/>
 4     <Label text="公司:{path: 'addModel>/Company'}" width="100%"/>
 5 <beginButton>
 6     <Button text="{i18n>dialogOkButtonText}" press=".onOkDialog"/>
 7 </beginButton>
 8 <endButton>
 9     <Button text="{i18n>dialogCancelButtonText}" press=".onCancelDialog"/>
10 </endButton>
11 </Dialog>
12 </core:FragmentDefinition>
修改App.controller.js中的onClick事件,追加onOkDialog和onCancelDialog事件。
 1 sap.ui.define([
 2     "sap/ui/core/mvc/Controller",
 3     "sap/ui/model/json/JSONModel",
 4     "sap/ui/core/Fragment"
 5 ], function (Controller, JSONModel, Fragment) {
 6     "use strict";
 7
 8     return Controller.extend("sap.ui.demo.walkthrough.controller.App", {
 9
10         onClick: function () {
11
12             var newName = this.byId("inputName").getValue();
13             var newCompany = this.byId("inputCompany").getValue();
14             var addModel = new JSONModel({
15                 "Name": newName,
16                 "Company": newCompany
17             });
18             this.getView().setModel(addModel, "addModel");
19
20             var oView = this.getView();
21             //如果没有相应Dialog,就调用sap.ui.xmlfragment实例化Fragment
22             // create dialog lazily
23             if (!this.byId("addDialog")) {
24                 // load asynchronous XML fragment
25                 Fragment.load({
26                     id: oView.getId(),
27                     name: "sap.ui.demo.walkthrough.view.AddDialog",
28                     controller: this
29                 }).then(function (oDialog) {
30                     // connect dialog to the root view of this component (models, lifecycle)
31                     oView.addDependent(oDialog);
32                     oDialog.open();
33                 });
34             } else {
35                 this.byId("addDialog").open();
36             }
37         },
38         onOkDialog: function () {
39             this.byId("addDialog").close();
40             this.getView().getModel().getProperty("/People").push({
41                                                                 "Name": this.getView().getModel("addModel").getProperty("/Name"),
42                                                                 "Company": this.getView().getModel("addModel").getProperty("/Company")
43                                                             });
44             this.getView().getModel().refresh();
45         },
46         onCancelDialog: function () {
47             this.byId("addDialog").close();
48         }
49     });
50 });
i18n.properties加上Dialog上按钮的文本。
1 title=Title
2 appTitle=walkthrough
3 appDescription=App Description
4
5 dialogOkButtonText=OK
6 dialogCancelButtonText=CANCEL
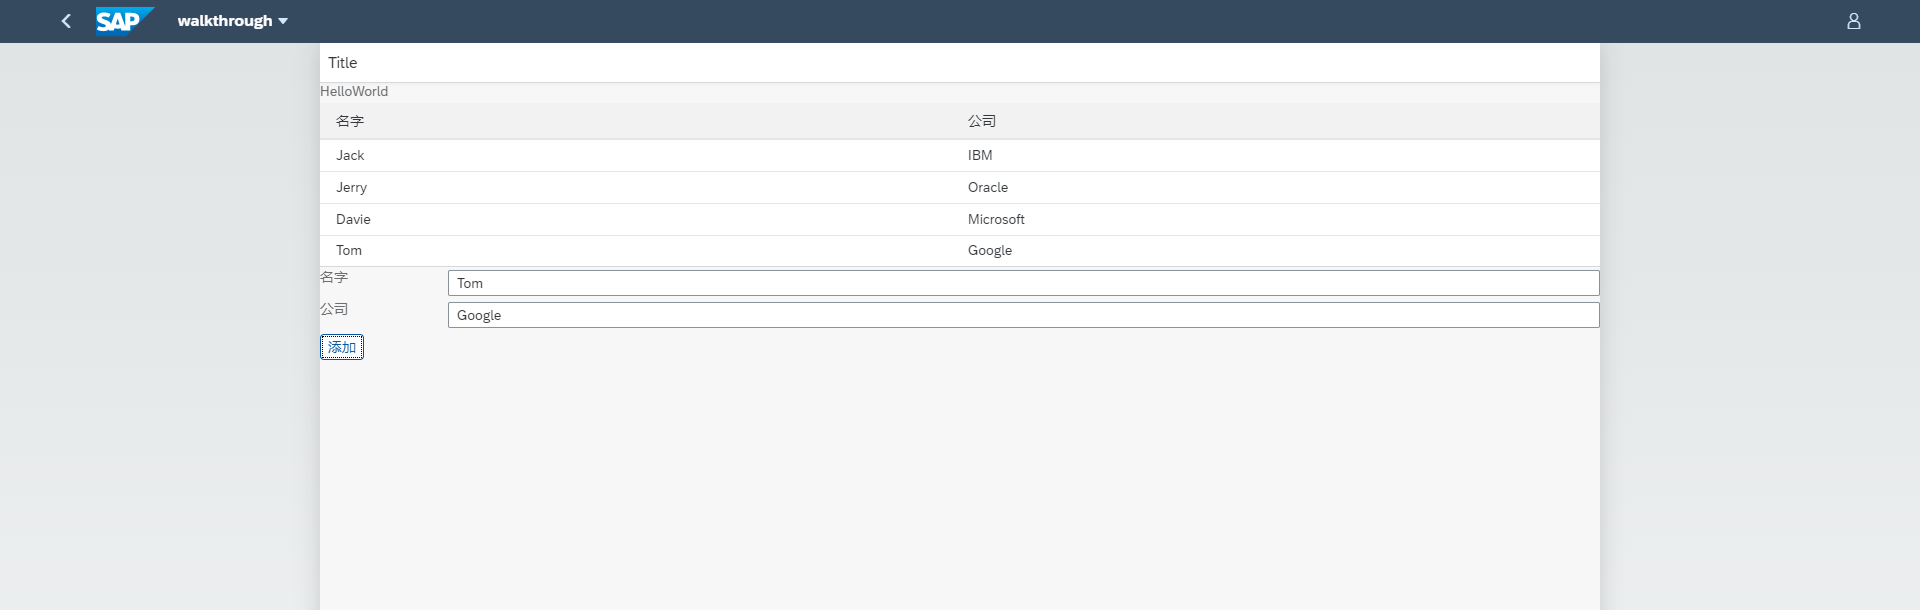
这样就完成了Fragment实现dialog对话框的功能。测试一下。

点击OK按钮,追加新记录到表中。

 浙公网安备 33010602011771号