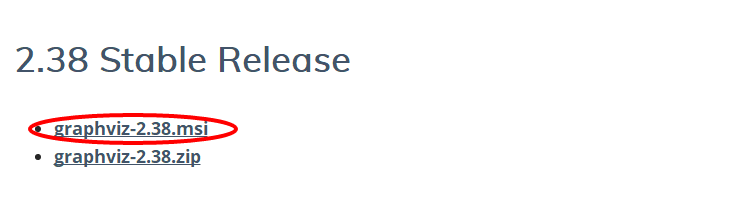
Graphviz安装及简单使用
关键字:Graphviz Windows环境安装、配置环境变量、pcharm中调用、中文乱码、dot语句基本格式

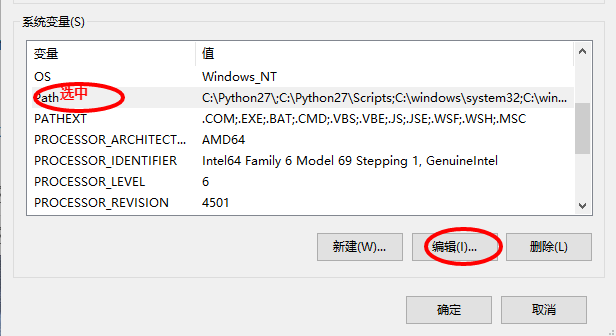
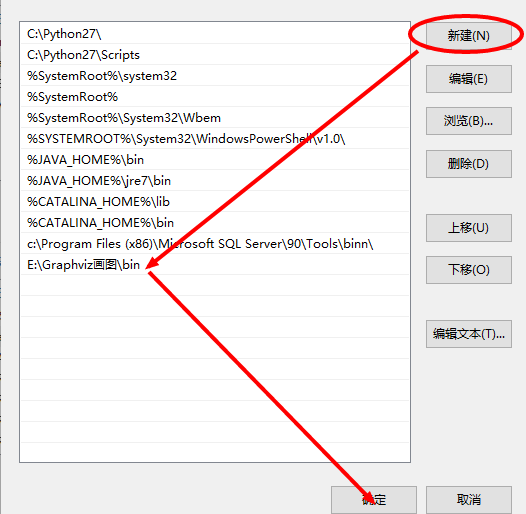
将graphviz安装目录下的bin文件夹添加到Path环境变量中:
4.验证是否安装并配置成功:
进入windows命令行界面,输入
dot -version,然后按回车,如果显示graphviz的相关版本信息,则安装配置成功。如图: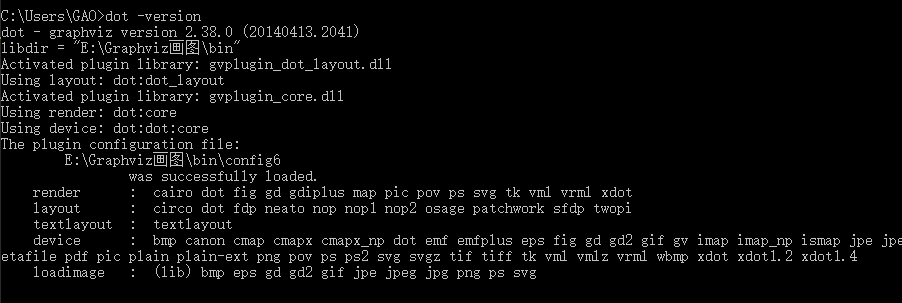
5.python环境中安装:(pycharm中)

然后输入Graphivz安装
# coding:utf-8
from graphviz import Digraph
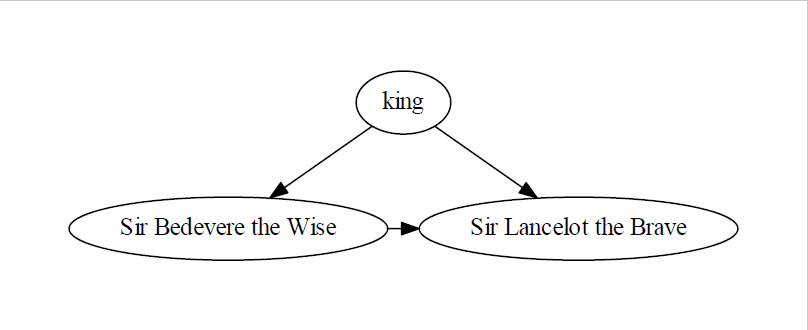
dot = Digraph(comment='The Round Table')
# 添加圆点 A, A的标签是 King Arthur
dot.node('A', 'king')
dot.view() #后面这句就注释了,也可以使用这个命令查看效果
# 添加圆点 B, B的标签是 Sir Bedevere the Wise
dot.node('B', 'Sir Bedevere the Wise')
#dot.view()
# 添加圆点 L, L的标签是 Sir Lancelot the Brave
dot.node('L', 'Sir Lancelot the Brave')
#dot.view()
#创建一堆边,即连接AB的边,连接AL的边。
dot.edges(['AB', 'AL'])
#dot.view()
# 在创建两圆点之间创建一条边
dot.edge('B', 'L', constraint='false')
#dot.view()
# 获取DOT source源码的字符串形式
print(dot.source)
# 保存source到文件,并提供Graphviz引擎
dot.render('test-output/round-table.gv', view=True)x
30
1
# coding:utf-82
from graphviz import Digraph3
4
dot = Digraph(comment='The Round Table')5
6
# 添加圆点 A, A的标签是 King Arthur7
dot.node('A', 'king')8
dot.view() #后面这句就注释了,也可以使用这个命令查看效果9
10
# 添加圆点 B, B的标签是 Sir Bedevere the Wise11
dot.node('B', 'Sir Bedevere the Wise')12
#dot.view()13
14
# 添加圆点 L, L的标签是 Sir Lancelot the Brave15
dot.node('L', 'Sir Lancelot the Brave')16
#dot.view()17
18
#创建一堆边,即连接AB的边,连接AL的边。19
dot.edges(['AB', 'AL'])20
#dot.view()21
22
# 在创建两圆点之间创建一条边23
dot.edge('B', 'L', constraint='false')24
#dot.view()25
26
# 获取DOT source源码的字符串形式27
print(dot.source)28
29
# 保存source到文件,并提供Graphviz引擎30
dot.render('test-output/round-table.gv', view=True)结果:
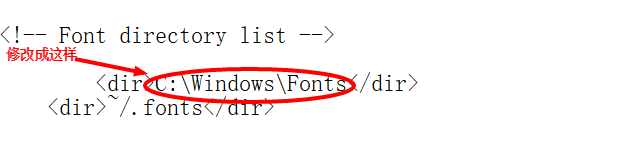
7.中文乱码问题:
- 在安装目录找到如下文件用记事本打开:

- 将对应位置代码修改为如下:
- 代码中加如下语句:

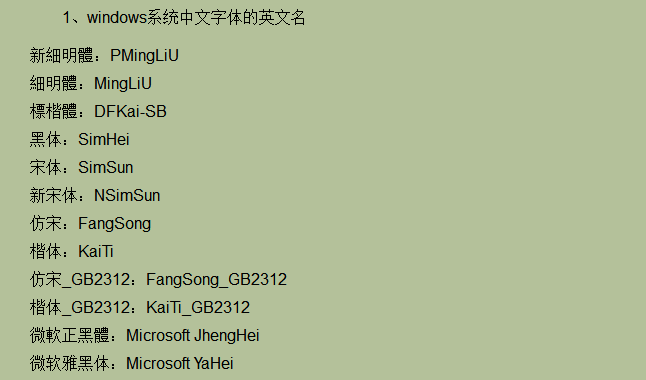
将对应标签放在英文双引号内
9.dot语言基本格式:
- dot input.dot -T png -o output.txt
cmd:
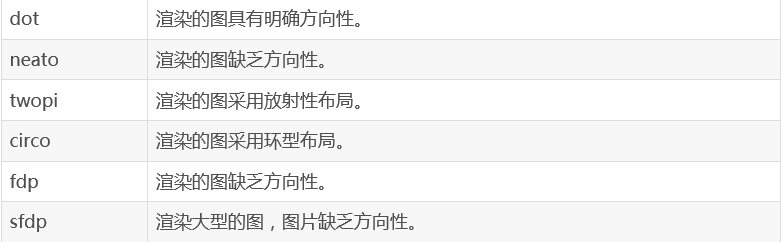
-o 指定存储档案的档名
- 有向图:diagraph申明,结点关系为"->",可以//注释
- 无向图:graph 申明 结点关系"--"
- 子图 :subgraph声明 父图是无向图他本身也得是无向图 父图是有向图本身也得是有向图
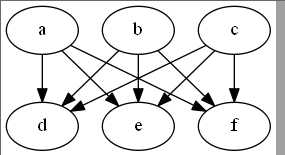
10.示例:
digraph G{
{ a b c} -> { d e f }
}
1
digraph G{2
{ a b c} -> { d e f }3
}

 浙公网安备 33010602011771号