
NET Core 3.1 基于Autofac 的缓存AOP
缓存功能,一般咱们都是将数据获取到以后,定义缓存,然后在其他地方使用的时候,在根据key去获取当前数据,然后再操作等等,平时都是在API接口层获取数据后进行缓存,今天咱们可以试试,在接口之前就缓存下来。
1、定义 Memory 缓存类和接口
/// <summary>
    /// 简单的缓存接口,只有查询和添加,以后会进行扩展
    /// </summary>
    public interface ICaching
    {
        object Get(string cacheKey);

        void Set(string cacheKey, object cacheValue);
    }

   /// <summary>
    /// 实例化缓存接口ICaching
    /// </summary>
    public class MemoryCaching : ICaching
    {
        //引用Microsoft.Extensions.Caching.Memory;这个和.net 还是不一样,没有了Httpruntime了
        private IMemoryCache _cache;
        //还是通过构造函数的方法,获取
        public MemoryCaching(IMemoryCache cache)
        {
            _cache = cache;
        }

        public object Get(string cacheKey)
        {
            return _cache.Get(cacheKey);
        }

        public void Set(string cacheKey, object cacheValue)
        {
            _cache.Set(cacheKey, cacheValue, TimeSpan.FromSeconds(7200));
        }
    }
2、定义一个缓存拦截器
/// <summary>
    /// 面向切面的缓存使用
    /// </summary>
    public class BlogCacheAOP : IInterceptor
    {
        //通过注入的方式,把缓存操作接口通过构造函数注入
        private ICaching _cache;
        public BlogCacheAOP(ICaching cache)
        {
            _cache = cache;
        }
        //Intercept方法是拦截的关键所在,也是IInterceptor接口中的唯一定义
        public void Intercept(IInvocation invocation)
        {
            //获取自定义缓存键
            var cacheKey = CustomCacheKey(invocation);
            //根据key获取相应的缓存值
            var cacheValue = _cache.Get(cacheKey);
            if (cacheValue != null)
            {
                //将当前获取到的缓存值,赋值给当前执行方法
                invocation.ReturnValue = cacheValue;
                return;
            }
            //去执行当前的方法
            invocation.Proceed();
            //存入缓存
            if (!string.IsNullOrWhiteSpace(cacheKey))
            {
                _cache.Set(cacheKey, invocation.ReturnValue);
            }
        }

        //自定义缓存键
        private string CustomCacheKey(IInvocation invocation)
        {
            var typeName = invocation.TargetType.Name;
            var methodName = invocation.Method.Name;
            var methodArguments = invocation.Arguments.Select(GetArgumentValue).Take(3).ToList();//获取参数列表,我最多需要三个即可

            string key = $"{typeName}:{methodName}:";
            foreach (var param in methodArguments)
            {
                key += $"{param}:";
            }

            return key.TrimEnd(':');
        }
        //object 转 string
        private string GetArgumentValue(object arg)
        {
            if (arg is int || arg is long || arg is string)
                return arg.ToString();

            if (arg is DateTime)
                return ((DateTime)arg).ToString("yyyyMMddHHmmss");

            return "";
        }
    }
3、注入缓存拦截器
Startup 的 ConfigureContainer 方法
            var cacheType = new List<Type>();
            builder.RegisterType<BlogLogAOP>();
            cacheType.Add(typeof(BlogLogAOP));
            // 获取 Service.dll 程序集服务,并注册
            var assemblysServices = Assembly.LoadFrom(servicesDllFile);
            builder.RegisterAssemblyTypes(assemblysServices)
                        .AsImplementedInterfaces()
                        .InstancePerDependency()
                        .EnableInterfaceInterceptors()//引用Autofac.Extras.DynamicProxy;
                        .InterceptedBy(cacheType.ToArray());//允许将拦截器服务的列表分配给注册。
3、启动缓存
/// <summary>
    /// 缓存服务启动
    /// </summary>
    public static class MemoryCacheSetup
    {
        public static void AddMemoryCacheSetup(this IServiceCollection services)
        {
            if (services == null) throw new ArgumentNullException(nameof(services));

            services.AddScoped<ICaching, MemoryCaching>();
            services.AddSingleton<IMemoryCache>(factory =>
            {
                var cache = new MemoryCache(new MemoryCacheOptions());
                return cache;
            });
        }
    }
Startup 的 ConfigureServices 方法
       //注入缓存
            services.AddMemoryCacheSetup();
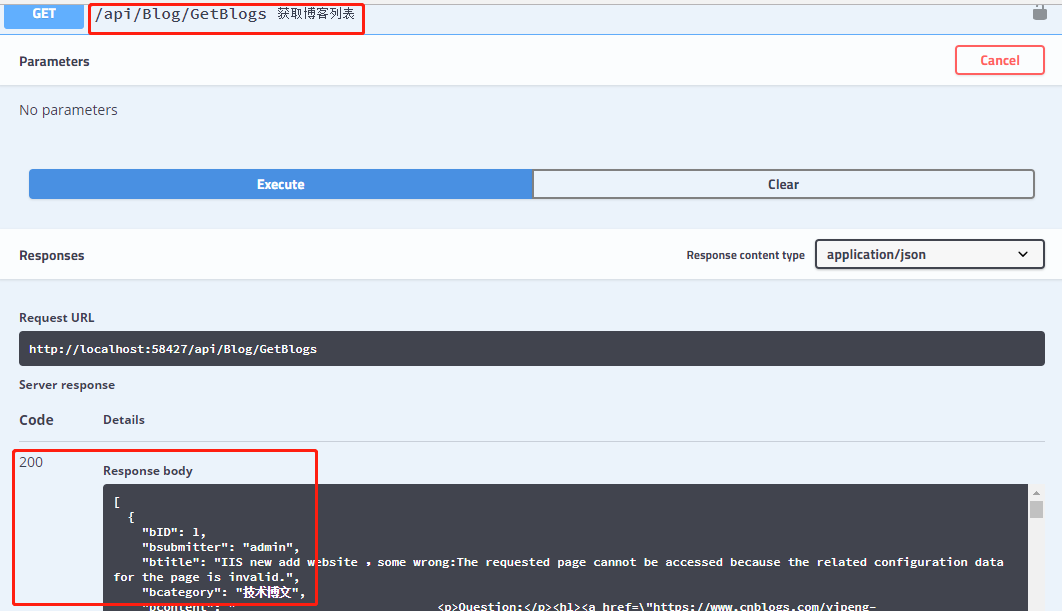
4、运行,查看效果

安装大神代码实现了,详情参照 https://www.cnblogs.com/laozhang-is-phi/p/9547574.html
此处记录方便以后查找

 浙公网安备 33010602011771号